
Soldering (or sweating) pipes is one of the most important aspects of any plumbing project. If you have ever tried to solder pipes with water in them before, you know how difficult it is to work with. We have consulted experts on how to pull this off correctly and here is what we have learned.
In order to solder a pipe with water in it, you need to make sure that the pipe is completely empty before soldering. If it's not empty, the water in the pipe will flow into the joint when you heat the solder.
Wetness interferes with the soldering process and could potentially make the connection weak. You'll want to try to remove any water from the pipe first, but if you do this, you should dry the pipe as well.
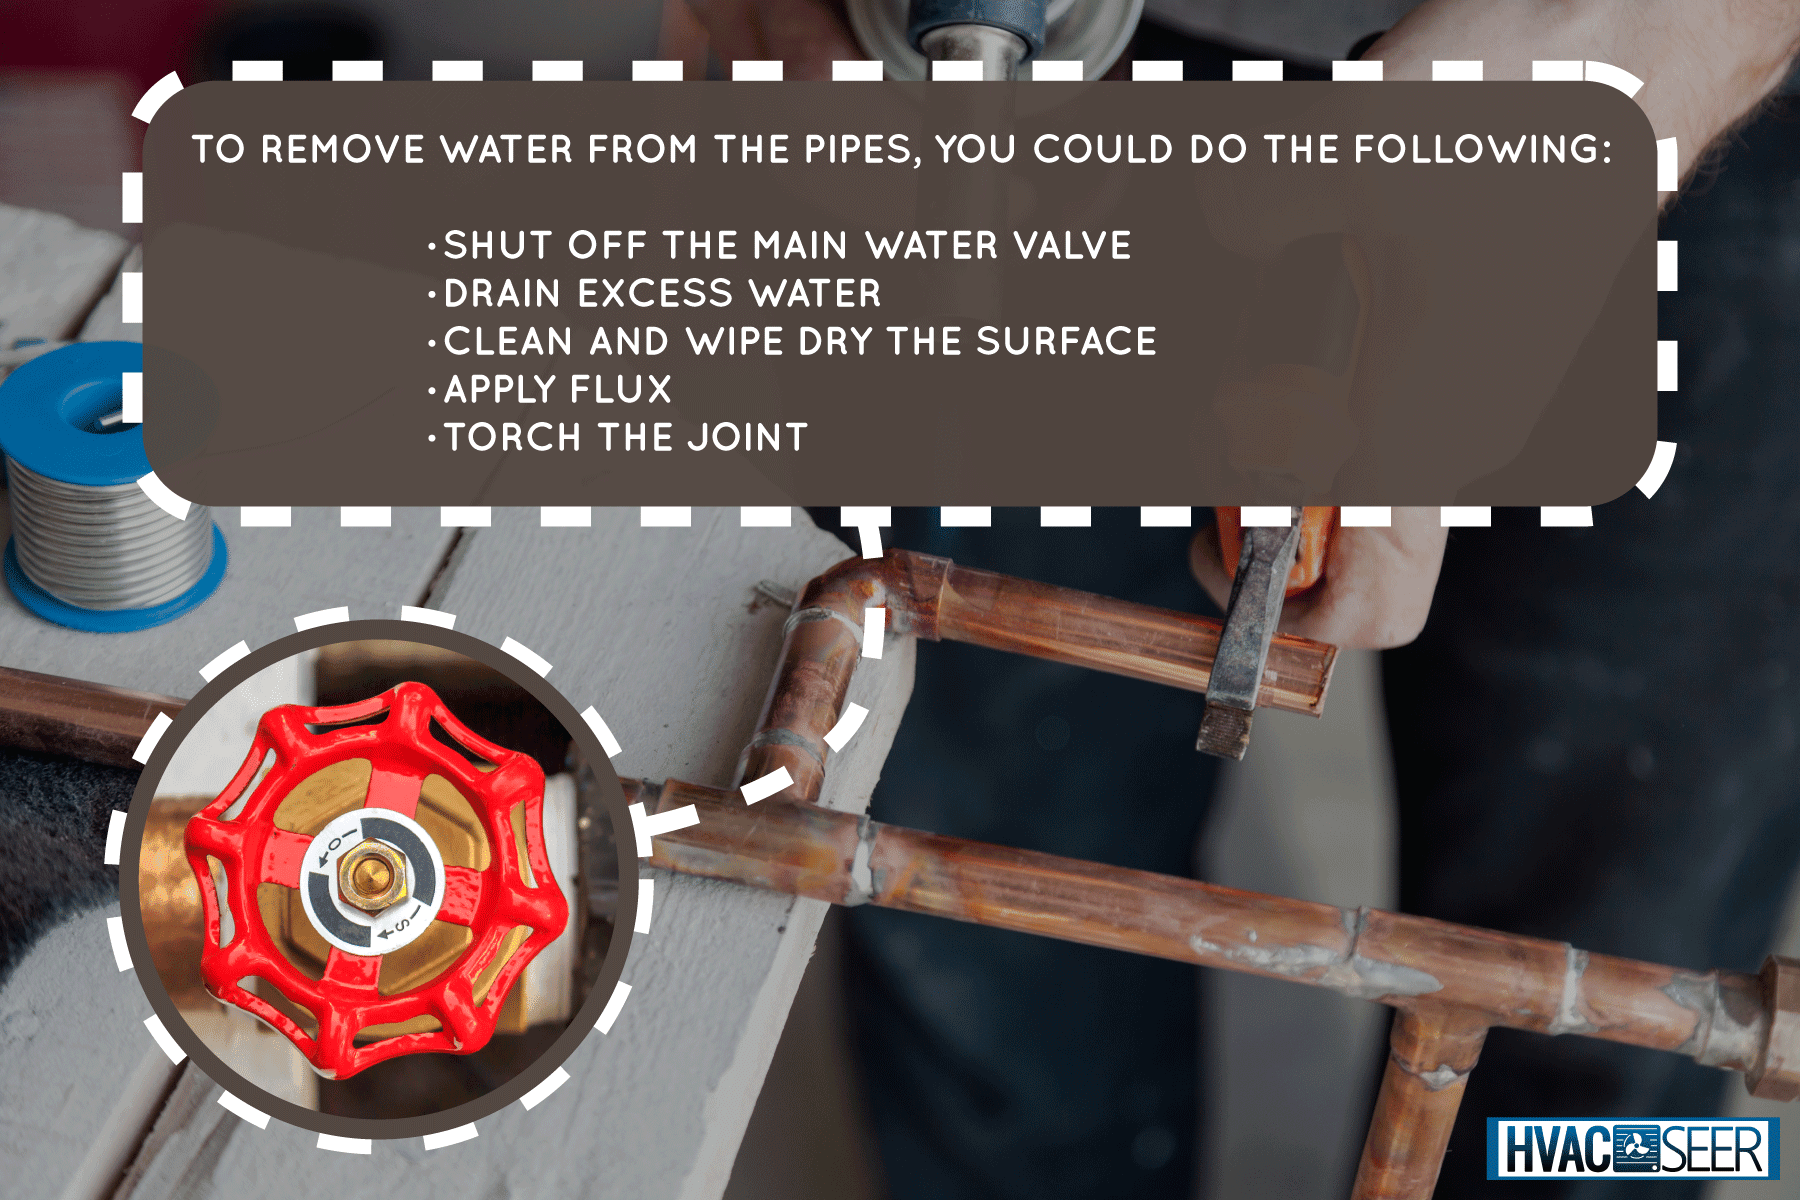
To remove water from the pipes, you could do the following:
- Shut off the main water valve
- Drain excess water
- Clean and wipe dry the surface
- Apply flux
- Torch the joint
In this article, we will learn how to solder pipes with water inside. We will also talk about what tools you should have on hand before doing so. We'll also discuss how to deal with any potential problems you might run into when soldering pipes, so keep reading!
How To Sweat Pipe With Water In It?
Pipe soldering is the process of joining copper piping. This is usually done by heating the copper tubing to a certain temperature and then using a heated solder to join the pipes.
You will need a few materials before you can start soldering, namely
- Soldering torch
- Solder
- Jet swet
- Toothbrush
- Vacuum
- White bread
- Flux
- Compression valve
Shut off the main water valve
When soldering a pipe, you will need to shut off the water supply to the pipe you are working on. This will prevent the water from flowing into the pipe. We don't want water to get in the way while we are soldering it because that will ruin the joint.
Drain excess water
Before you begin, you should first make sure that the water is gone. If it is, then proceed with the next step. You will need to use a vacuum cleaner to suck out any remaining water in the piping.
You can use a vacuum cleaner with a hose or a handheld vacuum, depending on what's available. When you're ready, slowly position the vacuum hose into the pipe and turn on the vacuum until you're satisfied with the results.
To ensure that no dribbling water is running into your pipe, you can try any of the following:
White Bread
The most common way to deal with the problem of leaking pipes is to use the white bread method.
Mold a ball of bread that fits into the diameter of the pipe. Use your thumb and other fingers, and press it inside the pipe. Shove the bread down further to ensure that there is no leakage. If you notice any dribbling water, repeat the above process.
Compression Valve
If the white bread method does not work and the water pressure keeps pushing the bread back, you can try a compression valve. In this case, the best way to resolve the problem is to install a compression valve in the line, just right before the joint where you will be soldering.
To install a compression valve, you should remove that one pipe piece that you will be soldering and slide the valve in just ahead of it. Tighten the compression valve accordingly. Reattach the pipe to the joint.
Jet Swet
The Jet Swet is a simple and quick way to stop water flow at the main line, valve, or fixture. It provides a reliable alternative to shutting off the water with a wrench or cutting a valve off.
The Jet Swet is a cylindrical tube that fits into your pipe. In order to work, you need to insert and compress the tube’s flexible rubber gasket, which is held in place on the other end of the tube, into the pipe. Once the water stops leaking, you can proceed to solder.

Check out this Jet Swet kit on Amazon.
Clean and wipe dry the surface
It is important that the pipe surface is clean and dry, as any debris or grime can hinder the solder's ability to adhere to the joint.
Apply flux
Once you have thoroughly cleaned the tubing and the fitting, you'll want to coat the inside of the fitting with the solder flux.
You will also want to coat the outside of the tubing, including the area where it enters the fitting. When coating, keep in mind that there should be an even coating of solder flux on both the inside and outside of the tubing.
Flux is a paste-like substance that softens when exposed to heat and can be applied to any metal surface. It's important to use a clean and dry brush to apply the flux, as too much moisture can cause the flux to dissolve easily, as it is water-soluble.
When applying the flux, use light strokes that avoid brushing too hard on the surface and just leave a thin layer of wax over the entire joint.
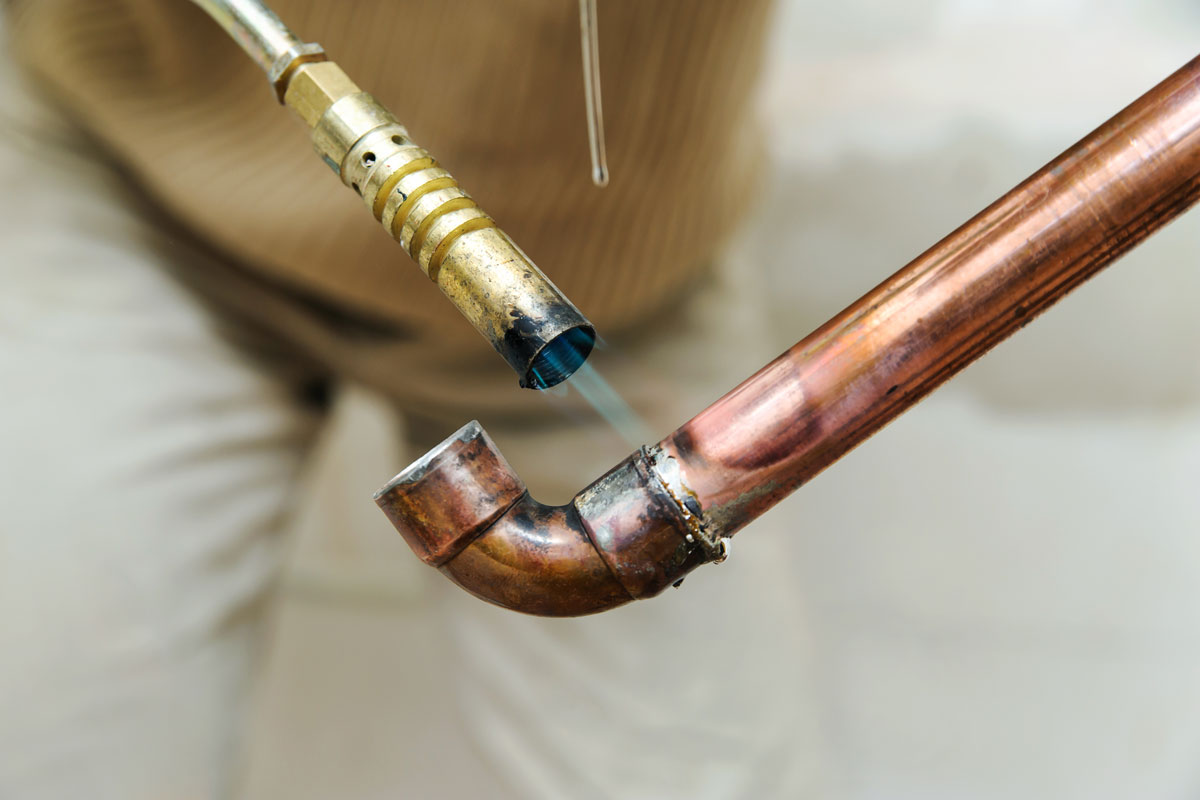
Solder the joint
Apply the solder on the joint as you heat it over a soldering torch or other suitable heat sources. As the temperature rises, the solder starts to melt and move.
Put the torch away and make sure that the melting solder is distributed evenly throughout the joint before you heat the solder again. You'll know if you're finished if the solder starts to drip out.
Watch the complete process here:
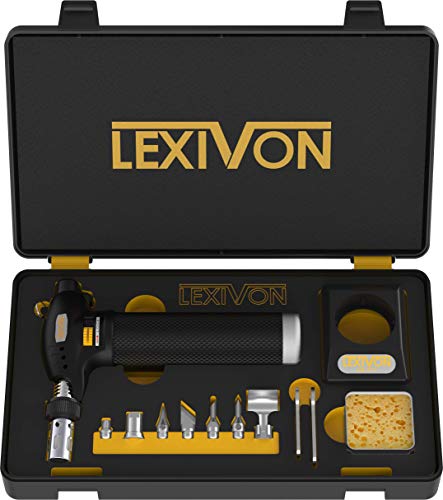
Check out this soldering torch on Amazon.
Can You Turn The Water On Immediately Right After Sweating Pipe?
A good rule of thumb is to wait at least 2-3 minutes after you have soldered the joints to make sure the solder has cooled off before you start putting some water pressure in the pipes. This allows the solder to harden properly so that it doesn't crack.
Solder Not Sticking: What Could Be Wrong?

When you're soldering, it's important to use a proper temperature so that the solder will stick to the surface. You'll need to raise the temperature of the solder joint to ensure that it will melt and stick to the component.
You'll know you're doing it right if the solder starts to melt and move around the joint.
Solder Balling Up And Not Sticking: What Could Be Wrong?
Flux is an essential part of soldering. Without it, you wouldn't be able to make a good connection. Flux helps the solder flow smoothly onto the joint.
Once the solder has been applied to the joint, the flux will melt and then evaporate leaving a layer of solder on the joint.
It is important that you only use flux that is designed for your intended purpose. You might choose a flux knock-off that has a low melting point and burn out quickly before you can melt the solder. This can cause your solder to ball up and not stick on the joint.
What Solder To Use For Plumbing?
When lead was first banned from plumbing solder, most plumbers and pipefitters continued to use traditional lead-based solder because of their familiarity with the product.
While this may have been an effective way to repair plumbing, it was not the most environmentally friendly option.
Today, however, many plumbing companies are switching to a lead-free alternative because of its environmental friendliness. Further, prolonged exposure to lead can be harmful to human health.
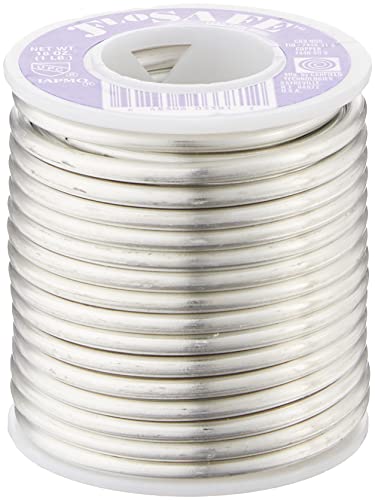
Check out this lead-free solder on Amazon.
Best Sealant For Copper Pipes
Most homeowners would agree that repairing damaged copper pipes can be costly, time-consuming, and frustrating. Luckily, the copper repair epoxy putty can provide a quick solution.
The resin component of the copper repair epoxy is mixed with a hardener and applied to the pipe where it is leaking.
To use copper repair epoxy putty, first, apply a small amount into the crack and allow it to set. After waiting several minutes, apply more copper repair epoxy putty into the hole until it is fully sealed.
When using the copper repair epoxy putty, keep in mind that it will need to cure for 2 to 3 hours.
The copper repair epoxy putty can also leak during the curing process, so it's important to make sure to shut the main water valve off to avoid any water pressure in the pipes while the putty is still in the curing process.
Is Welding The Same As Soldering?
For those who have no clue what welding is, it's basically heating up metal so that it becomes hot enough to be fused into another piece of metal. This process is done through the use of a special rod that is connected to an arc welding machine.
A lot of people mistakenly believe that welding is synonymous with soldering. Soldering and welding both require heat to be applied to the base metal.
However, the heat that is applied in soldering is not as great as that used in welding. Soldering requires less heat than welding does because the solder melts at a much lower temperature.
In Closing

A lot of people think that sweating a copper pipe is not as difficult as it sounds. It might be true, but if you don't do things correctly, you can end up with an expensive repair job or even worse, a dangerous leak. You can always get a professional plumber to do it for you if you're still not confident fixing this problem on your own.
You might also like: