
The Pelican wireless thermostat has a safety feature to lock its front keypad. In this mode, you cannot change the thermostat's current settings. So now you're wondering how to quickly and easily unlock its keypad. We research this topic very well, and here's the method we've found below!
All you need to do to unlock the Pelican wireless thermostat's front keypad is to:
- Proceed to the "Climate Control" or "Thermostat Group" keys.
- Then select "Events Calendar."
- Tap the "New Event."
- After you tap the new event, just search below the "Front Keypad."
- Simply select "Unlocked."
- Press "Done" and "Close" to save it.
That was pretty easy, was it? Don't leave just yet! As we will address how to adjust temperature and how to read your thermostat alerts. Without further ado, let's jump straight into discussing them below!
![Digital Thermostat with a male hand, set to 78 degrees Fahrenheit. Saved with clipping path for thermostat and hand combined - How To Unlock Pelican Wireless Thermostat [Quickly & Easily]](https://hvacseer.com/wp-content/uploads/2022/11/Digital-Thermostat-with-a-male-hand-set-to-78-degrees-Fahrenheit.-Saved-with-clipping-path-for-thermostat-and.png)
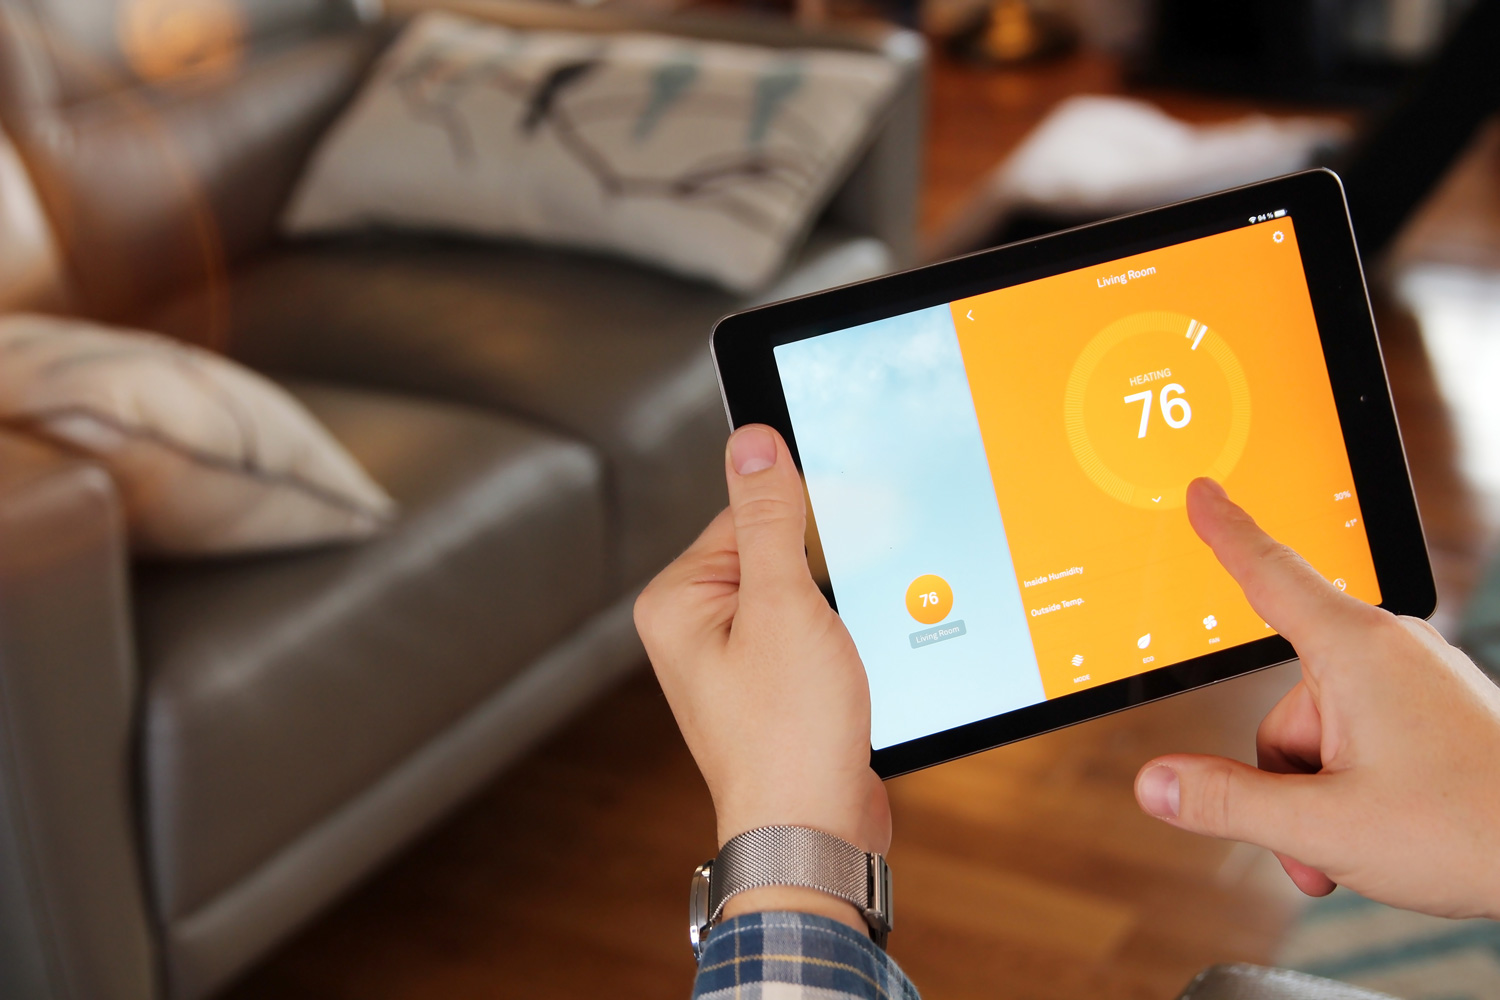
How To Download A Pelican Wireless Thermostat App & Create An Account?
You cannot proceed with sharing your schedules between other rooms if you don't have a Pelican account. It is necessary to know how you create one. So prepare your smartphone to begin creating your account.
Follow us through to learn the steps in making your Pelican account:
- Go to your phone's browser.
- Enter your Profile or URL's name.
- Once the site's login menu pop's up, enter your correct email address details along with its password.
- Press the "Login" key.
- For android smartphones, tap the three dots menu in your top right portion and press "Add" to the home screen.
- For iPhone devices, scroll while searching the box that has an arrow icon. Once found, tap it then select "Add" to the home screen.
- Immediately, you will receive a message confirming that the system will create Pelican Apps Shortcut.
- Simply press OK.
- Now you're good to manage, set up, and adjust your thermostat using the App on your smartphone's screen.
How To Add An Event To Your Pelican Thermostat?
Unlocking your Pelican wireless thermostat keypad is simple and easy. However, you must know as well how to correctly add an event, since both processes are in the same tab.
This will allow you to set brief settings for every Pelican device you have. Moreover, it can also override your current schedule for each device and ensure it will not mistakenly alter.
Here are the steps to correctly add an event:
- Go to the "Climate Control" or the "Thermostat Group."
- Press the "Event Calendar" key.
- Select the "New Event" key.
- Now create a specific Event Name.
- Slide the timer to set your event clock of when you need the event setup to lunch and when it stops.
- Mind that, you can also cycle your event repeatedly to your liking, choices are:
- None.
- Daily.
- Weekly.
- Monthly.
- Yearly.
- Next is to set the date of when you want to start and end the event using again the bar selection.
- Again in the bar option, select your desirable Heat and Cool Settings.
- Proceed to "System" to set your preferred temperature, options are:
- Auto.
- Heat.
- Cool.
- Off.
- Don't forget to set "On" or "Auto" the Fan Settings.
- Now as we've addressed earlier, this part is where the front keypad is set as "Locked" or "Unlocked" throughout this event setting.
- Once everything is set, press the "Done" icon to save this event setting.
- Select close right away to exit the event setting.
Note: You don't have to repeat these steps to edit event settings. Just go directly to "Schedule Dashboard" to edit your existing event settings.
How To Share Your Schedules Into Different Rooms?
Your Pelican wireless thermostat can share existing schedules from one into another Pelican device. This is very handy as you no longer need to set each one of your Pelican devices with the same setup. But first, you need to make a new schedule so that it can be shared with other rooms.
Creating Your New Shared Schedule Setting
Here we've made a list for your guide:
- You need to log in first to your Pelican account in the App.
- Then go enter the "Schedule Dashboard."
- Search for "Add New (+)" option and press it.
- Enter a name for your new schedule and once you finish go press the save key.
- Set correctly the date of when you want the new schedule to lunch again and end it.
- Include also to set the time and your desired temperature during this newly scheduled event.
- After setting it up correctly, locate the back button and press it, you can find it in the upper right corner.
Note: You don't need to undergo these processes again if you want to edit something in there. Just press the "Manage Shared Schedules" key in your Schedule Dashboard to access and edit your new schedule setup.
Sharing Your New Shared Schedule To Other Room Thermostat
Under "Manage Thermostat Schedules," you can list your schedules in the group along with the other thermostat. Just in case, you want to expand or retract the group's line up, you can select the arrow next to the group's name.
If the set timer of a shared schedule is changed after thermostats have been connected to it, all associated thermostats will immediately follow those new changes.
Deleting Unwanted Shared Schedules
- Go right straight into the Schedule Dashboard.
- Select "Manage Shared Schedules" and press "Edit."
- Now select the "Menu" key in your schedule's monitor upper right section.
- Press the "Delete" option.
- Afterwards, a message will show up confirming you completely delete the schedule.
- Simply press "OK" if you're sure to delete it, otherwise select "Cancel."
Note: Be mindful when using these procedures. If other thermostats are currently using that particular schedule their control system will also delete those setups and thus revert to its default settings instead.
How To Read My Pelican Thermostat Notifications?
Your Pelican wireless thermostat continuously monitors its operation. This is what makes this device so great, as managing and monitoring alarms over your HVAC system is an easy task.
Just like for instance, if your house thermal level drops to a certain unregister point, instantly Pelican control system will alert you. Allowing you to reconfigure or evaluate the system and conduct necessary action.
The following are the ways how you read and delete some alerts:
- Open your Pelican App menu and tap "Alarm Notification."
- Use the searching menu to load instantly those alerts that you wish to access quickly.
- Don't panic, if you see a grey alert color as it tells you that there is a new device that needs verification.
- However, if you notice an orange color notification, then you might be extra cautious as this imply a fault.
- Once, you get to read the alerts maybe you want to delete them to avoid confusion. Just tap the trash can icon and press "OK" depending on your device. This will delete the alerts from the notification lists.
- You can select the arrow icon if you want to track back or review the alert's history.
Note: You will not be receiving alerts of the same problems for about 24 hours period. Unless you'll manage to delete the previous one until that time frame.
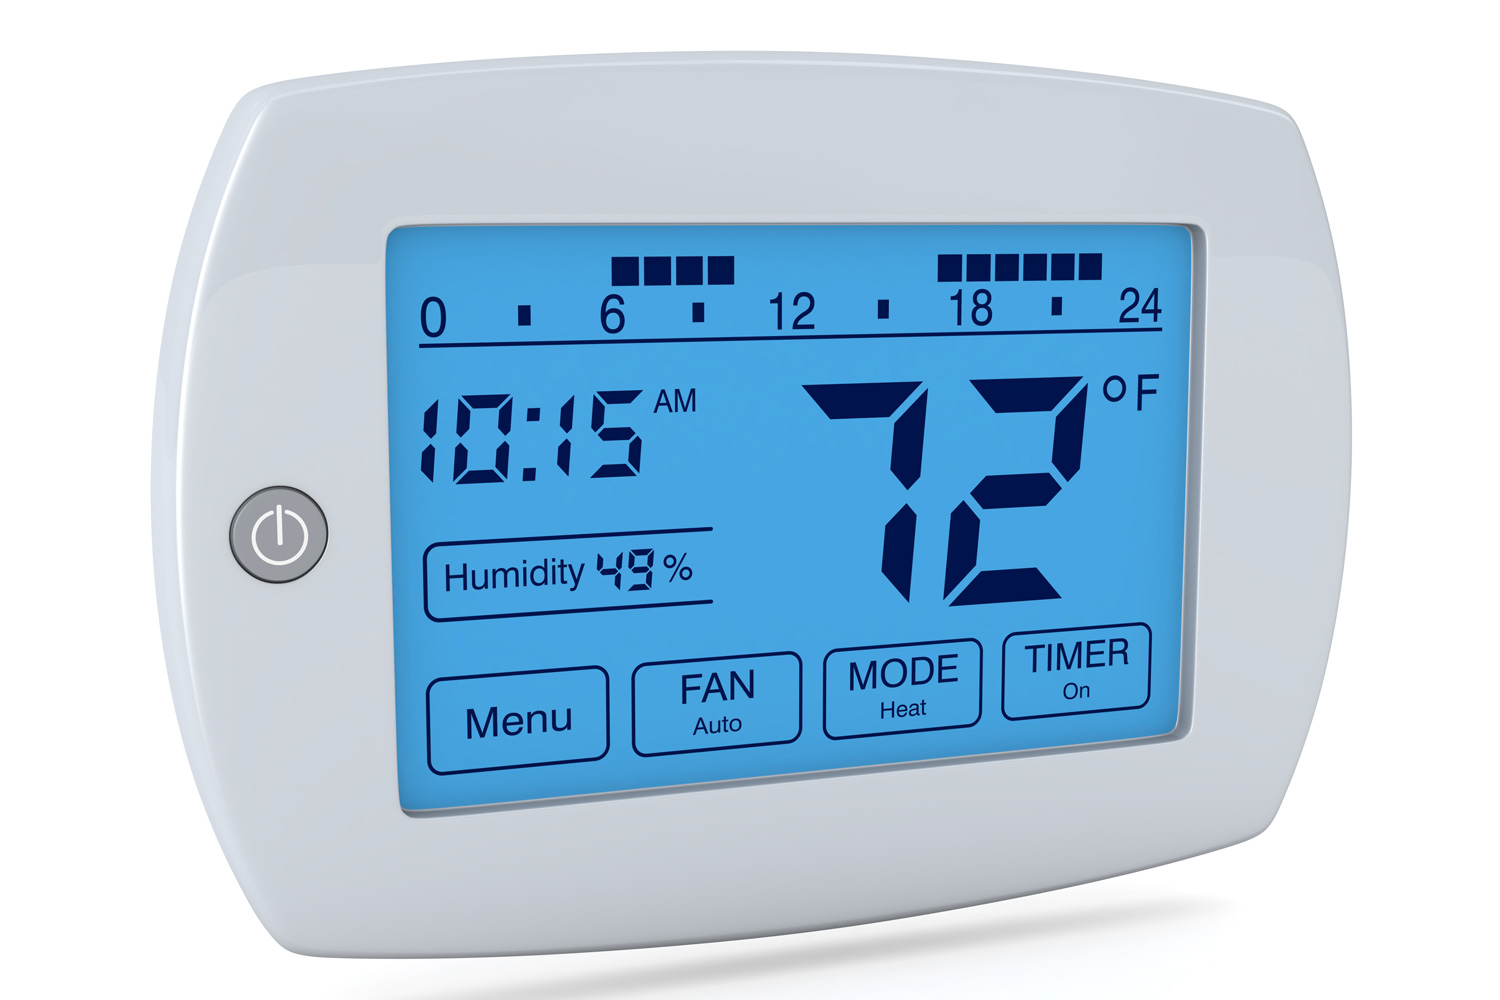
How Do You Change The Pelican Thermostat Temperature Settings?
Adjusting the temperature set point in your Pelican wireless thermostat doesn't require a complex process. You can change its temperature settings on the Climate Control page. This is made possible by its advanced programming technology.
You can simply slide the set point controller slider bar to the right or left. When you want to adjust the heating output, slide the bar into the "Heat Setting" section. Otherwise, sliding the bar into the "Cool Setting" will adjust its cooling value.
![]()
Do not be confused when you see that either temperature setting will automatically adjust when sliding either bar set-point. This is due to the dead-band safety feature to avoid countering both heat and cool settings.
This will occur once the cooling cycle is done and the temperature level suddenly drops significantly. As you know, sometimes the thermostat will run and heat your room after the cooling cycle.
Does A Pelican Wireless Thermostat Need A Wi-Fi To Operate?
Your Pelican wireless thermostats do not always need an internet connection to operate. However, the following things essentially need a Wi-fi connection to configure properly:
- If you download the Pelican App and register it.
- Saving your setting changes.
- Controlling and monitoring the system.
- Sharing various event schedules on another device.
- And access notifications.
There are many wireless thermostats where a Wi-Fi connection is necessary for their system to operate. After all, Pelican real-time communication functions as their router and connection source. As a result, the Pelican device isn't internet dependent thermostat.
In Closing
Unlocking your Pelican wireless thermostat front keypad allows you to navigate or control its other vital settings. Until it is unlocked, you cannot either alter the controls or adjust the temperature. So be mindful to utilize this mode.
If you find this article helpful, kindly read as well our other thermostat post concerns below!
Why Is My Wireless Thermostat Overheating?
How To Run AC Without A Thermostat? [Inc. Start And Stop Instructions]