
Are you working on a bathroom vent project, and do you want to know how to run a vent fan through the wall? You’ve come to the right place, for we have researched this question and have the answer for you.
Here is a summary of the steps for venting a bathroom fan through an external wall.
- Measure the housing of the fan that you will install.
- Pick a wall to install the fan and mark it.
- Drill a hole through the wall.
- Mark the external wall, using the hole as a reference.
- Cut out the internal and external sides of the wall.
- Install the bathroom fan.
Let’s talk about how to vent a bathroom fan through the wall in greater detail in the sections below. Learn about an alternative way to vent your bathroom fan if it is not possible to vent through the external wall.
Read on!
Why is it important to have bathroom ventilation?
Each bathroom or shower room in your house is one of the three rooms that produce the greatest amount of moisture. A high level of moisture in the air makes it easy to produce condensation once the air cools because the air has a maximum amount of water vapor that it can hold. The amount of moisture in the air contributes to the growth of molds inside your home.
In fact, the CDC lists ventilating the shower as one of the effective ways of preventing mold growth inside your home.
Maintaining the health of your family is not the only reason why you should control the humidity inside your home.
Too much humidity can wreak havoc on the walls of your home. A high level of humidity can lead to wood rot. The material strength of your home will start to deteriorate with the spread of wood rot.
Paint will also start to chip off your walls and ceiling as the outer layer of the wood succumbs to wood rot.
Too much moisture will affect more than just the walls and ceilings of your home. Wooden furniture will suffer the same fate as the walls of your home, deteriorating with exposure to moisture in the air.
Carpets, books, and stored clothing are also vulnerable to damage from too much moisture because of the likelihood that mold will use them as a habitat.
Which bathroom fan to use?
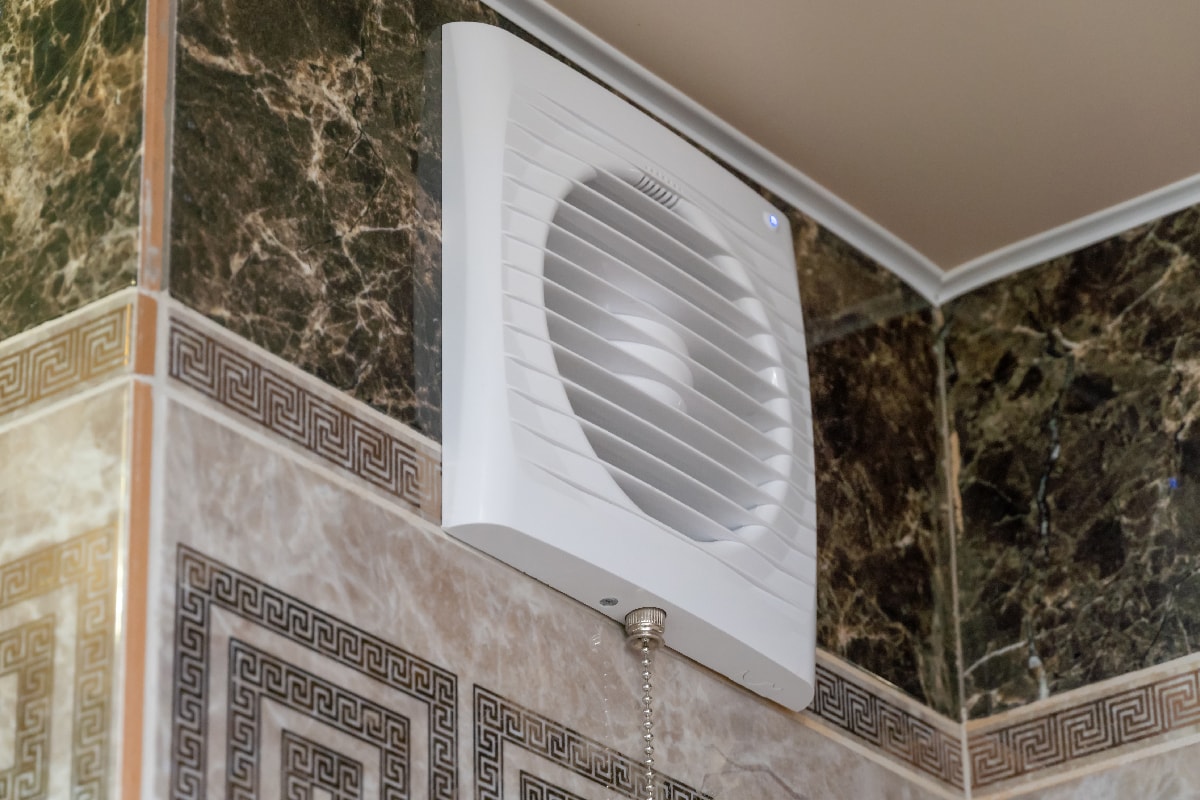
The exhaust channel for your bathroom fan will not be effective if you have the wrong fan. You need to have a bathroom fan that can remove moisture from inside your bathroom.
Bathroom ventilation fans have a capacity rating. This rating uses the CFM unit or cubic feet per minute. This unit tells you the volume of air that the fan can move out of your bathroom every minute.
To know the minimum CFM rating that you will need, measure the floor area of your bathroom. You will need 1 CFM for each square foot of area if the total floor area of your bathroom is equal to or less than 100 square feet.
Once you exceed 100 square feet, you need to add the following constants to the total CFM that you need.
- +50 CFM for each toilet
- +50 CFM for each shower, bath, and combo
- +100 CFM for each whirlpool
Get the total CFM following the guidelines above, and you will know the minimum capacity of the bathroom exhaust fan that you need.
If your location is exceptionally humid, add 10% to the total CFM.
Keep in mind that this is the minimum recommended CFM. If your family likes taking long showers, you might need a slightly higher CFM.
Bathroom Fan Noise Level
The noise level of your bathroom fan is measured in sones—a unit measuring the degrees of the loudness of equipment. You can also find this unit of measure in appliances that have a motor like air conditioners, refrigerators, and freezers.
To help you compare the noise level, a standard refrigerator operates at an average of 1 sone.
- 0.5 to 1.2 sones means that the bathroom fan is really quiet.
- 1.5 to 2.0 sones represents a quiet fan but you will start to detect the noise.
- 4.0 sones or higher is a noisy fan.
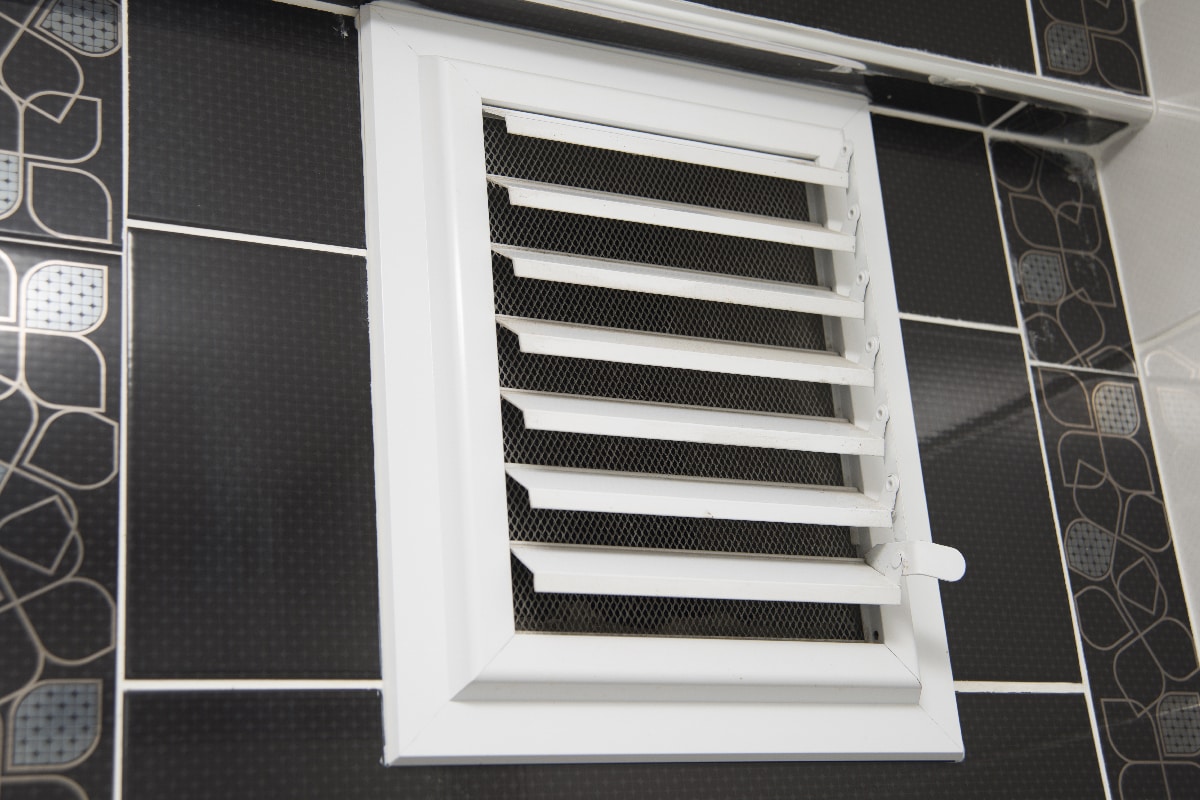
How to vent a bathroom fan through an exterior wall?
Venting your bathroom through the exterior wall is an effective way to move excess moisture from inside your bathroom to the outside of your house. It is also one of two ways to effectively vent a bathroom fan. A bathroom fan will be effective in getting rid of the musty, stale odor inside your bathroom.
The challenging aspect of this project is cutting a hole through the external wall.
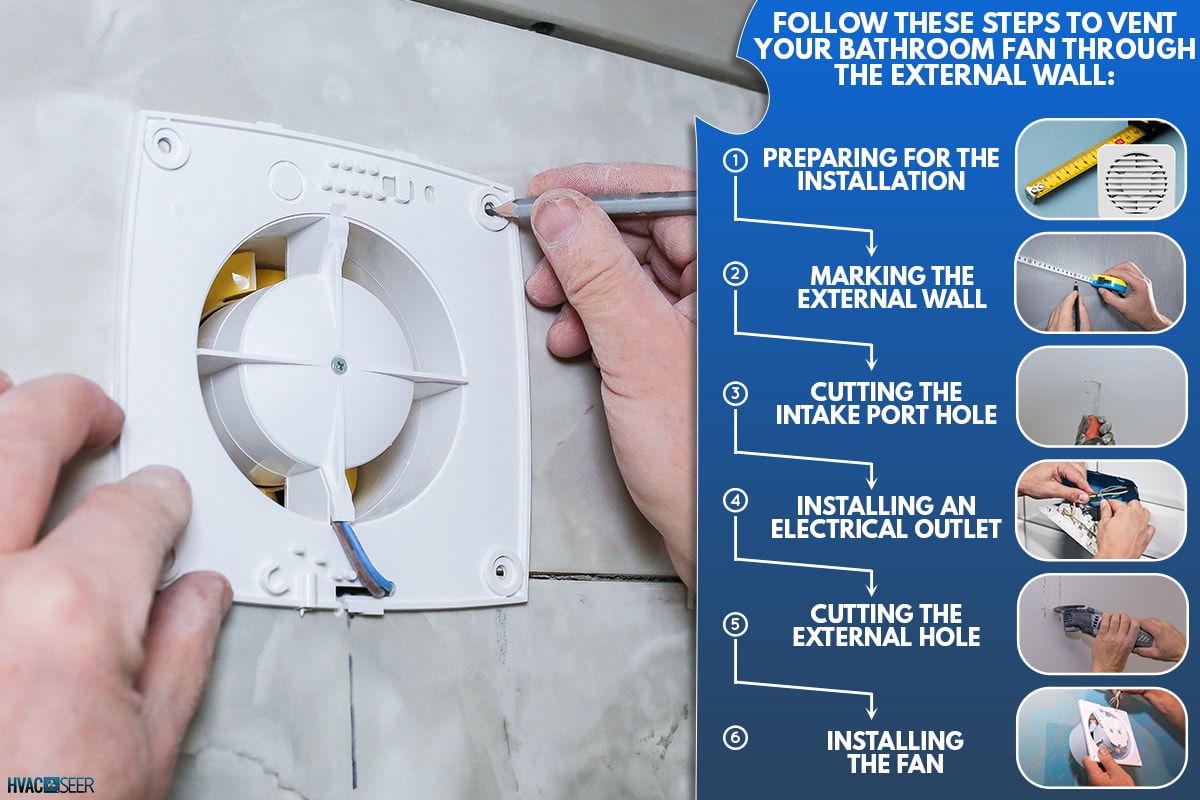
Here are the steps that you can follow to vent your bathroom fan through the external wall.
Preparing For The Installation
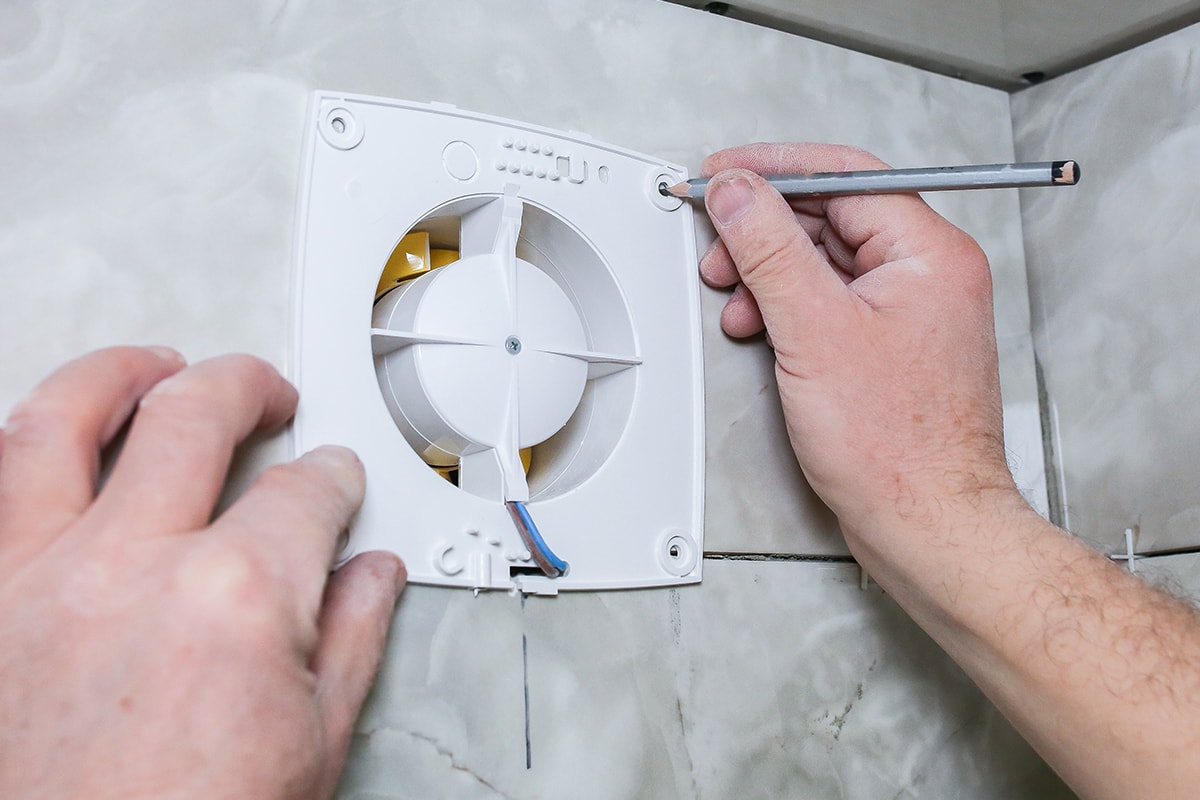
- Start by getting the dimensions of the fan housing. Unlike regular fans, a bathroom fan has a housing that protects its large fan blades. Keep in mind that some bathroom fans have different measurements for the intake port that will face the inside of your bathroom. Check all the measurements of the fan. There are bathroom fans that are meant to vent through the soffit and some that are made for venting through the wall.
- Mark the wall where you’d like to install the fan, following the dimensions of the fan. Ideally, you should install your fan between the shower and the toilet. However, if that wall is not an external wall, pick the external wall that is closest to the shower and toilet.
-
- Ideally, you should use a stud finder to locate the position of the studs on your wall.
- It is best to avoid the studs when positioning the bathroom fan. Avoiding the studs allows you to maintain the material strength of the studs on that wall.
Marking The External Wall
- Load an extra-long drill bit into your drill. Ideally, the drill bit should create a hole that is large enough for the saw that you will use later.
-
- If you do not have a drill bit that is long enough to penetrate the wall, you can use a drill bit extender to add to the length that you need.
- Drill a hole through one of the corners of your marking. It is important to keep the drill straight while you drill through the wall. If the hole is not straight, your outside marking might not match the interior markings for the fan.
- Uninstall the outside cladding of your external wall.
- Mark the external wall, using the hole as a reference.

BOSCH Extended Length Spade Bit is available on Amazon through this link.
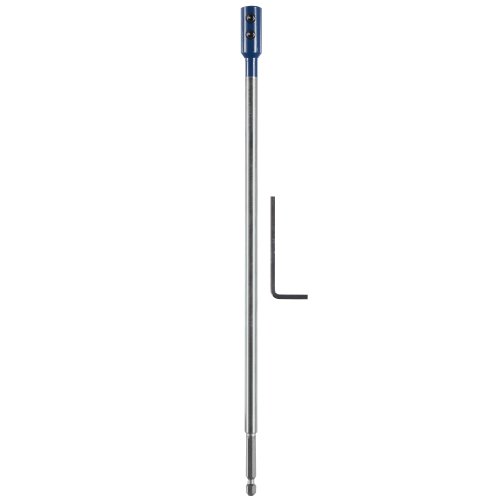
BOSCH 12-Inch Drill Bit Extension is available on Amazon through this link.
Cutting The Intake Port Hole
- Wear personal safety gear like goggles, a mask, and gloves. Cutting a hole through the external wall exposes you to insulation that can irritate your eyes, nose, throat, and skin.
- Use a jigsaw, drywall saw, or reciprocating saw to cut the hole. Follow your markings on the inside wall. Support the cutout part with a hand as you finish cutting to prevent it from falling and chipping the drywall as it falls.
Installing An Electrical Outlet
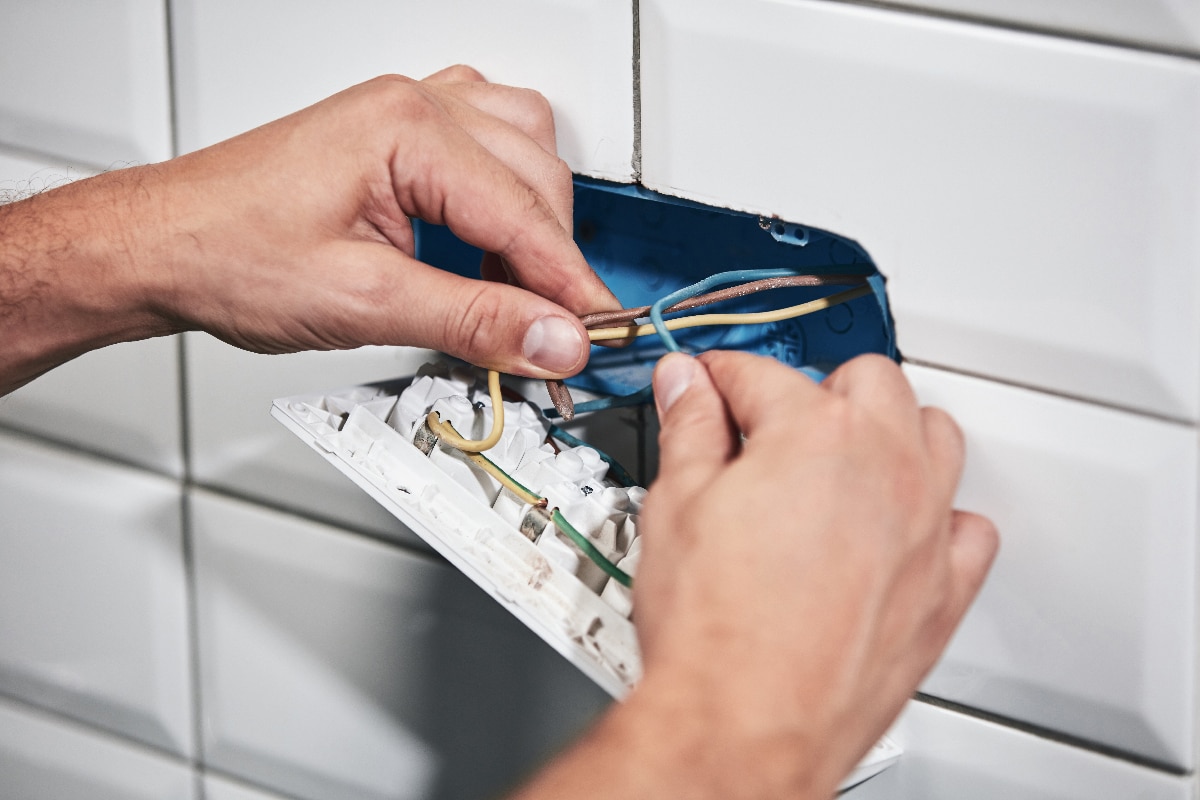
Have an electrician install an electrical outlet for your bathroom fan. Ideally, the electrical connection should be on its own circuit.
Cutting The External Hole
- Cut the external hole the same way that you did for the interior side of the wall.
- Remove the insulation inside the hole and clean it.
- Measure the distance between the two studs on both sides of the hole.
- Install a piece of 2X4 across the two studs. Use wood screws to fasten the 2X4, installing the screws diagonally through the wood and stud.
- Install the rubber gasket for the wall cap.
- Install the wall cap outside of the hole. Install it flush into the hole. Seal the edges with a bead of silicone adhesive.

Henkel Clear Silicone Sealant is available on Amazon through this link.
Installing The Fan
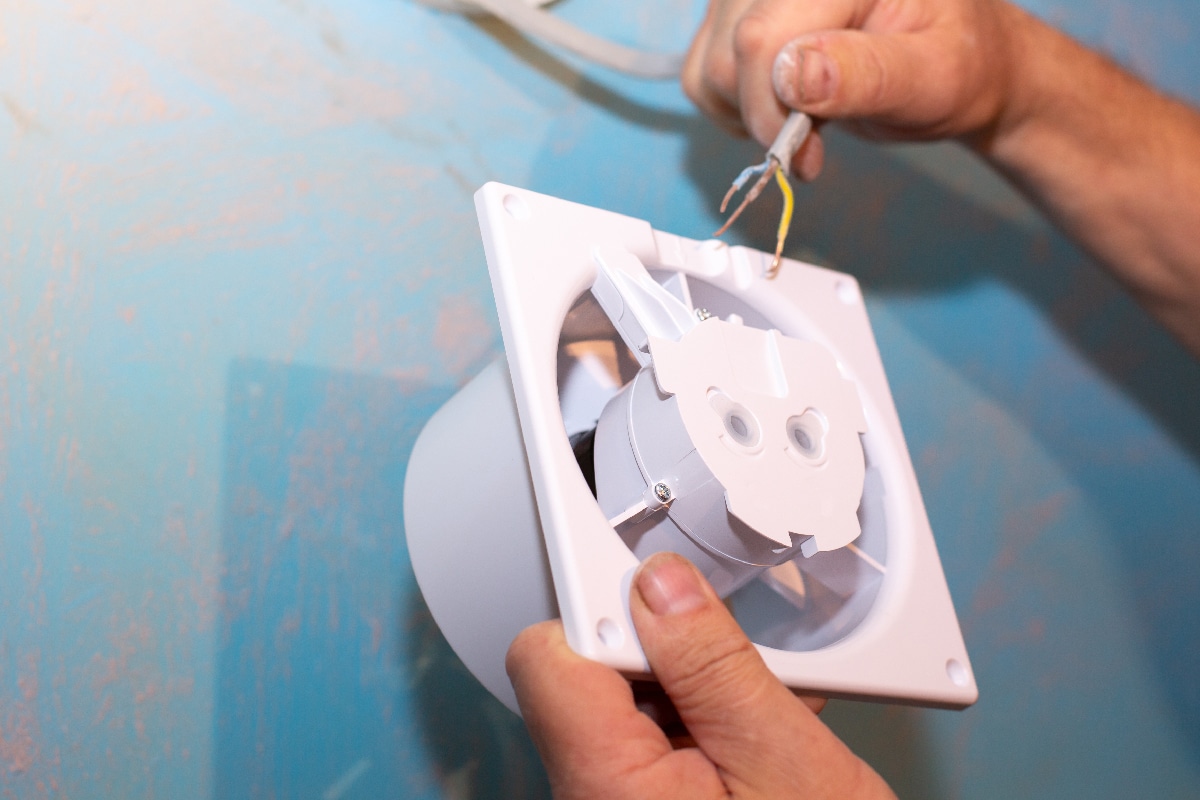
- Install the bathroom fan by fastening the brackets on the studs.
- Connect the electrical wires. Wire nuts will make the wire installation easier. Connect the same color wires and seal with wire nuts.
- Secure the wires in place once you complete connecting the wires. Briefly test the fan to see if it is working.
- Once everything is working, install the grill on the inner wall and seal it.
- Trim and reinstall the cladding outside your house.
How to vent the bathroom fan through the soffit?
Sometimes the position of your bathroom makes it impossible to vent through the exterior wall. Or maybe you just don’t like the idea of drilling a hole through your wall.
If venting through the wall is not possible, you can vent through the soffit instead.
The steps are similar to the installation of the bathroom fan through the wall. However, instead of cutting a hole in the wall, you will be cutting a hole in the ceiling instead.
The opposite side of the bathroom fan will be under the soffit. Connect the two holes with an aluminum pipe.
When connecting pipes, always use aluminum duct tape instead of cloth. Cloth duct tapes eventually deteriorate.
Once you cut the holes, the rest of the installation will be the same.
Conclusion
Venting a bathroom fan is important to control the amount of moisture inside your home. It can be an easy DIY project with the right tools and instructions.
If you enjoyed reading this article, you might find the articles below equally enjoyable to read:
Bathroom Vent Fan Dripping Water – What To Do?
Bathroom Fan Humidity Sensor Not Working – Why And What To Do?