
Are you planning to install a new or replacement float switch for the bilge pump on your boat, and you want to learn the correct way to do it? You’ve come to the right place, for we have researched this question and have the answer for you.
Here is a summary of the steps that you need to follow to install a float switch for your bilge pump.
- Connect the negative terminal of the bilge pump to the negative terminal of the power source.
- Connect the positive terminal of the bilge pump to one of the terminals of the float switch.
- Get an inline fuse and install it at the end of the other wire of the float switch.
- Connect the other end of the inline fuse to the power source.
Let’s talk more about wiring your float switch to your bilge pump in the following sections. Learn about another way of wiring the float switch as well as keeping it safe from water in the sections below.
Read on!
How do float switches work?
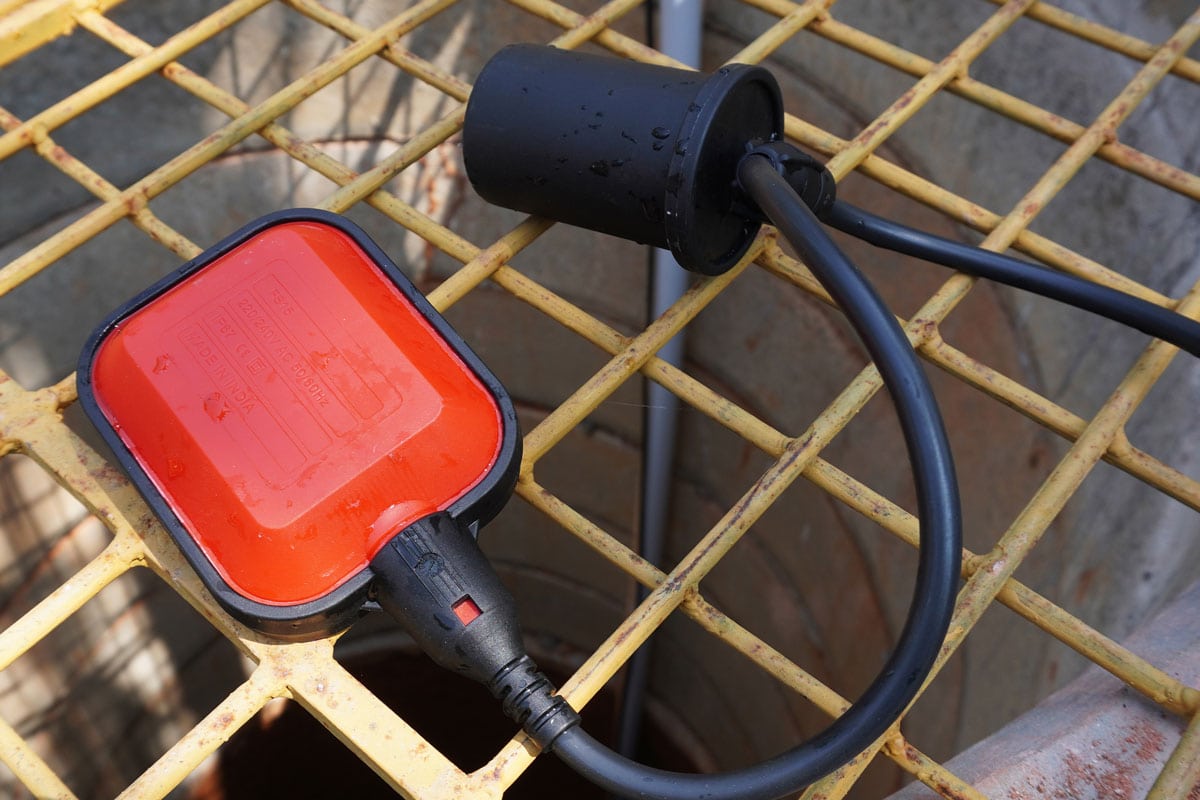
A float switch is a type of switch that you’d commonly find in devices that need to activate depending on the presence of water. To accomplish this, float switches have a low-density float that goes up with the rising liquid level. Once the float rises to a certain height, a conductive plate inside the switch float will bridge and close the circuit, allowing electricity to flow through.
The interior of the switch determines how high the float must rise before the circuit closes and allows the flow of electricity.
A float switch is a common device that you will find in different applications that involve liquids. Its versatility makes it useful for applications that involve various pumps.
The only disadvantage of a floater switch is accumulated dirt, debris, and corrosion that makes it down to the bilge. Dirt, debris, and corrosion can block or limit the movement of the floater and prevent it from moving up to activate the circuit. When this happens, your pump will not turn on and water can fill your boat.

Automatic And Regular Bilge Pumps
It is a good idea to know what bilge pump you have. Identifying the type of pump lets you know whether you need a float switch or not.
Standard Bilge Pumps
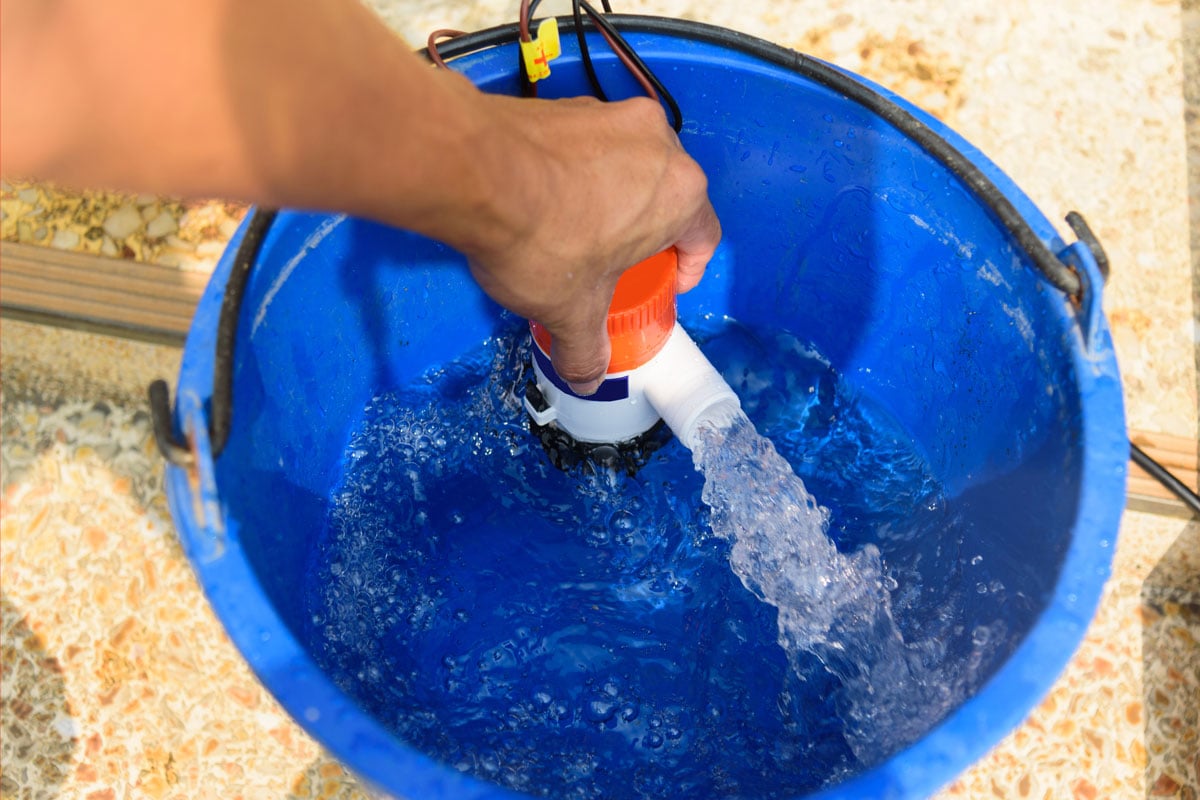
Standard bilge pumps are normally made of a plastic casing to make them resistant to corrosion.
These pumps have two terminals—one for positive and another for negative. This type of bilge pump will require a separate switch to turn it on.
Automatic Bilge Pumps
An automatic bilge pump will run automatically when there is water in the bilge and pump it out without the need for a floater switch. There are two types of automatic bilge pumps.
Automatic Bilge Pump With Floater Switch
This type of automatic bilge pump turns on when there is water in the bilge. The bilge pump has its own floater inside the pump that functions in the same way as an external floater switch.
The pump can turn on and off intermittently as the level of water goes up and down.
Automatic Bilge Pump With Water Sensor
This type of automatic bilge pump turns itself on at regular intervals between two to three minutes.
Whenever the pump turns on, its motor senses the amount of force that it uses to spin. A greater force means that there is water in the bilge. Once the motor determines there is water, it will start to pump the water out of the bilge.
Once the water level drops to the point where the force on the pump becomes low once more, the pump will stop. The pump will then start to turn itself on at regular intervals, and the cycle repeats.
The downside to this type of pump is that it doesn’t stop checking. It will keep running for a few seconds within its regular interval. This can be a problem if you’re trying to get some sleep at night.
How to wire a float switch on a bilge pump?
Here are the complete steps to wire a float switch on your standard bilge pump. These steps improve the basic circuit for your float switch above.
Mounting The Bilge Pump And Float Switch
- Separate the bottom of the pump.
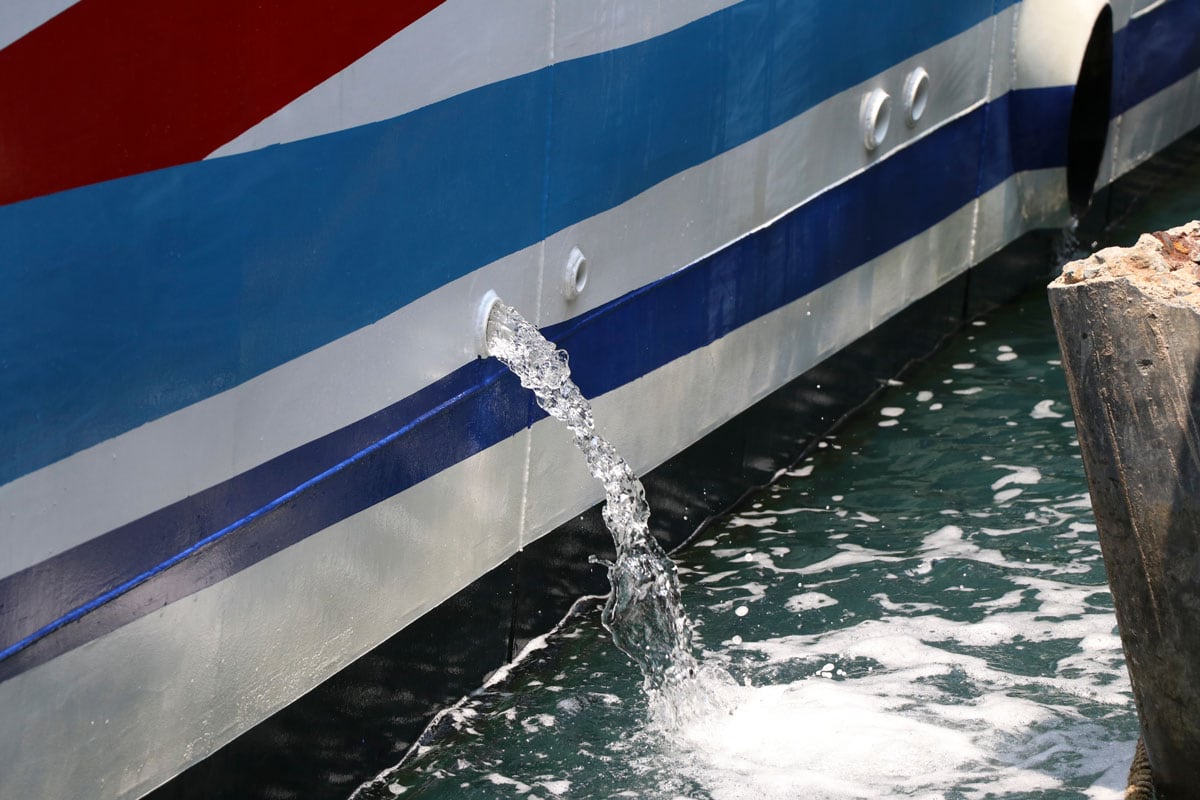
- Install the bottom of the pump where you can connect the pump to the discharge hose for exiting the water.
-
- You can use adhesive to secure the bottom of your bilge pump. Use a degreaser before applying adhesive.
- The bilge pump must be secure. If it tips over, the discharge hose or the wiring can get disconnected.
- It is best to keep the discharge hose as short as possible to maximize pumping power.
- Clip the bilge pump to its bottom.
- Locate a place where the float switch will be slightly higher than the bilge pump. Your bilge pump normally sucks water from its bottom. If the float switch is lower than the bilge pump, the switch will still be on after the water level gets below your pump. When this happens your pump will still be running, even though there is no more water. It will suck air and burn out. If the float switch is slightly higher than the bilge pump, the switch will turn off when the water level passes it, and the pump will stop while still partially underwater. It will never pump air, preventing it from burning out.
- Install the float switch. The float switch should also be fastened by adhesive or screws.
Wiring It All Together
- Connect the red wire from the bilge pump to one of the wires on the float switch. It doesn’t matter which wire on the float switch goes to the red wire of the pump.
- Get a third wire and connect it to the red wire and float pump wire.
- Get a toggle switch and connect one end to the third wire.
- Connect another wire to the opposite end of the toggle switch.
- Connect the wire from the toggle switch to the wire coming from the float switch.
- Get another wire and connect it to the float and toggle switch wire combination.
- Get an inline fuse and connect it to the end of this wire.
- Connect a new wire to the opposite end of the inline fuse.
- Connect the other end of this wire to the positive terminal of your power source or battery.
- Get the negative wire from the pump and connect it to the negative terminal of the battery.
The toggle switch allows you to override the float switch. If the float switch isn’t working, you can use the toggle switch to turn on the bilge pump and prevent water from filling your boat.
This wiring configuration allows you to have two ways to power the bilge pump. The first way is automatically through the float switch, and the second is through the override switch.
How to waterproof your wiring connections?
Your wires will be consistently exposed to water. You will need to waterproof the wire connections of your float switch and pump. The waterproofing will prevent corrosion and accidentally short-circuiting the connection.
Fortunately, there are several ways to seal your connection against water. You can even combine any two of the methods below to make a better water seal for your connections.
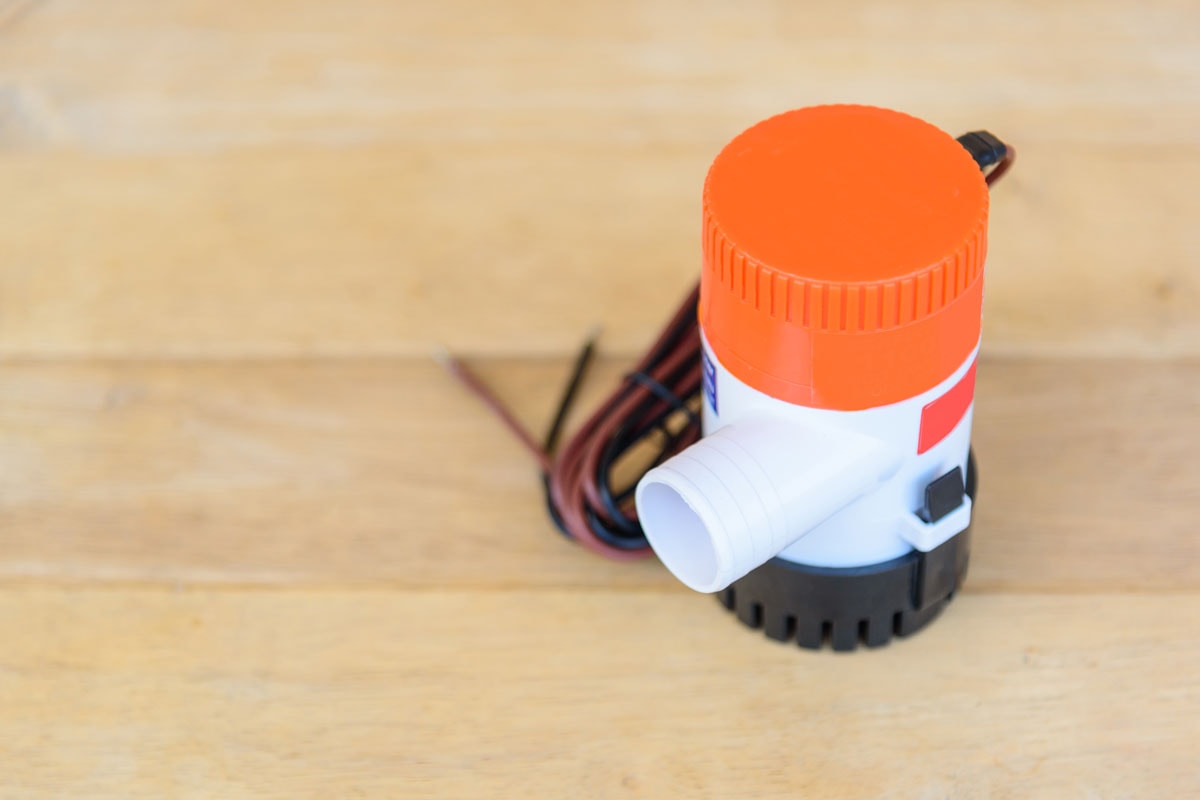
![new-bilge-pump-on-wood-plate, How To Wire A Float Switch On A Bilge Pump [Step By Step Guide]](https://hvacseer.com/wp-content/uploads/2022/11/How-To-Wire-A-Float-Switch-On-A-Bilge-Pump-Step-By-Step-Guide-REV.png)
Liquid Electrical Tape
A liquid electrical tape is a water protectant for electrical circuits, not just wires. It starts as a paintable liquid that dries into a vinyl polymer. This protects your circuits from dust, moisture, and chemicals.
Apply sparingly on your wiring connections and let it dry. Apply a second coat for better protection.

Gardner Bender Liquid Electrical Tape is available on Amazon through this link.
Self-Fusing Silicone Tape
A self-fusing silicone tape looks like regular electrical tape. However, self-fusing silicone tape does not have any adhesive.
It will start to fuse to itself minutes after you install it. It can create an air- and watertight barrier after completing the self-fusion in 24 hours.
Apply the self-fusing silicone tape like ordinary electrical tape to cover your wire connection and leave it to fuse to itself for 24 hours.

XFasten Self-Fusing Silicone Tape is available on Amazon through this link.
Adhesive-Filled Heat Shrink
Unlike regular heat shrink tubes, this type has a layer of adhesive inside the tube. Once the tube shrinks from the application of heat, the adhesive goes to work to create an air and watertight seal.
Installing it is similar to installing a standard heat shrink tube.
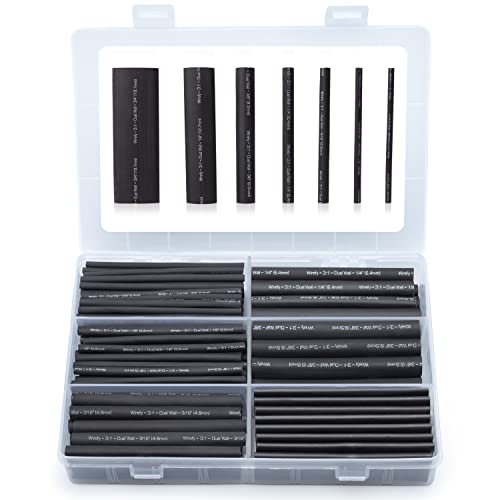
Wirefy adhesive lined heat shrink tube is available on Amazon through this link.
Electrical Butt Splice Connector
This connector is made for stranded wires and looks like a standard heat shrink tube. The difference, however, is the metal connector in the middle.
When you insert two wires on both ends of the tube, the metal at the center will create the connection for the two wires after heat application. The metal at the center will solder the wires together once you expose it to the heat from a heat gun.
Moreover, the ends of the tube have a rubber lining that grips the wire to create a waterproof seal.
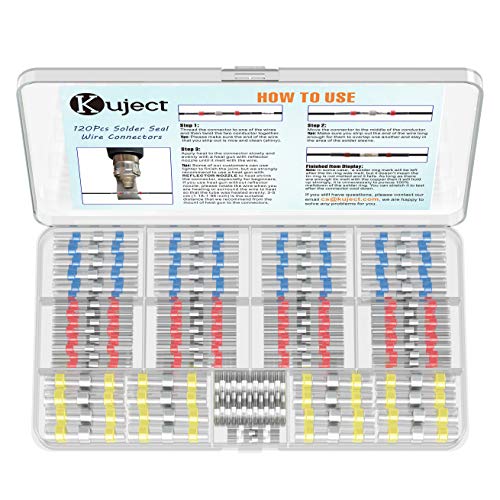
Kuject Solder Seal Electrical Butt Splice is available on Amazon through this link.
Conclusion
It is important to install the float switch higher than the pump. Otherwise, the pump will suck air.
If you enjoyed reading this article, you might find the articles below equally interesting: