
Your bill might be higher during winter due to the heater you're using. The good news is that the Mysa Smart Thermostat will help you save money by regulating your electric heater. However, you might ask how to wire your Mysa thermostat. We carried out a thorough investigation to provide you with the proper response.
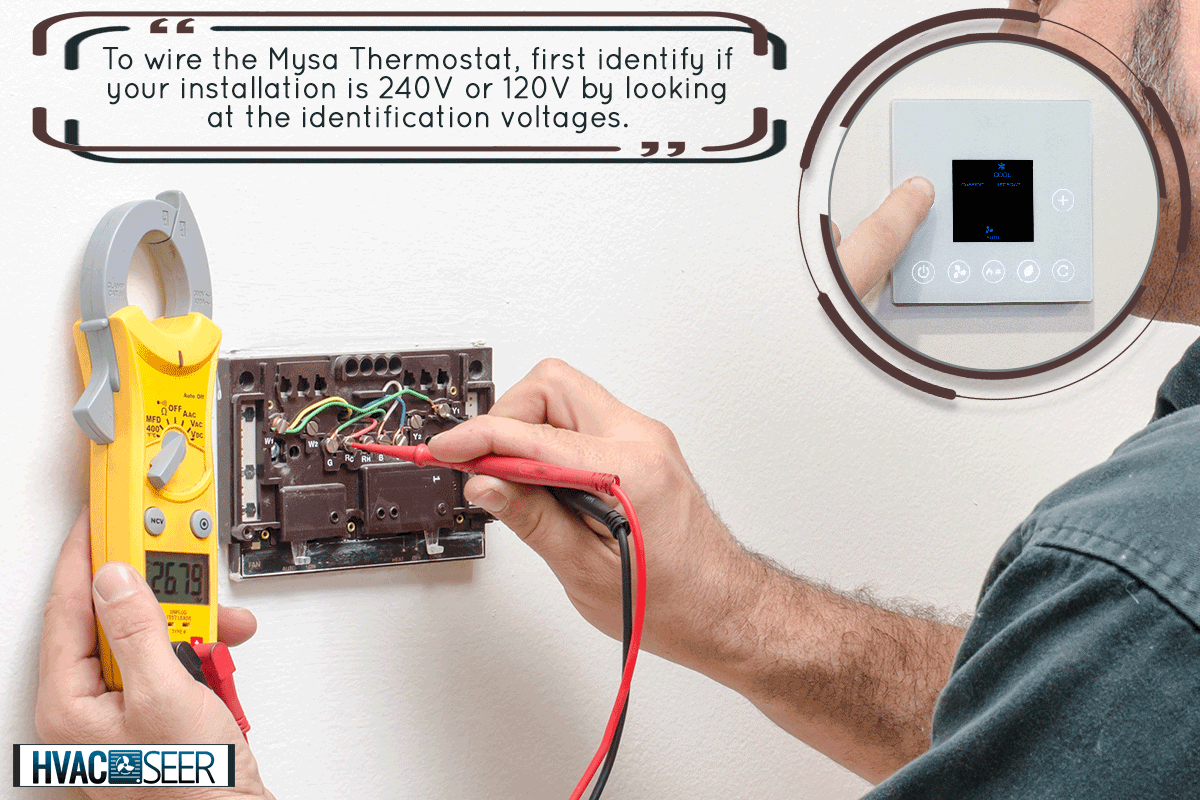
To wire your Mysa Thermostat, you must first identify if your installation is 240V or 120V by looking at the identification voltages. After knowing the voltages, you can move forward with the wiring.
Mysa is intended for high-voltage (120V-240V) heating systems. Therefore, adhere to local electrical rules and regulations when wiring your Mysa thermostat. Its improper installation may result in item failure and perhaps start a fire. Read more as you learn how to wire a Mysa Thermostat and more.
Determine And Label The Wires (Voltages)
A voltmeter can identify which wires are connected to the heater and which cables are coming from the circuit breaker panel. The identification voltages can be determined by consulting the tables below to identify whether your installation is 120V or 240V.
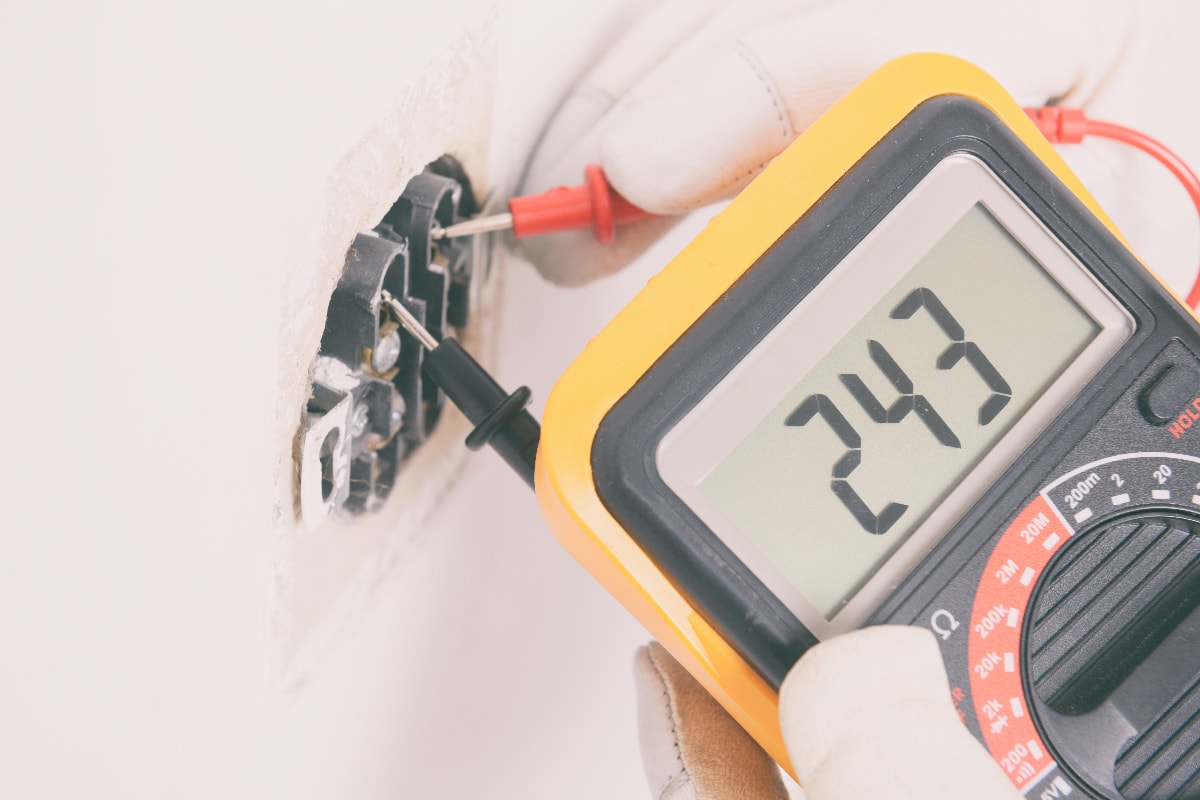
240V Installation
Group Box Wires Designation Voltage Levels
| Ground to L2 of the Second Phase Leg (L2) (240V) (120V) |
| The supply wire (L1) connects the L1 to the ground (120V) |
| The Ground to Load Wire Load (0V) |
| For the copper group; N/A |
120V Installation
Group Box Wires Designation Voltage levels
| The ground wire for the neutral is connected to the positive (0V) | ||||||
| The supply wire (L1) connects the L1 to the ground (120V) | ||||||
| Ground to Load Wire Load (0V) | ||||||
| For the copper group; N/A |
After reviewing the preceding table, you should be able to determine what voltage you have. But before getting into the specifics of installing your thermostat, you need to be familiar with how to use the wire nut since you will also use it to set up your Mysa thermostat.
How Should A Wire Nut Be Used?
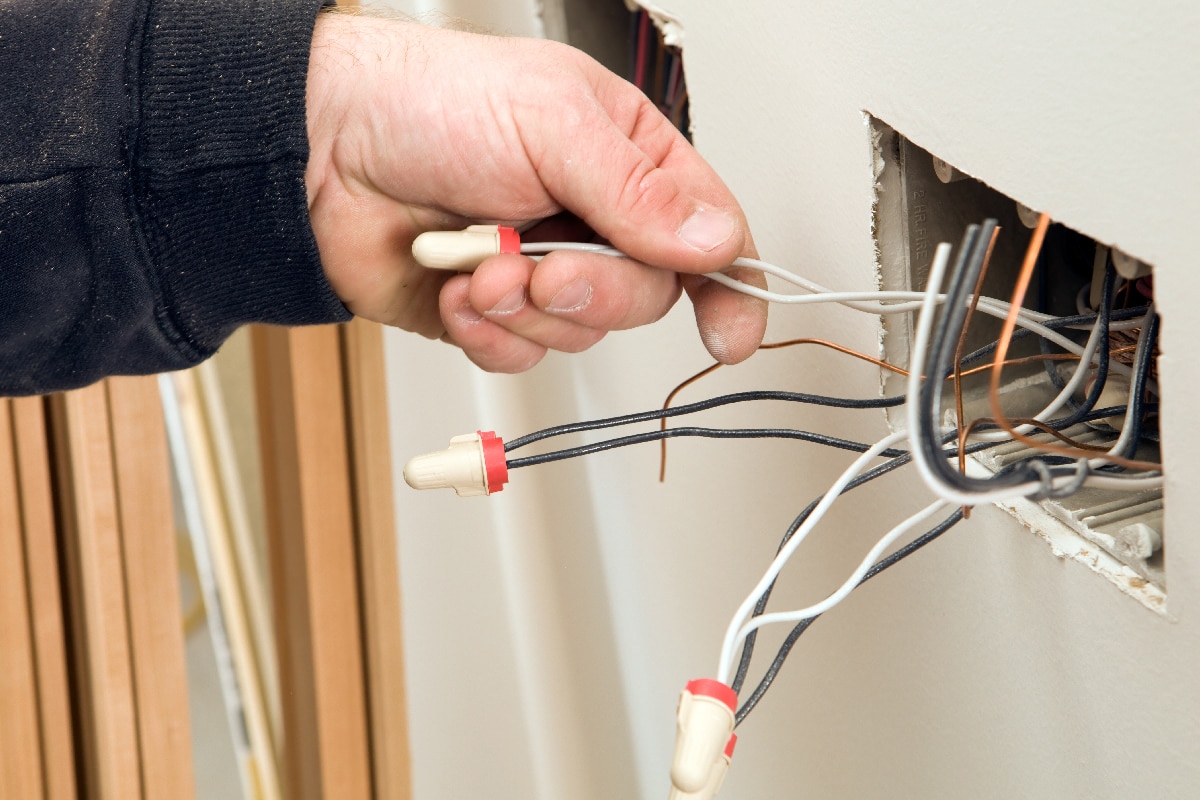
Wire nuts are the small, colorful caps included in the Mysa box. Never utilize the wire nuts from your previous thermostat. They are used to join two or more wires together, but there is a safe and proper way to accomplish it.
- Holding the two wires together at first will align the copper ends.
- Put them both into the wire nut.
- The wire nut should now be turned clockwise until it feels secure.
- Pull the wires with a little touch. If any movement or slippage occurs, untwist and repeat the procedure.
It is better if you have pliers to do this. They can be used to straighten bent or curved wires and pre-twist them before putting them into the wire nut.
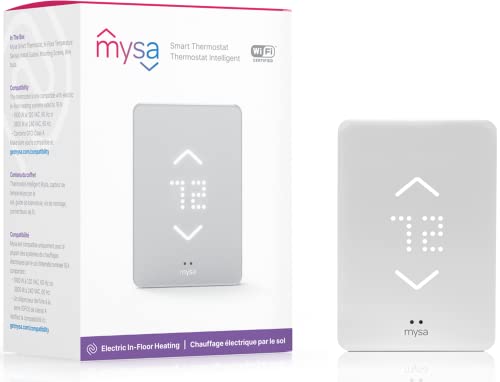
Check out this Mysa Smart Thermostat on Amazon.
Installing Mysa With 240V And 120V Wiring
Use the wire nuts included in your Mysa Smart Thermostat to connect it. Check the Mysa version you are installing by looking at how many wires it has.
The Mysa-V1-0 has four wires while Mysa-V1-1 has three. Other than the wiring, these thermostats are identical in terms of functionality.
240V Wiring
Below are the instructions you should follow for a 240V Mysa-V1-0 or Mysa-V1-1.
Before getting to it, remember that supply and load lines cannot be switched. Try one configuration if you're unsure which of the two wires is the supply or load wire. If Mysa's display does not glow after the installation finishes, switch the supply and load cables.
Mysa-V1-1
Generally, you just need to follow these steps for a Mysa-V1-1:
- Attach the circuit's L2 second phase leg to the red L2 wire from Mysa. You'll usually find two red wires.
- Connect the black Mysa's L1 wire found on the electrical panel to the supply wire L1.
- Join the heater's load wire, which is also black, to Mysa's black load wire.
If you are using one Mysa-V1-1 thermostat to control two heaters, follow the first two steps. After that, connect Mysa's black load wire to the two black load wires connected to the heaters.
Mysa-V1-0
The Mysa-V1-0 has one more step compared to the Mysa-V1-1:
- Attach the white wire of the device to the L2 second phase leg of the circuit that comes in a red wire.
- Connect Mysa's black wire to the black supply wire L1 from the electrical panel.
- After that, connect Mysa's red wire to the heater's black load line.
- Finally, connect the ground wire and the Mysa wire colored green or copper.
120V Wiring
If you have a 120V Mysa-V1-0 or Mysa-V1-1, follow these instructions:
Mysa-V1-1
These are the general steps for a Mysa-V1-1 with 120V:
- Connect the Mysa's red L2 cable to the white N wires.
- Then, connect Mysa's black L1 wire to the black supply wire L1 found at the circuit breaker panel.
- Once done, connect the black load wire of the heater to the black load wire of Mysa.
The steps are similar for a setup with one thermostat for two heaters. The difference lies in attaching Mysa's black load wire to the two black load wires of the heaters.
Mysa-V1-0
Here are the steps for a Mysa-V1-0 with 120V wiring:
- Attach the white wire of the Mysa-V1-0 to the white N wire.
- The black wire of the device should connect to the black supply wire L1 from the breaker panel.
- Afterward, connect the heater's black load wire to Mysa's red wire.
- Lastly, connect Mysa's green wire to the ground wire. It's usually colored green or just bare copper.
Can Mysa Be Used Without WiFi?
The Mysa device itself can operate without a WiFi connection. However, the Mysa App won't be able to connect to the device.
As a result, the unit will not respond to any remote connection, including manual adjustments to the app for features like heat control, scheduling, and geofencing.
Temperature Control
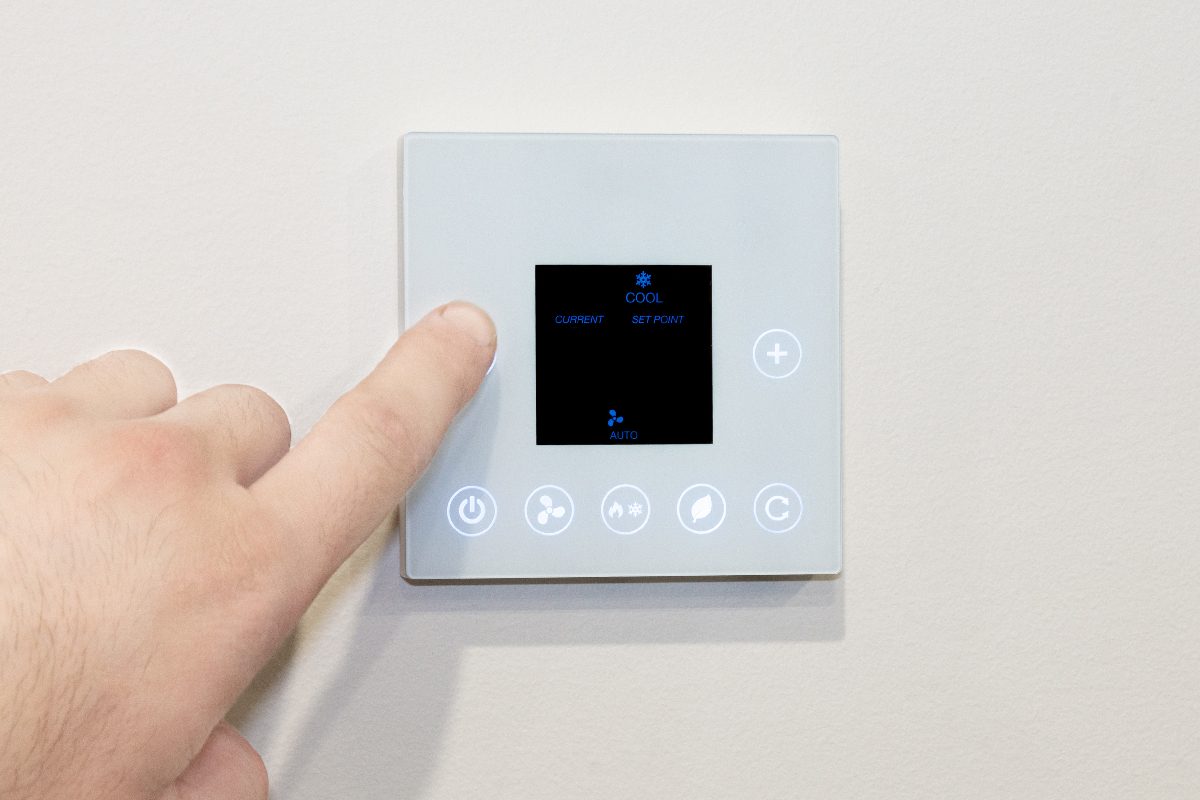
The temperature of the Mysa device can be changed manually by pushing the up or down arrow on the display. At all times, Mysa will show the current room temperature. The setpoint will show when you manually alter the temperature, letting you choose the optimal temperature for the space.
To change the temperature display from Celsius to Fahrenheit, you can follow these steps:
- Remove the faceplate or hold the button until the thermostat shows "RT." Once "RT" appears, release the button.
- Continue holding the down arrow as the thermostat starts up (shows the smiley).
- Press the up or down arrow until the thermostat displays "CF."
- Press and hold the up and down arrows as soon as "CF" appears.
- The temperature will now be displayed in Fahrenheit (an F will come up on the thermostat).
- To save your options and close the settings screen, click the up or down arrow after configuring the device.
- Keep using the up and down arrows to leave.
- The thermostat should now be set to Fahrenheit. You can change it back using the same procedure.
Additional Reminders
Handling high voltage wire is required while installing or wiring your Mysa thermostat. The supplied instructions must be properly followed, step by step.
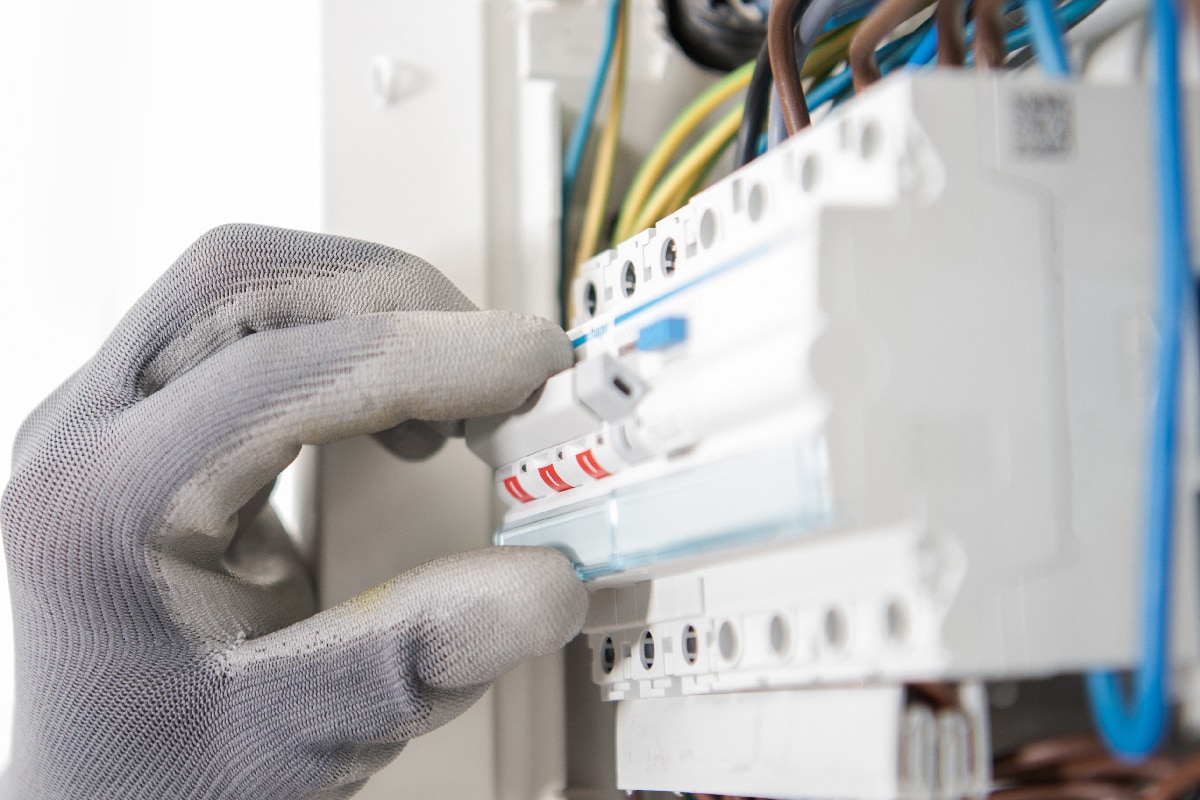
For everyone's safety, turn off your circuit breakers and follow the correct safety procedures to prevent harm or death to yourself or others. It is best to see a licensed electrician if you are unclear about how to handle electrical wiring..
Final Thoughts
You can wire your Mysa thermostat by determining the voltage of your wiring, verifying which model of Mysa thermostat you have, and following the procedure accordingly.
Here are some related posts that you may want to read: