Hunter ceiling fans are known for their reliability, but sometimes things can go wrong. If your light isn't working, don't worry. There are a few simple fixes that might be able to get your light back on track in no time.
We compiled solutions from expert technicians, and here's how you can diagnose and fix your fan light.
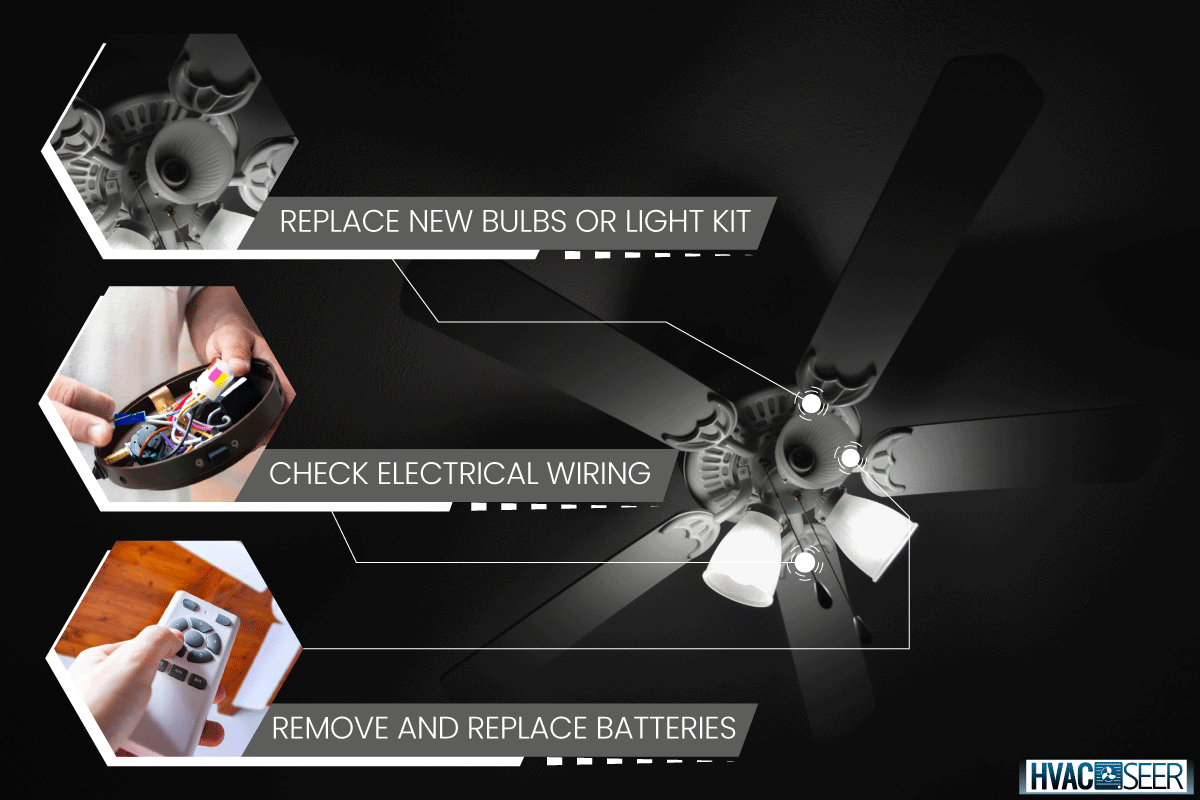
If your ceiling fan light is not working, here's the possible reasons and what you can do:
- A broken light bulb or light kit - Check if the bulbs are screwed in properly. If it still doesn't turn on, replace it with new light bulbs or a light kit.
- An electrical problem - Check the electrical wiring for loose cable, broken cable, or a defective regulator. Replace broken components. If nothing seems broken, try resetting the breaker.
- A faulty remote control - Reset the remote control by removing and replacing the batteries or test if there are any obstructions on the frequency.
If you're comfortable with doing some minor electrical work on your own, you can remove the fixture and replace any defective parts yourself. Read on below to follow troubleshooting procedures.
Why Is My Hunter Ceiling Fan Light Not Working?
Hunter is one of the most popular brands for ceiling fans because it is well-made, reliable, and offers a limited lifetime warranty for the fan motors.
However, you may sometimes encounter problems related to the electrical wiring and switches controlling the light.
If the lights on your fan are not working, you can try these fixes below:
A Faulty Light Bulb
Is your fan working, but the lights aren't?
The first thing you should do when you notice that your hunter ceiling fan light isn't working is to check the bulb. Is it burned out?
Does it look like it's loose in the socket and could be jiggled out? If so, try removing and replacing the bulb with a new one, making sure it's been screwed in tightly.
Most modern bulbs have a built-in safety feature that prevents them from burning out, so if the bulb isn't working, it may just need to be replaced. Make sure you replace them using the correct wattage for the light kit.
If you've recently changed the bulb and it still isn't lighting up, try turning off power to the fan and waiting 30 seconds before turning it back on again.
If you still can't get your fan light to turn on, then look for burn marks in the light socket. This could mean there's an issue with either your switch or wiring.
You'll need to go through some troubleshooting steps to identify where the electrical problem lies.
Electrical Problems
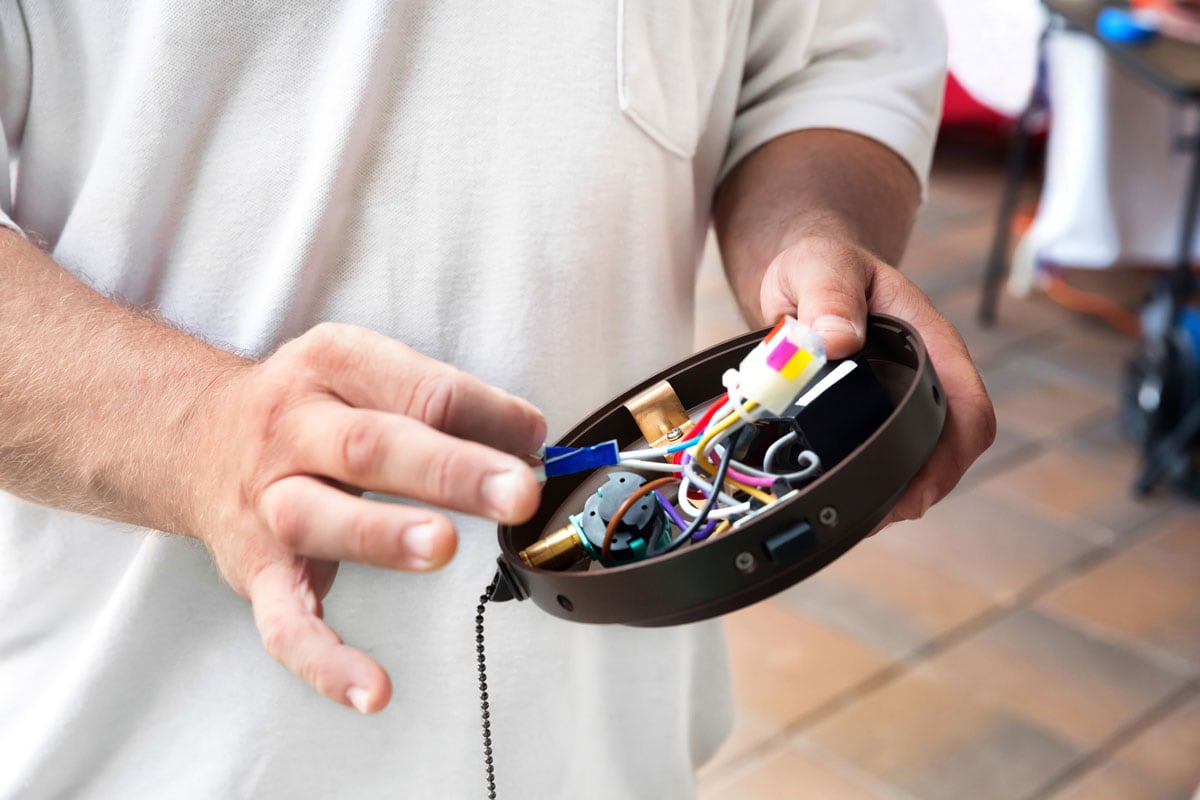
If you have tried replacing your bulb and still aren't getting any power through to the socket where your bulb is plugged in, then it's likely that your wiring needs some attention.
Turn off the power supply before you start to examine the wires.
First, look into the canopy to ensure all wires are capped with wire nuts. Check for loose wiring or a broken wire. You can do this by simply pulling gently on all wires coming from the ceiling fixture.
If any of them feel loose or break off, then it's time for an electrician.
Check the light switch to see if it's working fine. If the light still doesn't turn on, try turning off the power at the breaker box for 15 minutes and then turning it back on again.
If that doesn't work, you may need to replace your light kit. Check below for an example of a Hunter fan light kit.
Check out this Hunter 28438 Marine II light kit on Amazon.
The problem could also be with the wattage limiter. According to the Hunter troubleshooting page, if you are using a Hunter ceiling fan that was manufactured between 2009 and 2019, you may experience problems with the wattage limiter. If so, contact their customer support for replacement options.
Another issue could be a bad regulator. You will know this once you open up the components and use a voltage checker on the wires. If the wire that is connected to the regulator is not producing any voltage, you can suspect a bad regulator.
Check out this Klein Tools voltage checker on Amazon.
If your problem is a bad regulator, you can watch this troubleshooting video for a more detailed procedure:
A Faulty Remote Control
If the ceiling fan lights were fine to start with and suddenly stopped working, it is possible that there's a problem with the remote control (if your unit has this feature). The problem could either be with the handset or the receiver in the fan.
To resolve this, try resetting the remote control by removing the batteries for about 10 seconds before putting it back in and turning it on.
You may also encounter lights randomly turning on and off on their own. If this happens, you should check if there is an interference between the signal of the handset and the receiver from another source.
If you recently bought a new remote control appliance, the signal could be set to the same frequency causing the fan controls to stop working.
Manufacturers sometimes use the same set of RF frequencies, and you will need to ensure that your appliances are operating using different frequencies.
You should also ensure that the remote control is paired with your Hunter fan. For a step-by-step instruction on how to do this, check the video below.
How Do You Change A Bulb In A Hunter Ceiling Fan?
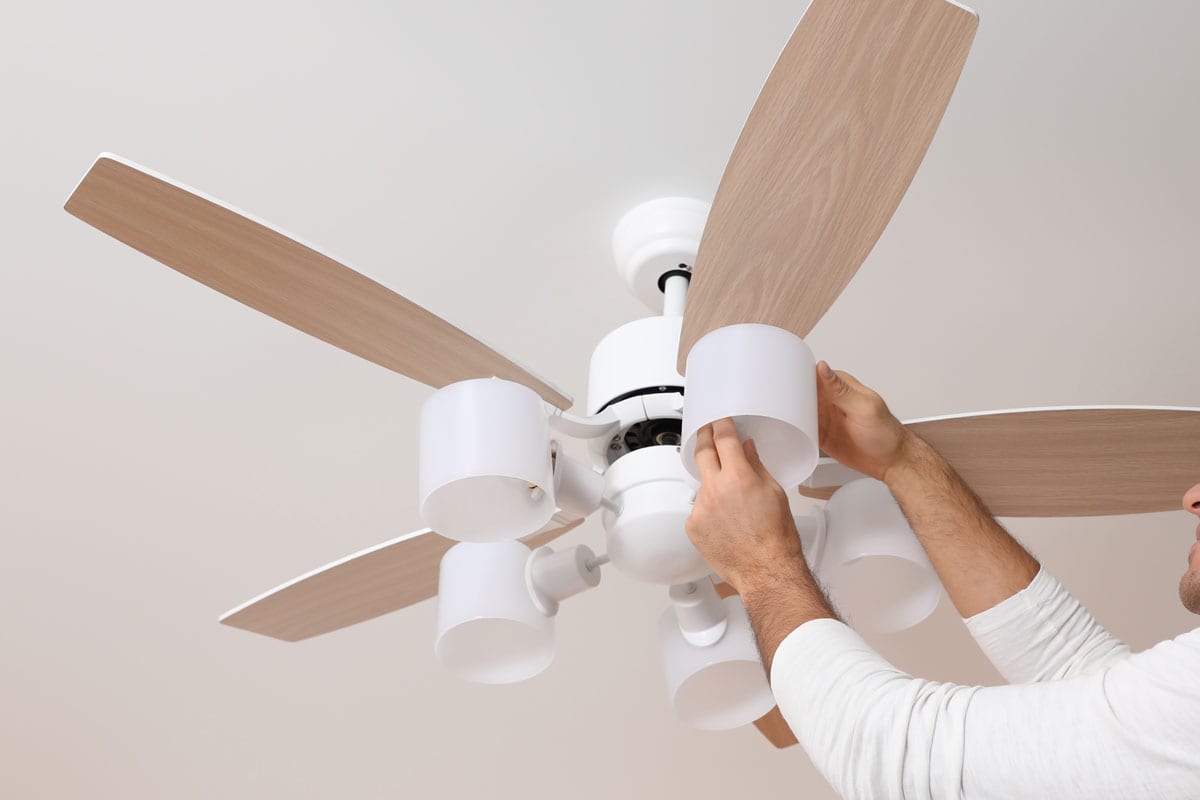
Hunter ceiling fans are easy to install and replace. Before you start, make sure the fan is off and unplugged from any power source. Changing the light bulb will depend on whether you have a scone light kit, a dome fixture, or a bowl light kit.
Scone Light Kit
Remove the scones by locating the screws securing the fixture. Remove the bulbs by gently turning them counterclockwise. Place the new bulbs snugly but not too tight.
Dome Fixture
Gently remove the ring cover by grasping the top edge and gently pulling it straight down. Remove the screws securing the dome fixture. Unthread the old bulb and install a new one.
Bowl Light Kit
Remove the small decorative stem from the middle of the bowl. Lower the center cover of the bowl to expose the bulb. Remove the old one and replace it with a new one. Put the cover bowl and the stem back in its place.
How Do You Reset The Light On A Hunter Ceiling Fan?
If you have a Hunter ceiling fan and the light isn't working, it may be because you need to reset the light. The process is simple and can be done in just a few minutes.
Follow these steps:
- Turn off the power to the ceiling fan at the circuit breaker or fuse box. Then, unplug the fixture from its electrical outlet.
- Wait 30 seconds for the electricity to dissipate from the wires in your house. Remove all bulbs from within the fixture.
- Flick the fan's light switch on and off three times in rapid succession. This will reset your fan's internal circuitry.
- Replace the bulbs and plug in the unit. Turn on the breaker and start using the fan.
Do Hunter Ceiling Fans Have A Lifetime Warranty?
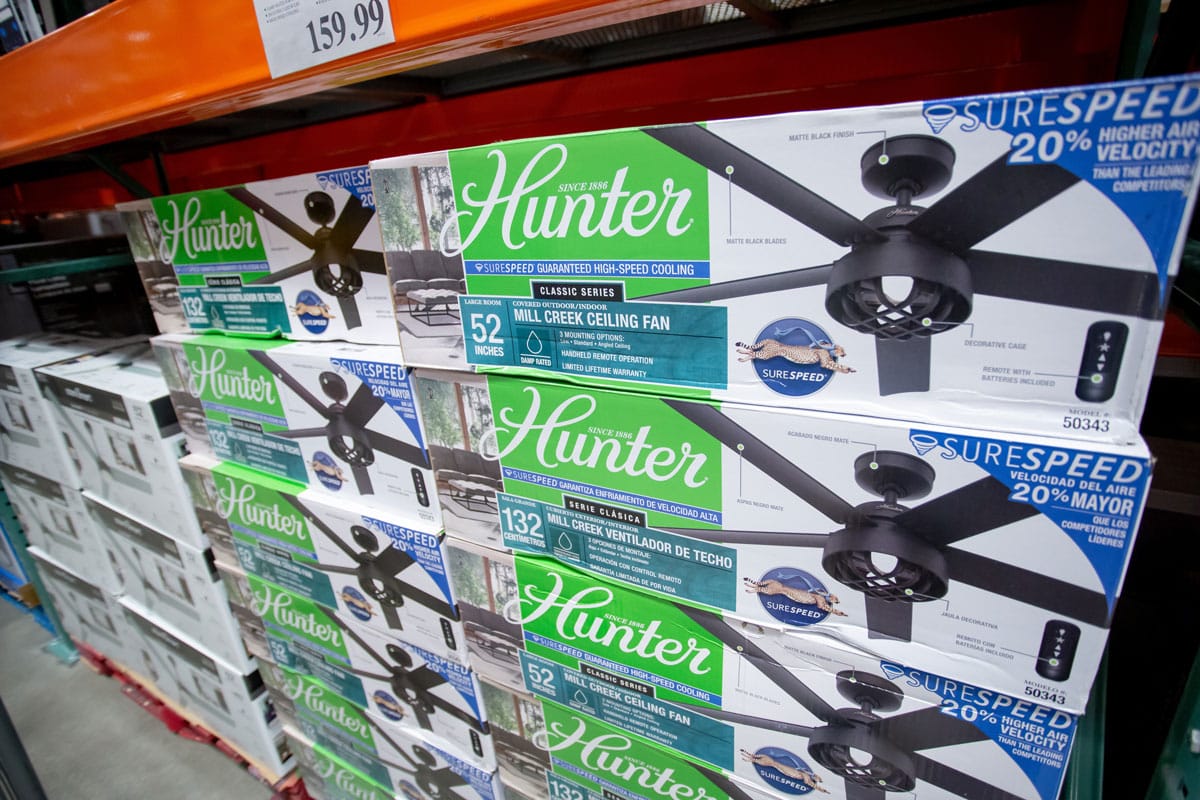
Hunter ceiling fans have a limited lifetime warranty on the motor. If there is a defect in the motor due to workmanship or materials, you only need to contact customer support for an assessment, and they will replace your unit for free.
As for other components, the company offers a one-year warranty on parts if there is a defect in materials or workmanship.
The warranty on the light kits varies depending on the type of unit you purchased. All units typically have a one-year warranty, but the ones with an LED light kit module get a three-year warranty.
Take note, however, that the defects will be assessed and determined only by Hunter authorized personnel and requires proof of purchase when you ask for warranty services.
Wrapping Up
Thank you for reading through, and we hope the suggestions above were able to help you restore the lights on your Hunter ceiling fan.
Just in case the problem is a defective unit, you can contact their customer support via website, email, phone call, or social media pages.
For further information on the Hunter ceiling fan troubleshooting and lighting features, you can check out our other articles:


