
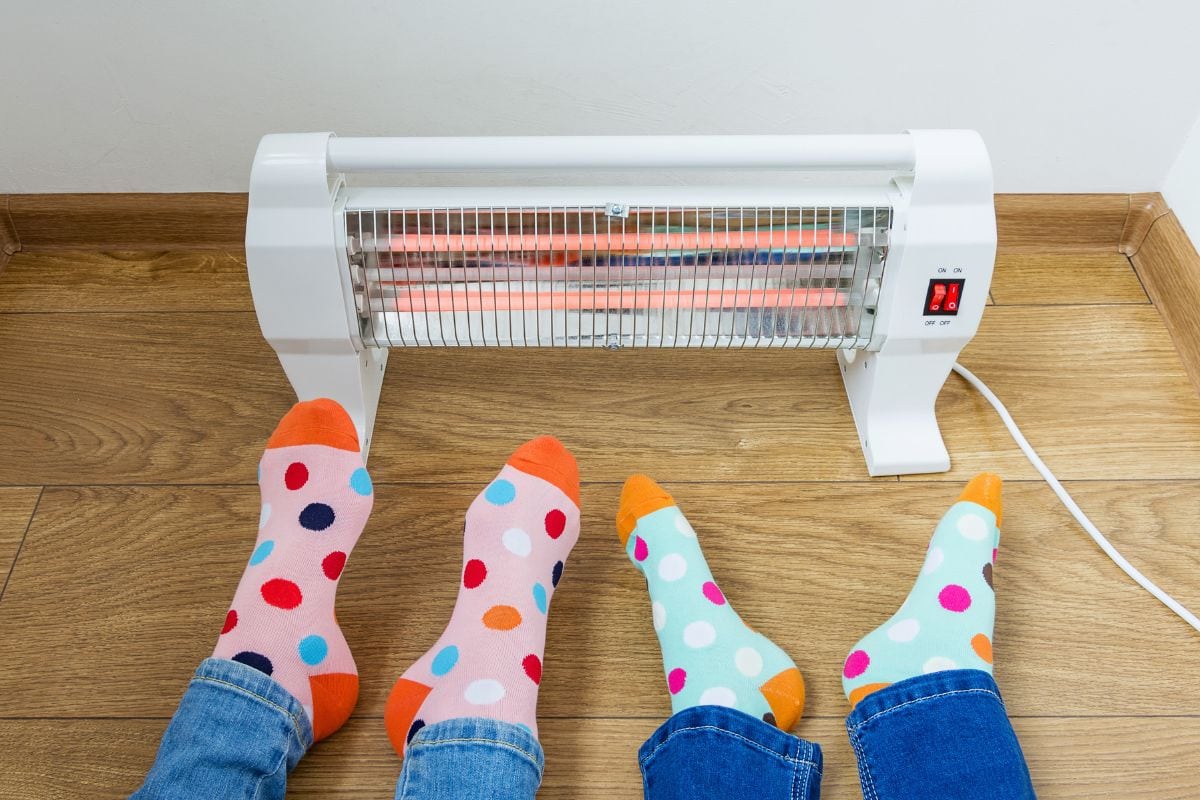
Ever wanted an invisible heater to keep you warm? You can pretty much do that using a hydronic toe kick heater. Want to know how to install it? We got you! We've extensively researched these topics and have helpful information to share with you.
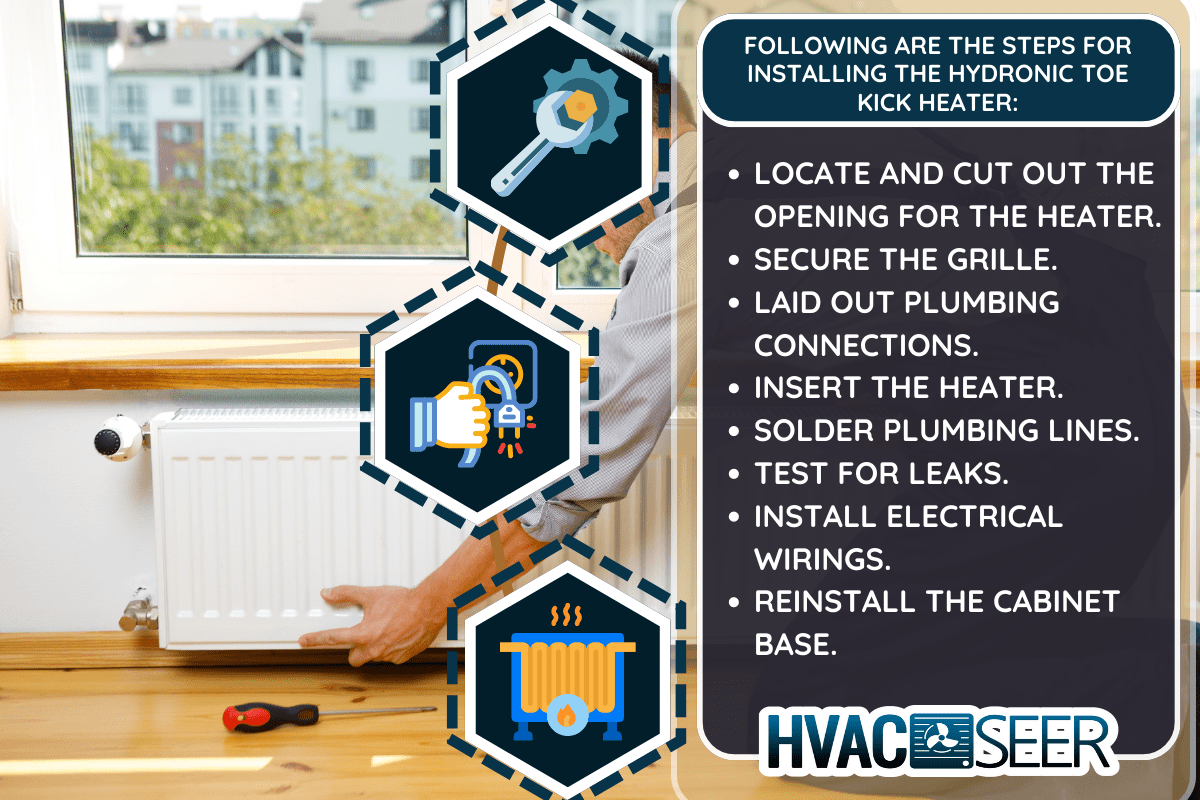
Following are the steps for installing the hydronic toe kick heater:
- Locate and cut out the opening for the heater.
- Secure the grille.
- Laid out plumbing connections.
- Insert the heater.
- Solder plumbing lines.
- Test for leaks.
- Install electrical wirings.
- Reinstall the cabinet base.
In this article, we will go deeper with the hydronic toe kick heater. We will elaborate on the installation process and also the process of choosing the right one for your space. We will also share with you the differences between the two types of toe kick heater and why you should choose the hydronic version. So keep on reading.
What Is Toe Kick Heater?
Toe kick heaters, also known as kickspace heaters, combine the space heater's compactness with the energy efficiency of baseboard heating units. These units have a very compact design, so they can fit into almost any room layout.
Toe kick heaters can be easily and seamlessly installed in rooms or homes that are not suitable for baseboard units. Toe kick heaters are installed at "toe-level" beneath cabinetry or physically inside a wall or flooring. In fact, they were created with the intention of being unnoticed.
Toe kick heaters are typically installed in the inset cavity of kitchen base cabinets and bathroom vanities. These heaters can supplement the warmth provided by your main HVAC system while operating almost completely out of sight.
They use an electric fan to circulate warm air throughout the space and do an excellent job of supplementing heat in the home.
What Is Hydronic Toe Kick Heater?
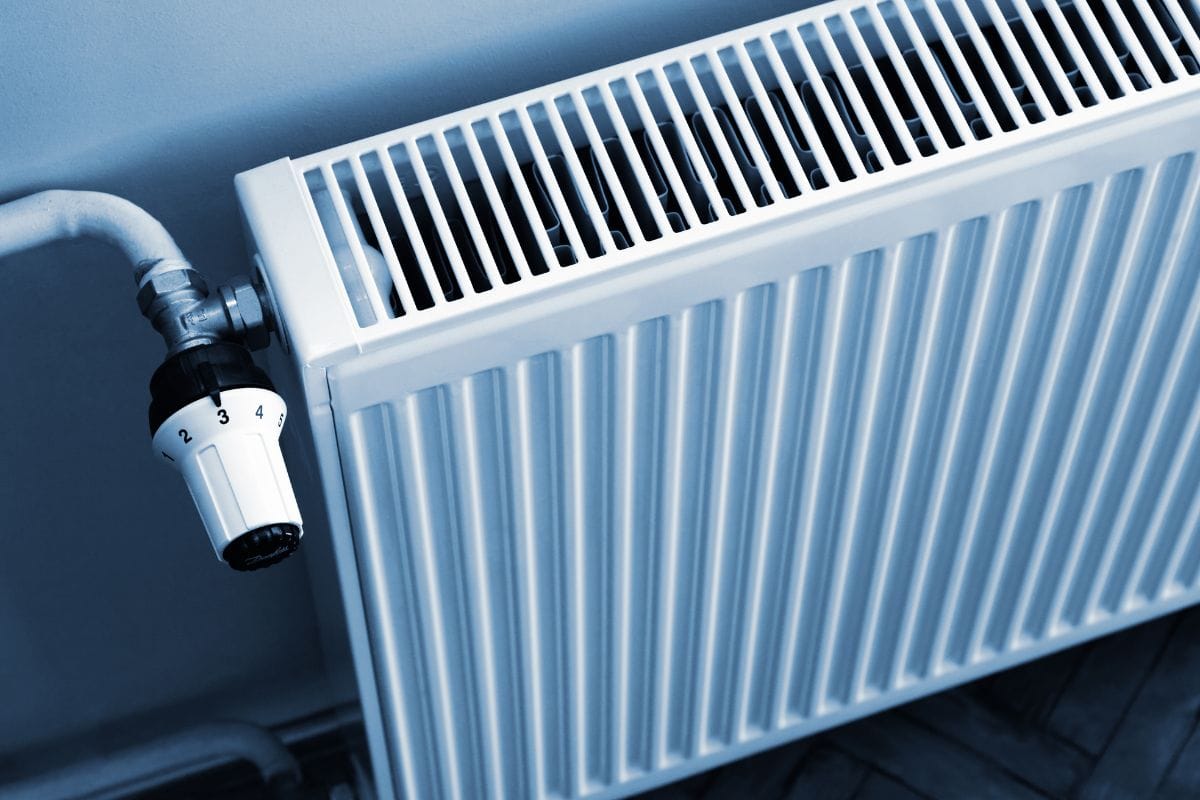
There are only two types of toe kick heater and one of them is a hydronic toe kick heater. It is a toe kick heater that is linked to your existing plumbing system. A circulation pump is typically used in conjunction with a water heater.
Forced hot water through the system generates radiant heat. These are more energy-efficient, but they are more expensive to install.
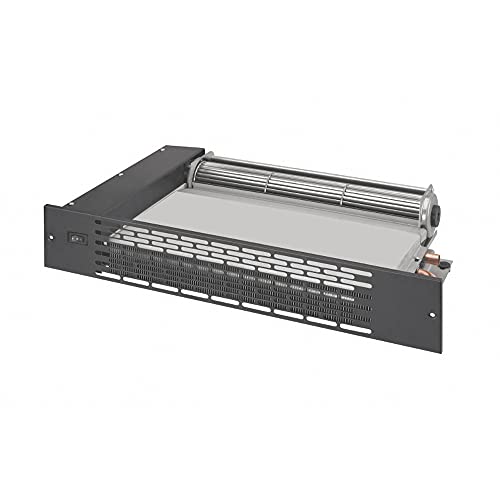
Click here to see this hydronic toe kick heater on Amazon.
If you choose long hydronic heaters, you will have fewer options across all brands. The most common lengths range from 35” to 94”, with other measurements falling somewhere in between.
They can provide heat while taking up a fraction of the space in kitchens, bathrooms, and other areas where baseboard installation is either impossible or unacceptable.
This kind of heater generates heat using a hot water system. In this heater, hot water is circulated through copper coils, which, once heated, can transfer heat energy to the incoming air current. The warm air is then forced outside by a fan.
Most electrical wall sockets and the lines that connect to them have a maximum capacity of 15 amps or 1600 watts. That means you cannot connect other electrical devices because they will likely blow up or trip a circuit breaker.
Because they require electrical and plumbing upgrades, hydronic units are more expensive to install. Don't try to do it yourself if you don't understand the skills required. There are simply too many dangers.
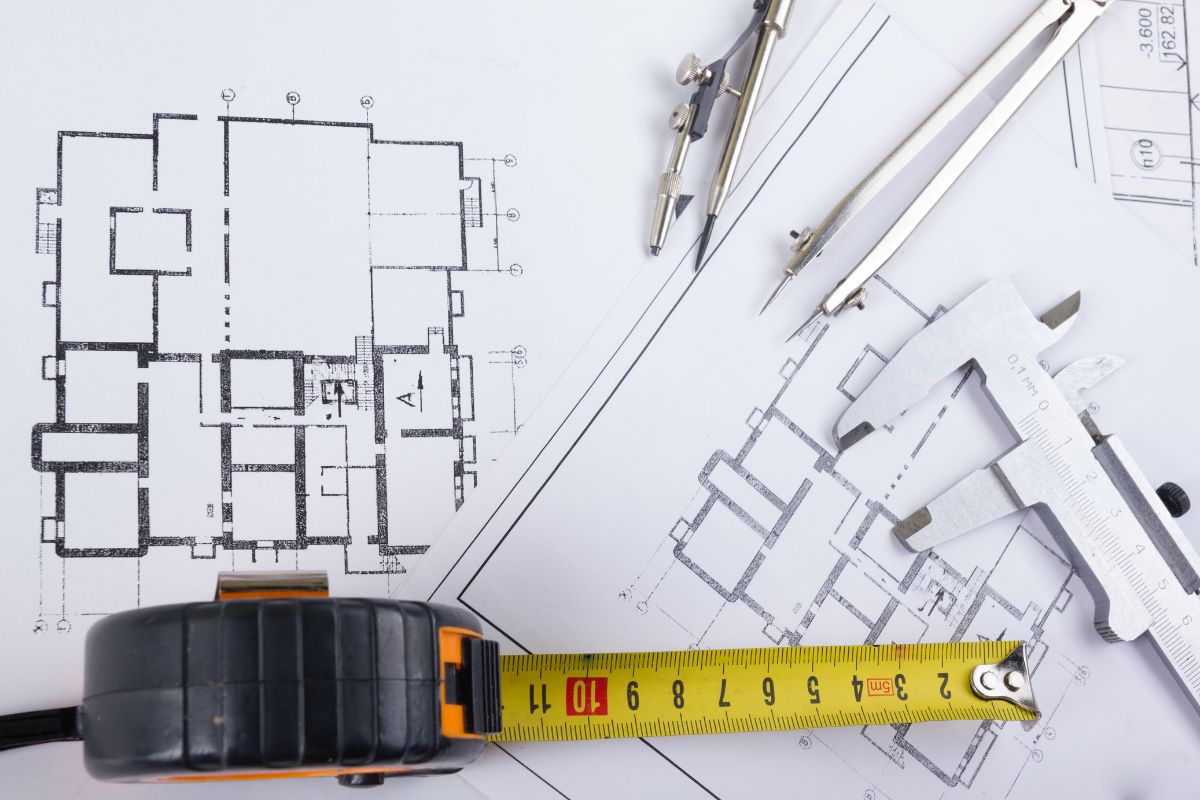
How To Install Hydronic Toe Kick Heater?
This guide may help prevent problems that may arise during the installation of this heater. So, reading the instructions first may save you a lot of time if follows.
1. Locate And Cut Out The Opening For The Heater
To expose the cabinet base, remove drawers or shelves from a cabinet. Remove or cut a large enough opening in the cabinet base to install the heater through this opening, solder tube connections, and wire 120-volt electrical power.
2. Secure The Grille
After fitting the heater on the cabinet, make a hole/opening starting at the floor level, and then using the screws provided, secure the grille over this opening.
3. Laid Out Plumbing Connections
Laid out plumbing connections from the hot water space heating system of the building. Install the 120V electrical wiring next.
4. Insert The Heater
Insert the heater into the cutout and secure it to the floor with the chassis holes. Snug against the inside of the toe plate grille the heater's discharge opening with the switch centered in the grille's switch cutout opening on the right side.
When handling the chassis, do not put any pressure on the blower wheel or coil. This could result in permanent damage and reduce the unit's performance.
5. Solder Plumbing Lines
Solder copper tubing from the hot water space heating system of the building to the hot water supply and return connections of the heating coil, which are located on the unit's rear, left side.
As a reminder, use soft solder that complies with the local authority's requirements. Also, while soldering connections, keep combustible materials away from the torch flame.
6. Test For Leaks
Fill the system with water after soldering the hot water tubing, use the air vent attached to the header to vent the heat exchanger, and examine soldered joints for leaks and/or restrictions.
7. Install Electrical Wirings
Before wiring, turn off the power. Do not turn on the power until the installation is finished. All electrical connections must comply with U.S. National Electrical Code (NEC) plus any existing, applicable local codes.
Ensure that all electrical connections are located on the back and right side of the unit. Using a wire nut, connect the black lead to the hot (120V) electrical service input.
Connect the neutral to the white lead in the same manner, and then the ground wire to the chassis's green screw. Field wire must be at least 167°F, of adequate gauge, and have overcurrent protection.
8. Reinstall The Cabinet Base
After all plumbing and electrical connections have been completed, reinstall or replace the cabinet base, which must completely cover the opening where the chassis was then placed on the floor. Do not turn on or operate the unit until the cabinet base and grille are securely in place.
In order for you to easily grasp the process of installation, a video on YouTube is shown below.
How To Get The Correct Size Of Toe Kick Heater For Your Room?
Because toe kick heaters can only heat a small area of your home, you'll need the correct size to fit it in. Just simply follow the instructions provided below.
1. Determine The Room Dimensions
The first step is to figure out how big your room is. It is critical to understand this information before deciding on the size of the heater you will purchase. If your room is 10 feet long and 15 feet wide, you can calculate that 10 x 15 equals 150 square feet.
2. Determine The Heater's Wattage Power
Since you already know the size of your room, It's time to figure out the heat to make it warm. There is a rule that says you need 10 watts of power for every 1 square foot of space. Using our example above, we will require 150 x 10 = 1500 watts of power for the heater.
3. Selecting The Best Heater
Because toe kick heaters only warm up a portion of your room, you don't have to reach it once you've determined the correct power for the heater. You could have heaters that are similar to or close to the wattage requirement.
Why Should You Use A Hydronic Toe Kick Heater?

When you turn off a convection unit, it stops producing heat. Even after the heater has been turned off, the heated liquid continues to emit heat. This resulted in more even heating over a longer period of time.
A hydronic baseboard heater generates a significant amount of heat while remaining only slightly warm to the touch. If you come into contact with it, you're less likely to be burned than if you come into contact with other heaters.
Because you are heating water rather than air, there are fewer allergies, pet dander, and dust issues. In a hydronic system, there is no ducting or air blowing. And since hydronic adds moisture to the air, there is less dust in circulation throughout the space.
Quiet to the point of deafening silence. Because there is no air moving through ducts or blowing into rooms, hydronic baseboard heat is significantly quieter than other types of heating.
Stand-alone hydronic units are self-contained. The temperature of the heat-transfer liquid, which is sealed within the machine, is controlled by a thermostat. You can choose which rooms to heat because each unit is self-contained.
What Is The Difference Between Electric and Hydronic Toe Kick Heater?
Since hydronic toe kick heaters collect heat from your water heaters, purchasing a water heater is a prerequisite for having one installed. Before being delivered to the incoming air, the hot water from the boiler will first pass via a heated coil.
The machine's internal fan will then force the air outward, dissipating the extra heat in the space. You might wish to think of the process as steam heat as it involves both heat and water.
On the other hand, electric toe kick heaters use electricity directly to generate heat. Depending on the design, fan power, or heating element, the heating feature may change.

Click here to see this electric toe kick heater on Amazon.
The electric is more affordable than a hydronic unit because it doesn't require a pre-installed water heater to function. Electric heaters are smaller than the other devices, which is another distinction between them.
Final Thoughts
Enjoying the comfort of your home is definitely preferable to shivering with cold feet. If you want the heat to emanate from the tiniest spots in your home, think about purchasing and installing a hydronic toe kick heater.
Before leaving, check out some of our interesting articles below.
How Close Can An Electric Wall Heater Be To A Bathtub?