
You often need to use crimpers, adhesives, or solder while installing or fixing water lines within your home. However, SharkBite fittings might make installation simpler. Would you like to know how to install it on the copper pipe you already have? Well, we researched this thoroughly, and here's what we found.
Following are the step by step for installing SharkBite fittings on the existing copper pipe:
- Get the right SharkBite fitting.
- Shut off the water.
- Drain the water from the pipes.
- Put a container underneath the copper pipes you are working on.
- Cut the copper.
- Mark insert depth.
- Deburr the copper pipes' cut ends.
- Insert the pipe ends into the SharkBite fitting.
Let's examine SharkBite fittings in greater detail. We'll also provide you with a ton of specifics to make sure you install your SharkBite fittings on a copper pipe successfully. So, stay with us for more input.
![Copper pipes engineering in boiler room, How To Install Sharkbite Fittings On Existing Copper Pipe [Step By Step Guide]](https://hvacseer.com/wp-content/uploads/2022/10/How-To-Install-Sharkbite-Fittings-On-Existing-Copper-Pipe-Step-By-Step-Guide-e1665438269270.jpg)
How To Install Sharkbite Fittings On Existing Copper Pipe?
When placed properly, copper pipes can last years. In fact, copper is a superb building material. However, copper pipes do eventually degrade, requiring replacement or repair. And in order to achieve that, pipes might need new fittings.
Double-check the fitting and piping to make sure they are undamaged, clean, and free of any foreign objects before you start. Here's how to attach your SharkBite fittings to the copper pipe correctly:
1. Get The Right SharkBite Fitting
Before beginning any actual steps in installing the SharkBite fittings, you must have the appropriate fitting for the task. Fitting sizes can be equally confusing because you need to ensure that the interior diameters must be sufficiently large to accommodate the outside diameter of the copper pipe.
2. Shut Off The Water
You must turn off the water supply and drain the pipes before making any repairs to the pipes because they are under pressure.
If your system has branch shutoff valves, you can close them to stop water flow to the portion of the pipe you are about to make repairs or installation. Or else, turn off the main water shutoff valve to stop the whole house’s water supply.
3. Drain The Water On The Pipes
Standing water and pressure will remain inside the water supply pipes. To drain the water on the pipes, open the faucet in the lowest area of your house. This could be at the utility sink in the basement, for example. By doing this, you can avoid a mess when you cut the pipes.
4. Put A Container Underneath The Copper Pipes You Are Working On
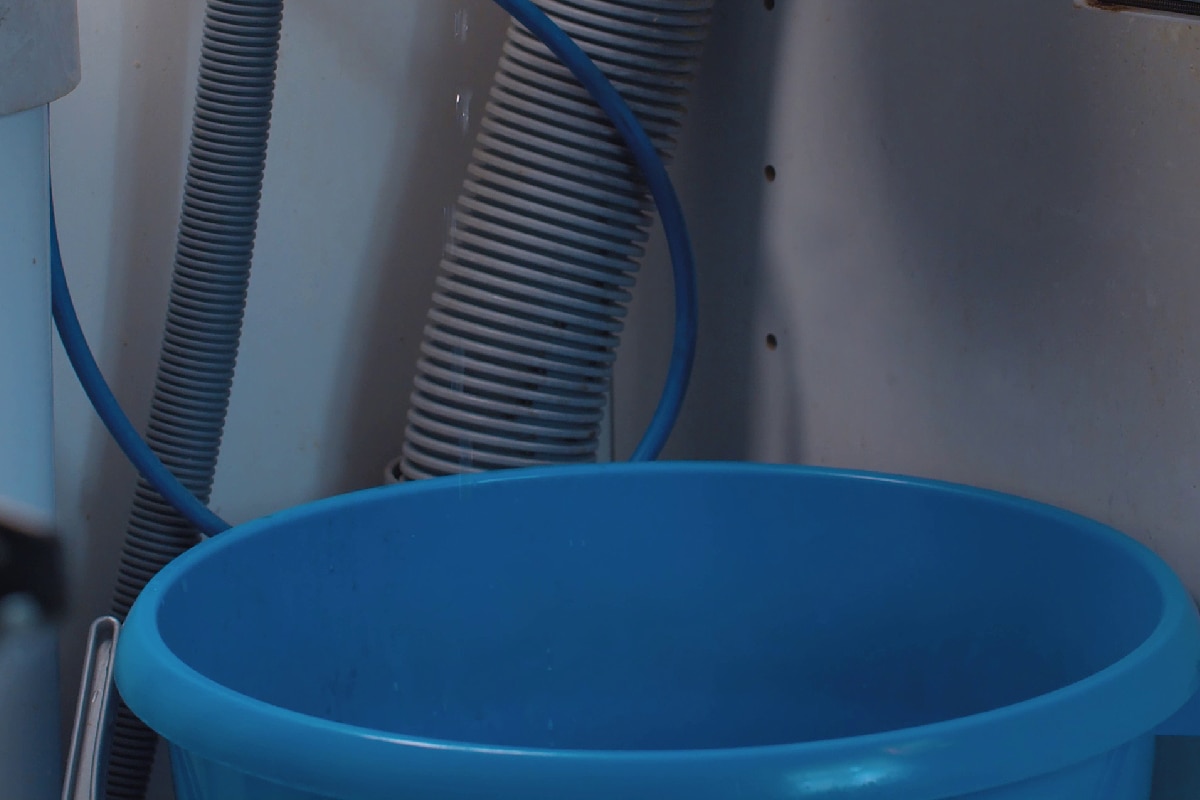
This is to catch any water coming out of he pipe after it is cut. Although the pipes have already been drained per the preceding instruction, it is still advisable to be prepared to prevent flooding or water splatter on the floor or the ground.

Click here to see this container on Amazon.
5. Cut The Copper
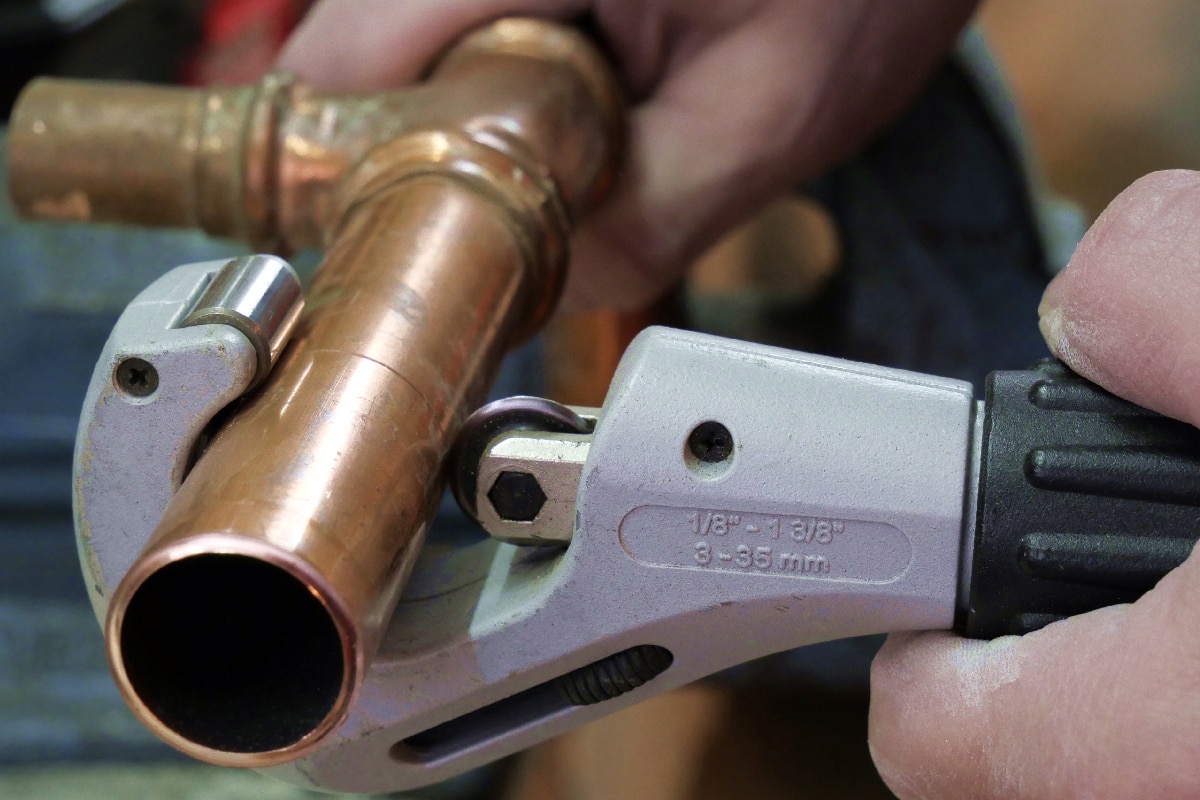
To identify the section you are about to insert or replace, mark the copper pipe. At both ends, ensure that the cut spot extends well beyond the corroded area. Cut through the copper pipe with a copper tubing cutter. In small spaces, a microtube cutter is a useful tool.

Click here to see this tubing cutter on Amazon.
Verticle pipes need support in order to keep them from falling into wall cavities. Before cutting, use copper pipe straps and appropriate screws to attach vertical pipes to the wall or floor structure.
6. Mark Insert Depth
Mark the insert depth to every end of the pipe where SharkBite fittings will be inserted using the SharkBite depth deburr gauge. It is sold separately from the fitting and should be used in conjunction with a permanent marker to mark the insert depth on the pipe's outside.

Click here to see this depth gauge on Amazon.
The mark will assist to make sure the fitting is mounted properly. You can usually see the depth measurement on the SharkBite fitting packaging instruction though it is usually 1”.
7. Deburr The Copper Pipes' Cut Ends
The copper pipe must have precisely smooth and clean-cut ends in order for the push-fit connectors to fit snugly. All cut copper pipes should have the inside and outside smoothed out with a copper deburring tool.

Click here to see this deburring tool on Amazon.
To ensure that all rust is removed, run or rub the tool a few times on the pipe in a circular motion. Even if a visual inspection indicates that the pipe is sufficiently smooth, you should still use the tool to remove burrs.
8. Insert The Pipe Ends Into The SharkBite Fitting
You must now place the pipe into the SharkBite fitting. In order for it to readily grab the ring, insert the pipe through the release collar.
Push the pipe into the fitting in a slight twist motion. While maintaining your grip on the pipe, gently push it into the SharkBite fitting until it lands on the tube area. Make sure the depth mark is reached to guarantee correct installation.
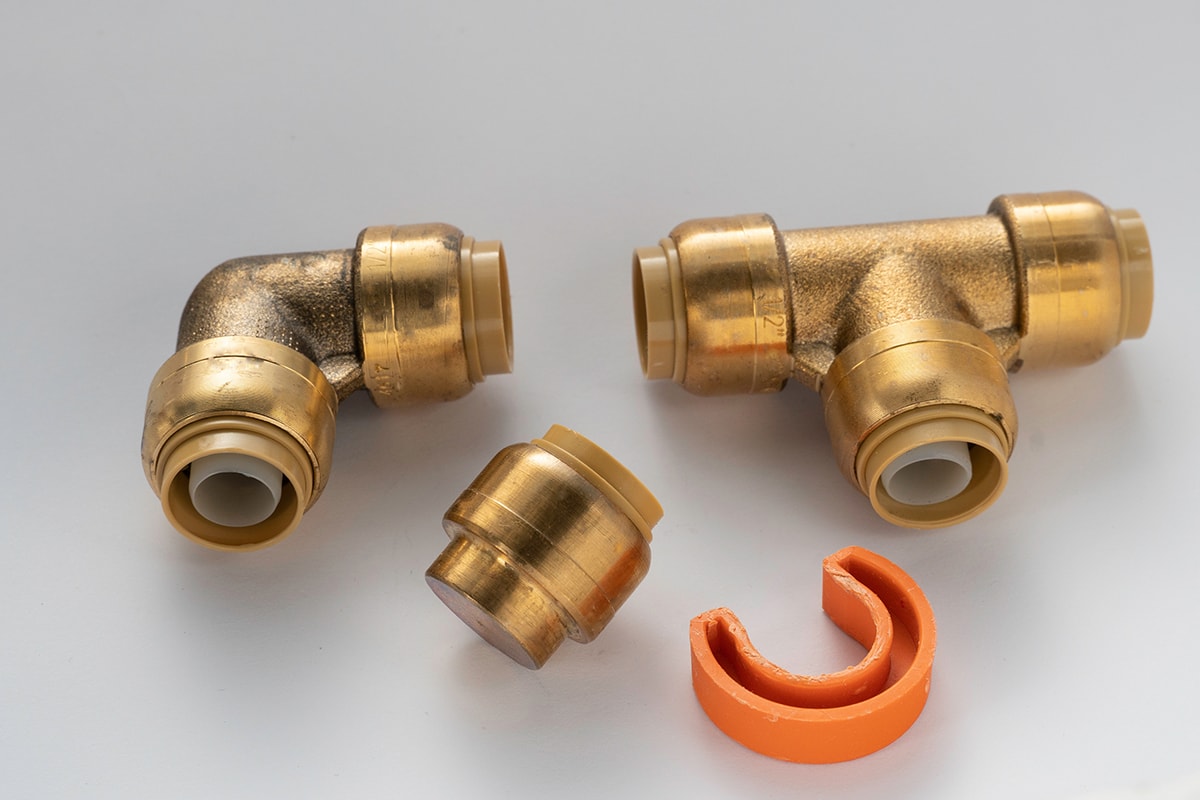
A SharkBite has several different kinds of fittings. If you wish to use a slip type, you need to use a disconnect clip to reconnect two inches of rigid copper that have been cut from an existing line. This is ideal for working in confined locations.

Click here to see this SharkBite slip tee fitting on Amazon.
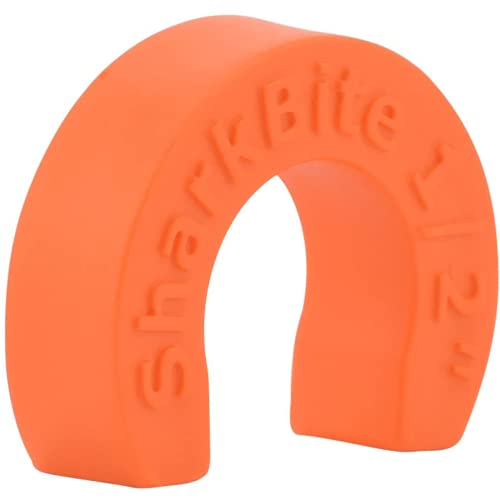
Click here to see this disconnect clip on Amazon.
However, you can choose to install a push-fit ball valve to develop an easy shutoff in any spot of your water system connections instead of using a straight connector. The pipes will only ever need to be cut off for future repairs, so this shutdown valve will typically be left open.

Click here to see this SharkBite ball valve fitting on Amazon.
But, according to regulations, shutoff valves must only be placed in places that are easily accessible. Don't install one if the wall cavity will be sealed off once repairs have been done. Below is a YouTube video that demonstrates how the installation is carried out.
How To Get The Right SharkBite Fitting Size For The Pipe?
SharkBite fittings are plumbing fittings with a push-to-connect method. With basic, simple installation, they can build connections that are incredibly powerful. Although getting the proper fittings for the pipe may appear a little complicated at first, anyone can learn how to do it.
Determine The Pipe’s Thread (Male, Female, Or No Thread)
The tiny grooves on the ends of some pipes are called threads, which aid in fitting the pipes. Male threads are located on the pipe's exterior, while female threads are located on its interior.
Find The Diameter Of The Pipe
Outside Diameter (OD) For The Male Or No Threads
To measure the pipe's overall OD, use a flexible measuring tape and wrap it around the outside of the pipe. By that, you will get the pipe's circumference. Then, divide what you get with pi around 3.14159.
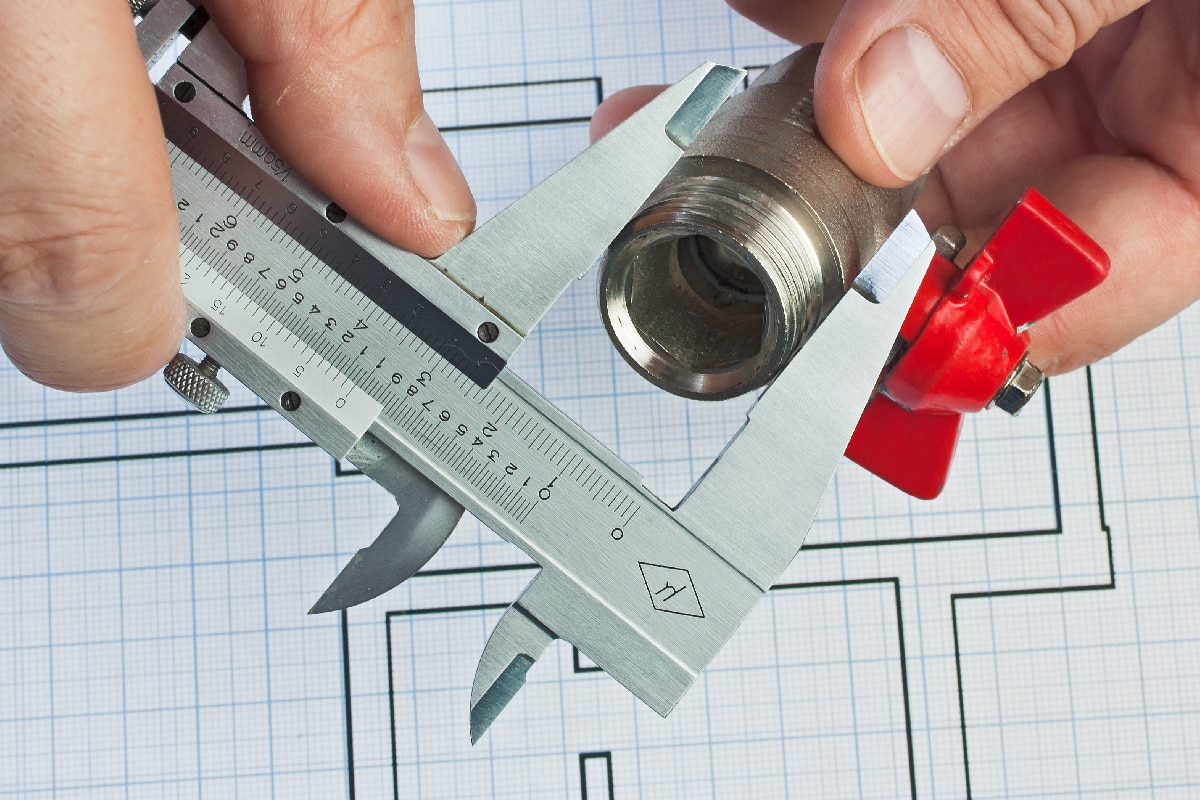
Inside Diameter (ID) For The Female Threads
That is the pipe's diameter in the core, excluding the thickness of the walls. Measure the cross-section of the pipe at the end using a ruler or caliper.
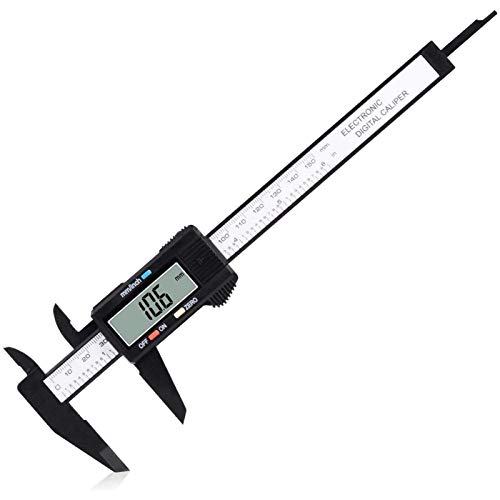
Click here to see this caliper on Amazon.
Converting To Nominal Pipe Size
Finding precise fittings will be easier if you know the pipe's nominal size. Make sure to base your choice when buying fittings on this nominal size rather than the pipe's outer or inner diameter.
If your diameter is less than 14”, convert it to a nominal size. You don't need to convert it if the diameter is 14” or greater because the diameter will already be equal to the nominal diameter. Determine the right nominal size using the table below:
Outside or Inside Diameter |
Nominal Diameter |
|
5/16” |
1/16” |
|
13/32” |
⅛” |
|
35/64” |
¼” |
|
43/64” |
⅜” |
|
27/32” |
½” |
|
1 3/64” |
¾” |
|
1 5/16” |
1” |
|
1 21/32” |
1 ¼” |
|
1 29/32” |
1 ½” |
|
2 ⅜” |
2” |
|
2 ⅞” |
2 ½” |
|
3 ½” |
3” |
|
4” |
3 ½” |
|
4 ½” |
4” |
Choose The Right SharkBite Fitting Size
Since you know now how to get a nominal pipe diameter, you can use the table below to find the appropriate SharkBite fitting size for your project.
SharkBite Fitting Size |
Nominal Pipe SizeCopper Tube Sizing (CTS) |
Pipe’s Outside Diameter |
|
¼” |
¼” | ⅜” |
|
⅜” |
⅜” |
½” |
|
½” |
½” |
⅝” |
|
1” |
1” |
1 ⅛” |
|
1 ½” |
1 ½” |
1 ⅝” |
| 2” | 2” |
2 ⅛” |
The measurement for nominal pipe size is based on the interior diameter rather than the outer diameter. When constructing the plumbing system for a home or other structure, you must determine the flow rate required through the tube or pipe's inner diameter.
Due to the fact that they connect over an exterior plumbing line, the fittings used with those pipes are larger than their indicated size.
On the side of the tube, the OD tubing size is often written in tiny letters. You should look for fittings that are the proper size if the tubing is sized according to the OD. For instance, a ½” OD tube is compatible with a ⅜” OD push-to-connect fitting.
However, if you accidentally purchase a ⅜” fitting made for CTS which is measured by ID, it won't fit correctly. The ⅜” CTS fitting easily accommodates the CTS pipe.
How Long Do SharkBite Fittings Last?
The SharkBite fittings can last for a very long period if they are installed properly. Actually, the SharkBite disconnect tongs and disconnect clips are the only tools that will allow you to remove SharkBite fittings properly.

Click here to see this disconnect tong on Amazon.
SharkBite offers a 25-year warranty on its fittings when used with its tubing. This signifies that they have a minimum 25-year guarantee. However, they have been known to endure up to 30 to 35 years as long as they are fitted properly.
Final Thoughts
It's simple to attach a SharkBite fitting to your copper pipes. The challenging part is determining the proper fitting size. You may choose the appropriate SharkBite fitting size for your pipes by using the tables above. Adhere to each instruction so that you can install the fittings successfully.
Before leaving, check out some of the interesting articles we have below.