
Do you want to enjoy the comfort of a wood-burning stove but don’t have a chimney at home? No big deal! It is simple to install one. Before you sign up for an expensive professional installation, allow us to present a step-by-step guide on installing a wood stove chimney through the roof all by yourself.
With the right tools and attention to detail, you can very well DIY your wood stove chimney. It can be an exhausting process but requires only basic building techniques. In a nutshell, all you have to do is:
- Locate, mark, and cut through the center point for your chimney pipe and fit in the ceiling support box.
- For the adjustable roof flashing, repeat the process on the roof exterior.
- Put together all the components of the pipe and pass it through the flashing.
- Take final insulation measures and assemble the stove pipe.
- Fit it in the ceiling support box to transition with the chimney pipe.
There you have it! A straight wood stove with a chimney running through your roof.
That may have sounded like a piece of cake. However, you do have to be careful. It comes down to how familiar you are with the construction methods. With some proper guidance, you can install a chimney through the roof in no time. If you would like to go through each step in detail, keep reading ahead!
Materials You Need
Before you get into the actual process, make sure you have what it needs. While most cutting tools are replaceable depending on availability, the following tools are essential for a well-sealed chimney installation.
- The chimney pipe and the wood stove pipe structures themselves.
- A ceiling support box will extend downward and provide the extension for both the pipes to transition.
- A plumb bob will be the key in locating and marking the center point of the ceiling.
- An adjustable roof flashing will secure any exposed pathways for unwanted substances to pass through the chimney.
- A storm collar and a chimney rain cap will work together to eliminate the passing of water from the air or melted snow.
Positioning The Stove
To begin with, you must decide the exact position for your wood stove. If you have already installed it, let it be. However, the general rule is to opt for the most habitable place in the house, so the heat is utilized effectively.
The Center Point
Locating
Now, place a section of the chimney pipe directly on the stove connection. Extend a plumb bob from the ceiling to locate the center point of the pipe to pierce through the roof. You may use a chalk box instead. As per NFPA standards, the pipe must be at a distance of 18” from combustible materials.
Of course, for the inexperienced, using a plumb bob might be confusing. To help you out, here's some visual help on how to use a plumb bob:
Marking
You will need to mark your point by drilling into the roof sheathing. Later during the cutting, the marked center will allow for greater accuracy. Use a ceiling support box for this purpose.
Cutting
Slide the support box through the opening and attach it to the ceiling joists. Slide in the single stovepipe into the box to determine where to cut for the hole on the roof. Alternatively, you can directly mark the diameter of the hole on the roof exterior.
The measurements should be as per the specifications of the company and building code. Either way, you now know where to cut. Use a jigsaw or a Sawzall to cut through.
The Adjustable Roof Flashing
Locating The Position
Take your adjustable roof flashing to the roof, then place it directly over the holes you cut out. Pull it down a few inches and mark the top edge using a pencil. Now, pick up some metal snips, cut through the line up to the width of the flashing with 2” of extra shingles on each side for making enough space.
Adjusting
You need to adjust the flashing on the roof now. One way can be to put a good amount of silicone to slide the flashing beneath the shingles. Finish off with screwing it to the roof deck and applying silicone to each screw.
You can also use the traditional caulking technique to adjust the flashing. Adjust it in its position and apply half an inch of caulking over the base. Apply another half across its circumference, the edge that will be in contact with the roof’s surface. Press it down, and you have your adjustable roof flashing ready and in place.
The Wood Stove Chimney Pipe
Grab your instruction manual, put your builder skills to show, and assemble your wood stove chimney pipe. Make sure to place the pipe adapter into the male part of the pipe. This component is the part with recessed insulation. The adaptor will later make the installation of the stove pipe easier. When you have it ready, carefully slide in the first section into the support box through the flashing.
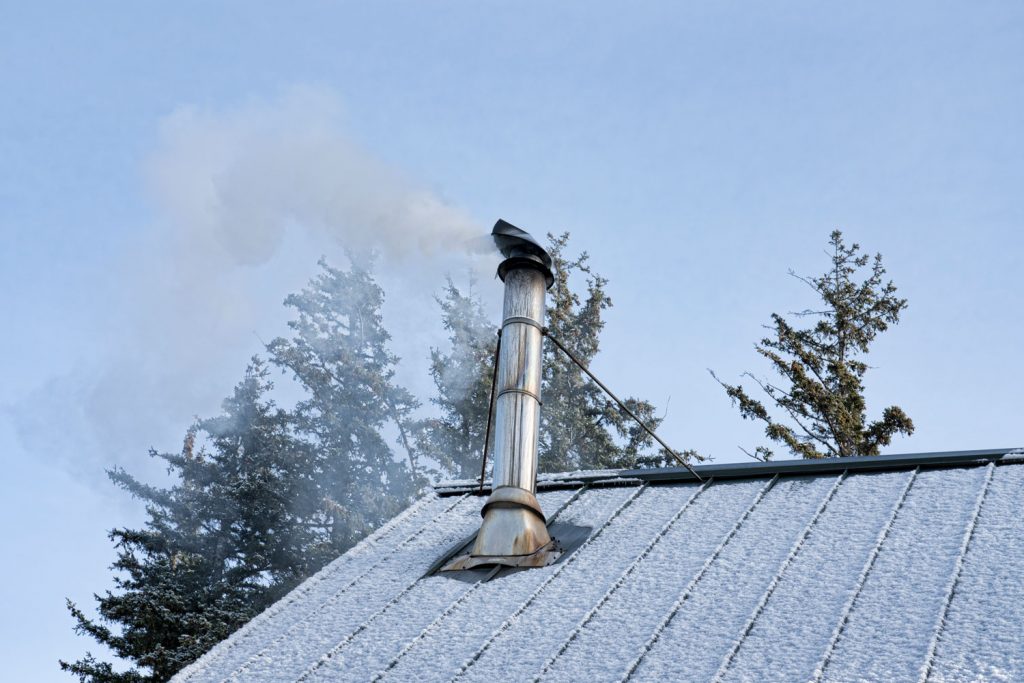
Finishing Work On The Roof
Attaching the rain cap and the storm collar will be your last step on the roof. Use a 5/16 nut driver for the rain cap and a thick enough silicone layer to seal the collar with the chimney pipe. Such measures will ensure unwanted substances like water, debris, and insects do not come down the passage.
The Single-Wall Stove Pipe
Get down the roof, come inside, and ensemble your single-wall stove pipe. Attach the nut of the pipe to the bolt of the pipe adaptor on the chimney pipe. Attach any remaining lengths of pipe and hardware. Make sure your stove pipe goes straight down to the stove.
Top it off with the trim collar around the support box to seal the setup perfectly. You may screw the collar to the box.
That concludes the installation process, leaving the practical implementation on you. However, apart from your national building code, there are still a few more technicalities in this process. As we discuss their rules, make sure to consider them too.
While those steps cover how to install a chimney, some visual help might increase your chances of successfully installing it. As a mini disclaimer, the video does not include the use of a plumb bob. Some parts may also be missing from our list. However, it is still handy as a visual guide to go along with the steps above.
How High Should A Wood Stove Chimney Be Above The Roof?
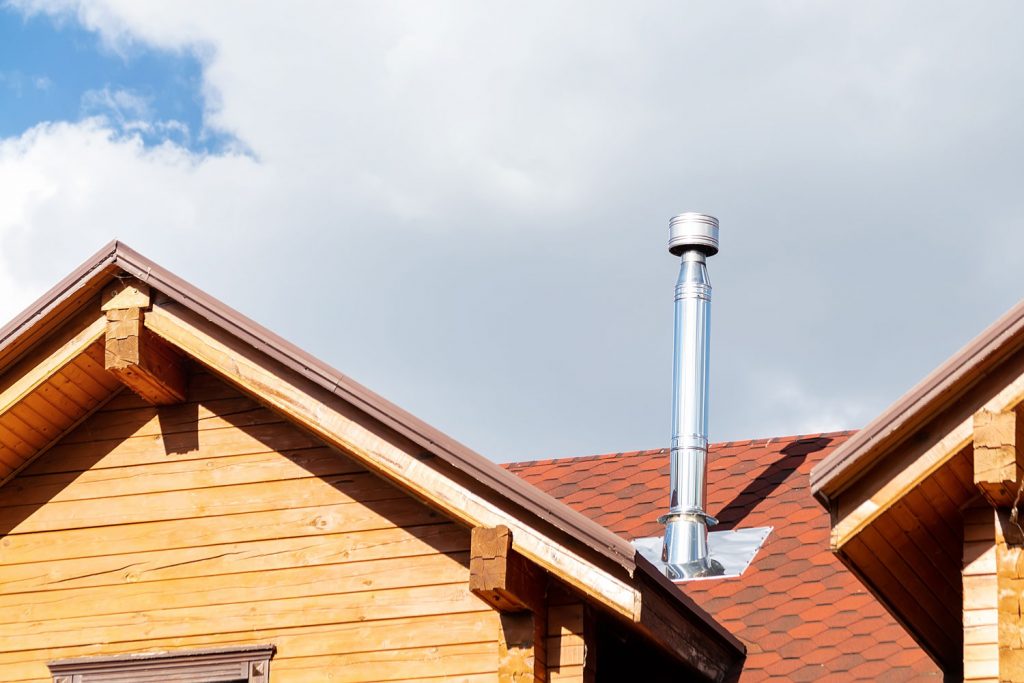
As per standards, a wood stove chimney must always be at a distance of 3 feet from the uphill side of the roof. Furthermore, it should be 2 feet away from any obstacles found within a 10 feet radius. These obstacles could include the roofline, any buildings, or even overhanging trees.
Does A Wood Stove Pipe Have To Go Straight Up?
A wood stove pipe must be as short and straight as possible. At the least, 80% of it must be vertical. If it is so important, one or two 90˚ angles, at most, can be made part of the structure. The horizontal part should not rise more than a quarter from the linear foot. These precautions are essential for a good drafting process.
Is A Chimney Inspection Necessary?
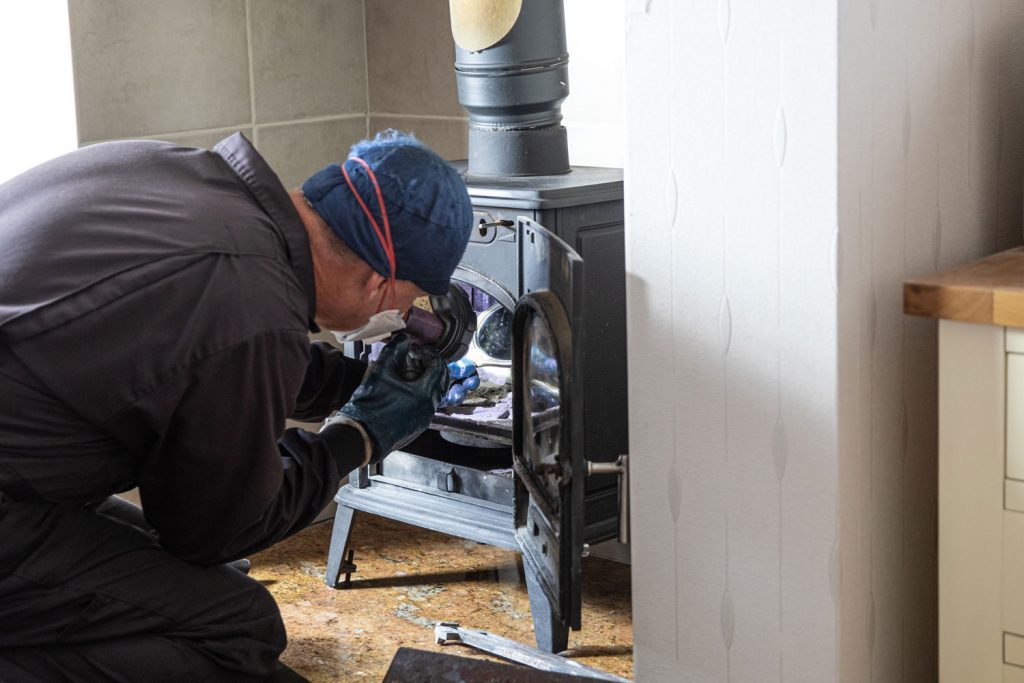
Everyone needs to examine their chimney before buying it. After installation, you must inspect the chimney fireplaces and vents once every 12 months. You must attend to any area that you find needs maintenance during the inspection appropriately.
What If I Already Have A Chimney?
You can use a wood stove perfectly well with an already installed chimney. Just keep in mind that the stove insert or the stovepipe you get must fit the chimney size.
Final Takeaway
The only thing separating you and your perfectly installed wood stove chimney pipe is willpower. We have given you all the details you could need. With a bit of research, positioning the chimney should come with little difficulty. We hope you found the article informative and insightful.
Before you go, are you curious about other topics? Need help insulating a vaulted ceiling? Check out our post here.
What about fire pits? If you need a guide on how to start one, check out our post here. Until next time!