
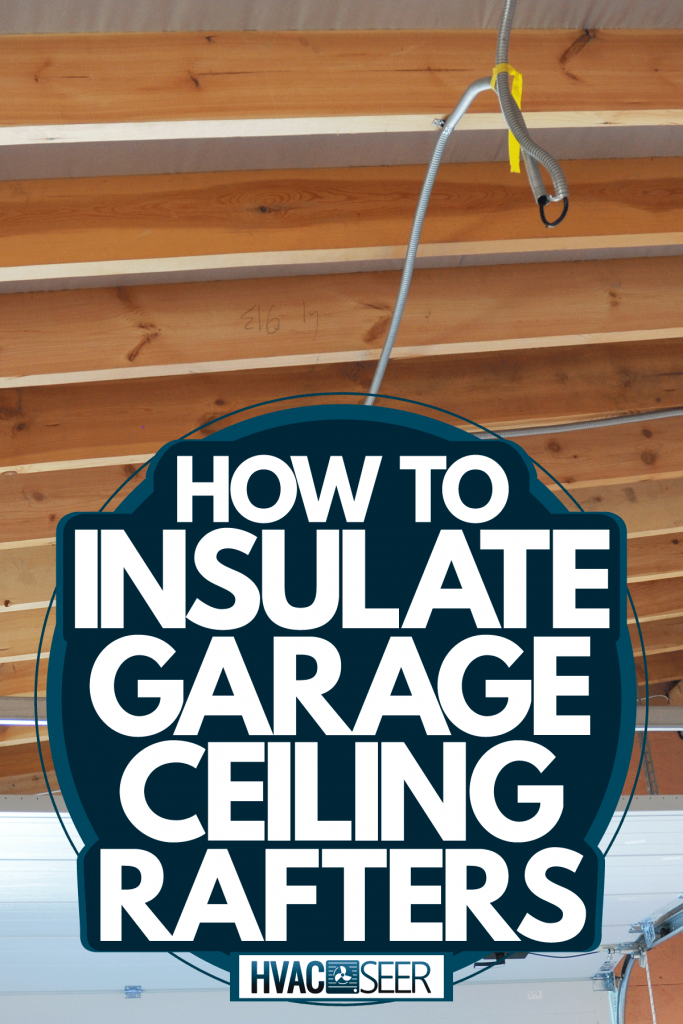
You've insulated the walls of your garage, and now you're wondering if you should insulate the ceiling as well. Is it worth it, you ask? And how do I do it? Whether you're looking to make the garage more comfortable, or you're simply planning to finish the insulation job, this post will cover how to get it done. We've researched the best methods to insulate your garage ceiling rafters. Continue reading to learn more about it.
Here are the steps to insulate your garage ceiling rafters:
- Check for damage and measure
- Prepare the area
- Prepare and install rafter vents
- Prepare the insulation
- Install the insulation
- Install the drywall (optional)
The most important thing to consider when insulating your garage ceiling is the type of insulation you want. We'll discuss two of the most popular insulation types for garage ceilings, both of which are fairly easy to install. Along with these, you'll also want to consider the budget for the project and whether you plan to do it yourself or hire a contractor. However, if you're looking to save money, you can definitely perform this simple task yourself.
Steps To Insulate Garage Ceiling Rafters
Things you'll need:
- Hammer
- Nails
- Fiberglass batts or rigid panel insulation
- Utility knife
- Staple gun
- Ladder
- Drywall
- Measuring tape
- Drywall screws
- Gloves
- Eye protection
- Dust mask
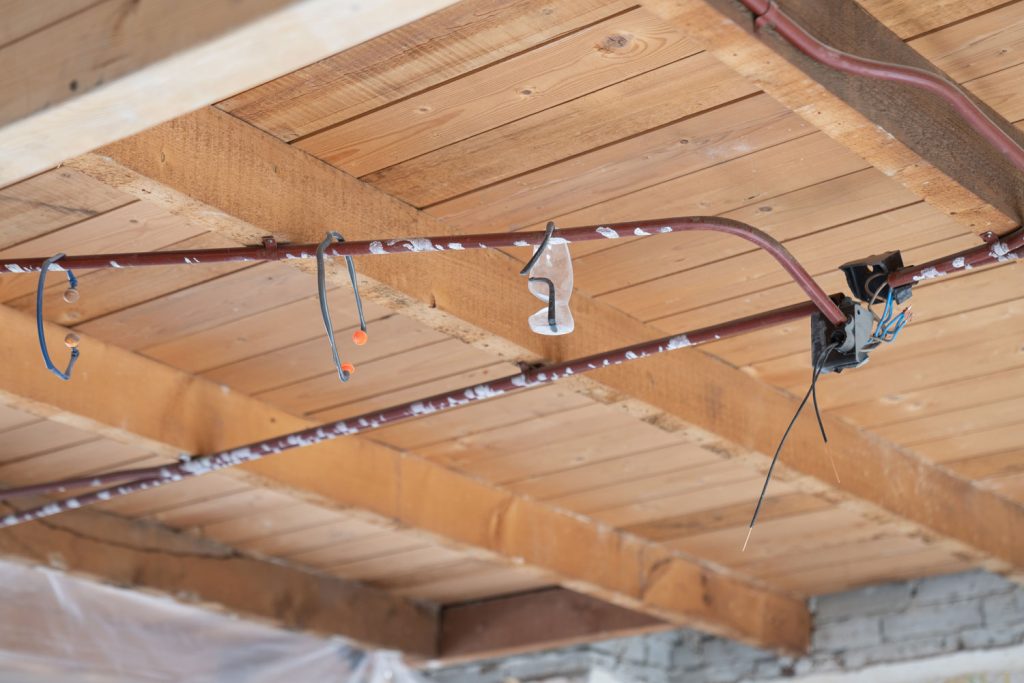
1. Check for damage and measure
Before installing the insulation, it's always a good idea to first check for any damaged or loose rafters or fasteners. To do this, get on the ladder and start at the left side of the garage that's farthest away from the door. Examine all of the rafters to ensure that they have secured fasteners (screws or nails) and that they are free from any type of damage or hollowed areas resulting from termites, water damage, or other issues. Be sure to tighten any loose fasteners and repair or replace any rafters that may be damaged or loose.
Use a measuring tape and measure the length and width of each rafter. Most of the rafters will be the same size, except the rafters located on the perimeter of the ceiling. Write the measurements down on a piece of paper.
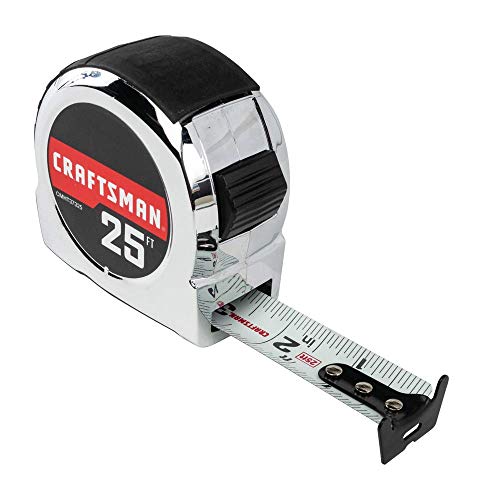
Check out this measuring tape on Amazon.
2. Prepare the area
Start by clearing out the garage so that you have full access to the ceiling. This includes removing any cars or personal items from the floor and anything that may be blocking the ceilings, such as personal items stocked on shelves or electrical wires.
3. Prepare and install rafter vents
Take your rafter vents and cut them according to a size similar to the insulation. You can use your utility knife to cut these boards easily. After you cut them, place them on the left and right sides of the garage, similar to the insulation.
Using a staple gun and ladder and install the rafter vents on top of the rafters. When applying the staples, note that you only need one staple for every eight to 10 inches for good security.

Check out this staple gun on Amazon.
4. Prepare the insulation
Next, take your insulation and place it right outside of the garage by the door. Then grab your utility knife and cut the insulation so that it fits between the rafters.
Place pieces of identical square footage on the left side of the garage, and then place the perimeter pieces on the other side of the garage. It might be helpful to label the perimeter pieces to locate them quickly. This keeps you from having to spend too much time searching for them when you come to those specific rafters.
5. Install the insulation
Starting with the insulation you placed on the left side of the garage, install it in the rafters beneath the rafter vents. You should be able to push the insulation into position if you have batt insulation. Align the front of the piece with the front of the rafter so that the back section of the insulation, the part covered with paper, faces down. If you have rigid foam, it can face either way.
Next, grab the irregular perimeter pieces of insulation and place them in position between the rafters. After installing the insulation, go around the entire ceiling to make sure that there are no gaps or crevices left open. If there are, cut additional pieces of insulation and rafter vents for these areas.

Check out this utility knife on Amazon.
6. Install the drywall (optional)
If you don't plan to leave the rafters open after the installation, you can install drywall sheets to make the ceiling appear more finished. To do this, you'll need to determine the level of thickness you want the sheets to have and the number of sheets that you'll need for the ceiling.
Are you more of a visual learner? Check out the entire process here!
Should I insulate my garage ceiling?
Insulating a garage ceiling comes with its advantages and disadvantages, and every garage will be different.
Pros
Noise reduction
Placing insulation on the ceiling works to dampen any sounds coming from the garage. This could be the sound of car engines, power tools, appliances, or other external sounds from nearby traffic. You'll also notice that the operation of the garage door will be a bit quieter as well.
Energy efficiency
You'll also help improve the garage's energy efficiency when you insulate the ceiling, especially when you have insulation on the walls as well. This means you'll lessen the coldness you may feel when stepping into the garage in the winter months.
Cons
Costs
Adding insulation to the garage means paying for materials and labor. That is, if you don't plan on performing the task yourself. Also, while insulation isn't particularly expensive, it can be if your garage is on the larger side. This also means that you will pay more for labor. However, it might be cheaper to perform this task yourself. Take note that it can be a bit labor-intensive and hard on your back and shoulders.
It may not be needed
If the walls of your garage are insulated, chances are you've greatly improved is the energy efficiency of the space already. And while adding insulation to the ceiling can definitely be helpful, many homeowners find that insulating the walls alone will suffice when it comes to energy regulation. Check out "Does a Garage Need Ceiling Insulation" to learn more.
What type of insulation should I use in my garage ceiling?
When it comes to insulating the garage ceiling, fiberglass batt or rigid foam tend to work best. You can use cellulose or foam insulation on the ceiling as well, but often it's much easier for homeowners to simply install the foam boards or rolls --and not to mention less expensive. You can also perform the task yourself without having to buy machinery or hire a contractor to install it for you.
What R-value do I need for a garage ceiling?
The R-value of insulation needed for your garage ceiling will depend on where you live and the local ordinances for your township. Generally, if the joist on the ceiling or 10 to 12 in deep, a density of about R- 30 to 40 is needed. You can also visit the Department of Energy's website for more information about the requirements for your zone.
What does it cost to insulate a garage ceiling?
The total cost for the installation of a garage ceiling would depend on the type of insulation that you use and the size of your garage. If you plan to install rigid foam or batt insulation, you can expect to pay anywhere from $0.30 to $1.75 per square footage of installed insulation. Keep in mind that this cost will be much lower if you decide to do it yourself. Cellulose insulation can run on the higher side, both for the material and the installation.
Wrapping Things Up
If you decide to insulate your garage walls, it's worth considering insulating the garage ceiling as well. You'll find that using batt rolls or rigid foam will be the easiest type of insulation to apply to the ceiling. Overall you can expect the project to take one to two days depending on the size of your garage and if you have an assistant.
Before you go, be sure to check out our other posts: