
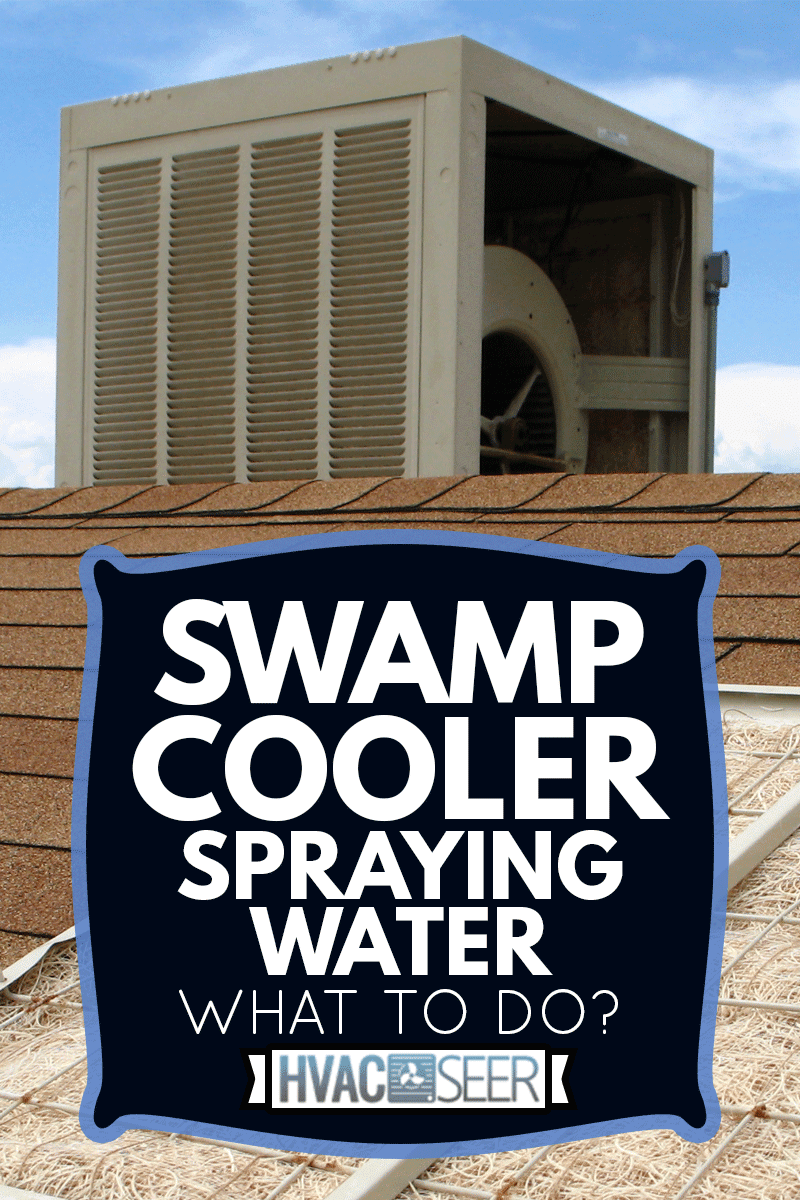
Have you turned on your swamp cooler during a heatwave, and instead of cool air, you feel like you’re being spritzed? To resolve this problem, we’ve investigated and collected the possible reasons why your swamp cooler could be producing a water spray along with or instead of the cool air.
Problems that can cause swamp cooler to spray water might stem from these areas:
- Distributor/Pump Tubes: leaks or misaligned
- Evaporator Pads: old, crooked, or protruding fibers
- Hard Water Issues
The cool air from a swamp cooler is so nice on a hot day. But if you’re getting a surprise shower instead, that’s not as nice! It happens when water evades the usual distribution channels and instead enters the fan blades. Continue reading for solutions on how to stop your swamp cooler from spraying water!
How to Locate & Repair Swamp Cooler Spraying Water
Leaking Distributor Tubes
If the distributor tubes are damaged, have holes, or are unattached, they can drip water into the fan instead of into the cooler pad media. This causes that feeling of being sprayed. Replace any damaged tubes, or re-attach if they are undamaged.
Mis-aligned distributor tubes
If the distributor tubes are not dripping directly into the water channel, which dispenses water to the cooler pads, they can drip water into the fan. Turn off and disconnect the power supply to the unit. Inspect the position of the end of each distributor tube. Make sure it ends inside the confines of the water channel. If it does not, adjust it manually.
Crooked/Wrong Size Evaporator Pads
If your evaporator cooler pads are installed crookedly or are the wrong size, then water from the channels might be dripping or splashing into the fan instead of being absorbed by the pad.
Turn off and disconnect power to the unit. Visually inspect the edges of all cooler pads. If there are gaps or they don’t fit, re-align them or replace them with the correct size. Carefully align or replace the pads so that there are no gaps between the edge of the unit and the edge of the pad.
Protruding Cooler Pad Fibers
Your cooler pad works because it is like a smooth sponge that soaks up water. When hot air flows through the pad, it picks up and evaporates the absorbed water. But if pieces of the media are sticking out, water can collect on them instead of absorbing. Then they can either drip or be sucked into the fan, showering you with the drops.
Turn off and disconnect the electricity, then remove the pads for visual inspection. Use a toothpick if needed, and tuck in any stray pieces that may be sticking out.
Cooler Pads Need Replacement
As your cooler pads age, they begin to disintegrate. As water is dripping down and soaking into the pads, it can reach thin or open areas without being absorbed and be vented right into the room, causing a spray or mist in the air. Visually inspect the pads for signs of age; notice any holes, dark areas, or pieces falling out - these are all signs it needs to be replaced.
Hard Water Issues
Build-up inside distributor tube
If there is hard-water buildup inside the distributor tube and it can’t exit, water will always find the path of least resistance. This could be anywhere along the line or where a pin-hole leak has formed. It can then drip out and be sucked into the fan. Clean your swamp cooler and run the pump with vinegar to clean build-up from inside the tubes. If the build-up is severe, you may have to replace the distributor tubes.

These distributor tubes are a common replacement item due to hard-water build-up. Click here to see them on Amazon.
 Hard Water Deposits on Pads
Over time, the fibrous media from which the cooler pads are made can trap and absorb hard water deposits. When this happens, water is no longer being absorbed well by the pad media. Instead, it is dripping down the pads, and when you turn on the swamp cooler, that water can get blown into the room as a fine spray.
Change the cooler pads more often. Once a year is standard. But, if you have very hard water or are using the cooler continuously, you may need to change the pads as often as two to four times a year.
Hard water deposits in channel
Hard water could be clogging the tiny holes in the channel through which the water drips onto the pads. This can cause the channel to over-fill with water and consequently spill over the edge into the fan - then it can be blown into the room.
- Clean the entire system with soap and water.
- With a hard-bristle toothbrush, scrub the bottom of the channel inside and out to help loosen any hard water build-up.
- Add vinegar to the pan and run it through the pump and tubes.
Prevent more build-up by changing the water in the reservoir monthly. Consider installing an inline filter or softener to the water line to limit hard water build-up.

Hard water build-up can be limited by adding chemicals that restrict their adhesion, such as this hard water treatment. See it on Amazon.
How do you fix a leaking swamp cooler?

If your swamp cooler is leaking, the first thing to determine is where the leak is coming from. The most common reason is a problem in the reservoir pan, from where the pump brings in water.
Float Valve problems
The float valve is attached to a water shut-off. When the water in the reservoir reaches a certain level, the float valve shuts off the water flow. If the float valve is too high, it could be allowing too much water to fill the tray, causing leaks when that tray overflows.
Manually adjust the float valve by bending the metal arm to adjust where the float valve will shut off the water supply. It works just like your toilet tank. Be sure that the level of the water in the pan covers the pump intake valve.
Damaged Reservoir Problems
If you have damage or holes in your reservoir, you will need to do some repairs. Below are two scenarios for DIY solutions to small and large holes. Additionally, to note, you can use this epoxy to fix a small hole due to rust or damage. See this epoxy on Amazon.

Fix Small Diameter Holes
A small hole is less than the diameter of a toothpick. You can repair it yourself with an epoxy made for that purpose.
- Clean and dry the area, remove any loose bits, sand the edges if needed, and sand the area to allow the epoxy to bond to the surface.
- Apply the epoxy using the manufacturer's directions; it’s easiest to mix it on a piece of cardboard. The patch should be about an inch in diameter.
- Sand the area smooth to avoid any crevices in which bacteria can flourish.
- Finish with a coat of waterproof sealant.

Use this sealant on a clean and dry surface. See this sealant on Amazon.
Fix Large Diameter Holes
For anything larger than a toothpick diameter, you can either replace the reservoir pan or do a little extra patching work to extend the pan's life. If you’re an experienced DIY'er, you can contract a sheet metal company to make you a new reservoir, then waterproof and replace it yourself. This would require tools to cut the existing reservoir off and re-install it with rivets or screws.
If you don’t have the tools for a complete replacement, you can do some patch repairs. This is a little more time-consuming than repairing tiny holes but definitely possible for the layman.
- Procure some pieces of sheet metal or fiberglass patches that cover the hole by at least one inch on all sides.
- Clean and sand the area to be patched, removing all debris.
- Use RTV Silicone to affix the patch according to the manufacturer’s instructions.
- Once all areas are patched, use a waterproof sealant to paint the entire inside surface of the reservoir.

You can use this kind of silicone to affix sheet metal or fiberglass patches. Check out RTV Silicone on Amazon.
Can A Swamp Cooler Run All Day?
Technically, yes, a swamp cooler can run all day. But practically, a swamp cooler can only cool a certain amount depending on the ambient temperature and humidity of the air. So running your swamp cooler all day could be wasting energy but not actually providing cooler air. Read the answer to the next question to understand how humidity affects the way a swamp cooler works.
For more in-depth information, refer to this article, "Can You Run An Evaporative Cooler All Day?"
How Many Degrees Does A Swamp Cooler Cool?
A swamp cooler works because water absorbs heat from the air. So the amount of heat that can be removed from the air is directly related to how much water - or humidity - is already in the air.
Portacool has a simple chart showing how many degrees you can expect a swamp cooler to cool:
- Hot & Dry - 105°F with 20% humidity - 30°F temperature decrease
- Hot & Humid - 95°F with 55% humidity - 13°F temperature decrease
- Warm & Dry - 90°F with 20% humidity - 24°F temperature decrease
- Warm & Humid - 80°F with 60% humidity - 11°F temperature decrease
As you can see, the hotter and drier it is, the more the swamp cooler can evaporate water into the surrounding air.
Is A Swamp Cooler Better Than AC?
Neither a swamp cooler nor an AC is better; rather, they are different systems, each suited to a specific type of cooling.
- Swamp coolers utilize water evaporation to cool the air - they work best in hot, dry climates, but they cannot be set to create a specific temperature.
- Air conditioners use contained refrigerants to cool and are valuable when a fixed temperature must be maintained.
When it comes to energy, however, a swamp cooler uses far less. At 0.15 cents per Kilowatt hour (Kwh), an AC unit uses $1.13 per Kwh, compared to a swamp cooler using only $0.26 per Kwh. But remember that the costs of supplying the water for a swamp cooler - up to three gallons an hour - could reduce those energy savings.
In Closing
As you can see, swamp coolers spraying water can come from several sources but is almost always due to water escaping its destined route. Find the source, and you will be able to remedy the problem. If you have hard water, you can take steps to help prevent it from causing problems in your swamp cooler. You can even do small repairs with the right tools. With this knowledge, you will be able to handle - or avoid - any further surprise showers!
For more information on cooling your home, look at these helpful articles: