
Fixing your torpedo heater regularly might help you avoid any kind of issues. There are certain actions you can do to fix the issue if your torpedo heater abruptly shuts off or only operates for a short time after beginning even with the cover on. We've researched this issue to bring you the solution.
These are the most common reasons your torpedo heater might not run with the cover on:
- Issues with the air pump
- Issues with the fuel
- Issues with the igniter system
- Electrical Connection Problems
- The issue with the heater’s control board
Depending on the specific problem, different solutions will be necessary, which we'll cover in detail below.
In this article, we'll see more than just how to identify and fix these problems. We'll also cover what to do if your heater is creating a foul odor and how to clean your heater's thermocouple. Read on to learn all about it!
Torpedo Heater Malfunctioning
When working in an unheated room in a cold region, torpedo-style heaters are a lifesaver. However, these heaters are prone to issues and sometimes abruptly ">shut off. Knowing how to fix this issue will help you stay warm and productive.
Air Pump
Make that the fuel and air pump filters are both clean. Examine the air hose that connects the air pump and the burner nozzle for any holes. If you do not locate any holes, take the air pump rotor apart and look for damage and cracks.
Depending on the cause, swap out the air hose or air pump rotor. You must select the correct space at the top of the carbon rotor while changing the air pump rotor.

See this Torpedo heater on Amazon.
Fuel
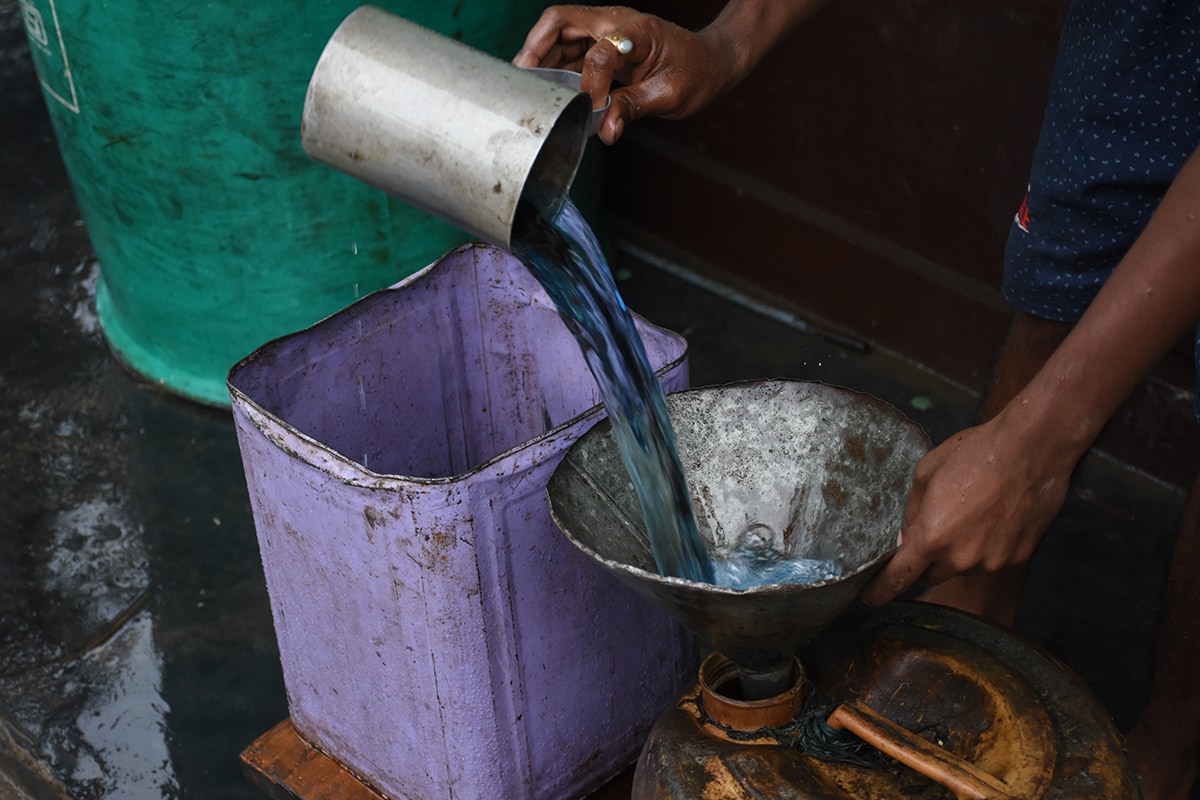
Kerosene should be poured into the heater if you are using kerosene as fuel, and only low-grade should be used. Check the device's kerosene tank, especially if it has been sitting about for a while after being stored because low-quality kerosene leaves large amounts of debris and clogs the orifices.
Check the propane level, as well as the valve, regulator, fittings, and supply hose on the propane cylinder.
Igniter
A pilot light is used to ignite the fuel in antique kerosene heaters or propane torpedo heaters. Verify the pilot light is lit and that it can be seen adjacent to the opening of the fuel delivery system. The flame should be solid blue with a yellow tip.
However, a thermocouple is useless if the pilot light does not stay lit all the time. Therefore, replace the thermocouple with a suitable part and give it another go.
Electrical Connection
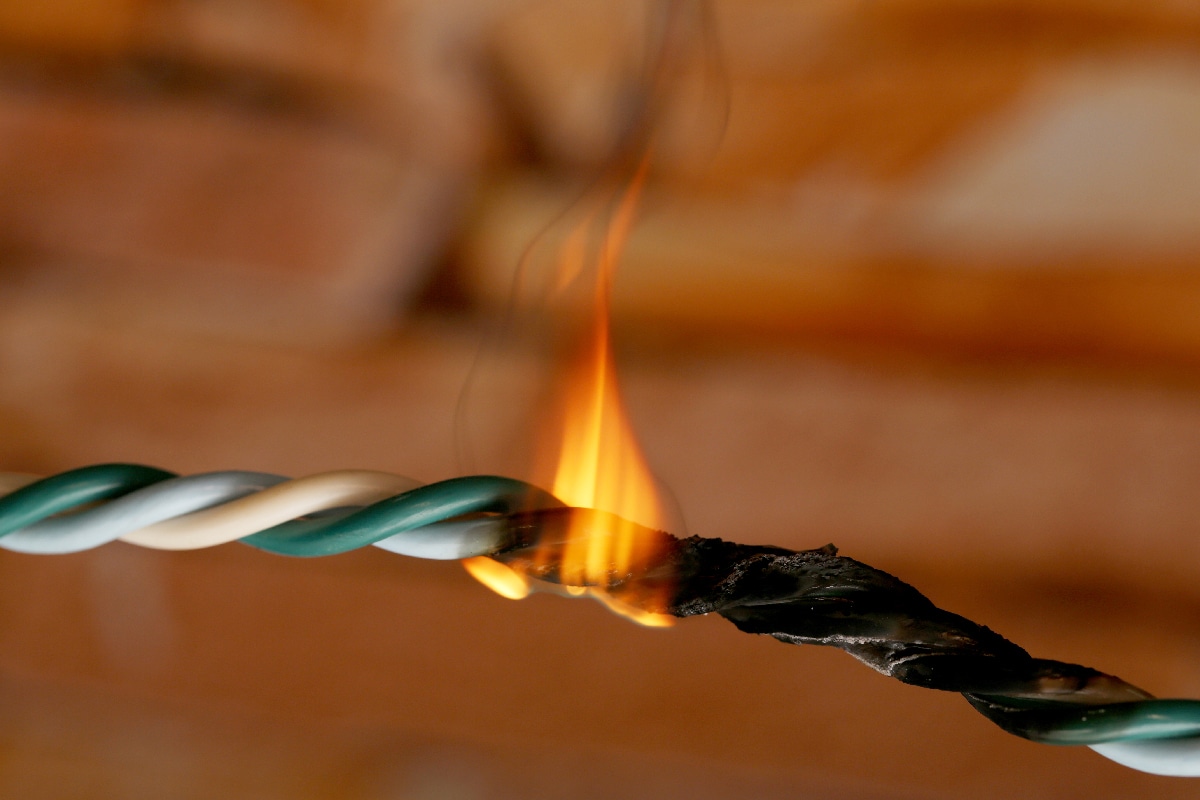
Your torpedo heater could occasionally keep turning off due to an issue with the electrical connection. For your heater to work effectively, the BCP and the photocell must have the necessary wiring connections. If not, you must fix this so that you may once more take pleasure in using your heater.
Examine the cables for damage as well. However, if you don't understand electrical connections, it is best to consult with an expert to resolve this issue.
Control Board
A control board is another feature of a torpedo heater that makes trouble-free operation possible. But if the control board has issues, it won't work properly. Instead, it will continue to shut off, making it unpleasant for you to use your heater.
You should get in touch with the producers for assistance because this is similar to a computer that needs specialists to identify the issue. They can swap out the control board, restoring your heater's functionality.

See this control board on Amazon.
Why Does My Heater Stink?
Your heating system may emit a little unpleasant odor the first time you turn it on after being idle for several months. When you switch on your heat, is there a burning scent present? We'll go over each issue's solutions, including how having your heating system maintained by a technician may completely prevent strange odors.
These may be the reasons:
- Accumulated Dust
- Wiring Issues
- Clogged or dirty air filters
- Cracked heat exchanger
It's comforting to know that your heating system will work during the occasional cold front. But when you turn on your heater for the first time after it has lain idle for several months, you can have an unpleasant surprise. To discover more about them and how to handle them, keep reading.
Dust
The most frequent cause of a burning smell coming from your heater is accumulated dust. No matter if you use a heat pump, furnace, or electric heater, a system that has been idle for a while might build up dust and other irritants from the air supply in your house.
These substances burn when the heating system is activated, giving off the fleeting smell of burning dust. Even though you don't need to call the fire department, you should search around to be sure the stench isn't coming from somewhere else.
Wiring
Although wiring problems are uncommon, a burning electrical smell coming from your heater may be a sign that there is an electrical issue. After one or two heating cycles, if the burning smell persists, there may be a major problem that needs to be troubleshot by a professional.
Air Filters
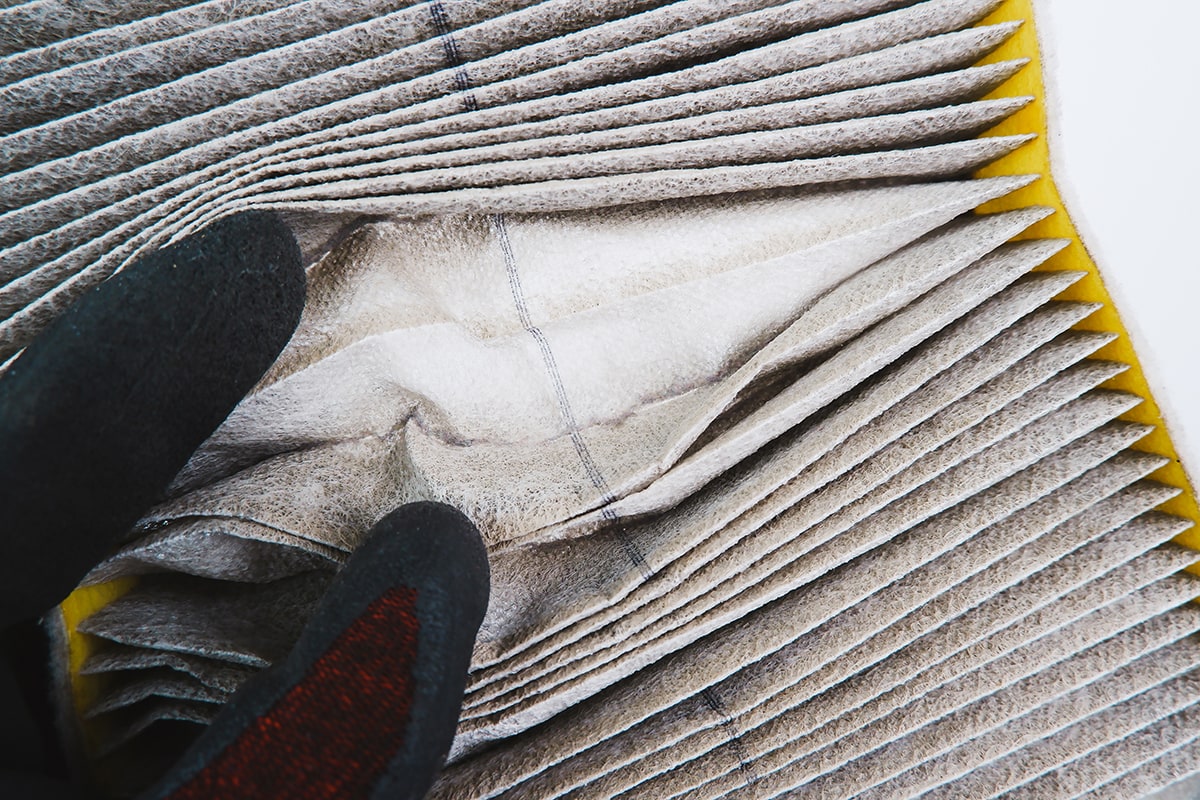
Another typical reason for smells in your house is clogged or unclean air filters. You may experience issues with this all year long. Your heater may work too hard and heat up excessively due to dirty filters. can cause your home to smell like it is on fire.
When you turn on your heater for the first time, open your windows to protect your home from the lingering odor. Before turning on your furnace for the first time this season, make sure to replace the filters to avoid airflow issues. The smell of your heater could potentially be a sign of a more serious problem.
Heat Exchanger
The heat exchanger is the heart of any form of the heating system since it generates heat. During the combustion process, the system produces harmful byproducts including carbon monoxide.
To prevent the heat exchanger's toxic vapors from entering your air, manufacturers enclose it in a protective chamber. But a broken heat exchanger will let those gases leak into your house, spreading a chemical and fishy odor.
How Do You Clean A Thermocouple On A Heater?
Do you want to know how to clean the thermocouple on your gas water heater? This step-by-step instruction manual will show you how to do it. We have searched these questions and have the results in this article.
Follow these steps:
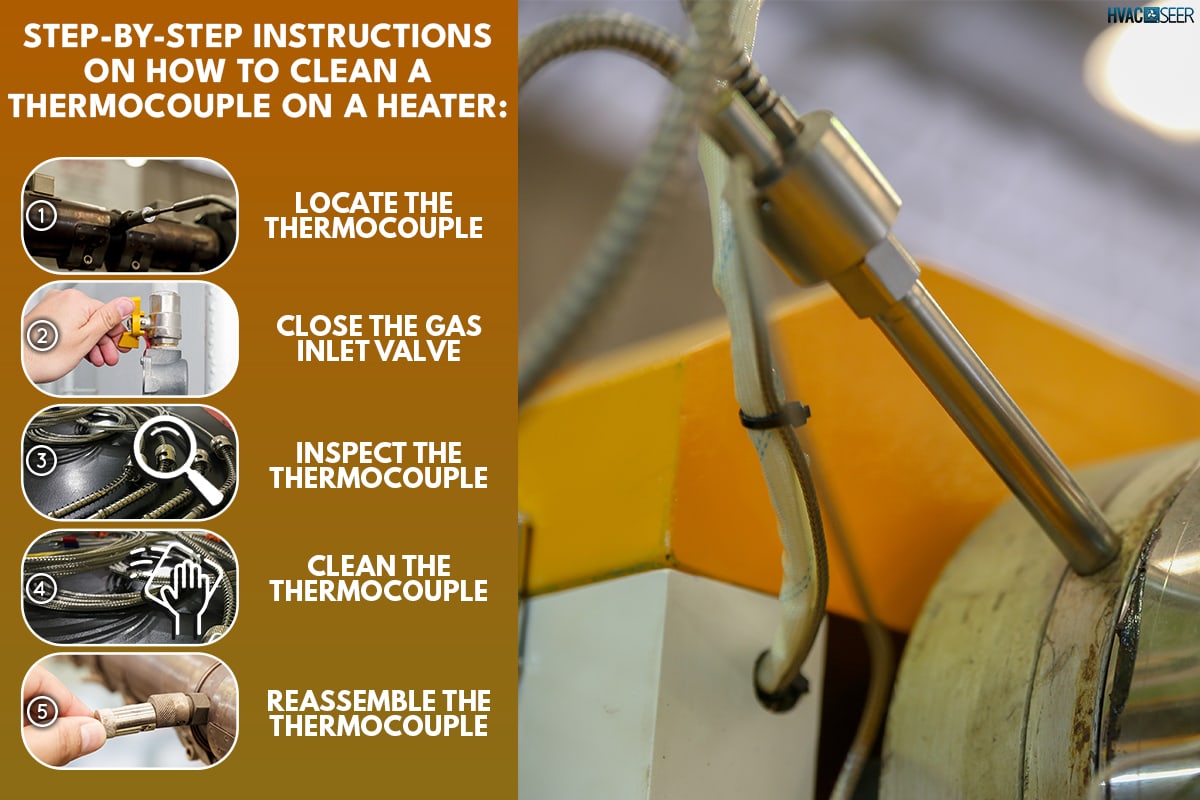
- Locate The Thermocouple
- Close the gas inlet valve.
- Inspect the thermocouple.
- Clean the Thermocouple.
- Reassemble the thermocouple.
Your thermocouple may begin to oxidize after it becomes covered in soot from the heat. This can result in the thermocouple breaking down, which might result in a huge explosion or possibly a fire risk. To discover more about how to handle them, continue reading.
Cleaning A Thermocouple
The filth and particles can obstruct the flow of electric current if they aren't removed. You may avoid this situation by learning how to properly clean thermocouples on water heaters. We simply researched the steps for you.
Locate
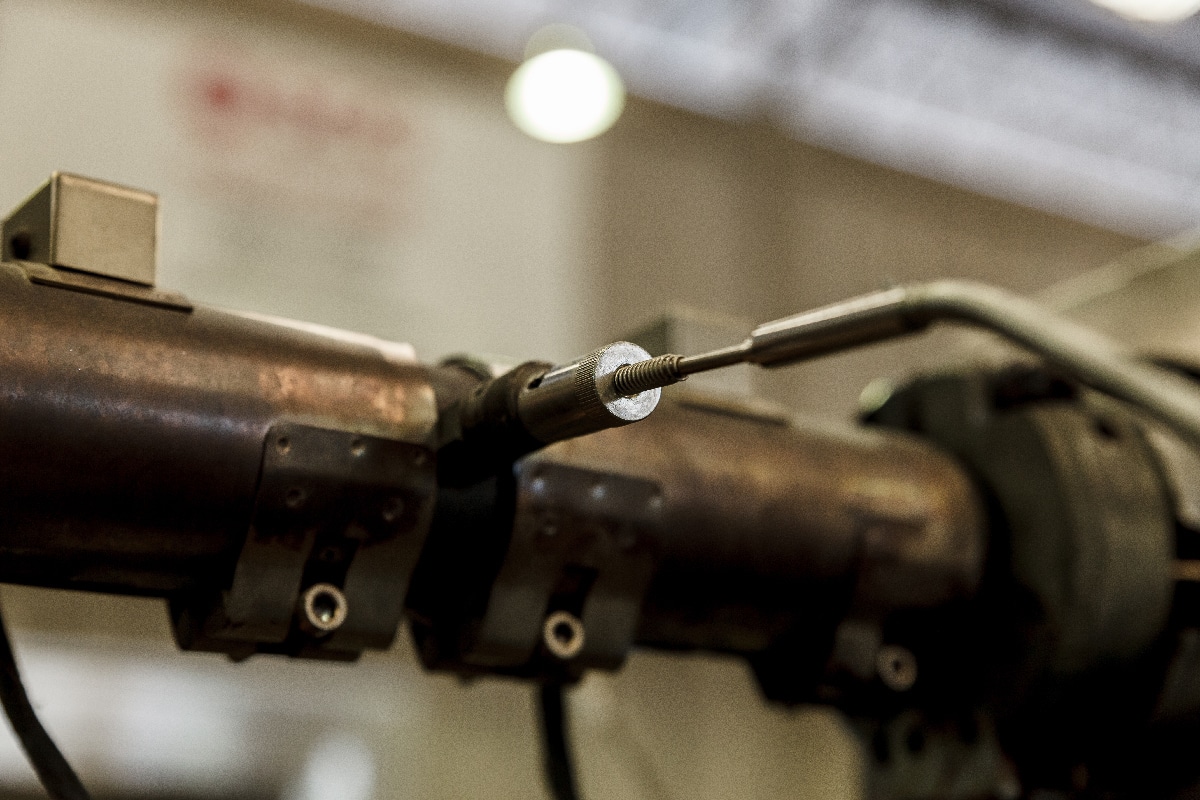
Before taking any action, shut off the gas supply. Using your wrench, first, take the thermocouple out of the circuit board. The thermocouple should then be taken out of its attachment near the pilot light of the heater.
Shut Off
The goal of this action is safety. The gas input valve may keep pumping natural gas into your house if it is not closed. That is something you want to avoid at all costs.
To avoid a potential fire hazard, you should also turn off the water heater's pilot light and breakers while you're at it.
Inspect
The smoke development needs to be cleaned up after the thermocouple has been removed. The thermocouple's capacity to detect heat growth or dissipation is limited by carbon buildup.
While you're at it, look for any rust that can prevent electricity from reaching the heater's pilot light on the thermocouple's terminals.
Clean
Use a paper towel to remove any debris or dust from the probe's sheath, paying particular attention to the spot where the insulation joins the sheath. Any rust accumulation on the sheath can be removed with an emery cloth.
Use a lint-free cloth to remove any remaining debris or dust from the thermocouple by dipping it into the water and vinegar solution. To remove any debris, properly clean the burner with some old rags. It will burn more effectively as a result.

See this lint-free cloth on Amazon.
Reassemble
Once you are satisfied with the thermocouple's cleanliness, it is time to reattach it to the same pilot assembly procedure. Use the same meticulous process to reassemble the thermocouple as you did to disassemble it.
Turn on the heaters and check to see if the pilot light is on to make sure everything is operating properly.
In Closing:
Your Torpedo heater may not operate even with the cover on for one of five reasons. There may be problems with the air pump, fuel, igniter, electrical connections, and control board of the heater.
Now you know how to identify and address these problems as well as useful information about heater maintenance. Regular maintenance is required to keep a torpedo heater operating effectively and burning cleanly.
If you find this article informative, check out these related posts:
Can You Use Lamp Oil In A Kerosene Heater? Should You?
How To Run An Electric Heater Off A Car Battery [Step By Step Guide For Extreme Weather]?