In millions of homes, water filtration systems are a standard addition. One of the most widely used water treatment methods is reverse osmosis. But among the Waterdrop G2, G3, and D reverse osmosis systems, which is best for your home? To help you make an informed choice, we researched to present detailed information on each system.
There is no quick way to choose which reverse osmosis system is best for you. The answer to the question "which is better" depends on several factors, the most vital of which is your budget. In the lineup of G2, G3, and D6 reverse osmosis systems, G3 is significantly more expensive than the other two. G2 is the least expensive.
In this post, we'll provide you with information on selecting the model of the Waterdrop Reverse Osmosis System to get for your home and go over some of the crucial information about this technology. Keep reading to discover more about its primary characteristics. We will also go through how to install your reverse osmosis system properly, as well as the filtration and lifespan of the device. Continue reading!
What Is Reverse Osmosis?
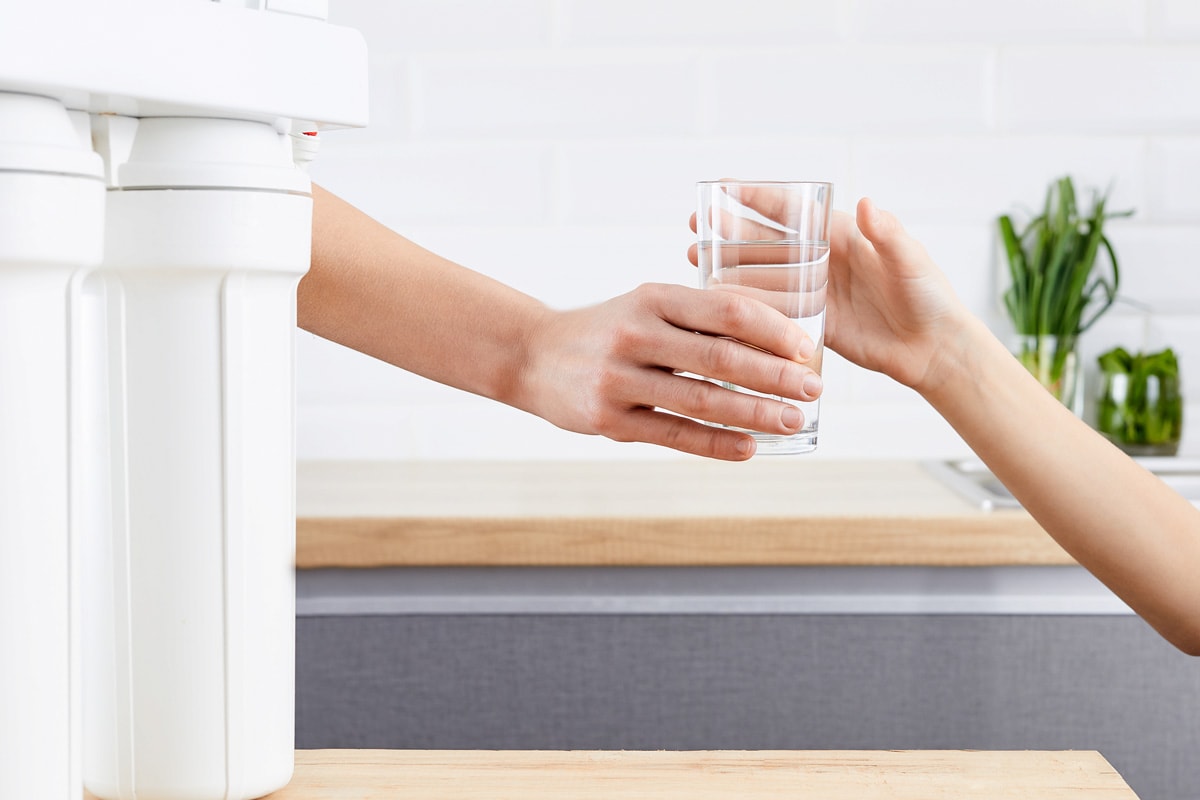
A semi-permeable membrane (or synthetic liner) is used in reverse osmosis water filtration to remove impurities from drinking water, including chlorine, salt, and sediments. Reverse osmosis can eliminate microorganisms, contaminants, and sediments; all nasty impurities that you don't want to drink. It causes water to purify at the molecular scale, only leaving behind pure H2O.
What Are The Main Features Of The Waterdrop G2, G3, And D6 Reverse Osmosis Systems?
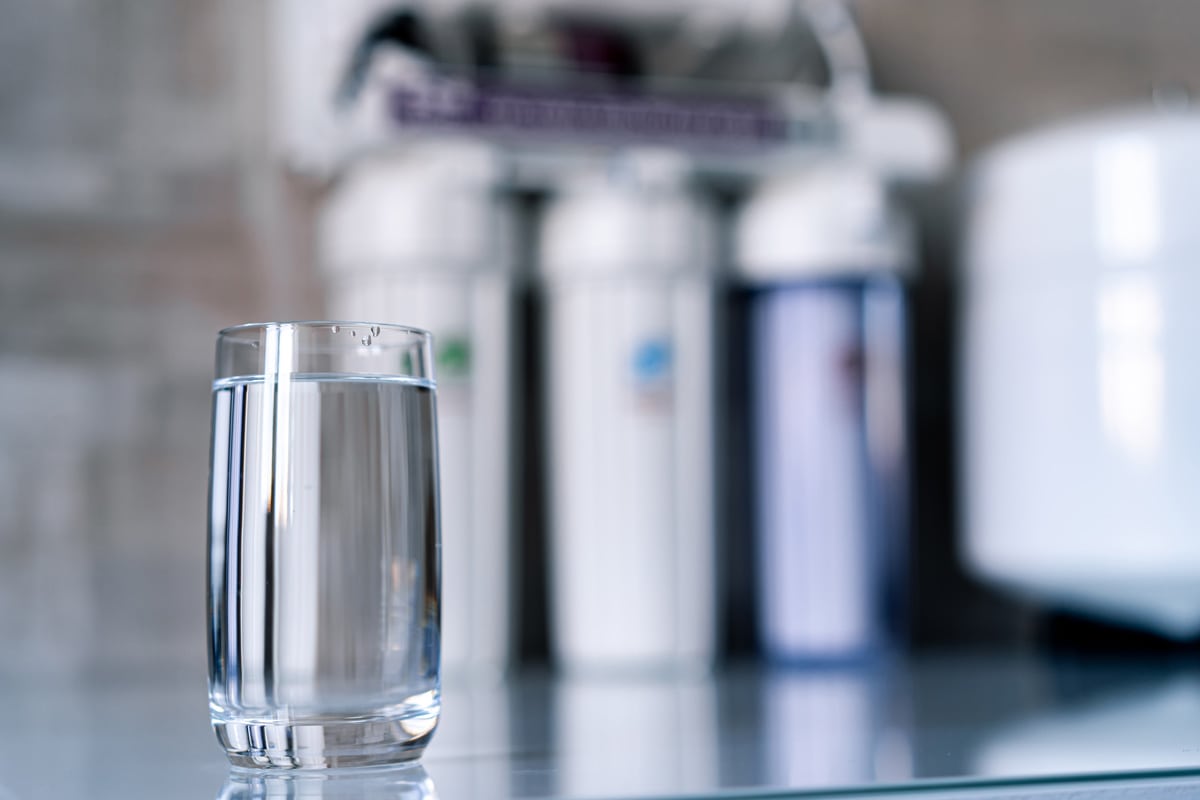
The key characteristics of G2, G3, and D6, listed below, will help you choose the ideal model for your home.
Faster Filtration Process
G2 and G3 can produce up to 400 GPD (gallons per day) of filtered water without a storage tank using an internal pump, as opposed to just 75-100 GPD of competing systems.
While the filtration procedure for D6 is much quicker at 0.42 gallons each minute, on average, the Waterdrop D6 Reverse Osmosis System has a flow rate of 600 GPD. Compared to the standard, this is 12 times faster and more effective. This is due to the inclusion of an integrated booster pump and a sophisticated filter membrane.
Drain Ratio
One issue with conventional reverse osmosis filters is their ineffective water usage. The quantity of water wasted by a RO filtration system is known as the drain ratio. Both G2 and G3 assert that their drain ratios are 1:1. All reverse osmosis water purifiers create concentrated water to remove pollutants; thus, often, at least some water is wasted during the cleaning process.
This flaw is addressed with the Waterdrop D6 RO system, with its exceptional 1.5:1 ratio between filtered water and wastewater. This is one of the lowest drain rates available in the water filtration industry right now.
Composite Filters
The 5-stage deep filtration process in the G2 reverse osmosis filtration system employs two composite filters, while the 7-stage procedure of G3 uses three composite filters.
The 5-in-1 composite filters in the Waterdrop D6 Water Filtering System combine many filtration methods into one.
Tankless Design
The basic tankless design used by the G2, G3, and D6 reverse osmosis systems inhibits bacterial growth and minimizes water contaminants. It can easily fit under your sink and takes up very little room in your kitchen, preserving the aesthetic of your ideal kitchen.
The tankless design of the G3 saves 50% of the area under your sink, compared to the bodies of the G2 and D6, which save 70%.
Budget Friendly
The G3 reverse osmosis is more expensive than the other two models, costing $500-$600, compared to the Waterdrop G2 costing $300-$350, and the D6 costing only $400-$450.
Click to see G3 reverse osmosis on Amazon.
How To Install A Waterdrop Reverse Osmosis System
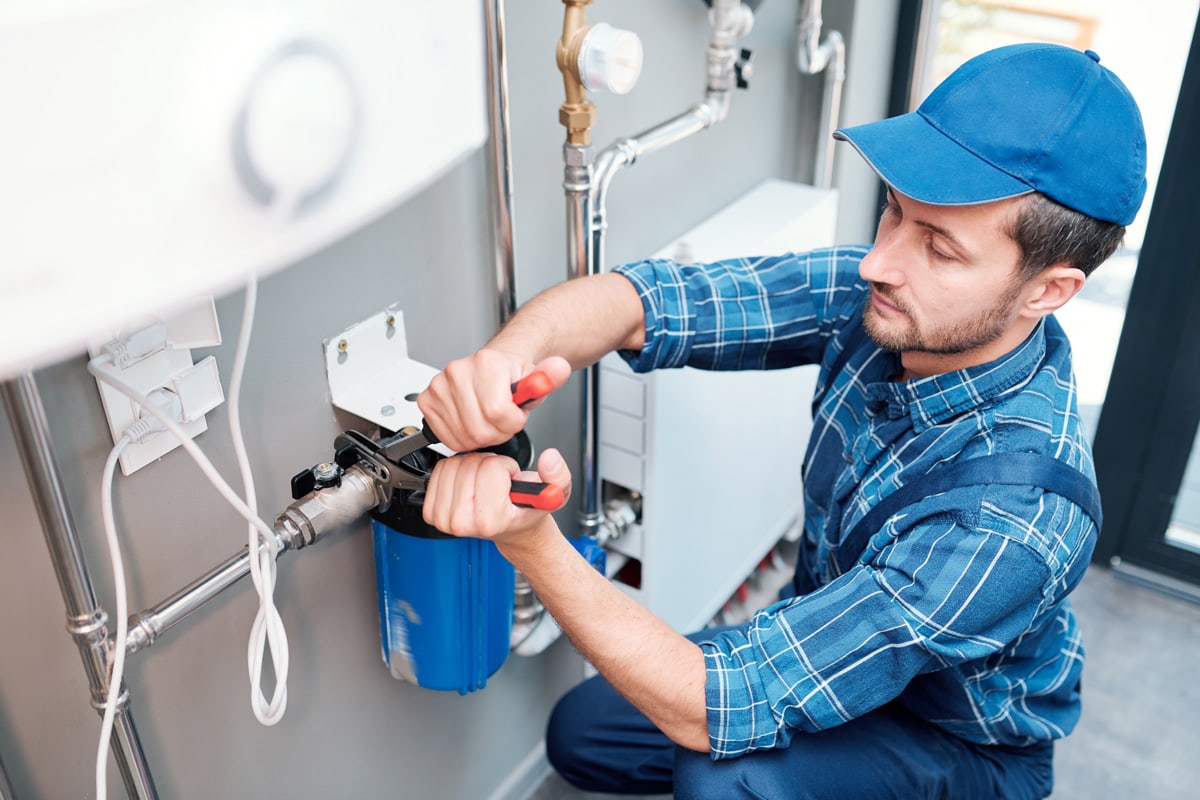
A reverse osmosis system is an excellent choice if you require filtered water. Purified water can be supplied by installing the RO system under your kitchen sink. These can be installed by anyone in just a few steps without needing a professional.
These set-up instructions work with all models and series of Waterdrop reverse osmosis systems, including Waterdrop G2, G3, and D6.
Step 1-Gather The Materials
Gather all of the necessary installation tools in one place before you start, such as; a screwdriver, adjustable wrench, small knife, drill bit, and towel.
Step 2-Inspect Your Reverse Osmosis Package.
Check the package to see if you have all the components needed to install your Reverse Osmosis system.
The system housing, a RO faucet, a drain saddle, a pre-sediment and carbon block filter, an activated carbon filter, and a reverse osmosis membrane filter should all be included in the box.
You will also find Teflon tape, lock clips, a power adapter, a feed water adapter, and red and white tubing. Verifying you have everything you need will enable you to begin the installation process.
Step 3-Install The Feed Water Adapter
Use 1/4-inch inlet water tubing for the Waterdrop G2 series and D6 system while 3/8-inch inlet water tubing for the G3 series to reverse osmosis system.
Turn on the kitchen faucet to let the water pressure out after turning off the water supply. Before moving on to the following step, be sure the water has stopped running. To catch the water, get a towel or a bucket.
The cold water supply valve to the cold water pipe connection must be disconnected. Adjustable wrenches should be used to tighten the feed water adapter after turning it onto the cold water supply valve with its washer.
Before connecting the pipe to the cold water supply valve and tightening it with the adjustable wrench, unscrew the two converters from both ends if the pipe has a 1/2-inch connection.
Step 4-Install The Reverse Osmosis Faucet
The faucet spout should be inserted into the faucet body. In the hole on the countertop, insert the stem of the faucet and the power cord. The mounting washer should be put on the faucet stem underneath the sink, and the nut should be slid on and tightened. The faucet stem must be fully and firmly inserted into the quick-connect fitting.
Step 5-Install The Drain Saddle
Drill a 1/4-inch hole where it will be easiest to install the drain saddle on the drainpipe. Make sure to avoid going through the pipe's other side. The drain saddle should be mounted on the vertical drainpipe.
Insert the tubing into the drilled hole to a depth of about 0.6 inches while securing the front plate to the tubing's unmarked end. Wipe up any water that may leak with the towel.
With the tubing still in the hole, place the rear plate over the drain pipe and use a screwdriver to evenly tighten the screws and nuts. Put the locking clip on the fitting to firmly secure the connection.
Step 6-Position The Reverse Osmosis Housing
Verify that there is enough room under the counter to install the system. Before installation, confirm that a power outlet is either in the kitchen cabinet or on the wall adjacent to the lower cabinet space. As there may be vibrations when the system operates, it is not advised to set the housing up against the cabinet.
Step 7-Connect The Tubing
Find the water ports for the system. There are three kinds of ports: input, filtered, and waste.
To install the Input water tubing. Feed water adapter input water tubing should be connected to the input water port marked "IN." Ensure that it is fully inserted up until the tubing mark.
Installation of the filtered water tubing follows.
Connect the "F" filtered water port to the filtered water tubing from the RO faucet. As you approach the tubing's mark, ensure it is completely entered.
The wastewater tubing installation comes last. Connect the "W" wastewater port to the wastewater tubing coming from the drain saddle. As you approach the tubing's mark, ensure it is completely entered.
Step 8-Install The Filters
Waterdrop reverse osmosis systems have either one, two, or more filters. Remove the filter's shrink wrap and safety cap.
One by one, insert the filters into the housing. To make it simpler to feed the filters into a position, the model/series D6 filters incorporate a handle. The locking pins on the G2 and G3 filter models/series must be twisted a quarter turn (90 degrees) clockwise to lock them.
Step 9-Start The System
To check for leaks, open the valve that supplies cold water and feed the water adapter. Verify that the power socket is connected. Flushing the filters should now be done.
Watch this video for more details.
How Long Will A Reverse Osmosis System Last?
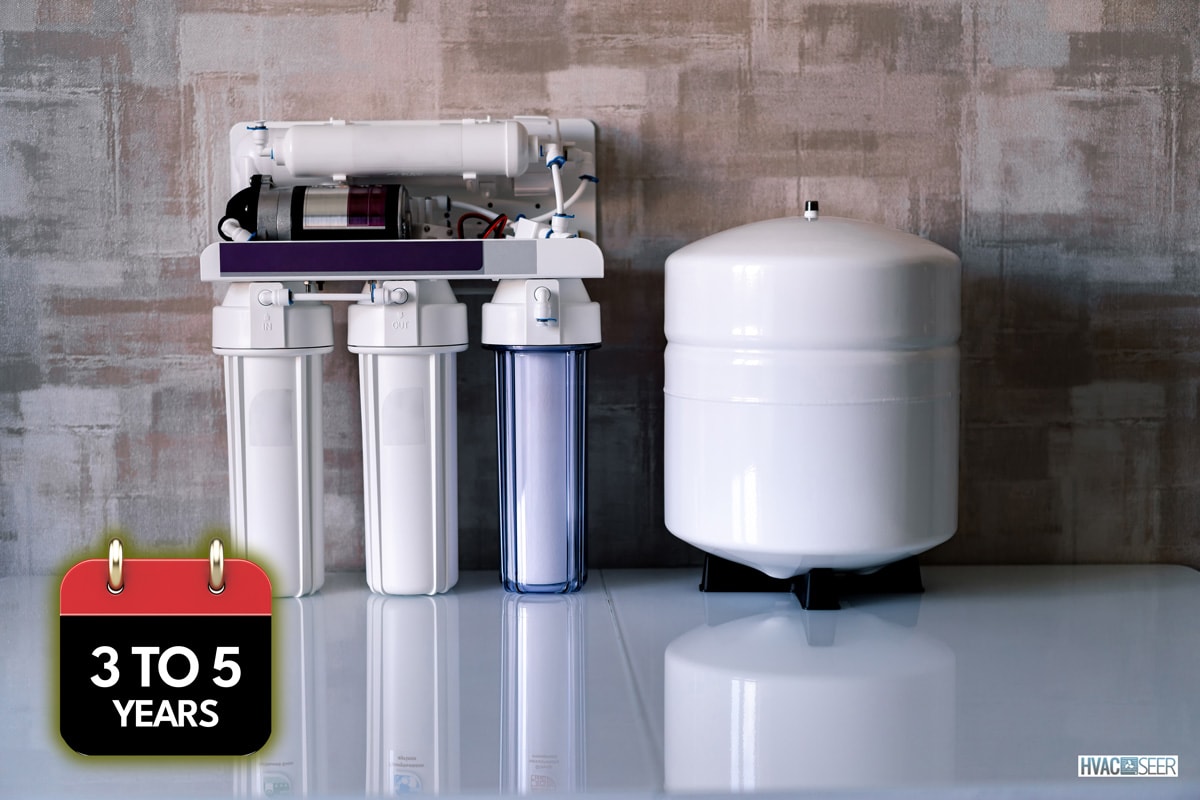
A reverse osmosis system typically has a lifespan of 10 to 15 years. But it's crucial to remember that, like all other devices, the system has consumables, such as membranes and filters, that must be changed regularly.
Filters often require replacement once or twice a year. However, the membrane has a prolonged life span of 3 to 5 years. Depending on the water conditions in the area where the membrane is utilized, the membrane's lifespan will vary.
Check out these water filter cartridges on Amazon
Conclusion
The best filtration systems for eliminating a significant portion of contaminants from water, including potentially dangerous bacteria, are reverse osmosis systems. When choosing a reverse osmosis system, knowing what factors to consider will help you make a wise choice. Everything comes down to your budget and, most significantly, the features of each reverse osmosis system.
If you enjoyed this post, you could check these other articles for more information:
How To Clean The Flame Sensor On A Rheem Tankless Water Heater [Step By Step Guide]


