
You may need to access your Whirlpool dryer's heating element because the appliance is malfunctioning. If you're not sure where the heating element is, don't worry. We'll point you in the right direction with the information we've gathered.
The heating element of a Whirlpool dryer is typically located on the back of the unit or under the drum. You should find a screwed-on panel in these locations.
You should unscrew the panel and open it to find the heating element. The element is inside a housing in the panel and looks like a spring. It's easy to spot if you follow this guide.
Locating a Whirlpool dryer's heating element should be fairly easy. If you have more questions, scroll down because we've incorporated all the bits and pieces of what you need to know. Additionally, we included guidelines for testing and replacing a heating element. Read on to learn more.
Locating The Whirlpool Dryer Heating Element
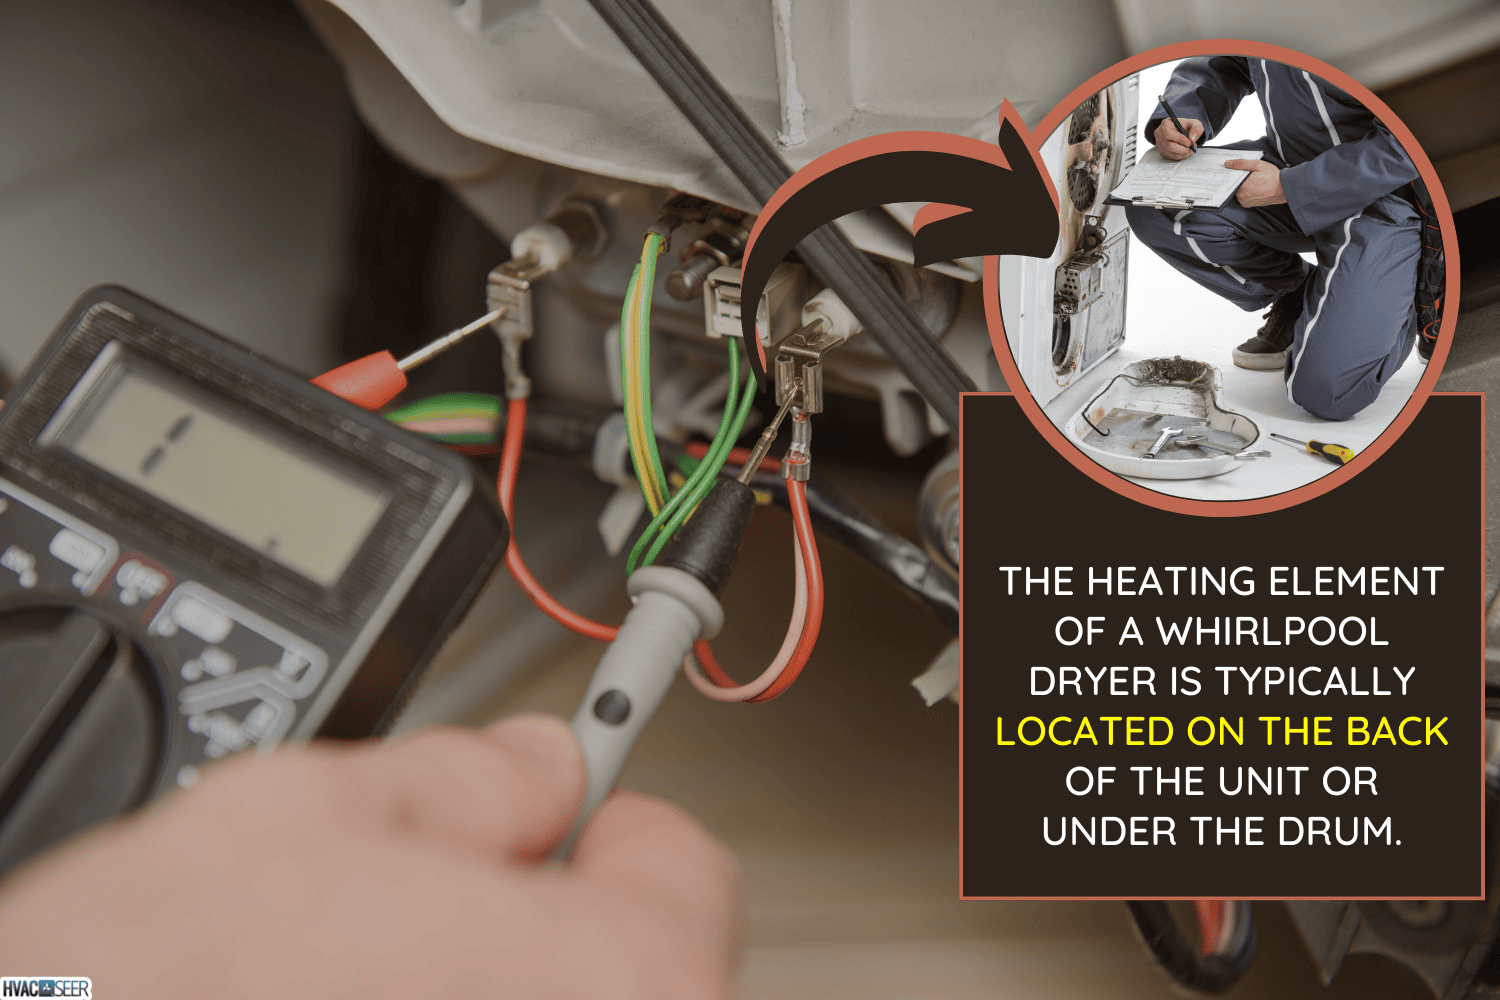
Remove the back of the unit to locate your Whirlpool dryer heating element. Next, look for a panel that usually resembles a metal box.
Look under the unit's drum if you don't see a panel screwed on at the back of the dryer. Then remove the front of the dryer. The Whirlpool dryer heating element is commonly only located in either of these areas, so it shouldn't be hard to find.
Next, unscrew the panel, which usually has nine 1/4 screws. Then slide the panel up or tilt it to remove it. The heating element is generally placed on the right side of the panel inside a long metal housing.
How To Test And Replace A Whirlpool Heating Element
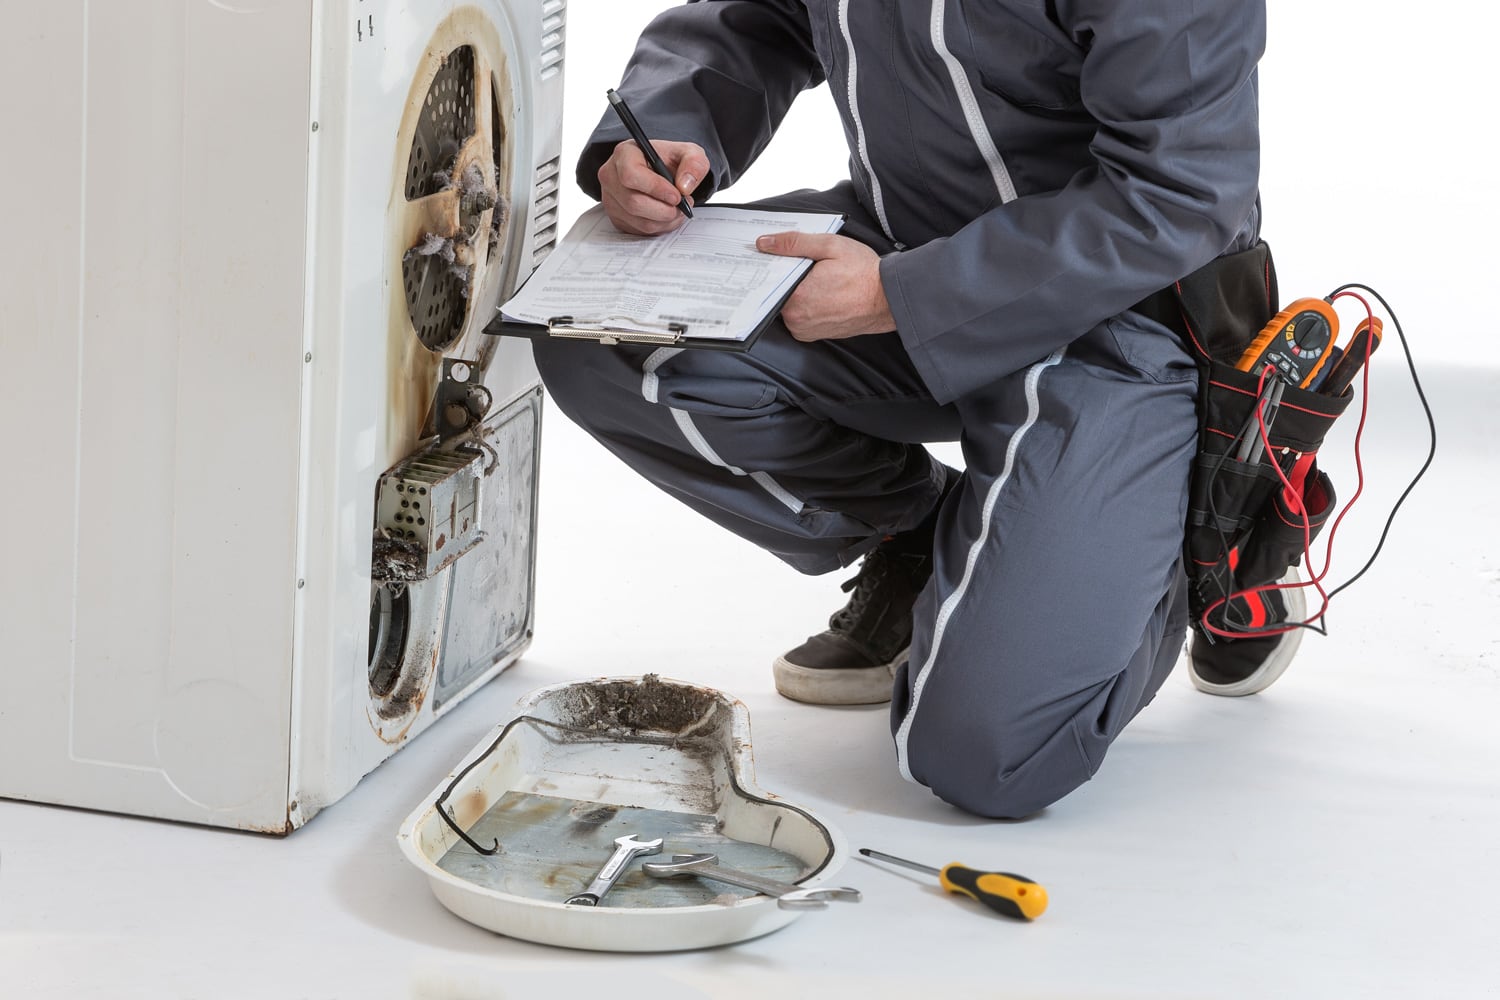
Testing and replacing a dryer's heating element go hand in hand. Before you change the element, you must first test it to ensure that it's what's causing the problem and not the other parts of your dryer.
If you have determined that the element is damaged, you should go ahead and replace it. Before beginning, unplug your dryer to protect yourself from electrocution. Then follow these steps:
1. Unscrew The Heating Panel
With a screwdriver, remove all the screws that lock the panel into place. Then slide up the panel cover. You should see the heating element housing and wires surrounding it.
2. Unhook The Wires
Below the bottom sensor of the element, you'll see two wires you can unhook. You'll also see a heating fuse below the larger casing to the left with two wires attached. It's held together by one screw, so remove this if you want a professional to check it.
You may skip this step if you don't feel the need to replace these wires, or if you don't see any visible damage to them.
3. Remove The Heating Element
Remove two of the mounting screws that hold the element into place. Then get the element out of the dryer by lifting its case. Turn the case upside down and remove the element by taking out the screw that secures it.
4. Look For Heating Coil Damage
See if there are any breaks in the coils of the element. If there are, you don't need to proceed with the following steps to test it because the heating element is damaged and needs replacement. You should immediately change the element in cases like this.
5. Test The Heating Element
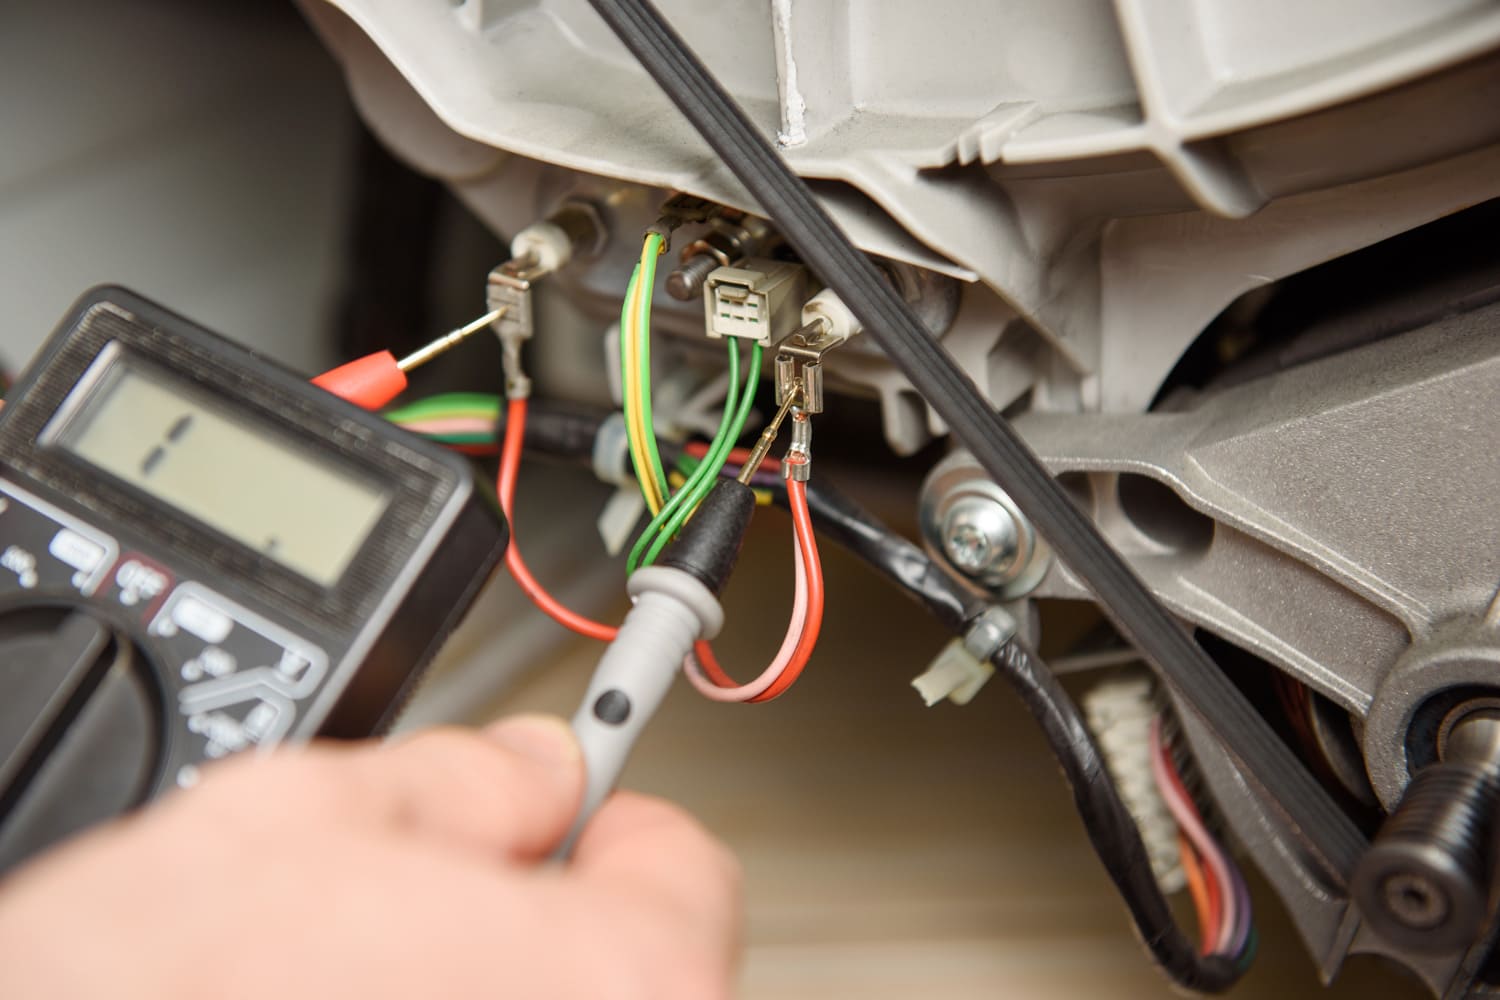
You can use a multimeter for testing a heating element in two ways. You can use it in a continuity setting or an ohms setting, depending on what option is available on the multimeter you own.
The process is the same for both settings, and only the reading differs. First, attach the multimeter probes to the leads or terminals of the heating coil.
A multimeter has two probes—one red and one black. You can connect each of their ends to any two heating coil terminals.
For multimeters with continuity, you should hear a beeping sound. Meanwhile, you should get a 5 to 50-ohm reading for multimeters with an ohm setting. You need to replace your heating element if you don't see or hear any of these.
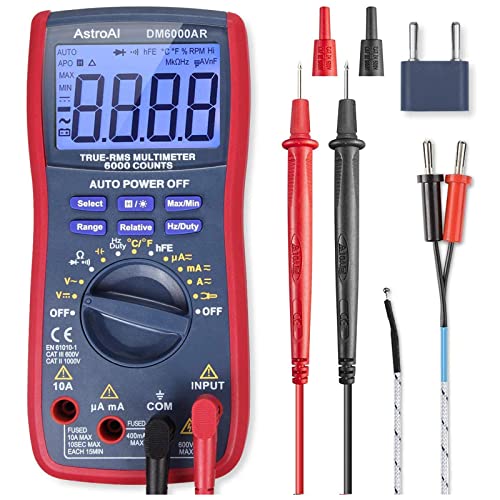
Click here to see this multimeter on Amazon.
6. Replace The Heating Element
For replacement, buy a heating element compatible with your model. Then install it and reverse the steps above.
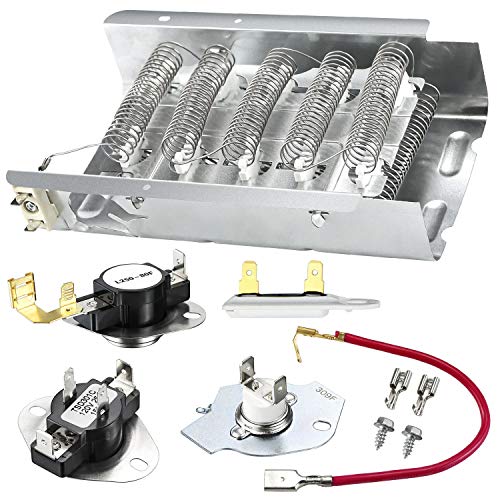
Check out this Whirlpool dryer heating element on Amazon.
How Do You Prevent A Heating Element From Burning Out?
A heating element can burn out due to overheating. That's why you should learn what makes a dryer overheat. There are several reasons for this.
Here are the common causes for a dryer overheating or the heating element burning out, and how you can prevent each of them:
Blocked Ventilation
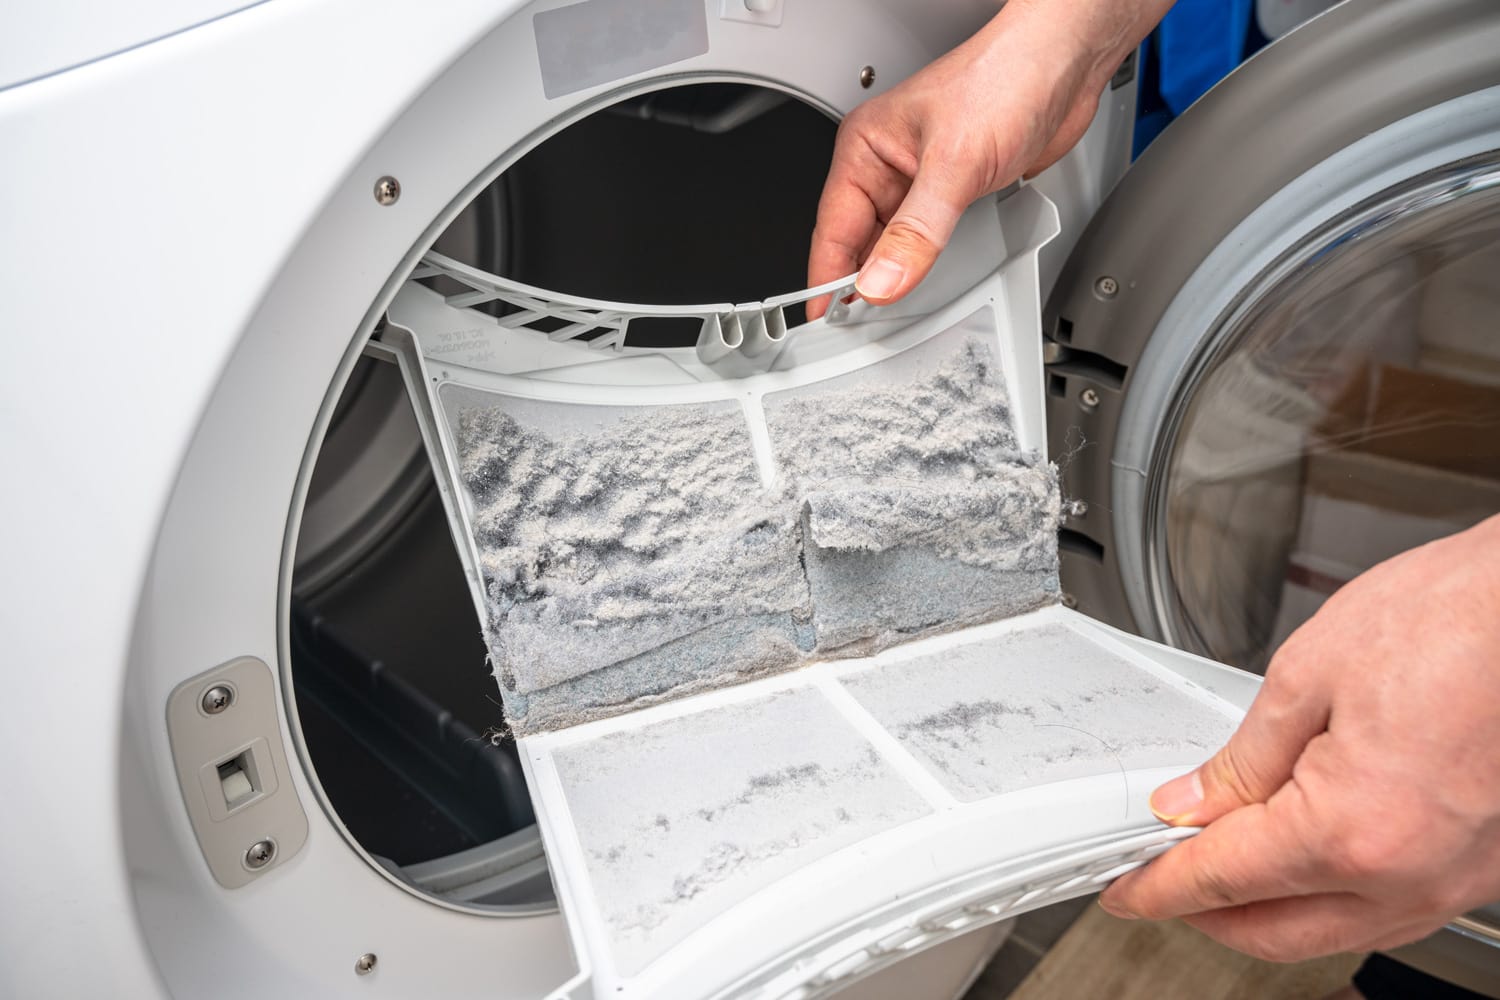
Usually, the back of the dryer takes in the air to dry out your clothes. Then this air or exhaust must vent outside. However, blocked ventilation from lint trapped in your exhaust vents prevents the proper airflow needed.
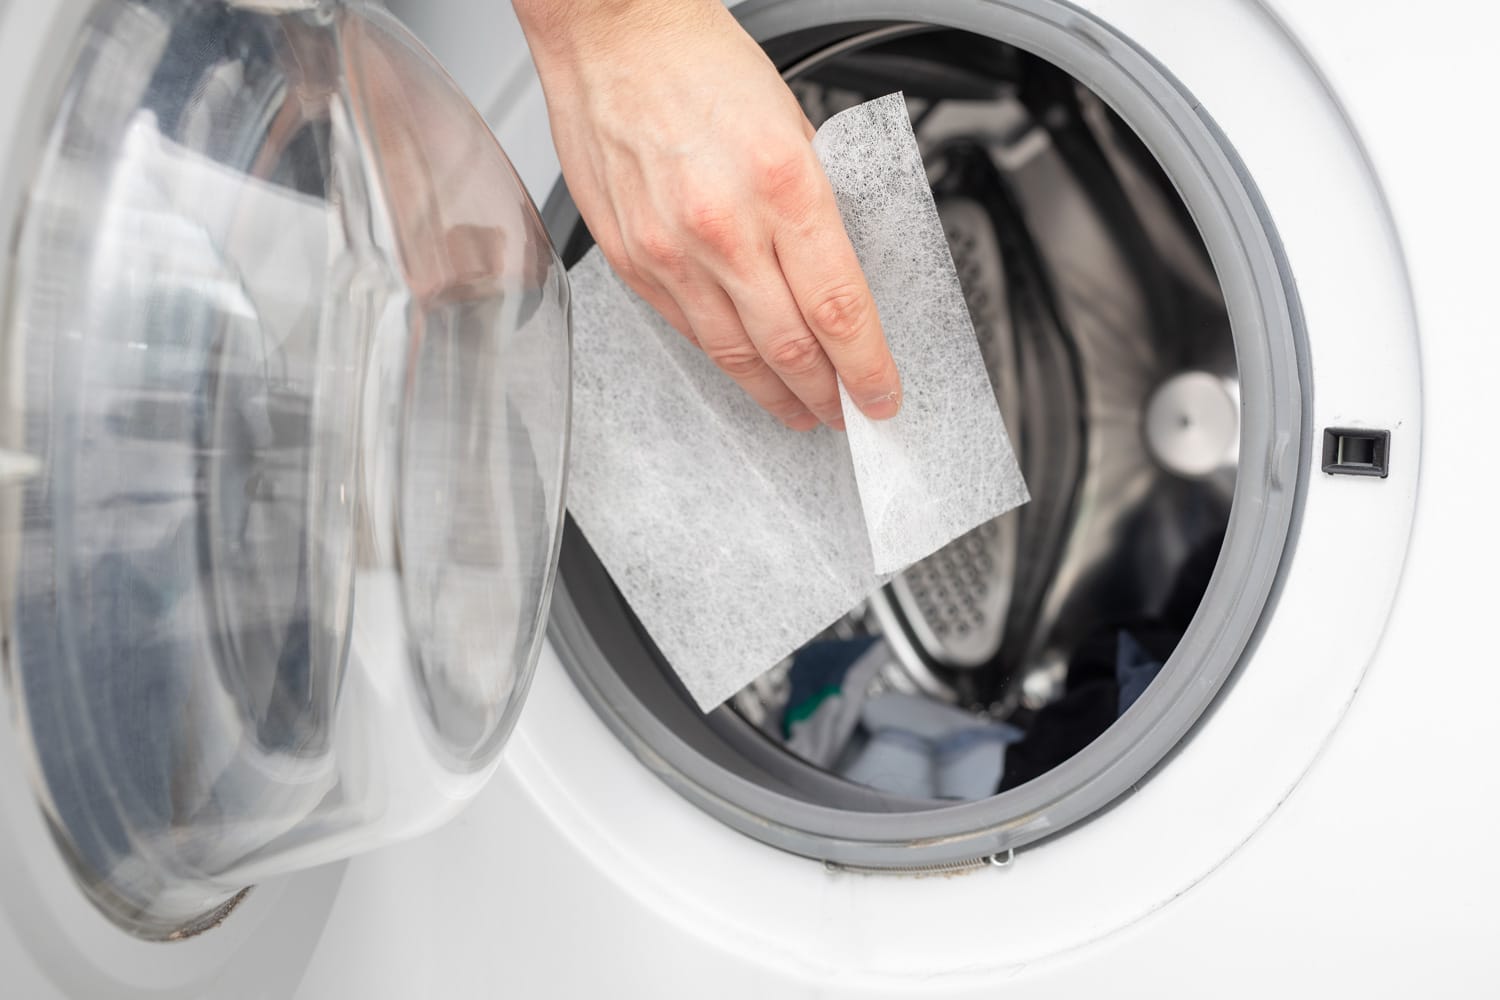
The exhaust air is hot, so if it gets trapped inside the dryer, it will cause overheating. To prevent this, clean the vents and lint trap of your dryer regularly.
Aside from regularly cleaning your dryer, you may also put space between it and the wall near it to increase airflow.
Read this post about cleaning a dryer vent for more information:
How To Clean A Dryer Vent Without The Moving Dryer?
Damaged Temperature Shut-off Switch
A temperature shut-off switch that works well can prevent your heating element from burning out even when your dryer malfunctions. Most dryers have this switch to protect their heating elements and the unit against overheating.
But if this switch is damaged, it won't be able to detect any temperature change, which in turn leads to the burning out of your heating element.
Temperature shut-off switches come with your heating elements. typically, you cannot prevent these switches from malfunctioning. To avoid this issue, buy a high-quality temperature shut-off switch so your heating element doesn't overheat.
Power Surges
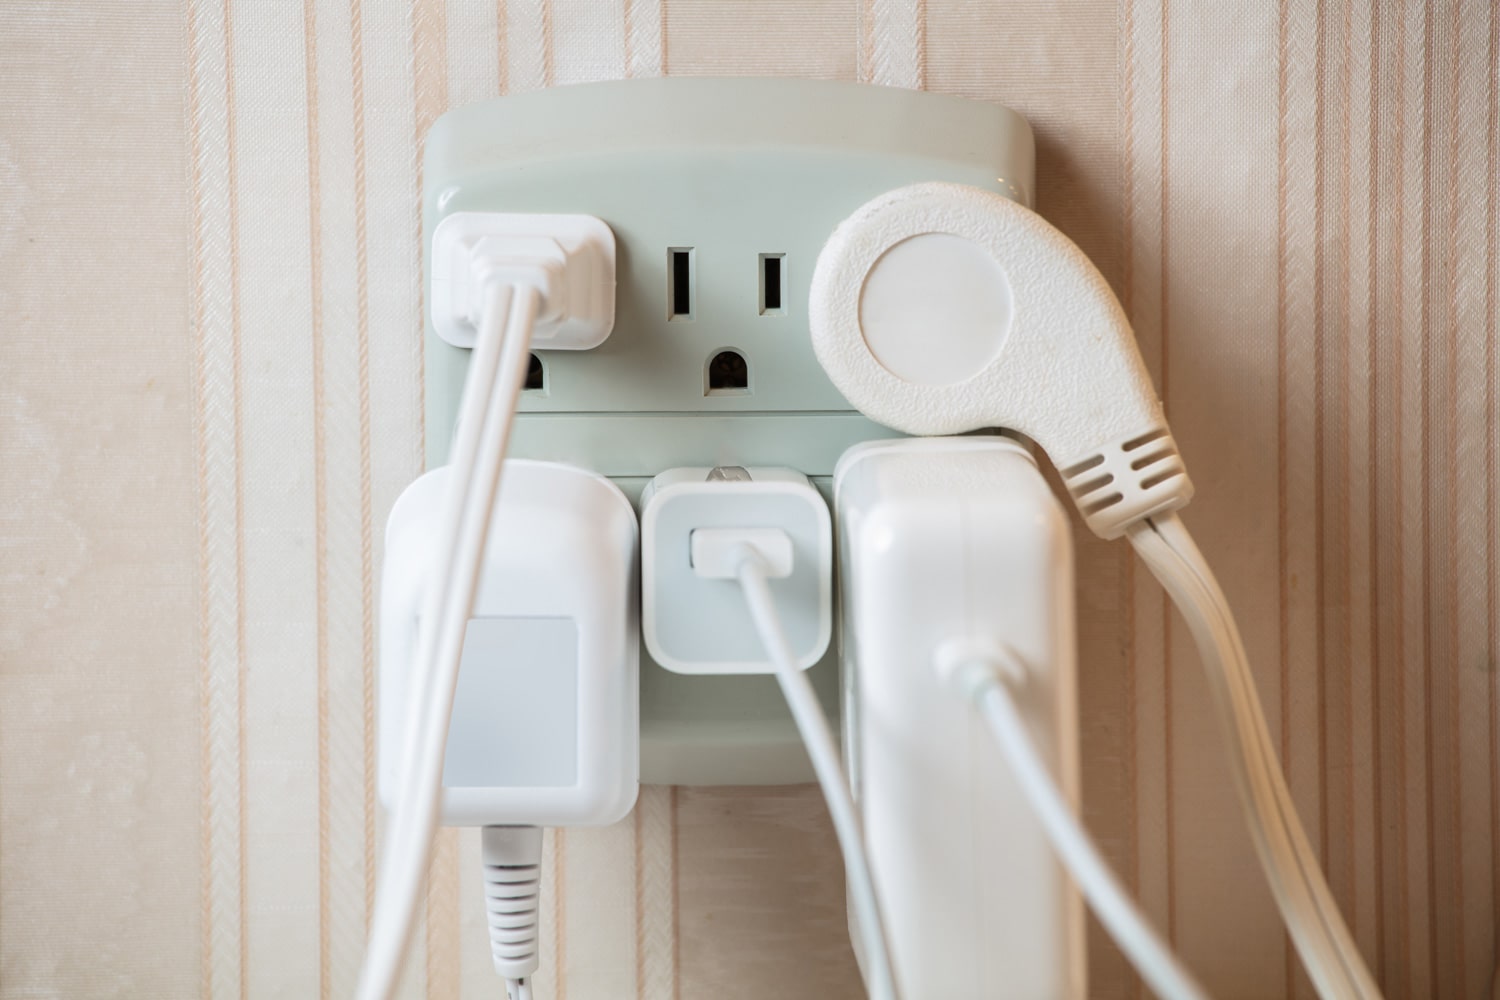
If you experience a power surge while using your dryer, it could lead to problems. A sudden high amount of voltage can generate heat in the element, which may cause it to burn out.
You cannot control power surges. But you can use surge protectors to protect your appliance against the voltage from these events.
An electrical overload may also ensue if your outlet has too many appliances or devices plugged in. You must avoid overloading your outlets and plugging your dryer into them.

Click here to see this surge protector on Amazon.
How Long Does A Dryer Heating Element Last?
The average lifespan of a dryer heating element is eight to 18 years, depending on how you care for and maintain your appliance. Proper maintenance and regular cleaning can lengthen the lifespan of the heating element beyond the estimated time, so make sure to do this.
What's The Cost Of Having A Professional Replace A Dryer Heating Element?
If you're having difficulty replacing your heating element, you can get a professional to do it for you. On average, this costs $100 to $200.
This price does not include the heating element's cost, which is around $35 to $60 and may go as high as $200.
For Whirlpool dryer heating elements, the price is usually about $40. It is essential to note that the price may still vary, especially if the heating element for your dryer is hard to find.
In Closing
It isn't hard to locate a Whirlpool dryer heating element because it is typically placed on the back or under the appliance's drum.
At either location, you should look for a metal box called the cover panel secured by screws. When you find it, you should unscrew it and find the element's housing.
If you're looking for your dryer's heating element in order to test or replace it, you can easily do this after you locate the element.
If you follow the steps for finding the heating element and unscrew it from its housing, it should be good to go for testing or replacement.