
While insulating your home is important, too much insulation can trap condensation and eventually cause harm. Your house's insulation should be balanced with good ventilation. Can soffit vents stop condensation in your home? We have researched this question and other ways to improve your home's airflow.
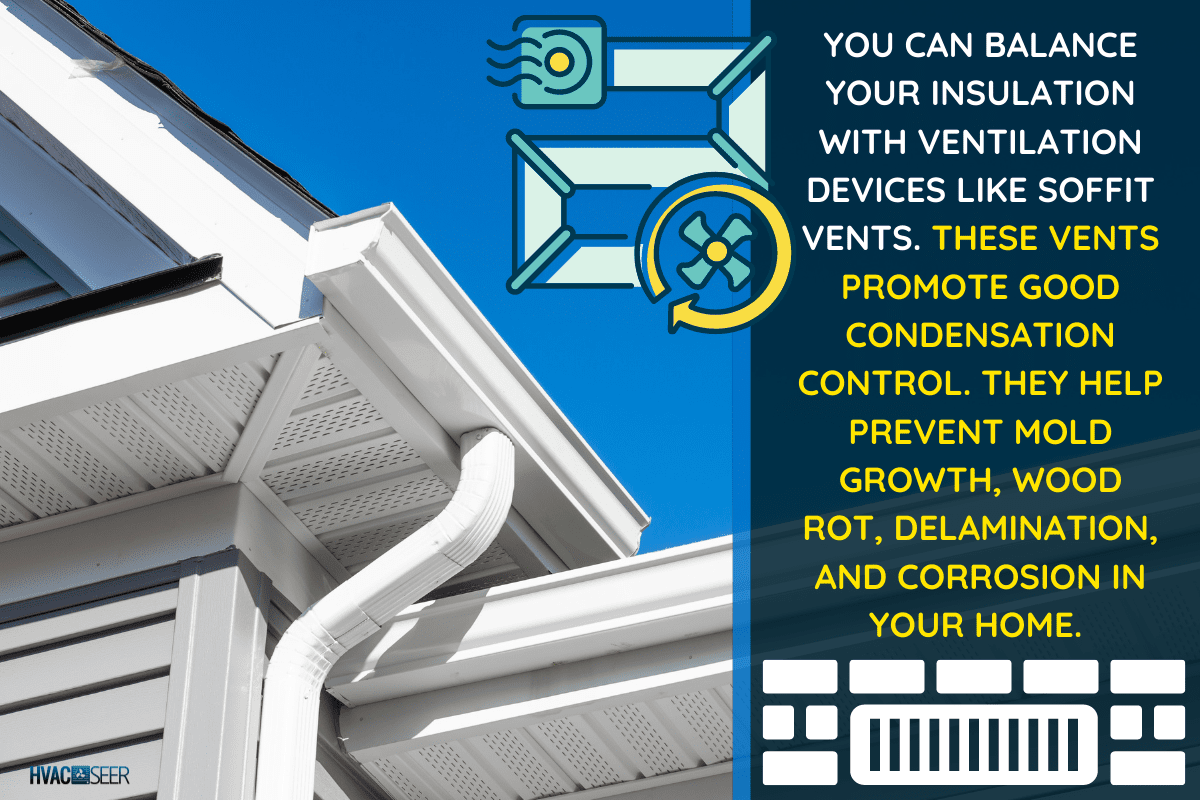
You can balance your insulation with ventilation devices like soffit vents. These vents promote good condensation control. They help prevent mold growth, wood rot, delamination, and corrosion in your home.
In this post, we will explore the benefits of installing soffit vents in your home. If you want to learn more, then keep scrolling!
How Soffit Vents Help With Condensation
Ventilation is just as important as insulation. The right combination of the two is the key to effective energy management in a home.
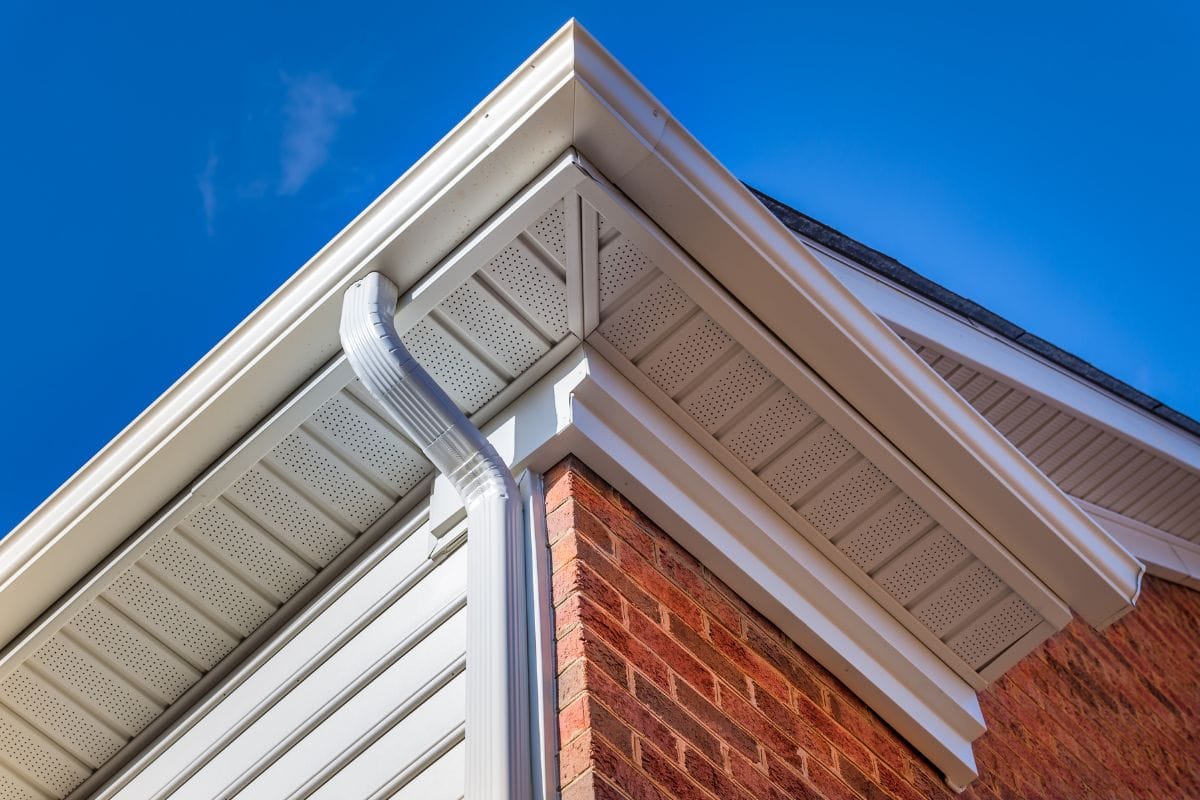
Soffit vents are important ventilation devices that help control moisture and temperature in your attic. These passive vents are best installed with other roof ventilation devices like the baffle and dam.
They allow fresh air circulation in the attic, reducing indoor humidity and encouraging the speedy drying of the assembly when condensation happens.
During the winter months, good airflow from the outdoors helps properly aerate the attic. In the summer, ventilation helps remove excess moisture and protect the integrity of roof shingles.
Note that the exhaust vent area should not be greater than the intake. However, in areas with high snowfall, it would not hurt to increase the intake area beyond the prescribed minimum.
The International Residential Code (IRC) allows a 10% area increase of soffit intake vents more than the exhaust venting area.
How Many Soffit Vents Do You Need
The calculation of the attic vent area depends on your climate zone. The rule of thumb is that your attic must have 1 sq. ft. of vent space for every 150 sq. ft. area. To determine the number of vents you need, follow this guide:
1. What is the total vent area for your attic?
Get the total area of the attic in square feet. Multiply its total length by the total width and divide by 150 sq. ft. The product will be the total vent space appropriate for your attic floor area.
2. What is the required net-free area?
From the total vent area, divide it by 2. The resulting figure is the net free area for the exhaust and soffit intake vents.
3. How big does each vent have to be?
The manufacturer usually supplies the net-free area of their soffit vents in inches. You will need to convert the measurement from inches to square feet.
To do that in square or rectangular vents, take the total measurement in inches of the vent's length multiplied by the width. Divide the product by 144.
The formula for round vents is lengthier. First, you need to determine the radius and multiply it by itself. Then, multiply the result by 3.14 (pi). Convert the product from inches to square feet by dividing it by 144.
4. How many soffit vents should you install?
Now that you have the manufacturer's measurement in square feet, you need to divide the soffit net free area by the individual vent area.
This will give you the number of vents you need to produce at their required square feet. Remember, when installing the soffit vents, space them apart equally.
How To Install Soffit Vents
Trapped condensation in the attic can compromise the quality of indoor air. Moreover, long-term exposure to condensation can cause structural damage to your home.
Your attic will greatly benefit from the installation of soffit vents. For DIY home installation, here is how to install your soffit vents:
1. Mark the area for cutting.
Using a marker or pencil, draw the lines for cutting down the center of the soffit. The dimension of the lines entirely depends on that of the soffit vents. Just make sure that the flanges of the vents overlap by at least half an inch on each edge.
2. Cut the lines.
Before cutting, determine the thickness of the soffit panel. It is usually around 1/4" - 3/8" in thickness. Create a 3/4" - 1" diameter hole through the panel between the drawn lines. Using a circular saw, set it to the right depth and cut along the lines.
3. Link the cuts.
Stop a few inches from the end of the line. With a saber saw or chisel and hammer, connect the two lines. You can then use a thin pry bar to remove the strip. Make sure to inspect the cutout for clogs.
4. Secure the vent in place.
To hold the vent in place, drill 1/8" holes through both flanges at 12" - 14" apart. Lift and position the soffit vents at the center of the cutout. Using a cordless drill, secure half-inch screws on the flanges and through the panel.
When drilling holes through the flanges, lay the flanges on an unused plywood sheet to serve as a cushion. It would also help to have an additional pair of hands when putting the vents in place.
5. Clear away the insulation material.
After installing the soffit vents, be sure to remove any insulation that can obstruct the vents. If the insulation is fiberglass batt, just pull it back to promote better airflow. If you are using blown-in insulation, use a rake or hoe to pull back the fluff.
6. Install the baffles.
To keep the airway open and ensure good airflow is introduced into the attic through the soffit vents, you need to install the baffles. Each rafter bay with vents needs a ventilation baffle in place. Staple the baffles to the plywood sheathing to secure the baffles in place.
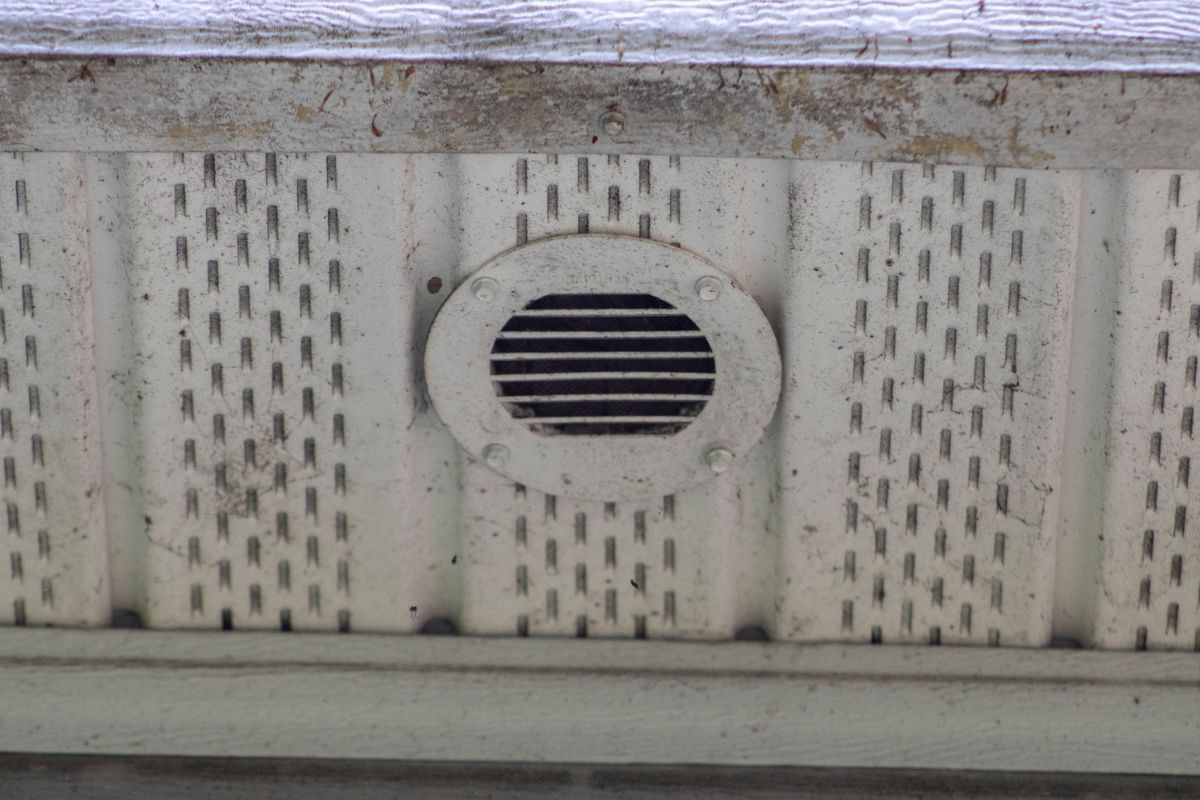
Should I Screen Soffit Vents?
Roof structures like chimneys and vents are primary entry points to your attic for birds, insects, and small animals. Unscreened soffit vents can become a tempting source of warmth for small creatures during the winter months.
To help keep your attic well-vented and protected from pests, install a screening mesh. Some soffit vents have preinstalled screens, and others are completely made of screens.
Perhaps you have already installed vents and just want to add another layer of screen protection. You might wonder if this can be done. Fortunately for you, the answer is yes!
To cover soffit vents with wide gaps, you can use a metal mesh called hardware cloth. This is a flexible but strong wire that is not easily damaged. This mesh comes with openings in various sizes from 1/8" to 1/2". If you wish to DIY this installation, follow this guide:
1. Prepare the tools and equipment.
For this installation, you will need the following:
- Extension ladder
- Flashlight
- Tape measure
- Heavy-duty gloves
- Aviation snips
- Hammer
- Roofing nails
- 1/8 or 1/4-inch metal mesh (hardware cloth)
2. Check the vents.
To reach the vents along the eaves, prop up your extension ladder. To make sure the holes are clear of any blockage, use a flashlight to illuminate the inside of the vents. Clean the vents, if needed.
With your measuring tape, measure the vent area to know how much hardware cloth to use. The cloth should have an allowance of 1" on each side. This extension is needed to anchor the mesh against the panel.
3. Prepare the screen mesh.
Cutting the mesh can result in sharp ends. Protect yourself by wearing gloves. Once your protective gear is on, cut through the mesh using aviation shears.

Click here to see this product on Amazon.
4. Install the cloth.
Position the hardware cloth over the hole, and keep it in place with your roofing nails. Ideally, the nails need to 2" - 3" apart, and completely seated against the surface.
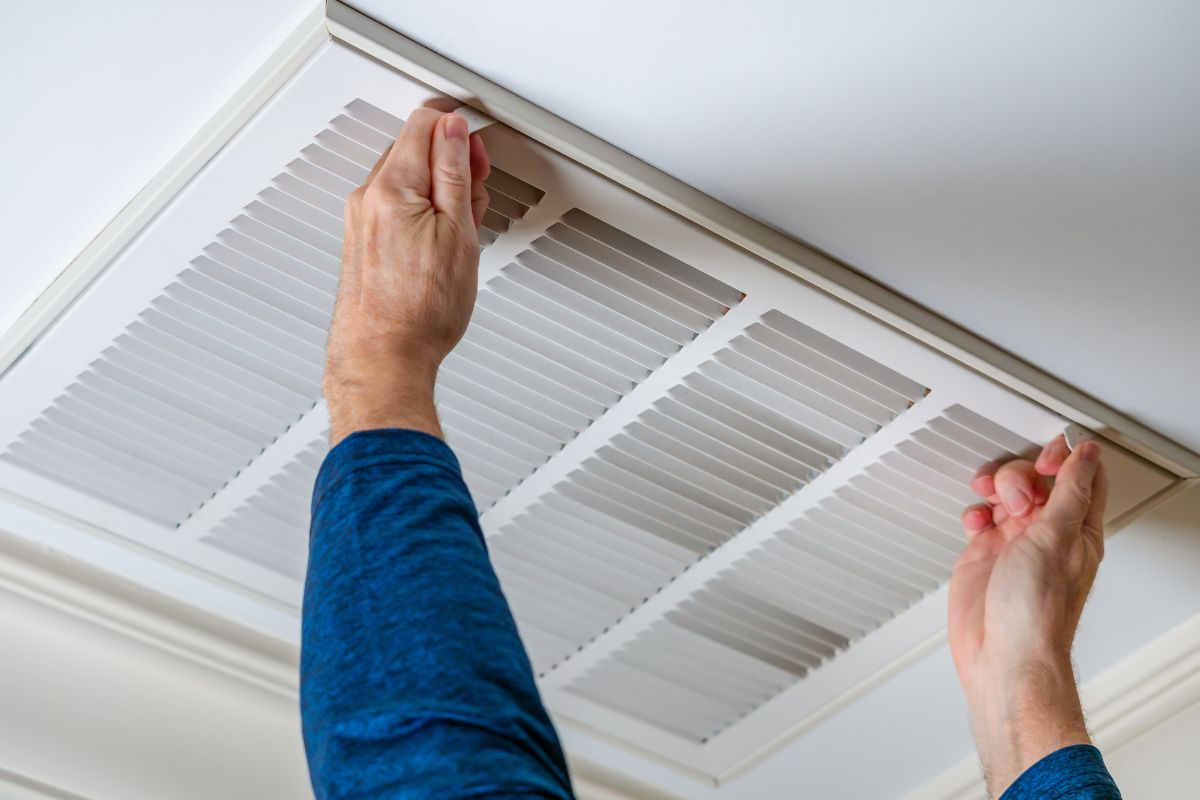
How To Improve Roof Ventilation
One of the best practices for managing indoor condensation is to build a ventilated attic. A well-ventilated attic has the following:
- A primed and coated ceiling (usually made of gypsum board)
- An air and moisture retarder to seal the joints
- Insulation such as fiberglass batt or blown-in insulation
- Airspace with intake and exhaust vents. The intake vents are typically placed low and the exhaust vents at least 3 ft. above.
- Structural support for the roof
- Sheathing material
- Roofing underlayment (commonly asphalt-saturated felt)
- Finishing for the roof like tiles, shingles, or even metal
Large airspace is crucial to ventilated attics. The benefits it holds are primarily condensation control or elimination. But for this to happen, there should be mechanisms to control air leaks from the house into the attic and a proper ventilation system.
Closing
To wrap things up, soffit vents are key features that help control condensation and excess moisture in your home. The passive airflow they provide from the outdoors is crucial in quickly drying condensation from indoors.
The vents serve their purpose best when used with other ventilation devices and installed in the right roof structure.
Check out these related topics:
Is It Normal To Have Condensation On Air Vents?
How To Keep Blown Insulation Out Of Soffit Vents?
Do You Need Soffit Vents In A Garage?
How To Tell If Soffit Vents Are Working [6 Methods To Try]