
When applying window insulation tape, you need to make sure that it adheres firmly to the surface. What should you do if the tape doesn't stick? We've researched this issue, and here's what we discovered.
Here are some easy tips you can follow to make sure your window insulation tape sticks:
- Use tape of the proper thickness
- Clean and dry the surface where you're applying the tape
- Apply the tape correctly
In this article, we will discuss the tips you can use if your window insulation won't stick, the reasons why it isn't sticking, and how to apply it correctly. Keep reading to learn more.
What To Do When Your Window Insulation Tape Isn't Sticking
Window insulation tape is a popular solution for homeowners looking to reduce drafts and energy loss in their homes. It is a type of adhesive tape that is designed to seal gaps between the window and the frame, preventing air and moisture from leaking through.
However, window insulation tape that is not adhering enough to the surface is not something new, and it usually happens, but you can always do something about it.
Here are some tips you can follow to make your window insulation tape stick again:
Check Your Tape
Ensure that the tape you're using is new. You should avoid reusing tape. Reused tape may lack adhesion and peel off the surface.
When applying tape to a rough or porous surface, you should use thick insulation tape. The thickness of the tape provides a larger surface area for adhesion, creating a stronger and more durable bond.
Clean And Dry The Surface
Before applying the tape, you should clean the surface where you'll be using it. If there is oil on the surface, try using an oil degreaser to get rid of it.
You can utilize a mixture of water and soap to clean the surface. Just apply a small amount of the mixture to a soft towel and wipe down the surface. Use a soft brush to eliminate the debris in the areas the cloth can't reach.
Make sure the surface is completely dry by wiping it with a cloth.
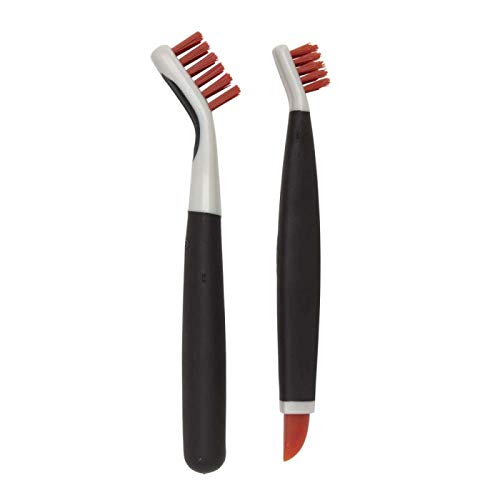
Click here to see this deep-clean brush set on Amazon.
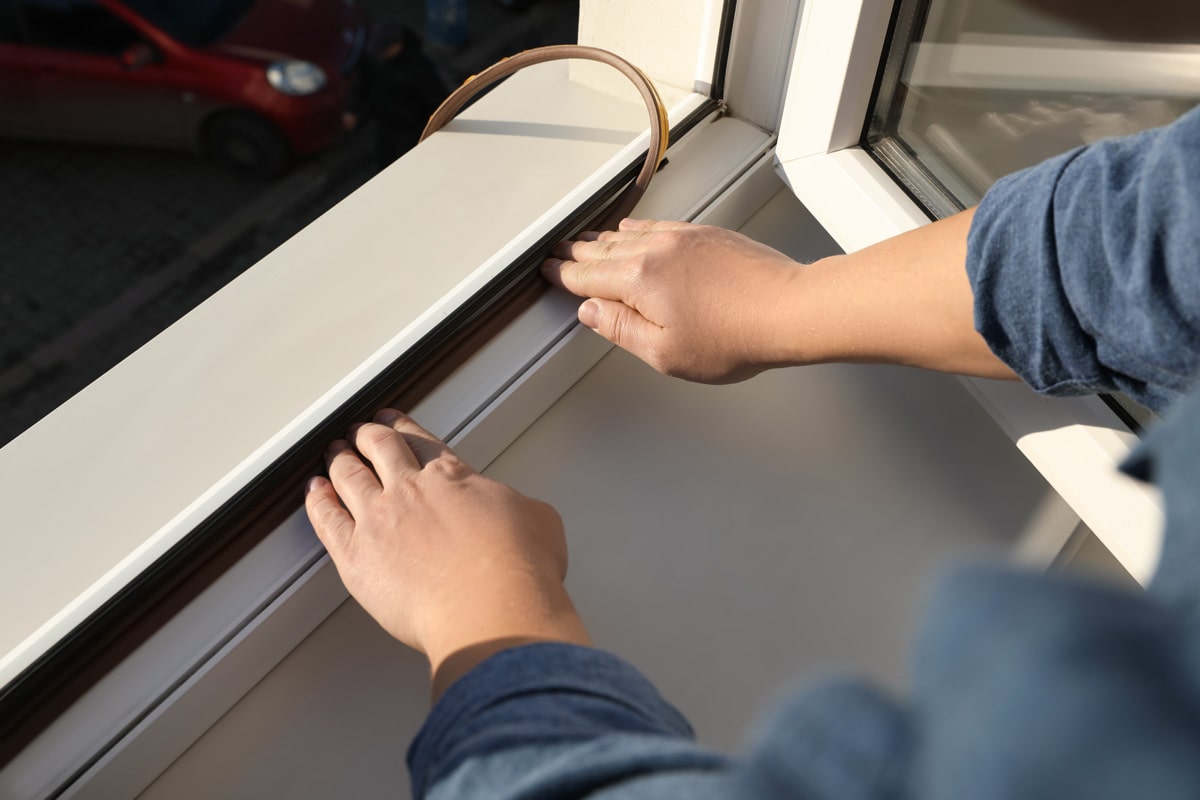
Apply The Tape Correctly
You must continuously apply the insulation tape with no wrinkles to ensure maximum performance. Press the tape firmly against the surface to ensure a tight seal.
Why Won't My Window Insulation Tape Stick?
There are several reasons why insulation tape may not stick properly to a surface. One common reason is the presence of dirt or debris on the surface. Dirt and debris may be present on the window's sides, resulting in a barrier and less surface-to-tape contact.
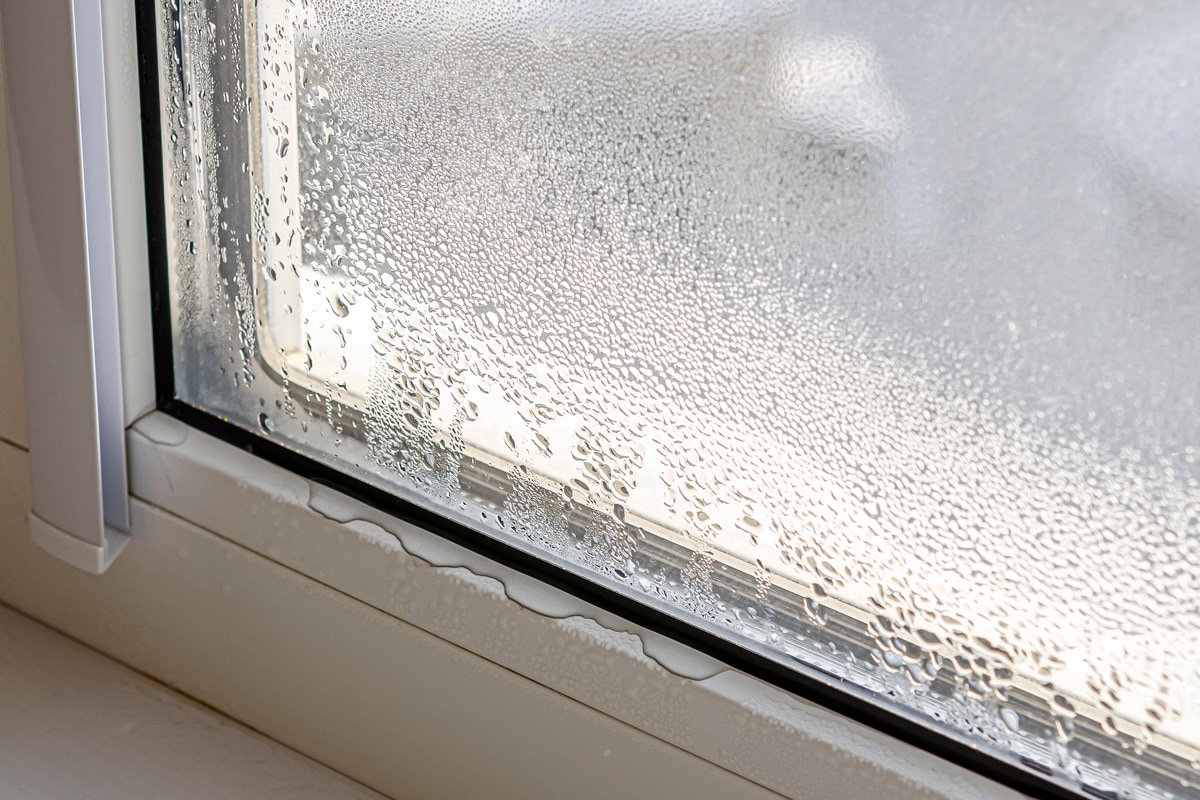
Another reason for poor adhesion is a wet surface. If the surface is wet, it can prevent the tape from adhering properly. Additionally, if the tape is not applied correctly, it may not create a strong and lasting bond.
How Do You Use Insulation Tape On Windows?
Air leaks in windows can contribute to a 30 percent loss in energy. You should take action to prevent this from happening in your home.
Installing insulation tape on your windows can significantly help with your home's energy loss. Follow these steps to install window insulation tape:
Choose the Proper Tape
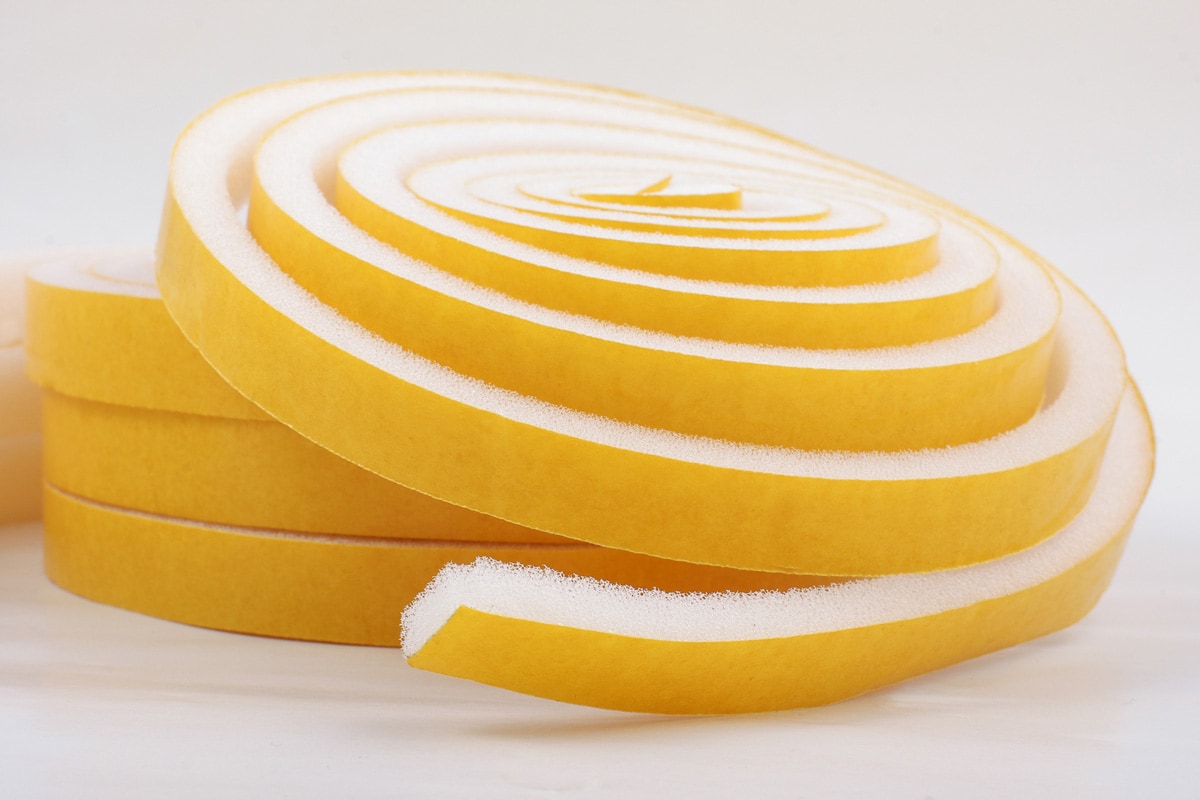
This step is crucial. You will need to consider the material and the size of the surface you're covering. You should choose thick insulation tape if the surface you're working with is rough. You want to make sure the tape will adhere well.

Click here to see this high-density foam insulation tape on Amazon.
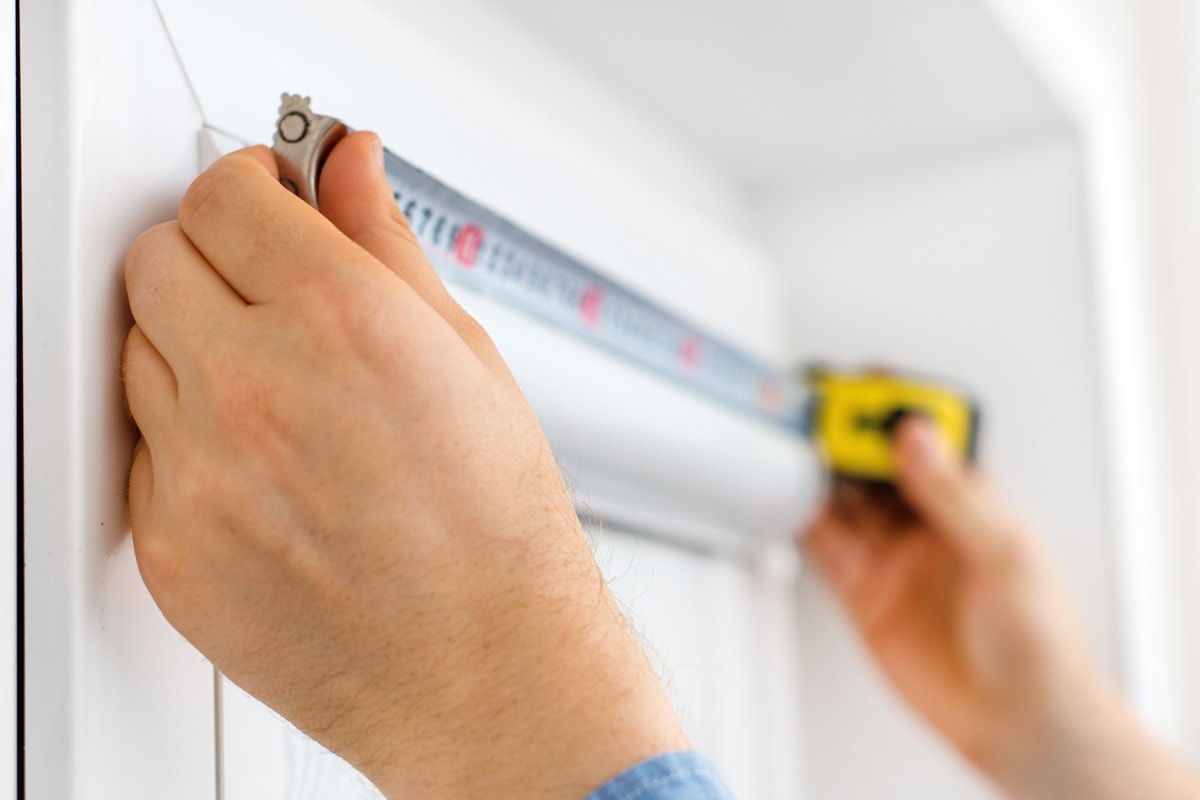
Additionally, you will need to choose the correct width of tape. Before buying tape, be sure to measure the size of the windows. Be sure to get accurate dimensions. This step will also benefit you, so you will not waste time cutting the wrong tape to get the ideal size.
Apply the Tape
As we mentioned, before applying the tape, it's important that you clean the surface to get rid of any dirt, debris, or liquid. Make sure the surface is dry after cleaning. Let it air dry, or wipe it with a cloth.
Cut the tape to the appropriate size and position it along the areas where drafts are present. Ensure you make a straight cut of the tape from the beginning to the end of the surface. This method creates a continuous piece that will adhere well. You should avoid applying tape with gaps.
When you are applying the tape, it's essential to press it firmly to ensure that it fully adheres to the surface. After positioning the tape, it's a good idea to go over it again, tapping each part to ensure it's securely fitted in place.
Can Cold Temperatures Prevent Tape From Sticking?
The tape's adhesive properties are designed to work best within a specific temperature range.
Always remember that low temperatures can have an impact on the ability of the tape to stick properly. Using tape in slightly warmer conditions is recommended to achieve the best adhesion.
Does Window Insulation Tape Stick To All Types Of Materials?
Window insulation tape works better on some surfaces than others, so when it comes to using the tape, you should consider the surface you're working with.
The tape won't stick well to PVC and concrete. This is because PVC contains plasticizers, and these chemicals can cause the tape to soften and lose its stickiness. As a result, the tape may start to peel off or become less sticky, making it less effective for its intended purpose.
Similarly, surfaces with numerous small fibers can be problematic for tape adhesion. You may need to seal them or use high-grade tape designed for these surfaces to ensure that the tape sticks properly.
Does Isopropyl Alcohol Help With Removing Adhesive?
Removing the tape may be necessary, especially if you need to replace it. It's not uncommon for the adhesive residue of the tape to be left behind on the surface. The residue can be unsightly and difficult to remove.
In some cases, the adhesive may also attract dirt and dust, making the surface look even more unappealing. By using isopropyl alcohol, you can get rid of the residue easily, and it should not harm the surface. You can apply it with a towel and wipe off the residue.

Click here to see this isopropyl alcohol on Amazon.
You can also use isopropyl alcohol wipes for convenience. Make sure to dry the surface before applying a new tape.

Click here to see these isopropyl alcohol wipes on Amazon.
Can Vinegar Remove Adhesive Residue?
If you are seeking a natural way to remove adhesive residue from surfaces, vinegar can be an effective method. Vinegar is that it is non-toxic and safe to use on various surfaces. It's also readily available and affordable, making it a convenient option for those who prefer natural cleaning solutions.
To remove adhesive residue, mix 1/4 cup of vinegar with dish detergent and warm water. Then soak a cloth or sponge in the mixture and pat it on the residue. Let the mixture sit to penetrate the adhesive, and then gently wipe away the residue with the cloth.

Click here to see this distilled white vinegar on Amazon.
In Closing
Insulation tape is a good choice for sealing cracks and air leaks in your windows. With proper application, it can provide long-lasting results. When your window insulation tape is not sticking anymore, just follow the tips mentioned above.
It is essential to remember why insulation tape may not adhere well to surfaces, as this can help you prevent similar issues in the future. Additionally, it's important to be aware of tape-related issues beyond adhesion, such as removing adhesive residue from surfaces.
We hope the information provided above has helped you with your questions. Before you go, visit these links for more information:
How To Insulate Windows From The Outside [Step By Step Guide]
Does Window Insulation Film Work? [Inc. In Summer & Winter]
How To Weatherproof Windows With Plastic Wrap [A Step-By-Step Guide]