
Mini-split air conditioners need routine maintenance to ensure they work well. Otherwise, these cooling systems may fail at providing cozy cold air to connected spaces. So what can you do if your mini split air conditioner isn't cooling? We researched for your convenience to give you this answer.
Take note that the steps to fix a mini-split air conditioner that's not cooling typically depend on the main cause of the issue. Some of the sources of this problem are:
- Dirty unit
- Faulty fan motor
- Improper thermostat settings
- Low Freon level
Also, keep in mind that attempting repairs on your mini-split air conditioner using one technique doesn't guarantee that the appliance will return to its optimal efficiency. But continue reading as we talk about these reasons and their possible solutions in greater detail.
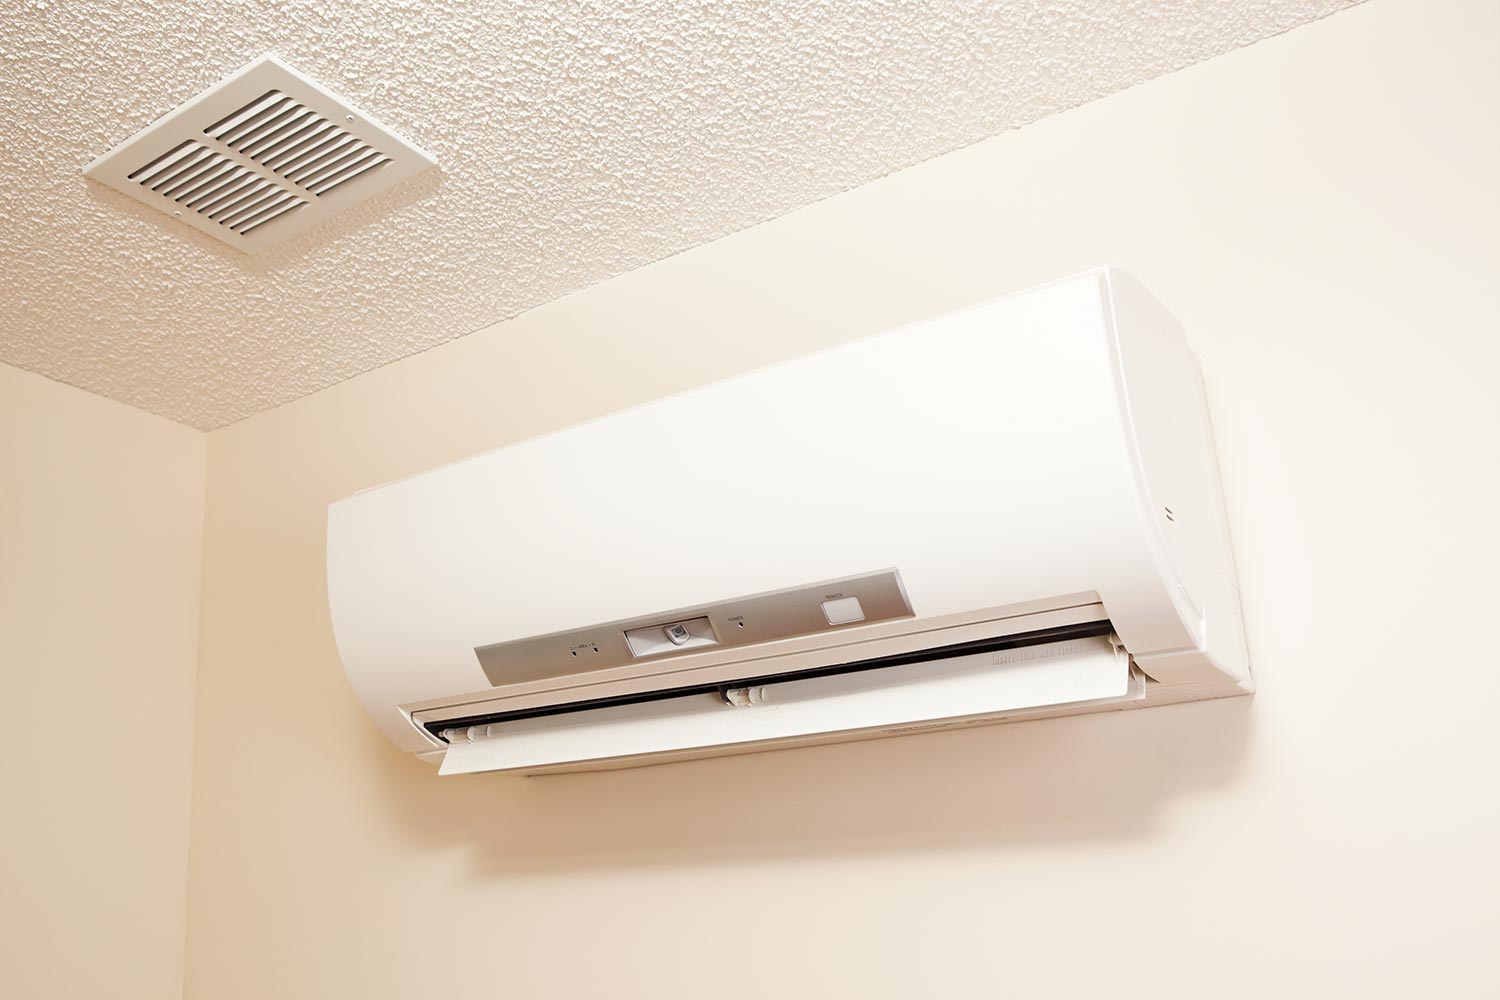
Why Does My Mini Split Not Cool?
Oftentimes mini split air conditioners may possess reduced efficiency in providing cold air to rooms. Some of the reasons for this setback are:
Dirty Unit
Generally, mini-split ACs have outside condensers that bring outdoor air to indoor spaces. Aside from air, these outdoor components also often suck in other substances, such as dust and dirt.
An air conditioner’s filter usually helps in blocking these unclean particulates from entering the premises. However, this part won’t do an efficient job at preventing access to filth if it becomes dirt, resulting in the AC having difficulties in delivering cold air.
Homeowners should clean their mini-split air conditioners' filters at least once every two weeks. But deep cleaning is necessary at least once per year.
Faulty Fan Motor
A broken or malfunctioning mini split AC fan motor can prevent the appliance from sending cold air into the room. Take note that this type of air conditioner generally works by pulling warm air from the outside and throwing it into adjacent spaces with the help of a fan.
Short circuits or faulty wiring can be the cause of this issue. Air conditioner fan motor replacement might also become a requirement if it seems this component is beyond repair.
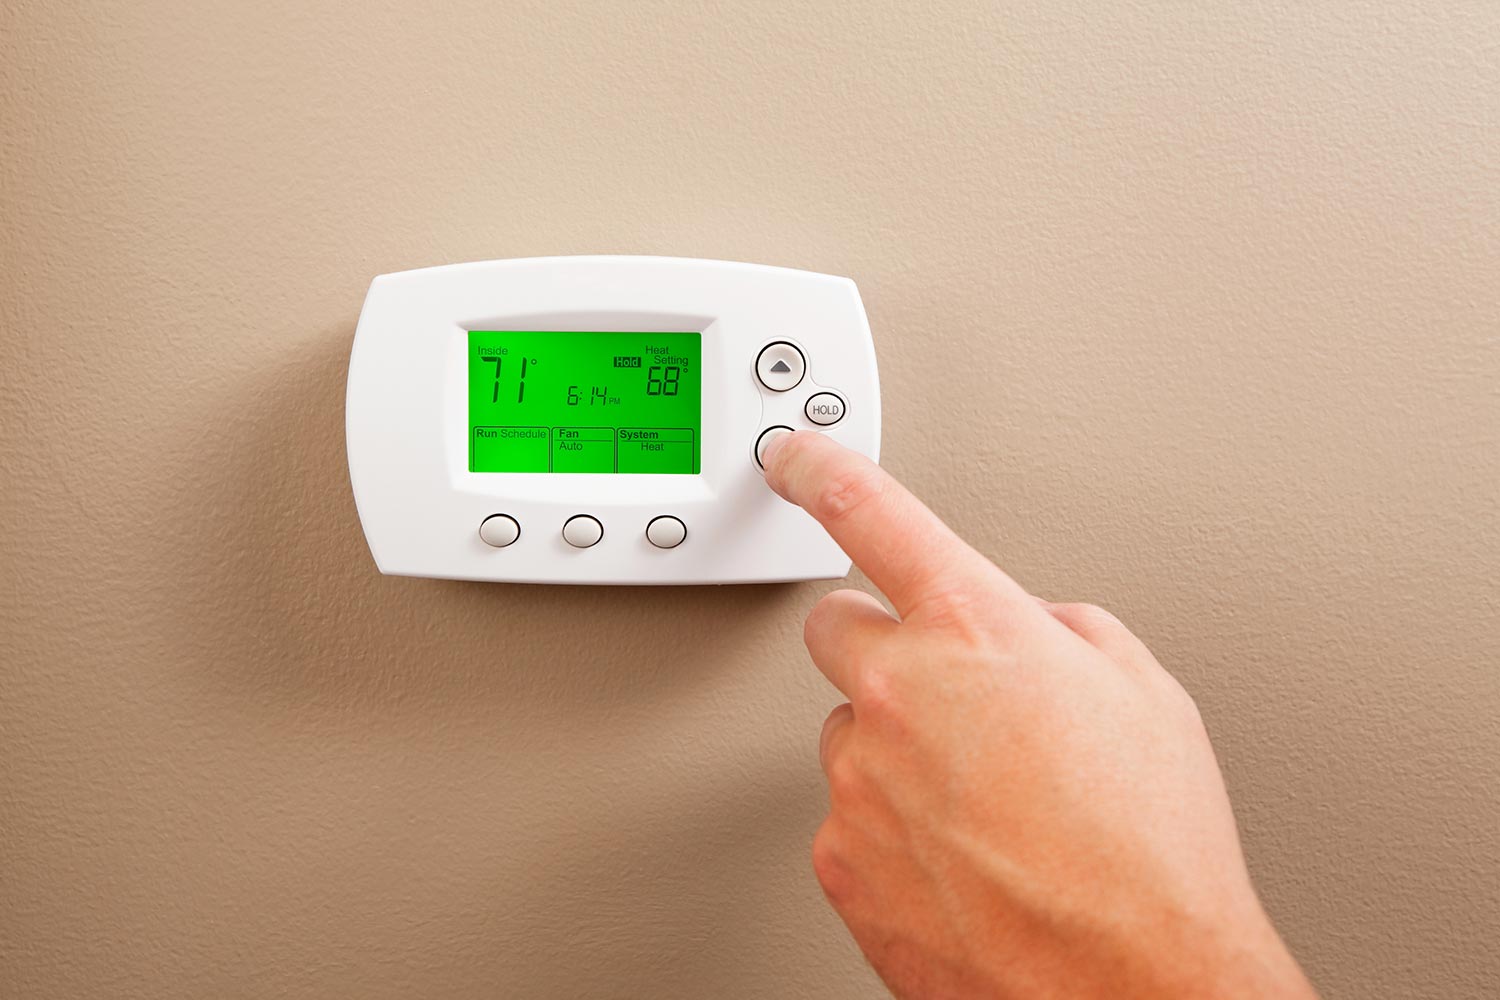
Improper Thermostat Settings
Sometimes the thermostat might be the unit at fault for not providing cold air to your surroundings as opposed to the mini-split air conditioner. Check the thermostat if its temperature control settings are correct. If not, it might need some adjustments or repairs.
Take note that the ideal temperature to set the thermostat in the summer is 78 degrees Fahrenheit. You can fine-tune this reading based on your specific demands. Make sure that this temperature measurement coincides with your cooling system’s performance. Otherwise, some underlying issues might be the cause of the unit’s failure to provide cold air.
Low Freon Level
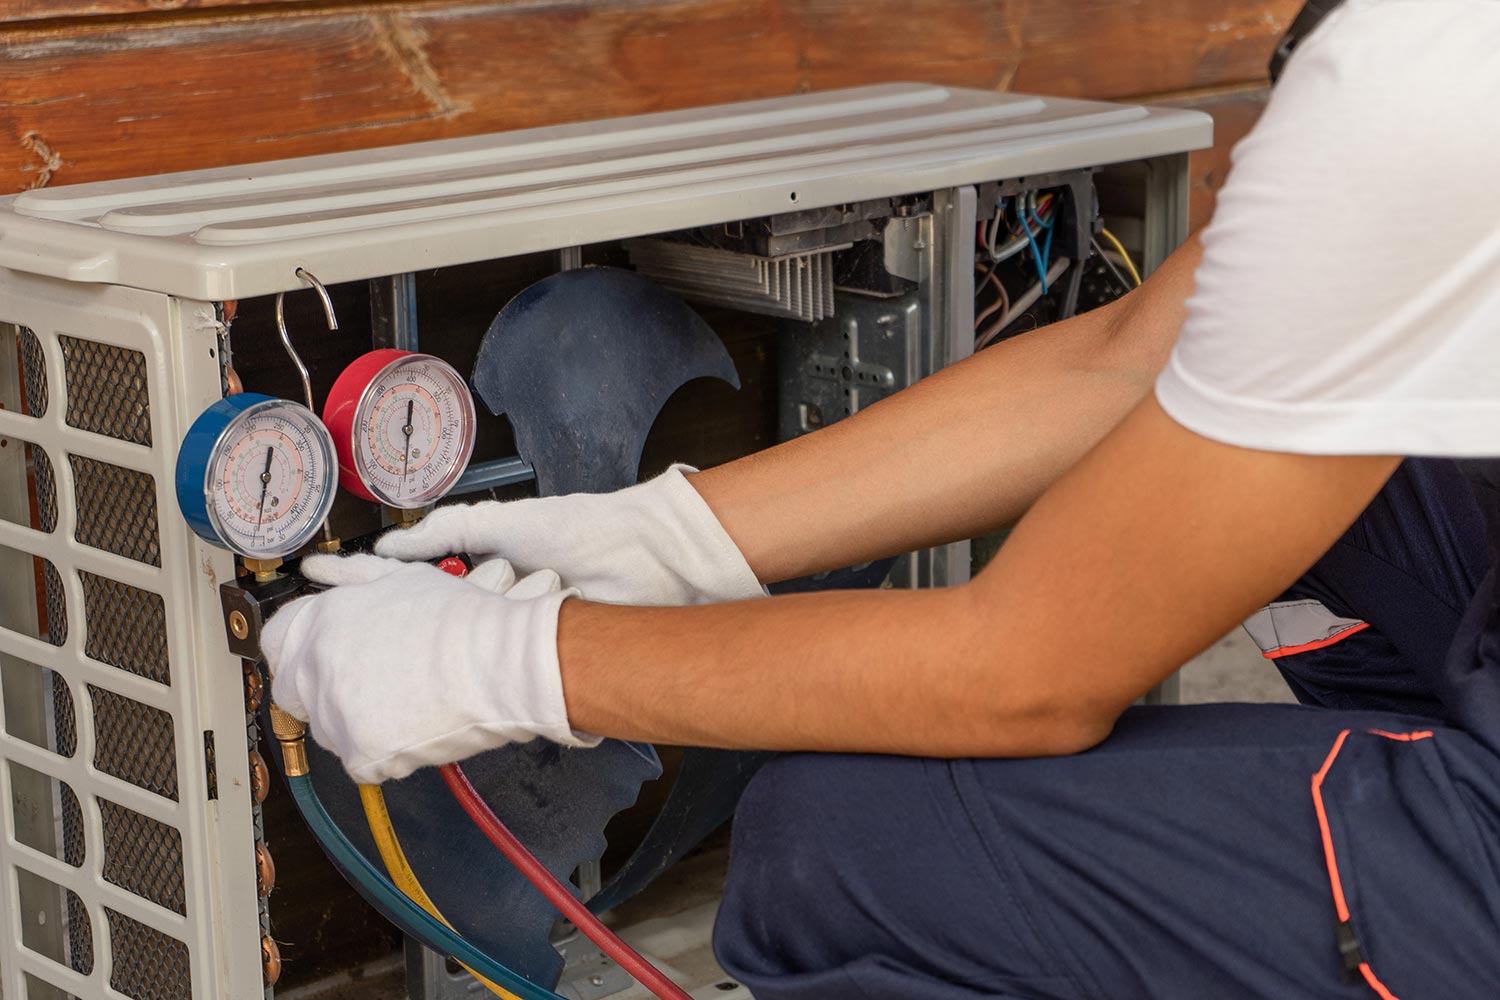
Freon is a known brand of air conditioner coolant. Today, it commonly refers to the cooling system’s refrigerant made of different liquefied gases. This substance works by absorbing warm outside air before releasing it as cold air for the AC unit to blow.
In turn, a mini-split with low amounts of Freon may not provide comfortable cold air. Recharging or refilling the air conditioner with this substance may help solve the problem.
On the other hand, a leak might exist if the Freon depletes unnaturally fast. You can use a Freon leak detector to verify if your mini-split air conditioner has this problem.
Watch the video below for a guide on how to check the refrigerant levels on a mini-split air conditioner's condenser unit:

Check out this Freon leak detector kit on Amazon.
How Do You Fix Split Type Aircon Not Cooling?
Remember that the process to fix a mini-split air conditioner that's not cooling often depends on the repair project's specific requirements. In this section, you’ll learn how to use certain methods to provide potential solutions to your mini split AC malfunctioning.
Clean the Filter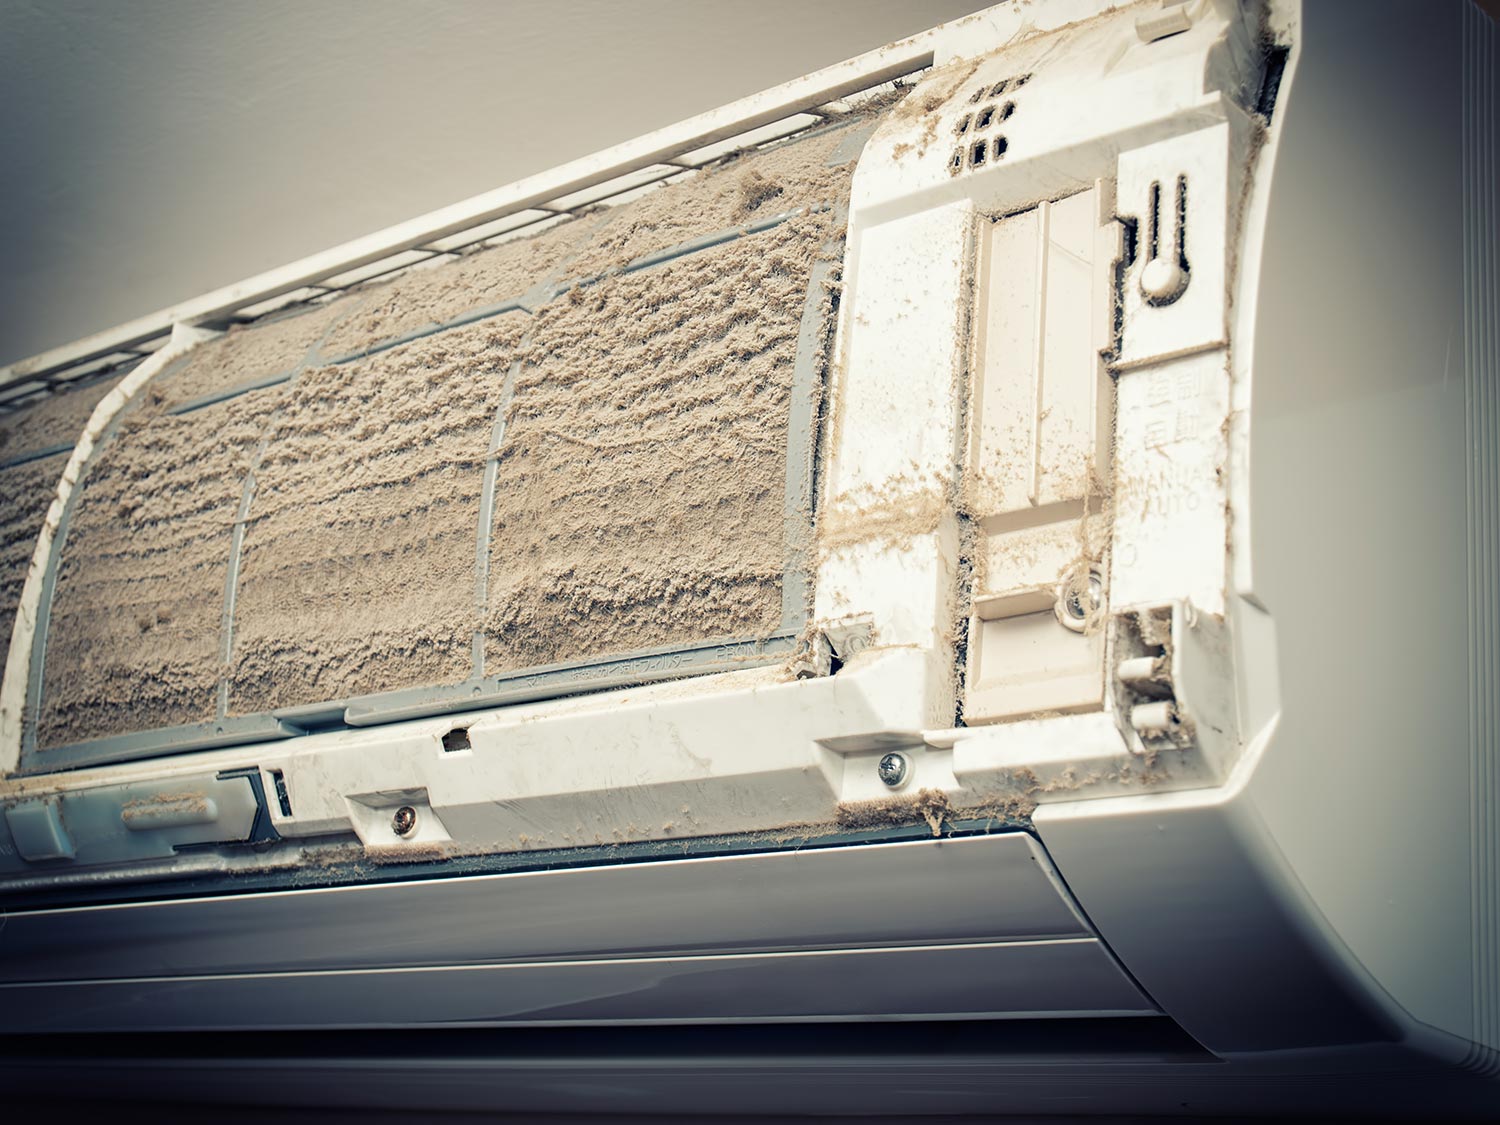
Make sure to disconnect the air conditioner before attempting to clean its filter or any of its parts. Leaving the appliance connected to a power supply will put you at risk of contracting health hazards, especially electrocution. You can continue with this operation after removing the min split air conditioner from its power source.
What You’ll Need
- Clean water
- Soft brush
Step-by-Step Guide
- Open the air conditioner’s front panel to reveal the filters.
- Carefully remove the filters from the cooling unit.
- Rinse the filters with clean water to remove loose dust and dirt.
- Use a soft brush to remove leftover gunk buildup.
- Let the filter air dry, but keep it away from direct sunlight to avoid potential UV damage.
- Reinsert the filter into the air conditioner and close the front panel.
Don’t attempt to repair the filters if you see damage on them or you might apply unwanted pressure to the materials, leading to more harm than good. Instead, replace these components by buying and installing the same filter models as the damaged units.
Also, watch the video below for a visual representation of the steps mentioned above:
You can also read our guide on how to give a ductless air conditioner a deep clean to help restore its ideal serviceability.

Check out this replacement air conditioner filter on Amazon.
Replace Fan Motor
Take note that the procedure to replace a fan motor may demand specific steps based on your mini split air conditioner's model. Make sure to check the model number of your air conditioning unit to help you purchase a compatible replacement motor.
Moreover, consult your owner’s manual for the steps to reveal the broken fan motor in your cooling system. Different mini split air conditioners often have dissimilar procedures to expose this component.
Here's a quick guide on how to replace a MRCOOL mini-split fan motor to help guide you in this undertaking:
What You’ll Need
- Screwdriver
- Compatible fan motor

Check out this replacement fan motor on Amazon.
Step-by-Step Guide
- Lift to open the front panel of the indoor cooling unit.
- Remove the screws that secure the casing and take out the sensors carefully.
- Pull out the casing carefully.
- Detach the wires connected to the control panel.
- Unscrew the control panel and its sensor from the appliance’s main body.
- Remove the cord attached to the fan motor.
- Unscrew the old or damaged fan motor and install the new unit.
- Return the control panel and casing. Then, test the appliance if it now works as intended.
Watch the video below to learn additional details about this replacement operation.
Don’t forget to read our post on an air conditioner fan not running to gain additional insight on this problem.
Program the Thermostat
Different thermostats often demand specific steps to set the temperature. It’s because the different models on the market generally don’t use the same user interface.
Nonetheless, here’s a quick look at how to program a programmable thermostat at the right temperature for your cooling needs:
Step-by-Step Guide
- Set the current date and time on the thermostat.
- Set the schedule on the thermostat to the temperature you need.
- Indicate the day and time when the thermostat will trigger the set temperature automatically.
You can also watch the clip below to learn more about this process:
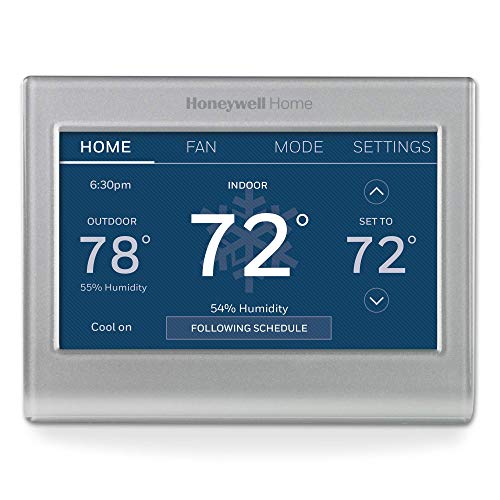
Check out this thermostat on Amazon.
Add More Freon
Before proceeding with this job, ensure that you have sufficient confidence, knowledge, and skill in tinkering with electronics, particularly with mini-split air conditioners.
DIY beginners may want to leave this job to the professionals as some components of the outside condenser unit might need delicacy or finesse. Handling the parts roughly may lead to expensive repair costs.
If you still want to proceed with this project, here’s how to do it:
What You’ll Need
- Freon recharge kit
- Freon recharge tank
Step-by-Step Guide
- Connect the blue hose of the Freon recharge kit to the condenser’s access port.
- Attach the kit’s yellow hose to the Freon recharge tank.
- Close the valves on the recharge kit.
- Open the valve on the recharge tank while opening the valve on the kit slowly.
- Close the valve when the reading reaches about 120 PSI.
- Repeat steps 4 and 5 until the mini split’s Freon levels reach desirable levels.
You can also watch the video below to see how to do these steps:
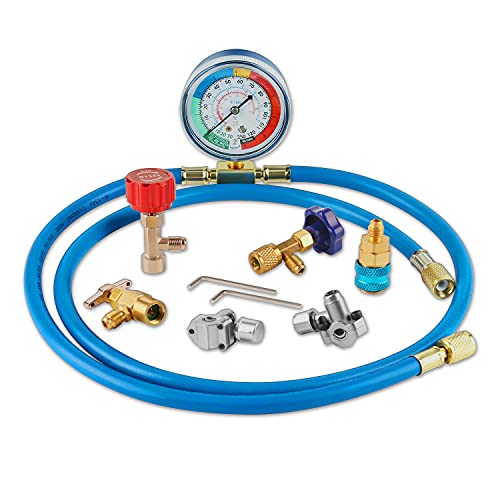
Check out this Freon recharge kit on Amazon.
Final Words
Repairing a mini-split air conditioner that's not supplying cold air may only demand relatively simple jobs. For example, cleaning the air filter or setting the thermostat for the cooling system might only be the requirement for the appliance to supply the correct temperature. However, homeowners should prepare to spend extra money on repair or replacement costs for more serious AC problems.