One of the most well-known names in American home appliances is GE. GE dehumidifiers, like most electric appliances, may experience malfunctions that impair the quality of the air in your home. So if the compressor of your GE compressor is not working, here is what you should do based on our extensive research.
When your GE dehumidifier compressor isn't working, check all the common failing parts before replacing the compressor, such as:
- float assembly
- humidistat
- humidity sensor
- PCB or electronic control board
- bucket level switch
There is also a good chance that the compressor is overloaded. Use a multimeter to check the compressor for continuity and determine if all the other parts are operating as intended. Replace the compressor if it lacks continuity.
Continue reading as we expand on how these parts affect the function of the compressor and how to fix them. We'll also tackle what parts of the compressor you should check before deciding to replace it. In addition, we'll cover proper maintenance tips for your unit.
How Does A Damaged Float Switch Affect The Compressor Function?
The auto shut-off or bucket level switch is activated by this device, which is placed next to the bucket. This safety feature keeps the container from spilling. The compressor and fan motor circuits lose power when the switch is tripped, and this continues until the bucket is empty or is in the right position.
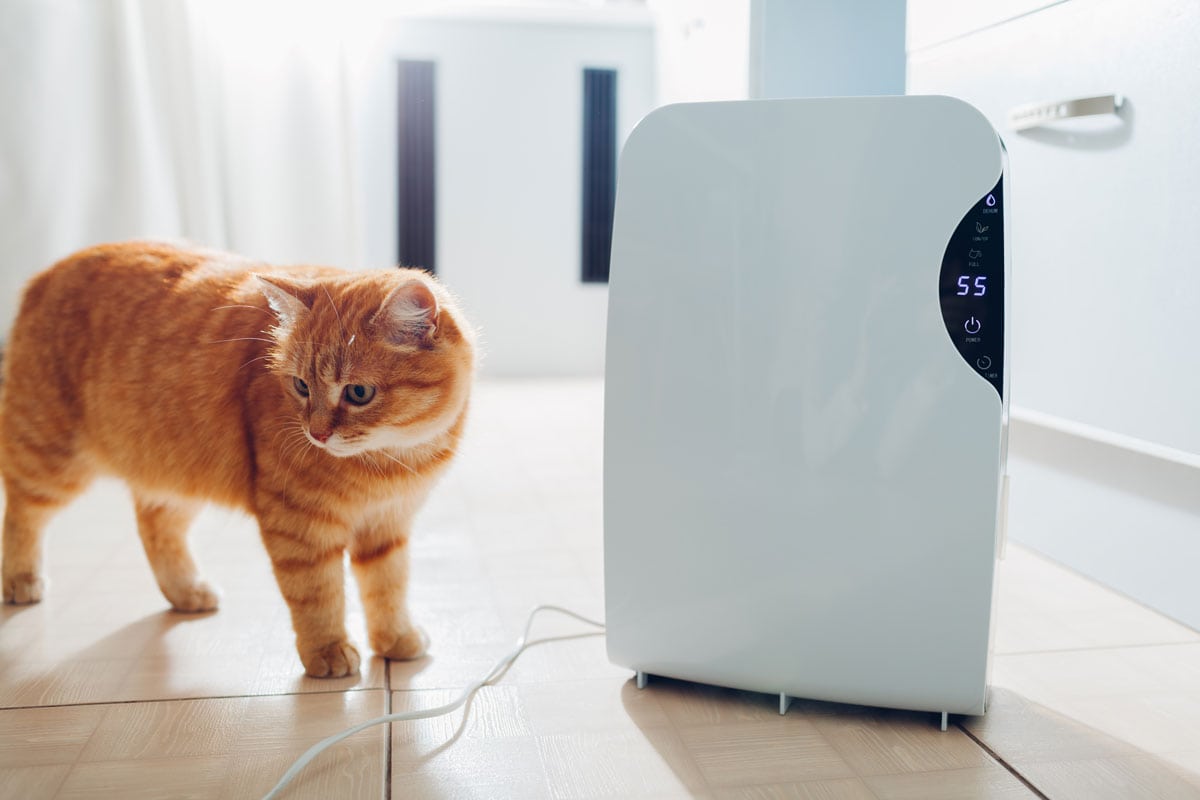
Check the functionality of the float to make sure it moves freely and makes good contact with the level switch if your dehumidifier won't turn on.
How To Handle A Malfunctioning Humidistat
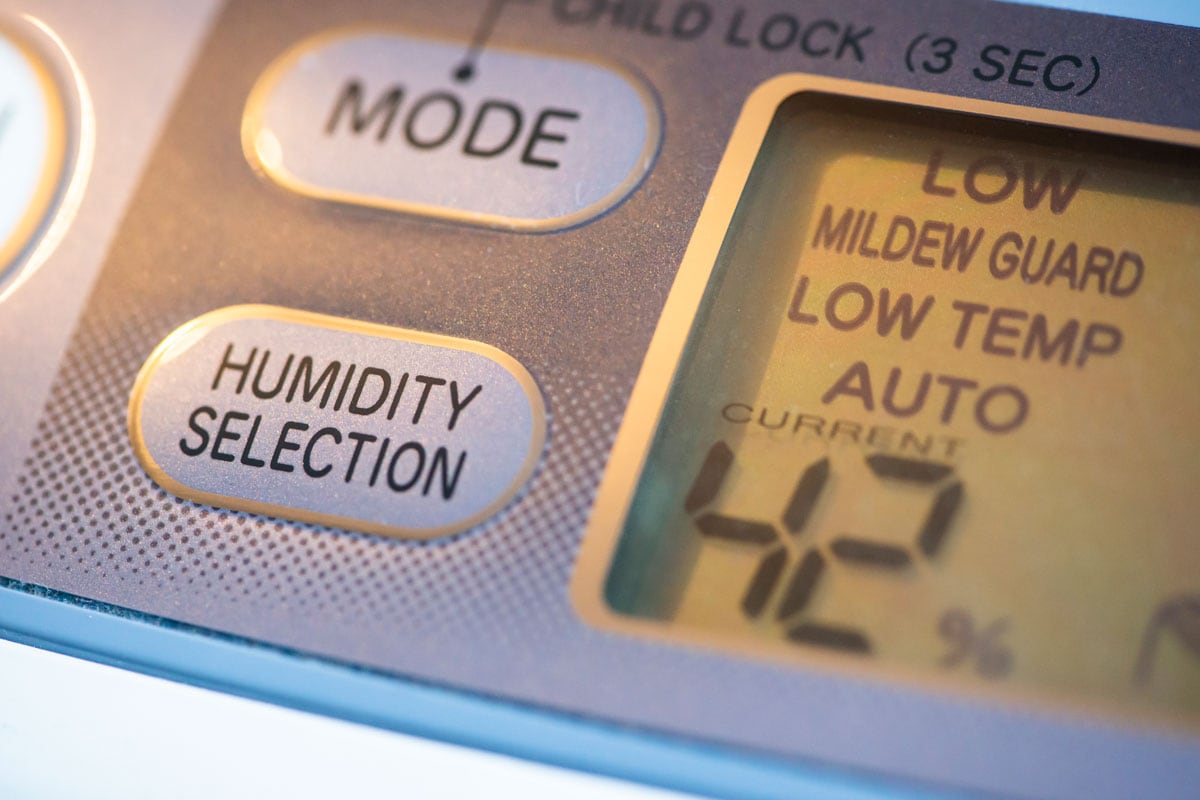
The humidistat, commonly known as the humidity control, may not be functioning properly if your dehumidifier won't operate.
When the air humidity demands it, this component delivers electricity to the compressor via electrical contacts. Sometimes the electrical contacts can corrode or become welded shut, making it impossible to activate the compressor.
Turn the humidistat's dial to start this dehumidifier repair, and then check for the click sound to make sure it's operating. A multimeter can be used to check the contacts for continuity. If you discover that the humidistat is broken, you should replace it.
Humidity Sensor: Its Function And How To Fix It
On electronic control models, this dehumidifier component alerts the control board when it detects the relative humidity in the air. The compressor is instructed to start via the control board. The compressor won't turn on if the sensor is broken since the humidity level will be incorrectly read.

Examine the harness connections to the control board to make sure that they are in good working condition before beginning to troubleshoot this component. If there is damage, change the sensor.
How To Replace A Dehumidifier PCB
If your dehumidifier has an electronic control and won't operate, the control board or PCB may be the problem. The dehumidifier won't operate if the control board, which provides electricity to the compressor and fan motor circuits, is broken.
Make sure that none of the other dehumidifier components is the problem by using the process of elimination . If everything is operating normally, you most likely need to replace the control board.
DIY PCB Replacement
Here is a DIY process for replacing a dehumidifier PCB:
- Remove the power plug from the wall socket.
- Pull the collection bucket out of the unit.
- Detach the air filter.
- Unscrew the front grille. Make sure to keep it firmly in front of the dehumidifier to prevent harming the wire harness for the user interface control board.
- To detach the back panel from the dehumidifier, remove the screws holding it in place.
- Remove the screws holding the dehumidifier's outer cover in place. Then remove the outer case by pulling.
- Remove the screw holding the fan capacitor to the control box's side. To reach the control board in the control box, raise and clear the fan capacitor.
- Remove the mounting screws holding the control board in the control box. To access the cables connected to the board, pull it out to a position in front of the control box.
- To ensure that the cables linked to the electronic control board are properly attached to the new control board, take a digital photo of them or identify them. Throw away the electronic control board after you remove all the attached cables from it.
- Using your digital images or labels as a reference, connect all of the cables to the new electronic control board. Install the new board in the control box.
- Put back the fan capacitor.
- Place the outer casing on the dehumidifier and fasten it with the screws.
- Apply the mounting screws to the dehumidifier's back panel once again, and then secure it.
- Use the mounting screws to attach the front grille to the dehumidifier.
- Return the filter to the front grille by pushing it there.
- Reattach the collection bucket to the dehumidifier's front.
- Restore the dehumidifier's power by plugging it back into the wall outlet.
How To Diagnose A Defective Bucket Level Switch
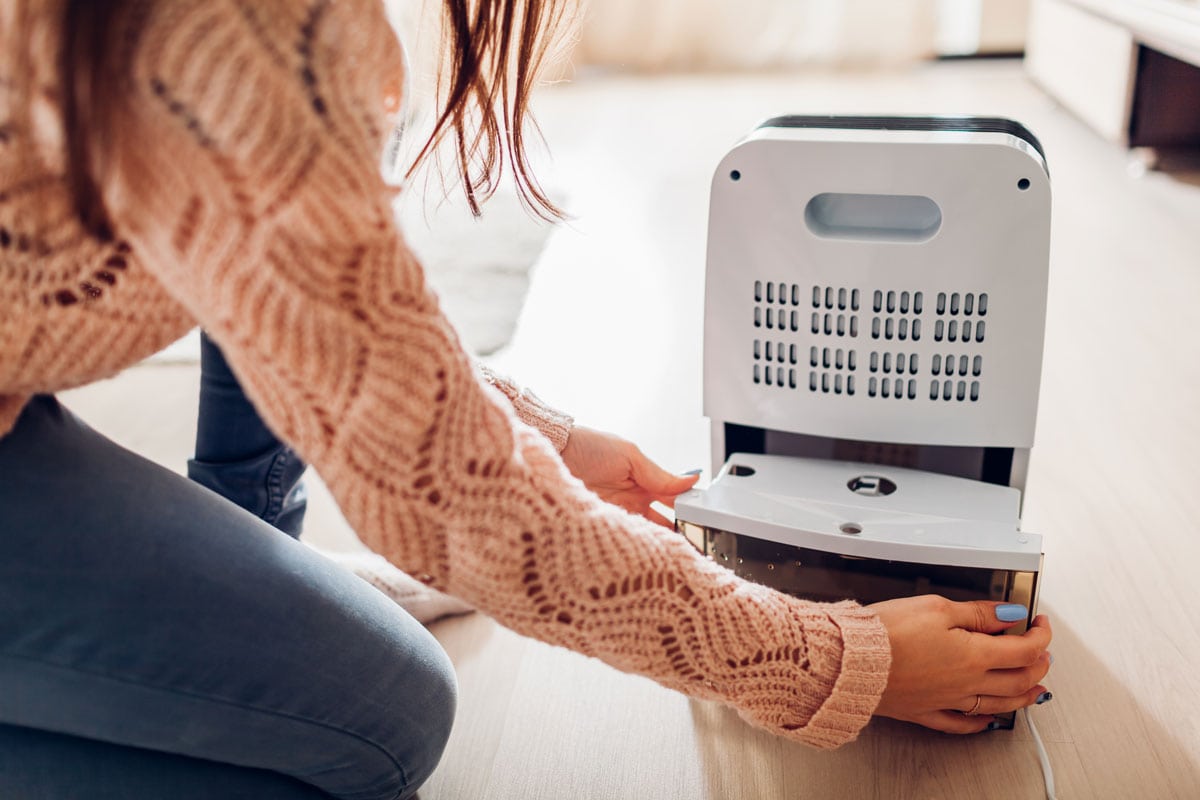
The bucket level switch, commonly referred to as the auto shut-off switch, may not be functioning properly if your dehumidifier isn't working. When the bucket fills with water, this switch prevents the dehumidifier from overflowing.
When the water level reaches a specified level, the float assembly triggers the switch, which causes the compressor and fan motor circuits to turn off. The shut-off switch is probably the problem if your dehumidifier isn't operating but the bucket full switch is on.
Make sure the bucket isn't overflowing with water and that the float assembly can make adequate contact with the switch.
What Causes The Compressor To Overload?
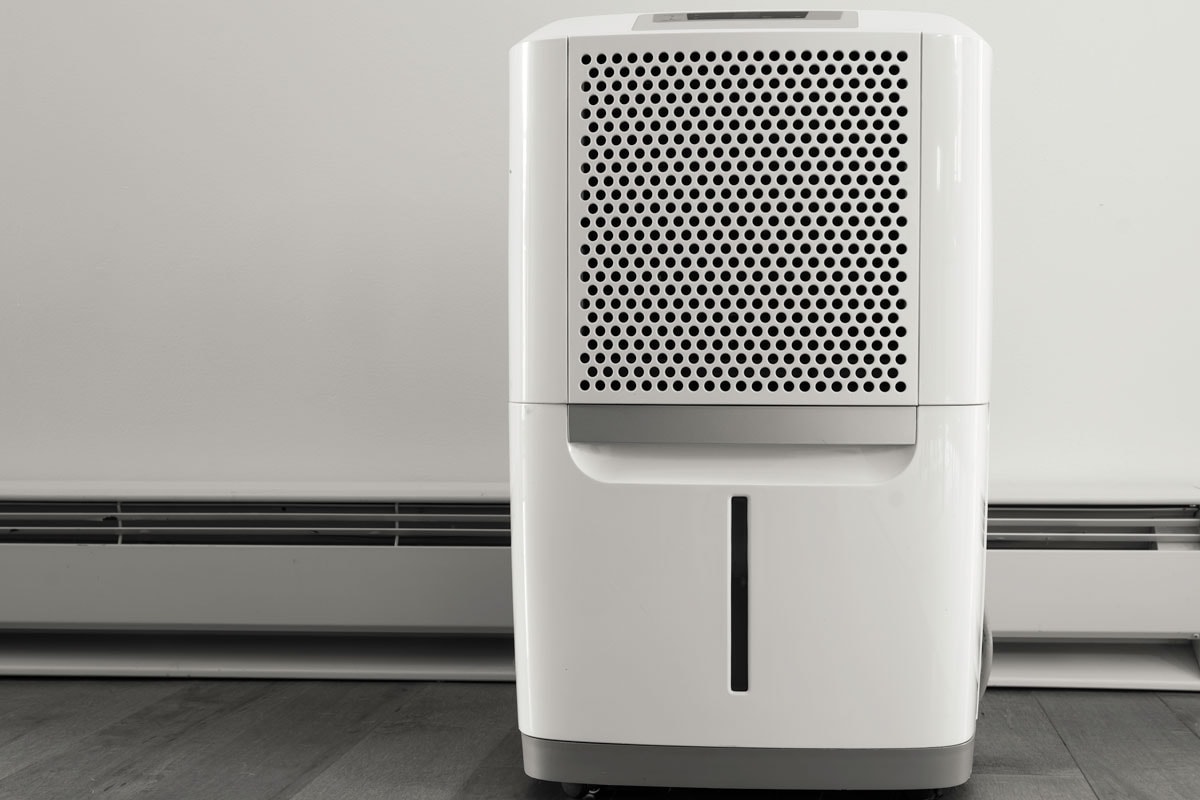
The compressor, which circulates refrigerant liquid through the coils, is the heart of the dehumidifier. This part may overheat if it is having trouble running or if there is a lot of frost building up on the coils.
The majority of dehumidifiers are equipped with an overload switch that will turn off an overheated compressor to prevent damage. If the dehumidifier is turned on, but there is no sound, the overload switch may have flipped.
Once the ice has melted, you can try resetting the overload switch if the compressor overheated as a result of the accumulation of frost.
Unfortunately, other issues might lead to an overload switch flipping, some of which are connected to wiring shorts in the appliance. If this is the case, the overload switch will keep flipping even after being reset, and you may need the services of an expert to identify the issue.
What To Do When The Dehumidifier Is Not Removing Humidity?
If the air remains humid despite your running the dehumidifier, here is what you can do to solve the problem:
- When running the dehumidifier for the first time, run it for at least 24 hours. Depending on the size of the space and the humidity level, it could take some time for the dehumidifier to dry the air.
- Remove anything blocking the machine's front and back ventilation. Anything close to the machine, like curtains or furniture, may block its airflow.
- To reduce the desired humidity level in the room, repeatedly press the humidity control's down arrow. There are various humidity settings available on GE dehumidifiers. To identify the ideal humidity level for your room, you might need to experiment with the setting.
- Shut the room's doors and windows. The humidity in the room may increase if the doors and windows are left open or not tightly closed.
- Increase the room's temperature to aid in better moisture removal. The ideal operating temperature for GE dehumidifiers is a room temperature of at least 65ºF.
Dehumidifier Maintenance Tips
With proper care and the replacement of worn-out components, you can keep the dehumidifier in good working order for many years. Here are some maintenance practices you can do to ensure the longevity of your unit:
- To prevent obstruction to the air intake and exhaust, don't place your dehumidifier any closer than six inches to any wall.
- Unless the unit is specifically made for lower temperatures, set the room temperature to at least 65ºF to avoid freezing up or damaging the motor.
- Adjust the humidistat to maintain a humidity level between 40% and 50% for excellent comfort and efficiency.
- After turning the dehumidifier off, give your unit 10 minutes to equalize the pressure in the system before turning it on. This is to protect the compressor from overheating.
- Regularly replace or clean the filter of your dehumidifier.
If you want to know how to clean your dehumidifier, check out this article: How To Clean Dehumidifier Coils.
How Often Should You Clean Your Dehumidifier Filter?
The filter's purpose is to prevent impurities like pet hair and dust from getting into the dehumidifier. Keep your filter clean for air to flow through it easily.
You should take out and clean the filter about every 2 weeks, depending on the quality of the air in your home.
After removing it according to the manufacturer's directions, wash it in lukewarm water with a moderate dish detergent. Before reinstalling the filter in the appliance, allow it to completely dry.
In Closing
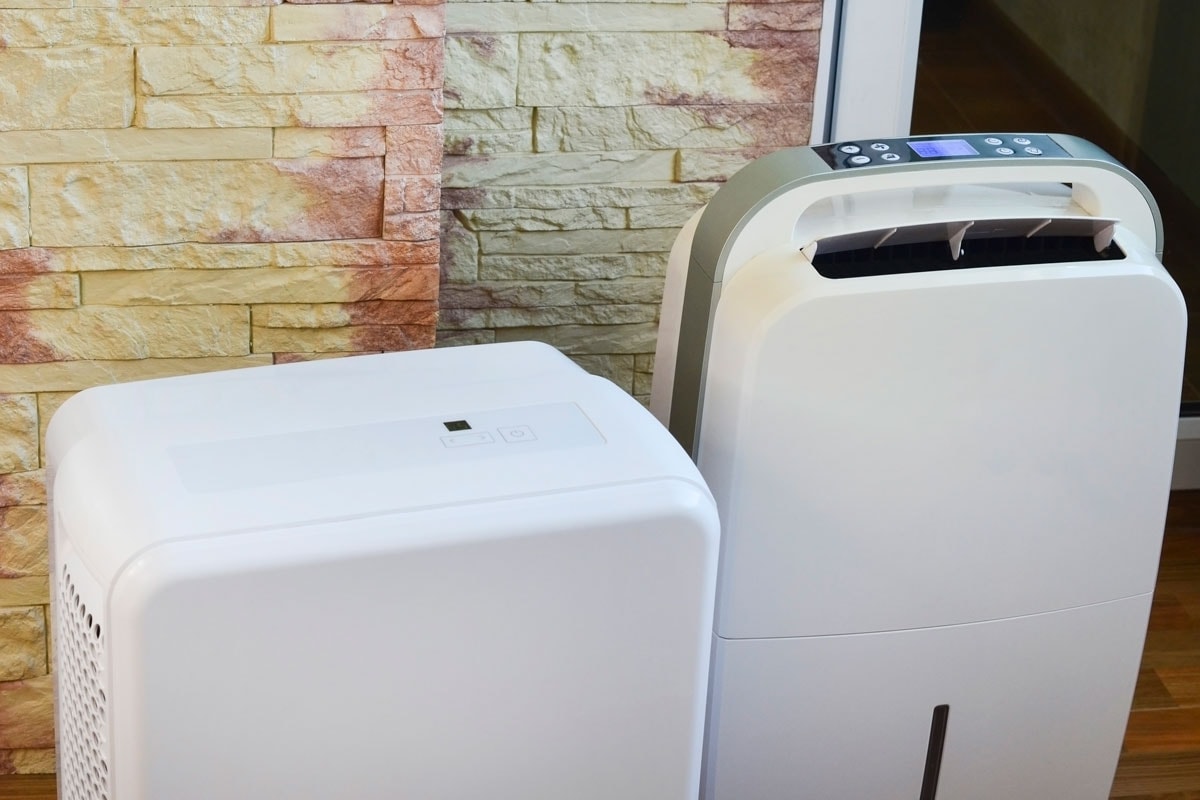
There are several reasons why a dehumidifier compressor might not be working. That is why you need to check dehumidifier components such as the bucket level switch, humidistat, electronic control board, humidistat, and humidity sensor.
But if you are certain that the damage is in the compressor itself, then it is time to call for a service expert to replace it.
If you want to know the best spots for positioning your dehumidifier, check out this article: Where To Place A Dehumidifier (5 Suggestions).
For more information, check out these related topics:
