
The BILCO company has been around for almost a century and is well-known for the durability, workmanship, and design of its products. If you have a BILCO door and want to know how to insulate it, don't worry. We conducted thorough research on the topic to bring you the answer.
As long as you have the necessary materials and equipment, you can easily insulate a BILCO door yourself without calling a professional. These are the basic steps that you need to follow:
- Gather the necessary materials and equipment
- Take proper measurements
- Cut the insulation to the desired size
- Carefully install the insulation
In this article, we will discuss all these steps in greater detail and talk about the options that are available when it comes to sealing a basement door. Additionally, we will talk about how much it costs to replace your old basement door with a BILCO door. So be sure to continue reading to find out more.
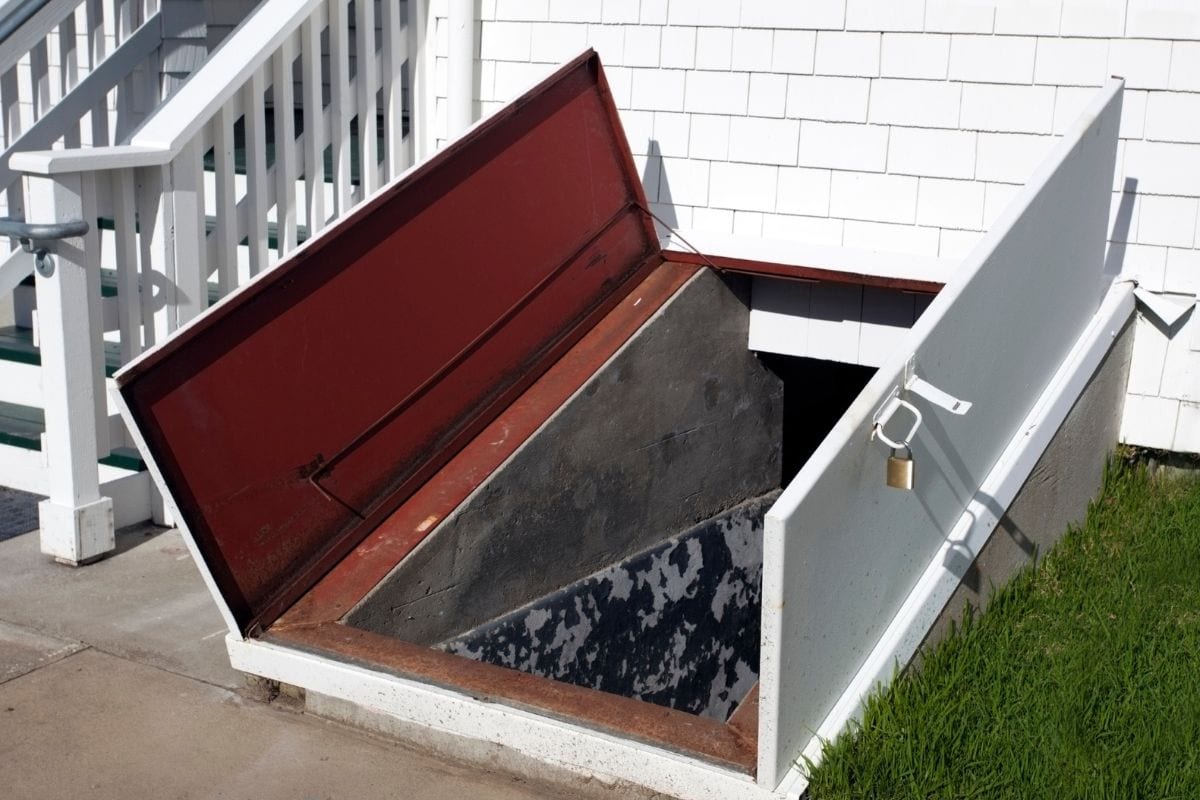
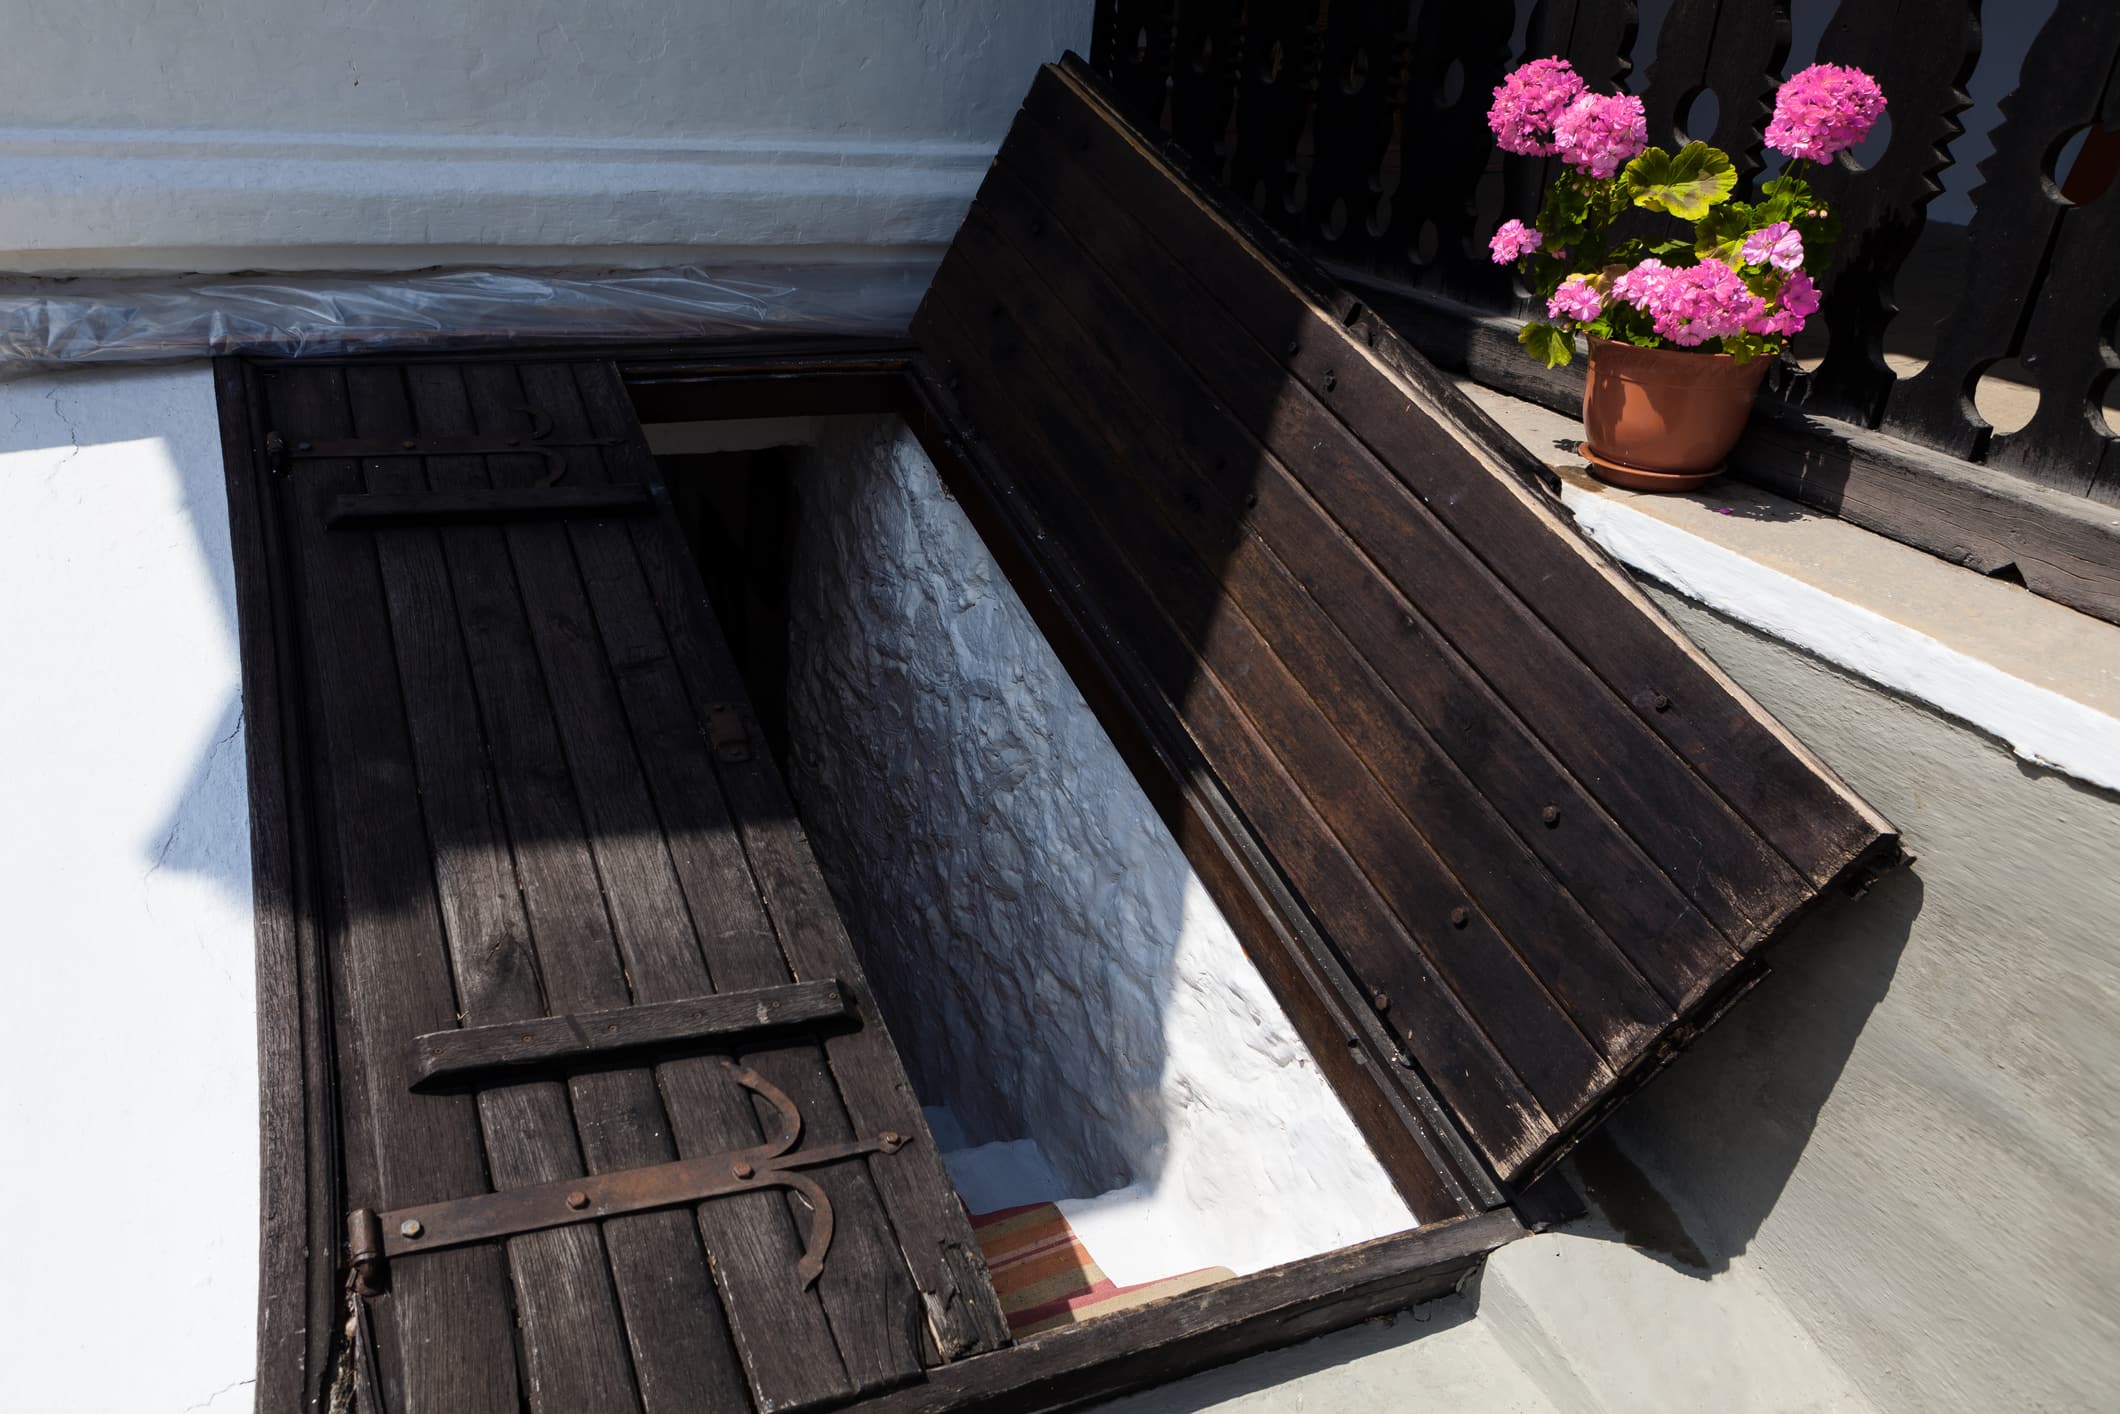
![View of cellar doors known as "Bilco Doors", with paint damage and rust from years of weather, sun, and rain. - How To Insulate Bilco Doors [Step By Step Guide]](https://hvacseer.com/wp-content/uploads/2022/10/View-of-cellar-doors-known-as-Bilco-Doors-with-paint-damage-and-rust-from-years-of-weather-sun-and-rain.-How-To-Insulate-Bilco-Doors-Step-By-Step-G.png)
How To Insulate A BILCO Door?
BILCO basement doors feature weather-resistant properties. As a result, the steps in insulating one are not that difficult. In this section, you'll find out the exact details for each step to prevent your basement from becoming a source of energy loss.
Gather The Necessary Materials And Equipment
To start, gather all the materials and tools you will need. For the tools, you need to prepare a utility knife, a hacksaw, a marker, and a measuring device (either a ruler or a tape measure).
These tools will help make your life easier when it comes to cutting out the foam insulation.
As for the materials you need for the insulation, make sure to get plenty of foam boards. These will help cover the basement doors and, if necessary, the hallway or space leading up to it.
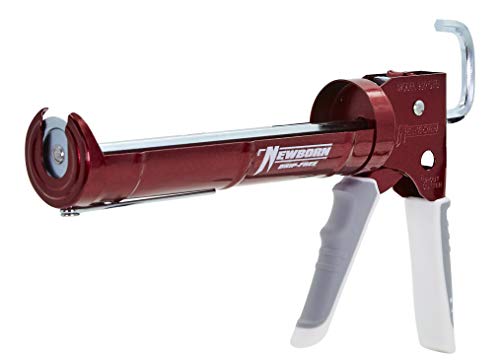
You will also need construction adhesive and a caulking gun to make installing the foam easier.

Check out this construction adhesive on Amazon.
Take Proper Measurements
With the use of a ruler or a tape measure, take the proper measurements of the door and the hallway or other space that you wish to insulate. In doing so, you won't waste time cutting out the foam boards that you will install.
When taking measurements, you don't want to leave any gaps or spaces when working. That means the insulation will properly do its job and prevent any energy loss from happening.
Always use either a marker or a pencil when making guides during the measuring. This allows you to know where to cut, saving you time and money. After all, the closer the fit, the less money you waste. The result is also more aesthetically pleasing to the eye.
Cut The Insulation To The Desired Size
Now that you know the measurements of what you're planning to insulate, it's time to cut out the foam boards to fit the desired size. Be careful in doing this step as you do not want to waste time and material by cutting away either too little or too much.
Use a utility knife or a hacksaw to trim away any unnecessary bits of the foam insulation, leaving you with large panels to install later on the walls and the doors. Do this step with the utmost care as you do not want to accidentally cut yourself during the project.
Carefully Install The Insulation
Once you have all the necessary foam boards cut out and ready to install, it's time to start insulating. Insert the construction adhesive into the caulking gun before cutting the tip. Make sure that there's enough lighting inside the basement during installation.
Next, start working at the end of the basement's entryway, leaving the doors for last. With the use of the caulking gun, squeeze out the adhesive onto the foam boards in a snake-like pattern.
Leave enough spaces in between and around the boards as you will press them into the walls. Repeat the process until you reach the basement doors.
From there, open up the doors as wide as possible before installing the foam boards outside. This will make it easier for you to work
Check out this caulking gun on Amazon.
What Options Are Available For Sealing Basement Doors?
If your basement doors have any leaks or gaps due to wear and tear or old age, then it's time to consider either repairing or replacing them.
Thankfully, there are a handful of options on the market that you can try. You should choose the one that best solves the problem you have on hand.
Weather Stripping
This is one of the most popular ways to deal with sealing gaps on basement doors. Not only is weather stripping easy to do, but it's also a relatively cheap method. And there are various products on the market for you to choose from based on your needs.
When it comes to sealing your basement doors, rubber sealing is the way to go. It is cheap, flexible, and easy to work with. You can cut it your desired length and width to seal any gaps that you may find.

Check out this weather stripping on Amazon.
Concrete Sealant
If you don't like the look of rubber seals, then consider using a concrete sealant. It works in the same way as weather stripping, as it fills up any gaps or cracks in your basement doors. The only difference is that using a concrete sealant is a more permanent solution.
When applying the product, make sure to clear any dirt and debris from the area. You should apply it during warm weather, as it takes a few days to dry. It will leave you with a smooth surface that will only show subtle signs of the sealant.
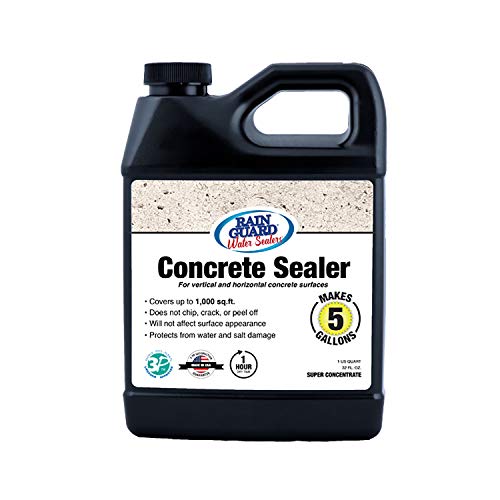
Check out this concrete sealant on Amazon.
Invest In A New Basement Door
Sometimes the best way to repair your basement door is by replacing it. If your basement door is wearing down or rotting, you should consider investing in one that offers the quality and durability you need.
For cases where the cracks, gaps, and holes are too large to repair, it's time for you to take a look at what's available on the market.
Nowadays, there are many designs and brands to choose from, in different shapes and sizes. That means that there should be a door available for your basement.
Just remember to get one that offers the best quality that you're looking for. After all, the better the quality of the basement door, the longer it will last and the more secure your basement will be against the natural elements.
 How Much Does It Cost To Install A BILCO Door?
If you're planning on upgrading your basement doors to a BILCO basement door, know that it won't come cheap.
It will cost you between $1,200 to $1,300 if you hire a professional to remove your old basement doors and replace them.
But if you want to save money and have the necessary tools and knowledge to replace and install a BILCO basement door, then by all means do so. It will save you close to $800 if you're able to do it on your own.
However, hire a professional if you're not physically able to or if you lack prior knowledge. Any money saved is not worth the risk of getting into an unfortunate accident.
Why Is My Basement Door Leaking?
If you notice puddles of water forming at the bottom of your basement's entryway, then it's best to check the basement doors. Leaks may have formed via small holes and cracks, thereby letting water inside.
Another reason for leaks is improper installation. Hasty installation and careless caulking can cause small gaps to appear in places they shouldn't be.
A similar issue can also happen when installing a door that's just not the right size and shape for your basement's entryway. The gaps and openings formed will be difficult to correct, and you'll want to install something else that fits better.
Lastly, debris from trees and shrubs can cause basement doors to rust and form pinholes. When left unattended, water can start seeping into those holes, creating a leak inside your basement.

To Wrap Up
In short, it doesn't take much to insulate your BILCO door or any basement door, for that matter. Just as long as you have all the materials, tools, and equipment necessary, you'll be able to insulate your basement door yourself.
Properly measure the door and the insulation material so that you can make clean cuts. Then install the insulation material carefully on the doors using construction adhesive.
Did this article help you understand how to insulate basement doors? If so, you may want to check out the links below.