
Refrigerants remain forever, but you must have your mini-split replenished after they have completely left the system. You're probably wondering how to charge your tiny split system. Well, we’ve researched this matter to provide you with the answers you need.
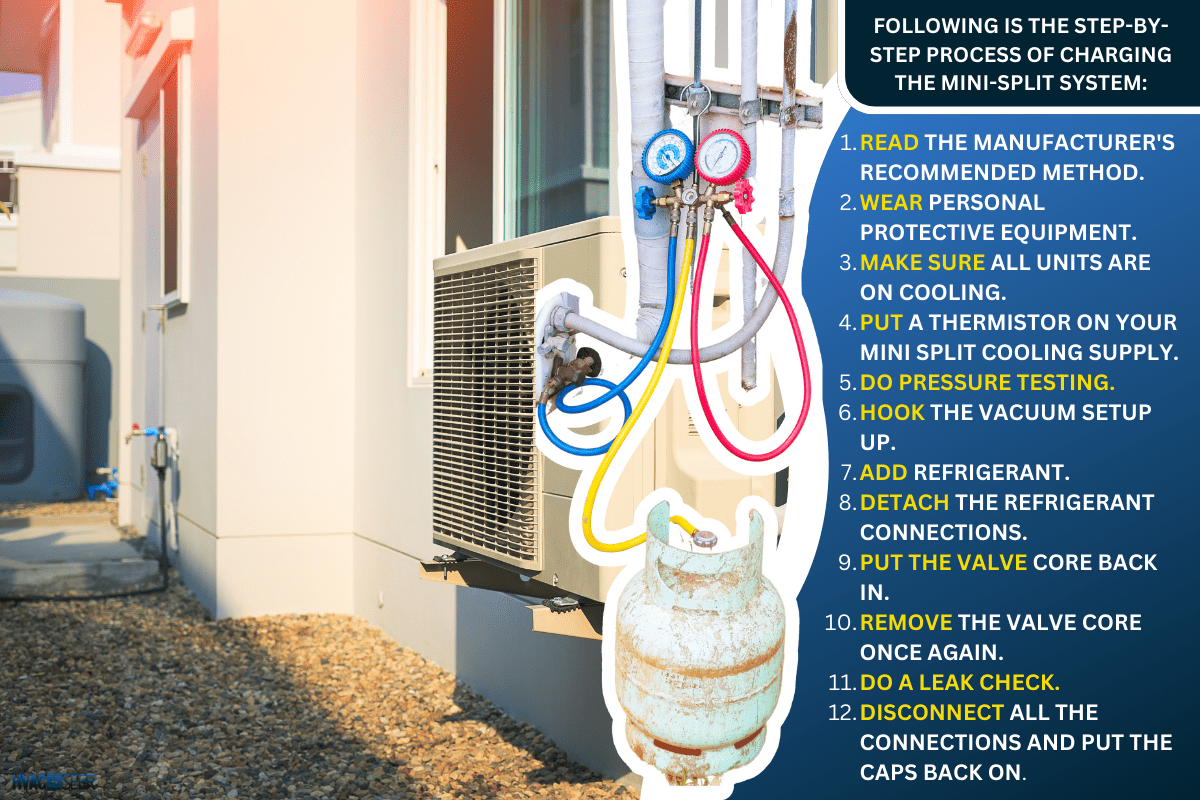
Following is the step-by-step process of charging the mini-split system:
- Read the manufacturer's recommended method.
- Wear personal protective equipment.
- Make sure all units are on cooling.
- Put a thermistor on your mini split cooling supply.
- Do pressure testing.
- Hook the vacuum setup up.
- Add refrigerant.
- Detach the refrigerant connections.
- Put the valve core back in.
- Remove the valve core once again.
- Do a leak check.
- Disconnect all the connections and put the caps back on.
In this article, we will delve deeper into the aforementioned steps. We will also share with you when is the appropriate time to charge your mini-split system. So keep on reading for more information.
How To Charge A Mini Split System?
Recharging a mini-split involves replacing depleted refrigerant or freon levels rather than actually charging the mini-split system itself.
The act is known as "charging” because charging kits or bulk refrigerant containers are used for the job of replenishing refrigerant levels. These units will contain enough fluid to recharge the refrigerant once.
The charging of a mini-split system takes a variety of tools and techniques to accomplish and we will be covering each of them as we move through the steps.
1. Read The Manufacturer's Recommended Method
Always follow what the manufacturer recommended to do with your mini split system. Because it is certain that you won't make as many mistakes if you use the method all right.
Aside from the unit's manual, you can see the recommendation on the sticker attached to your outdoor unit. Look what kind and how much refrigerant holds. It is usually in ounces and to determine the pounds divide it by 16.
2. Wear Personal Protective Equipment
Make sure you are wearing gloves and safety glasses in the event that refrigerant comes into touch with you accidentally.
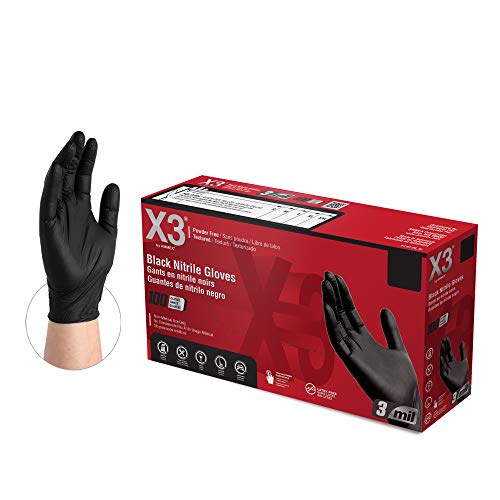
Click here to see these gloves on Amazon.
3. Make Sure All Units Are On Cooling
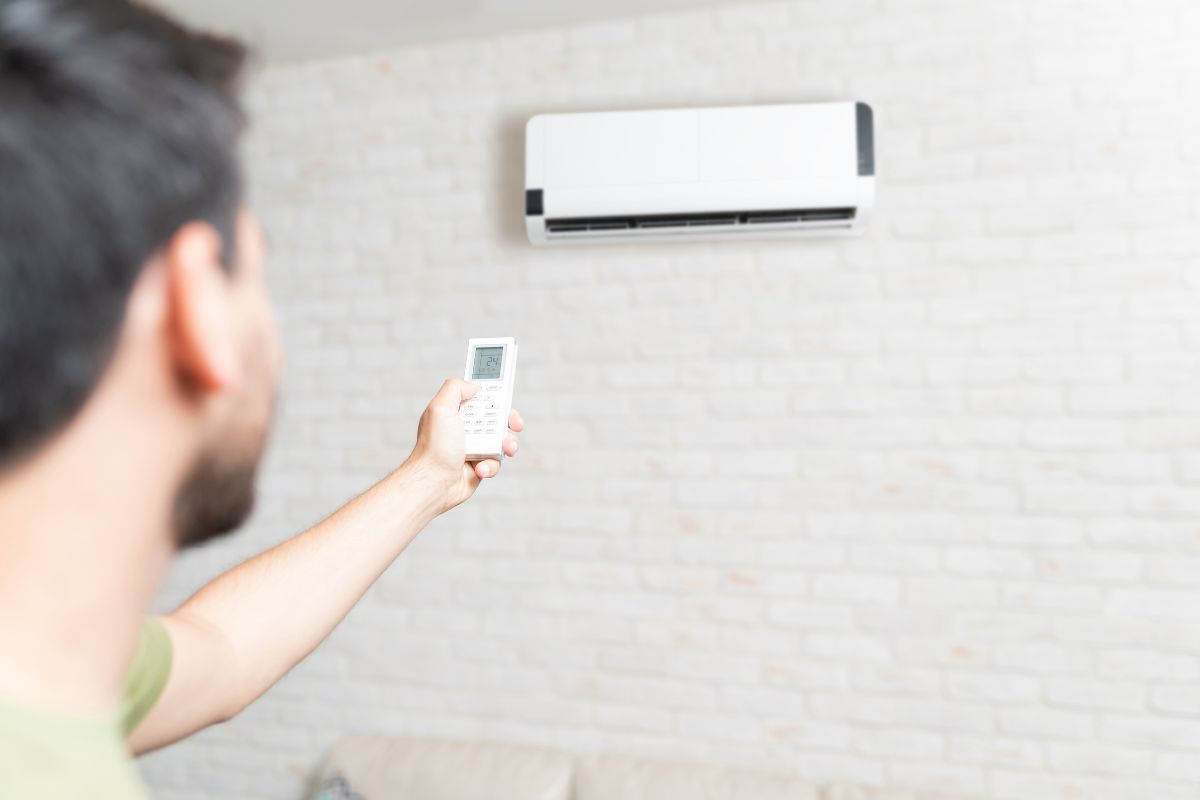
Ensure that your system is operational, including the compressor. While you are doing this process, it must keep running.
Go inside the indoor equipment and get the remote controller. Push the power button first then turn it on cooling by pressing your mode button, and then turn your fan speed all the way up. This is going to allow the equipment to ramp up to high speed but you gotta make sure you lower the thermostat's cooling setting as much as it will go.
4. Put A Thermistor On Your Mini Split Cooling Supply
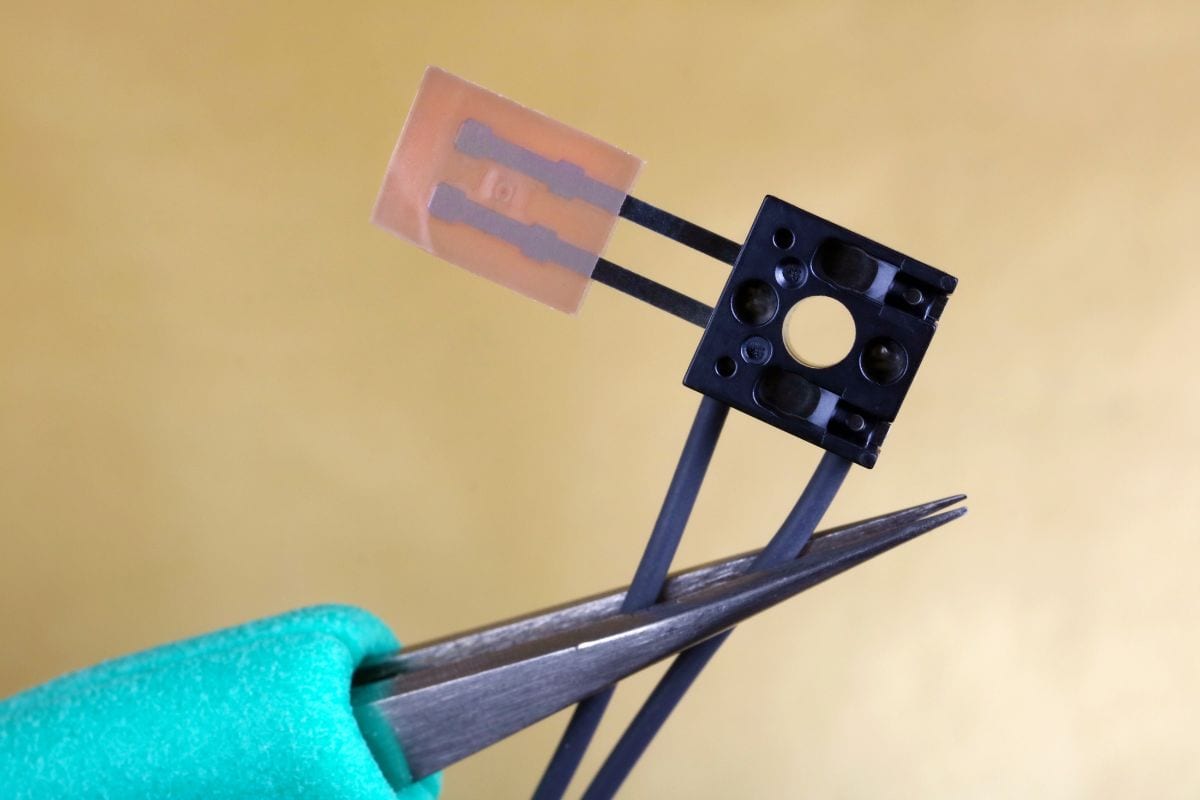
You can use a little thermistor that connects to your meter and the mini split’s supply then wait a few minutes before starting. Make sure the meter is turned to Fahrenheit/Celsius selection.
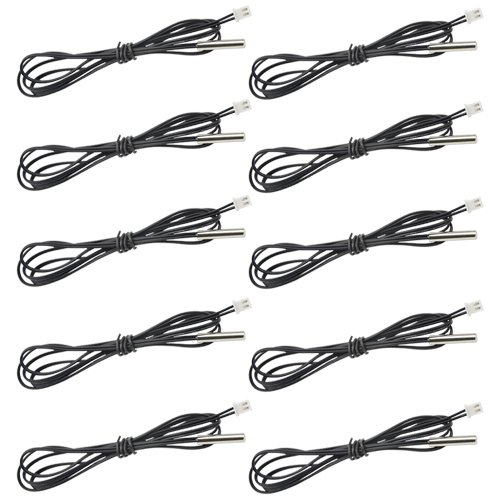
Click here to see these thermistors on Amazon.
This connection measures the temperature of the split which you should maintain 20°F from the return to the supply. It means that you should see 20-degree colder air coming out of the mini-split supply on the meter.
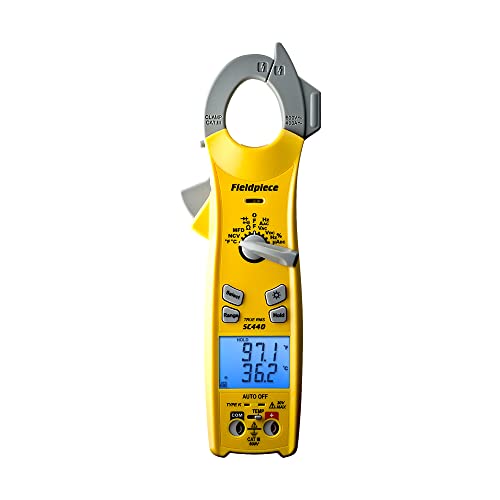
Click here to see this meter on Amazon.
To see how it looks like checking the mini split temperature in cooling, a video on YouTube is shown below.
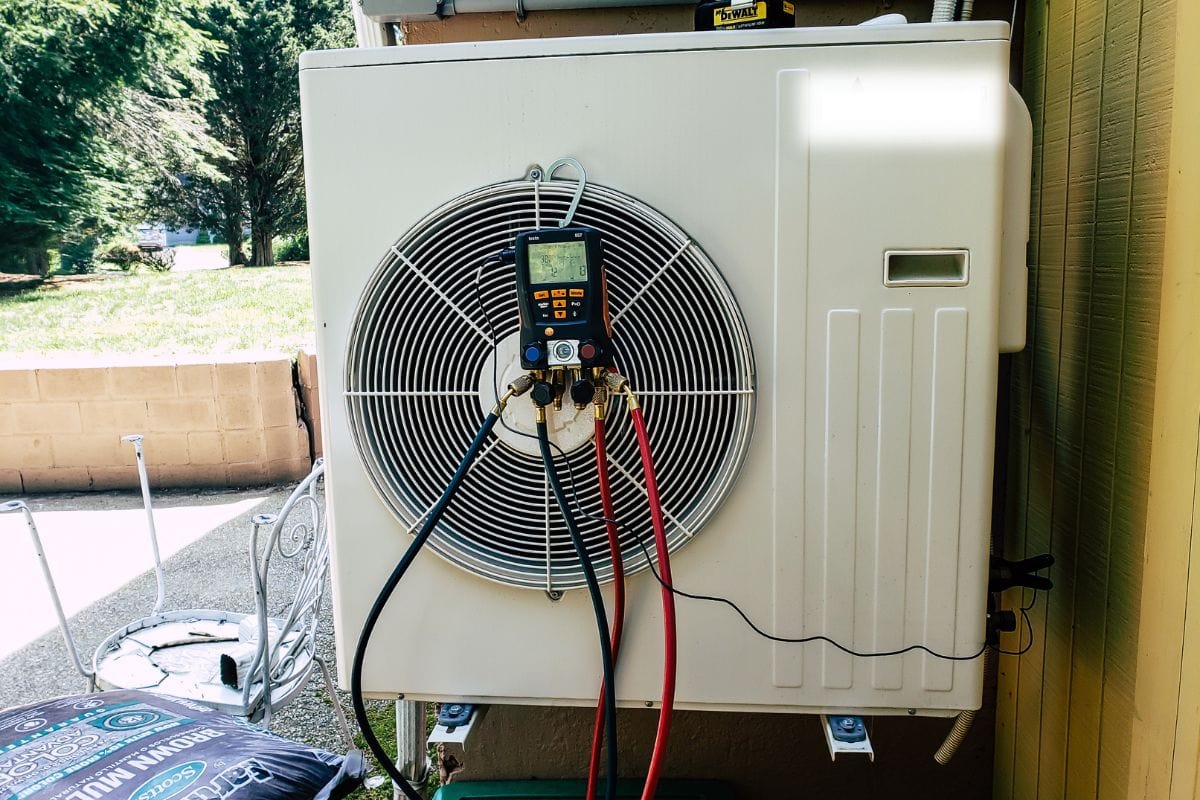
5. Do Pressure Testing
Make sure that the refrigerant tubing is connected from the outdoor unit to the indoor head unit before doing pressure testing.
Connect the valve core removal adapter over the low-pressure service port. The port is 5/16” and usually has a downward-facing connection. But before connecting, be sure you remove the valve core using the core depressor.

Click here to see this 5/16” valve core removal tool on Amazon.
Then, connect the quick connect test gauge and the refrigerant hose right on the port of the tool connected. By that, you can add nitrogen, shut it off and read the pressure to see if it's going to fall or not. This is in search of leaks before you vacuum.

Click here to see this quick connect test gauge on Amazon.
6. Hook The Vacuum Setup Up
To set up, remove the pressure gauge first and put the second valve core removal tool so that you can isolate your vacuum gauge.

Click here to see this ¼” valve core removal tool on Amazon.
Just hook this other valve core removal tool right up to the first tool port and make sure that there is no Schrader valve in the port of the valve core removal tool.
Then, connect the vacuum gauge right on the second valve core removal tool so you can shut it off as you break the vacuum with refrigerant from the bottle or from the system and that refrigerant and oil will not contaminate the vacuum sensor.
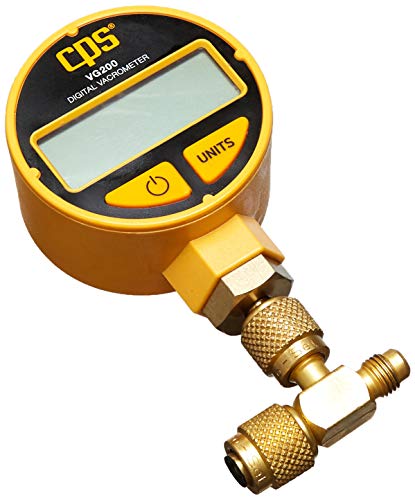
Click here to see this vacuum gauge on Amazon.
Make sure that you don't put the valve core back into the port of the first tool until you have positive pressure in the system. If you've tried to put this back in before you have positive pressure, you're going to accidentally lose part of your vacuum.
The reason for removing the valve core back in the first place is to make sure that you're removing the restriction so you can have a deeper and faster vacuum.
After that, install the vacuum hose to the end of the valve core removal tool and check that all of the other connections are snug. Then, turn the vacuum pump on as soon as you turn the vacuum gauge on.
Click here to see this vacuum hose on Amazon.
Your vacuum had to equalize first and then once the vacuum was the same on both sides, the vacuum level hasn't risen so that means that you are good and you're ready for a refrigerant.
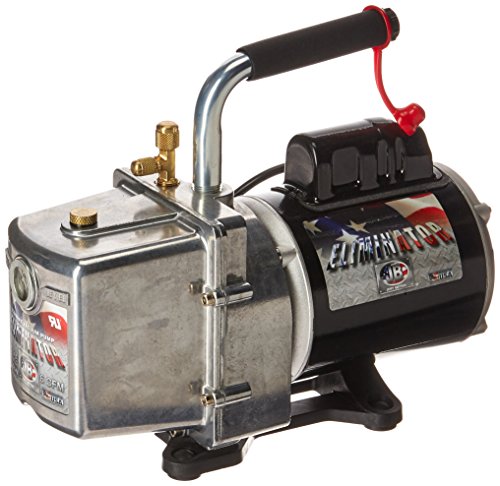
Click here to see this vacuum pump on Amazon.
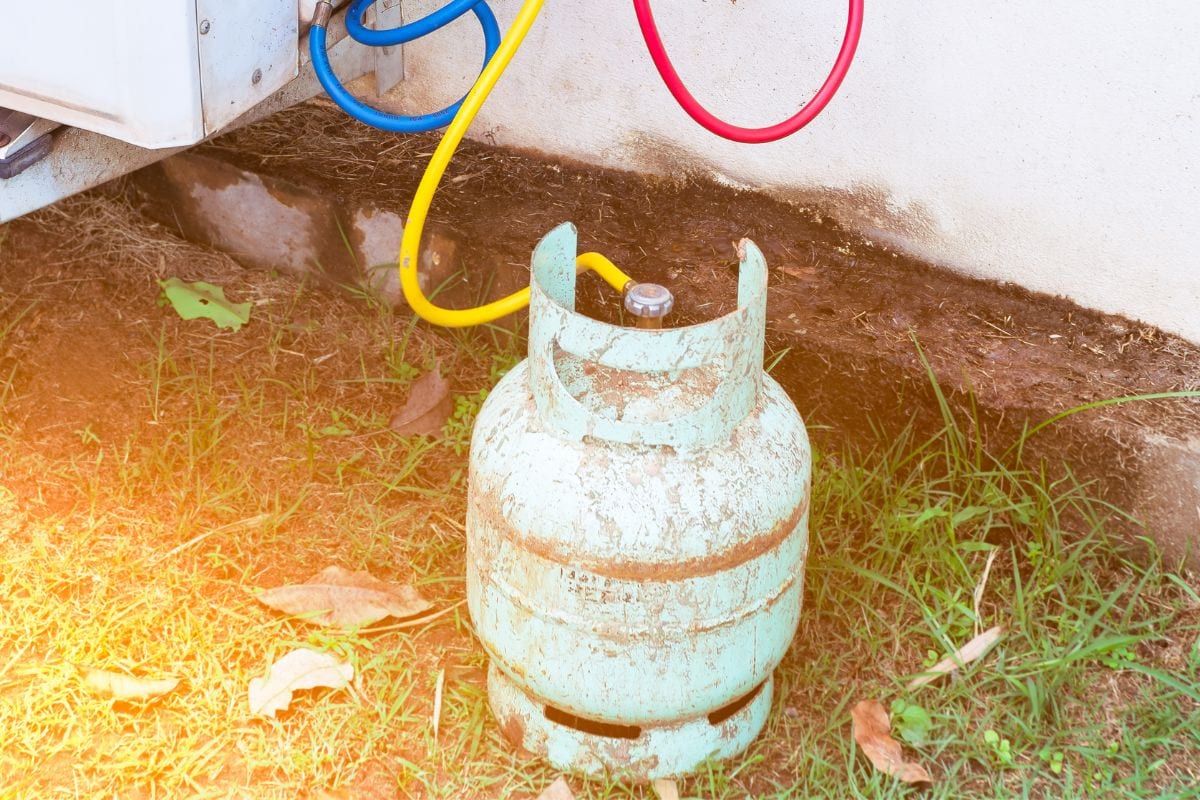
7. Add Refrigerant
Get your refrigerant bottle and hose ready so that you can add refrigerant into the port. Normally, all you need to do is to open the valve caps of the system’s refrigerant tubing.
As possible, valve off your vacuum gauge so you don't get refrigerant oil into the sensor. You can basically just take an Allen wrench and then open this valve up counterclockwise.

Click here to see this Allen wrench set on Amazon.
Next, position the refrigerant tank upside down so only the correct mix of liquid comes out because it's a 50-50 mix of two different refrigerants. Also, put the refrigerant tank on the scale to measure exactly the liquid going inside the system.

Click here to see this digital scale on Amazon.
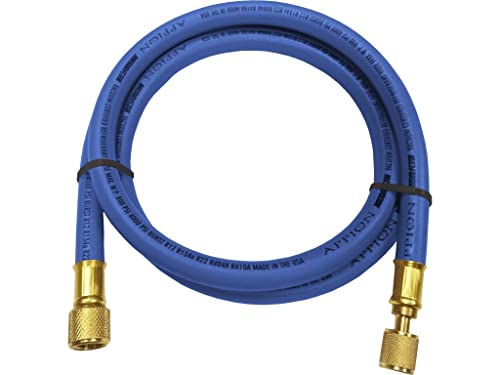
Then, remove the vacuum hose and replace it with the refrigerant hose. But purge the air out first and open the shut-off valve of the refrigerant hose. Now you have refrigerant all the way over to the hose you want to go ahead.

Click here to see these refrigerant charging hoses on Amazon.
8. Detach The Refrigerant Connections
Look at the scale. When you see the scale is zeroed out, close the shut-off valve of the second valve core removal tool and open the first tool. So there, when you already have the correct refrigerant, you can turn the valve off and then take the hose off.
9. Put The Valve Core Back In
Take the valve core and put it back in. Then, open the first shut-off valve and purge a small amount of air on the tool you inserted and screw back in after. However, there's pressure in there now so you need to push forward as you screw this in.
10. Remove The Valve Core Once Again
Take the valve core off so you can turn the shut-off valve of the first tool to the off position and see to its valve core is resealed back in here and it's holding the pressure back.
11. Do A Leak Check
You can test it with a bubble leak detector. Just apply it right in the end and then you want to see if it's gonna blow any bubbles out. If it doesn't blow any bubbles out then you're good. So you can wait for maybe 1 to 2 minutes just to make sure that you don't have any bubbles being blown.

Click here to see this bubble leak connector on Amazon.
12. Disconnect All The Connections And Put The Caps Back On
Disconnect the two valve core removal tools. Then put your Allen key in and turn that counterclockwise almost all the way back. Do it to the other tubing valve too.
Once it starts getting snug you're going to stop on both of these and then you can go ahead and put the caps back on. Finally, you can go ahead and turn the system on. A YouTube video is displayed below to help you understand how the process is carried out.
When to Recharge A Mini Split System?
In most cases, your mini split system shouldn't ever require a refrigerant-level recharge. Your system should have enough refrigerant in it when it is initially installed to last the duration of its life.
Recharging the refrigerant line is only necessary if there is a leak. If the leak is not fixed, it will eventually deplete the system of refrigerant and result in failure.
Wrapping Things Up
If you could just do everything yourself, it would be much more convenient. However, it may cost more to obtain the equipment and refrigerant tank than the cost of hiring a mini split expert to recharge the unit.
Plus, if you do something incorrectly, your mini-split may become a more expensive problem. We hope this article has answered your question and guided you to make the best decision!
To broaden your knowledge about refrigerant matter, check out them below.