When you buy insulation sold as batts, there's no question of the R-value. It comes in a pre-cut size, and you just install it as it is. So if you're blowing insulation into the space instead, how thick should the loose-fill insulation be? We've checked with energy experts for their insulation knowledge.
Loose-fill insulation offers an R-value of roughly 2.5 per inch. It varies depending on the material. Insulation can be made from cellulose, fiberglass, or mineral wool. Cellulose has the highest R-value of the three.
In this article, we'll cover specific thermal ranges for each type of loose-fill insulation. Then we'll explain how to determine just how many inches of insulation you'll need. We'll give you some tips for spreading loose-fill insulation. Next, we'll cover some installation basics. And even answer whether there's such a thing as too much insulation.
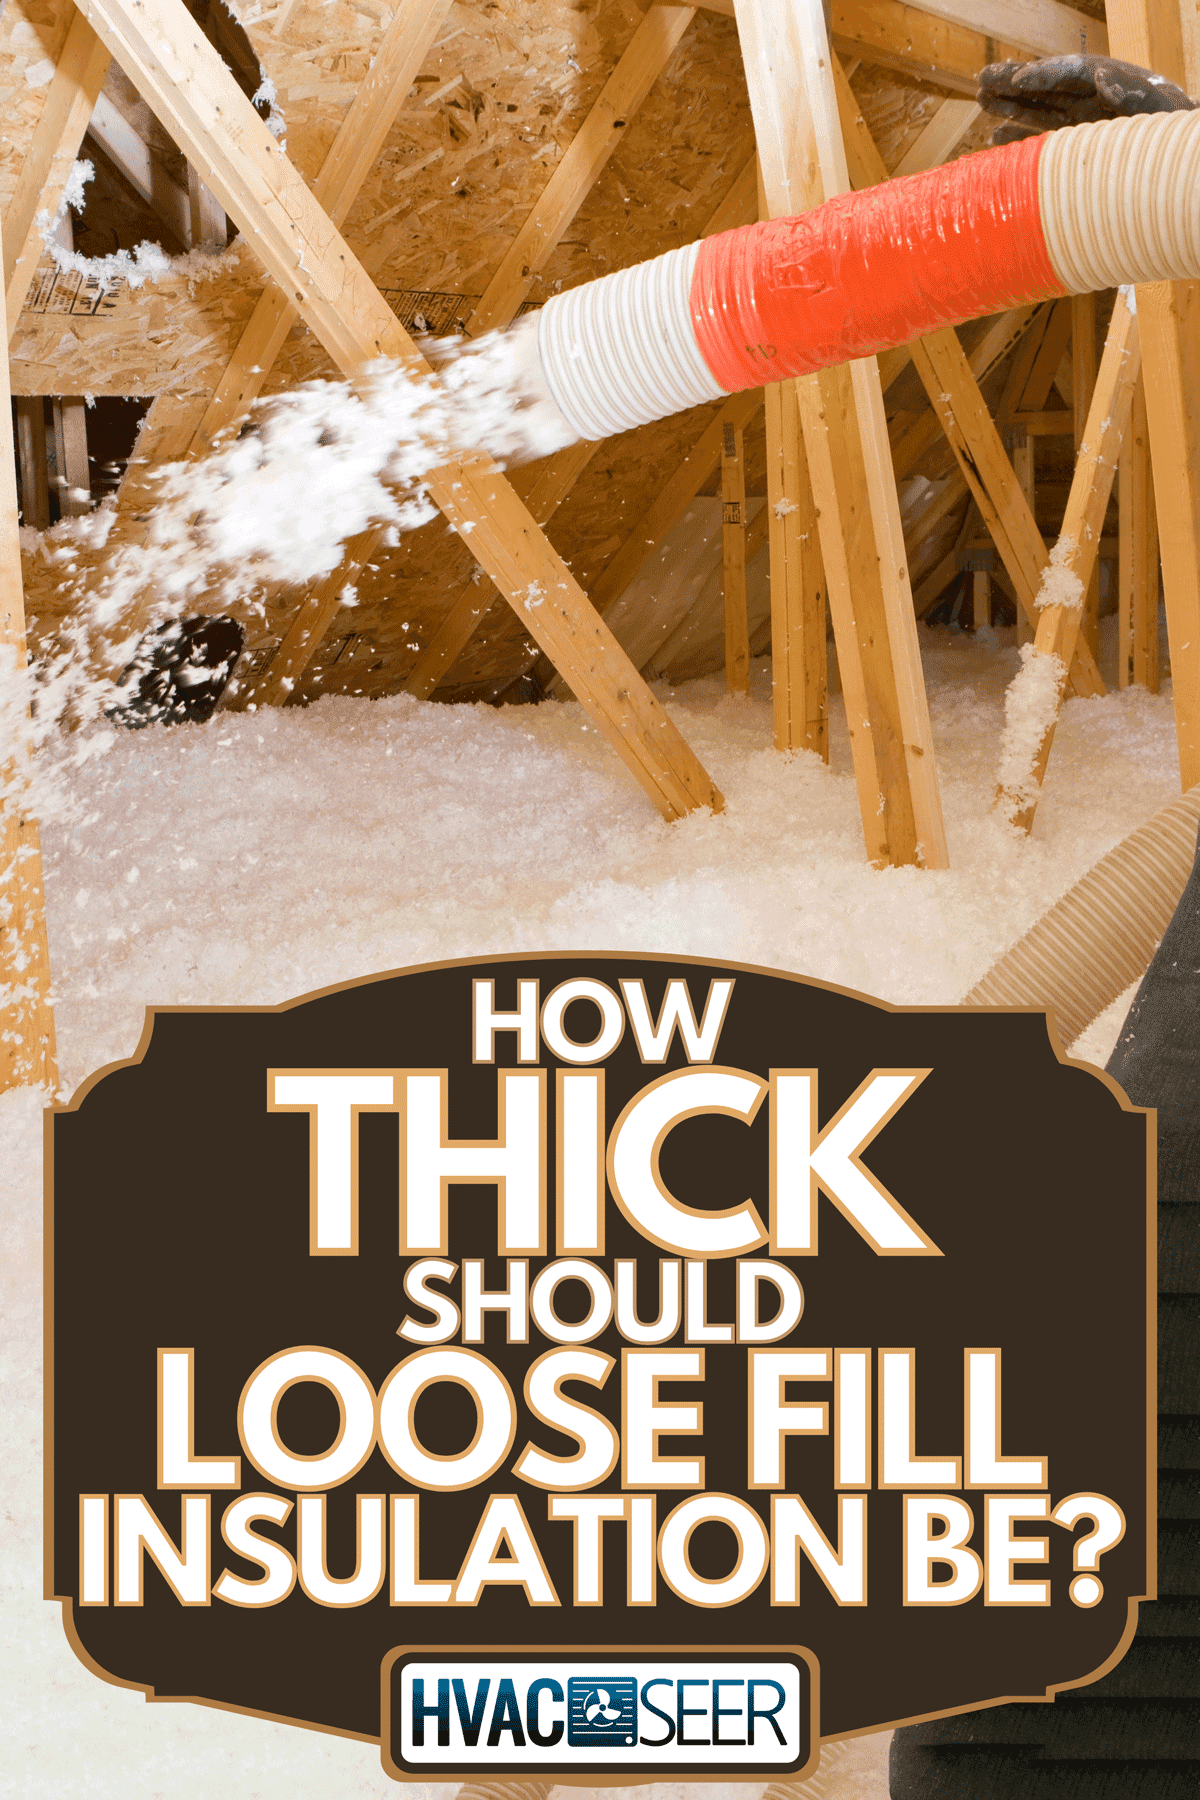
How Thick Should Loose Fill Insulation Be?
Loose-fill insulation is often made from cellulose or fiberglass. There is also blown-in mineral wool insulation. However, this kind is less common.
Blown-in cellulose is the most efficient. It has an R-value of 3.2 to 3.8 per inch. Fiberglass offers an R-value of 2.2 to 2.7 per inch. Rockwool comes between, with an R-value of 2.2-3.3 for each inch. As you can see, there's a wide range. This depends on the manufacturer and your specific insulation.
Check the details of whatever insulation you purchase. The bag typically provides common R-values. It should explain how many inches of insulation you'll need for each one. And be aware that this R-value isn't just about depth. It also has to be the right density. If you do it yourself, this can be a concern.
Sometimes at first, the insulation is fluffy and full of air. This may seem deep enough. However, once it settles, it can be much less full.
As a result, you may measure 10 inches of insulation at first. This seems to give the correct R-value. But as time passes, you now only have five inches of insulation. This is only half what you expected!
This is a problem that professionals can help you avoid. They have better tools for the job. This is especially true if you're insulating a wall. This job is trickier than spreading loose-fill insulation in an attic space.
In an attic, the insulation is usually visible. It's easier to tell if it's spread thick and dense enough. It's also easy to see settling in time to fix, as well.
How Much Insulation Do I Need?
The first step, of course, is to determine the recommended insulation for your area. This varies by area.
Insulation needs are based on your climate zone. Colder regions need more insulation. Conversely, warmer areas require less. R-values are given as a minimum. This means that you must at least meet this level of insulation. They are also broken up further, with one R-value for ceilings, another for walls, and a third for floors, for example.
Be sure to check your local codes to verify the R-value requirements for your area. However, remembering all the different required R-values is the hard part. After that, it's a matter of simple math to figure out how many inches of insulation you need.
For example, your attic may need to have an R-value of at least 49. Assume you pick loose-fill cellulose with an R-value of 3.5 for every inch. Just divide 49 by 3.5 to see that you need 14 inches of insulation.
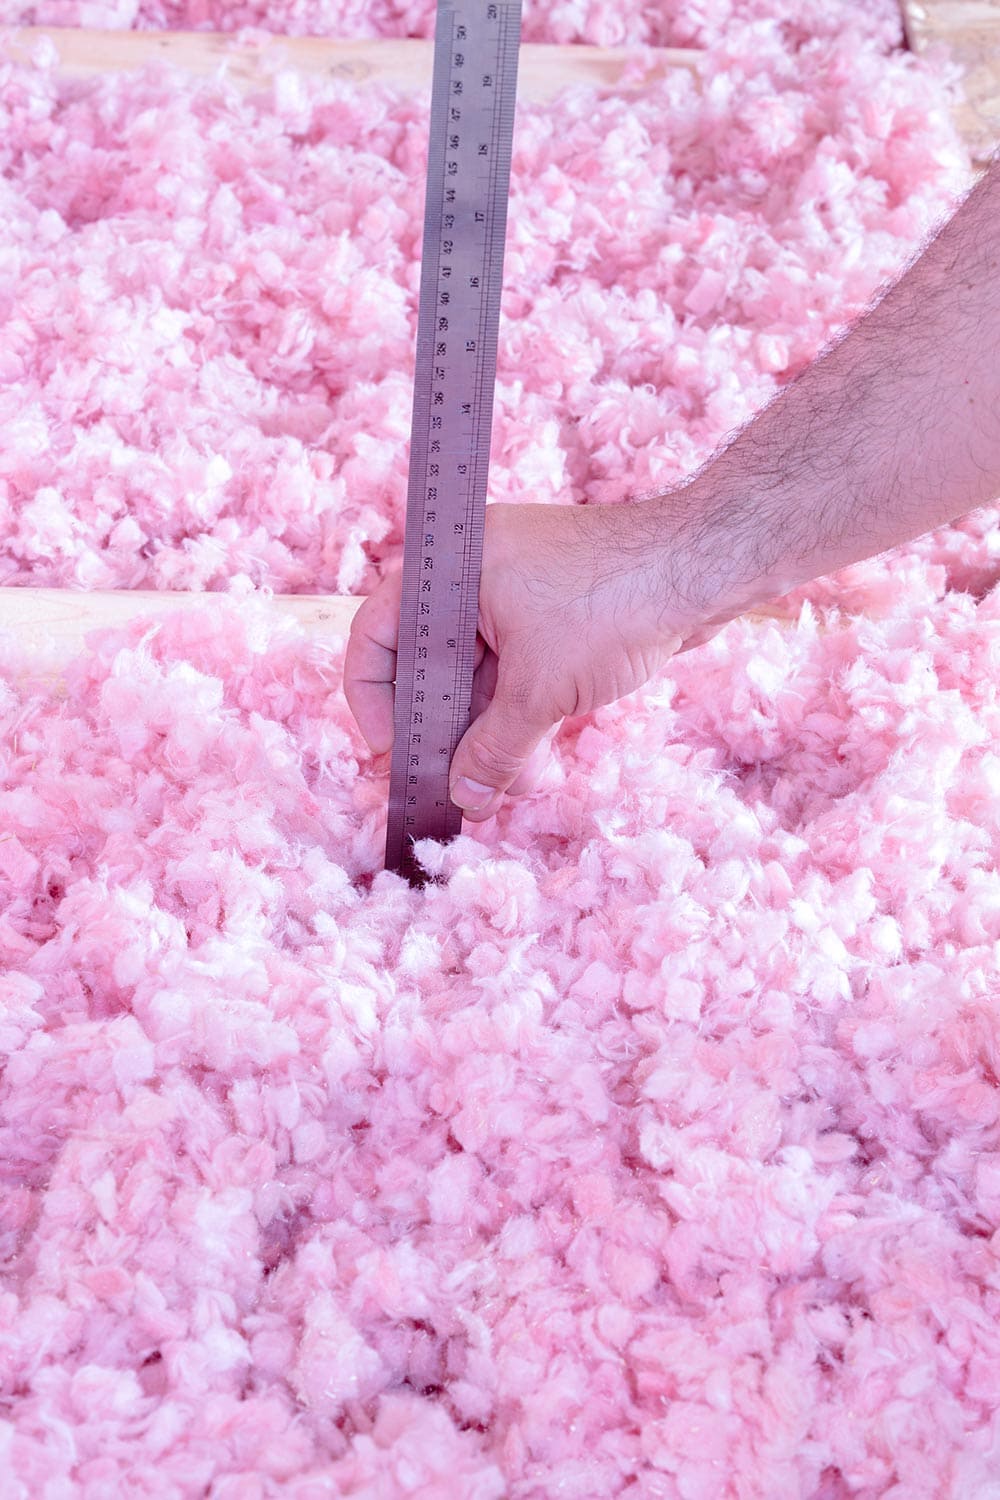
How Many Inches Of Blown Insulation Is R30?
To obtain an R-value of 30, you need about eight or nine inches of cellulose insulation. The exact amount varies between manufacturers.
Similarly, fiberglass insulation needs to be roughly 11 to 13 inches deep for the same R-value. Mineral wool or Rockwool insulation has the most variation. It can take as little as nine and a half inches or as much as 14.
How Do You Spread Loose Fill Insulation?
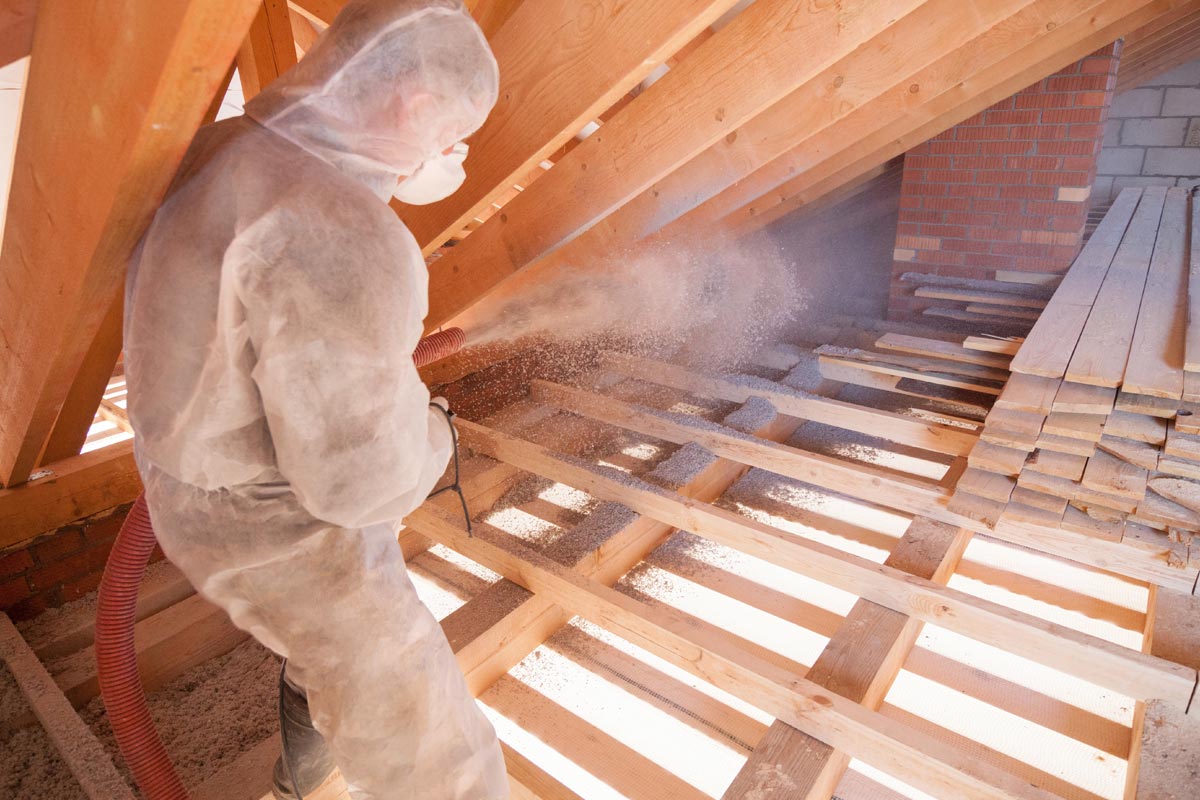
Blowing insulation into walls can be a tricky job. It's often better left to a professional.
You can rent a blower machine and do it yourself. But it's often hard to get the right density with these amateur machines. This means that your insulation ends up settling. With time, your R-value will be a lot lower than you thought.
However, adding loose-fill insulation to an attic is definitely possible for a home handyman. You'll need to be willing to crawl around in the attic. It's important to be able to get into all the nooks and crannies.
But you don't need professional-grade blowers. In this case, the simple rental blower machine is sufficient. If you really want, you can even spread it by hand.
Be warned, though, this is a time-consuming method. It requires breaking up bales of insulation. Then, you spread them out with a rake. If you have a large area to cover, renting a blower may be worth it just to avoid frustration.
Can You Put Too Much Insulation In Attic?
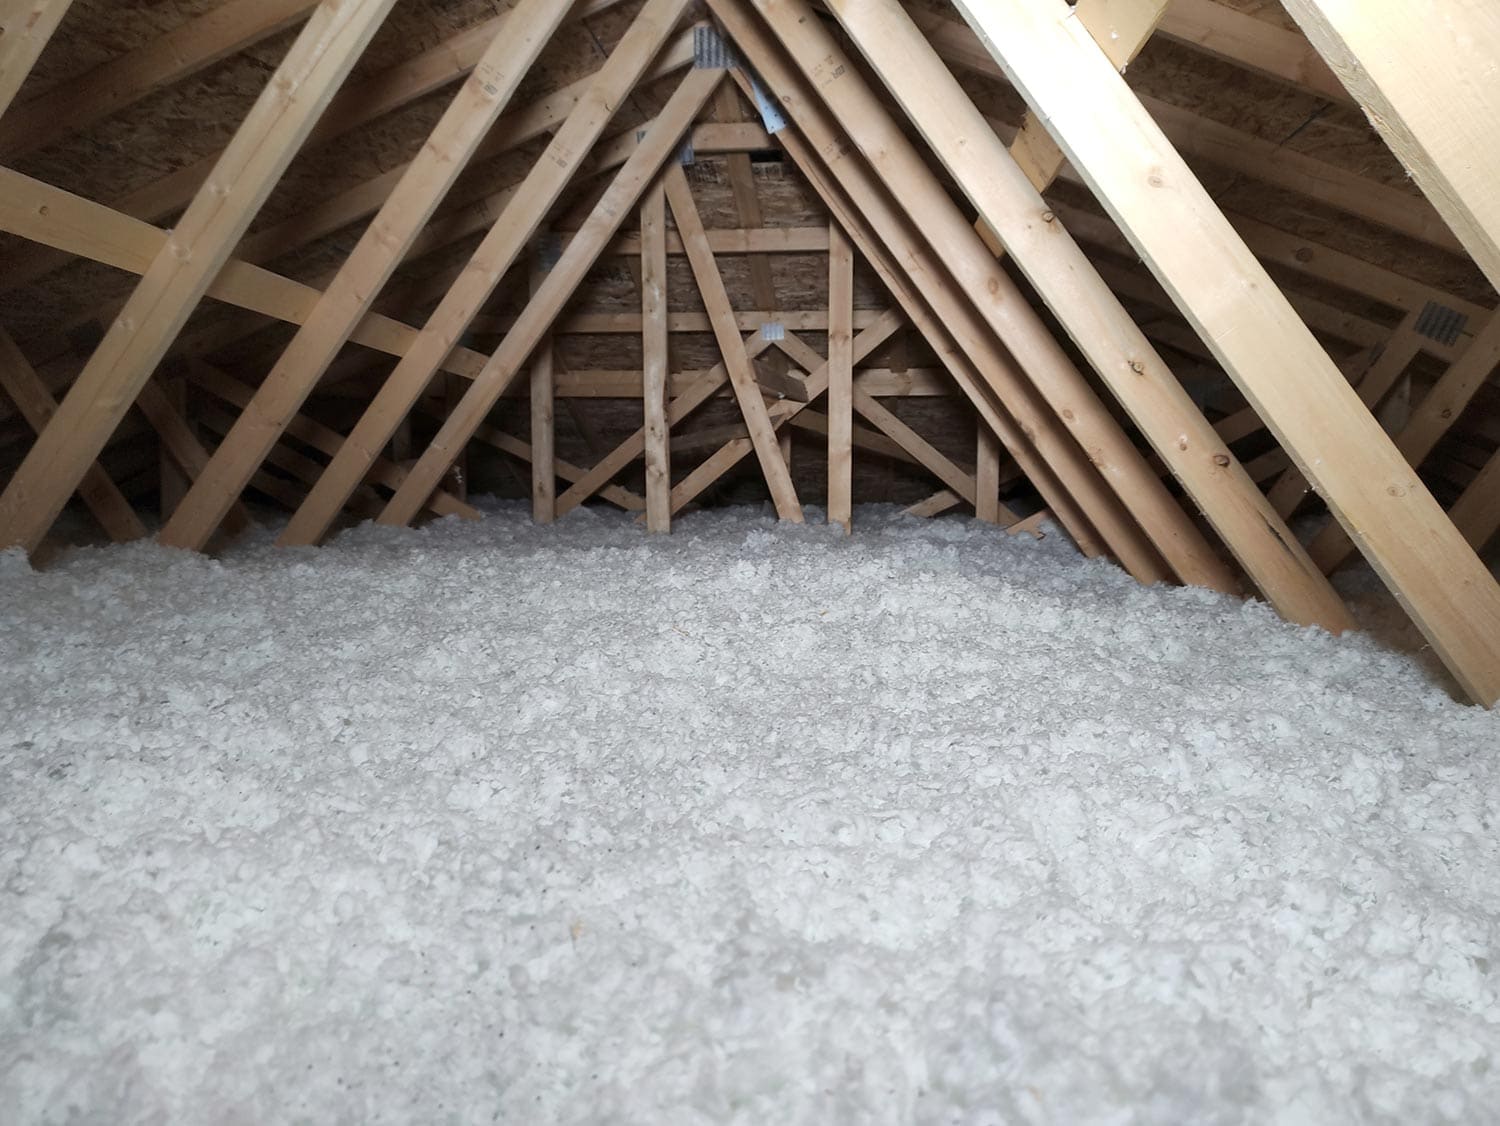
Since the R-value required by building codes is just the bare necessity, people often choose to go beyond this. Most homes are under-insulated. This can drive up heating bills and make it harder to keep a comfortable temperature.
If you're tired of chills and drafts in your home, it's easy to go the other way. You might think you'll pump the insulation up to extremes. Genius, right? You'll never have to worry about heating again!
But maybe not. Believe it or not, you can over-insulate just like you can under-insulate. While it's not frequently seen, too much insulation can trap moisture. This leads to mold and other air quality issues.
Not to mention, insulation costs money. At some point, you stop saving money on your utility bills. When this happens, adding more insulation is just an expense without gain.
You can read more about it here: "Can You Over Insulate An Attic? [And what happens then?]"
Does Loose Fill Insulation Need A Vapor Barrier?
Loose-fill insulation may or may not need a vapor barrier. Among other things, it depends on what kind of insulation it is. It also depends on where you are installing.
Cellulose insulation is able to handle some moisture. However, it may not keep up with a very humid, wet climate. In this case, you may still need a vapor barrier. Similarly, if it's in a damp room like a bathroom, a vapor barrier is a good idea.
But if your cellulose is in a ventilated attic, you can probably skip it. Especially if your attic has no other signs of moisture problems. For more information, see: "Does Cellulose Insulation Need A Vapor Barrier?"

Mineral or Rockwool insulation also typically does not require a vapor barrier. Check your local building codes. Some areas require the use of vapor barriers. Read more here: "Does Mineral Wool Insulation Need A Vapor Barrier?"
However, fiberglass insulation does need a vapor barrier in most cases. Specifically, a vapor barrier can be required for exterior walls. If you're putting it in your attic, a vapor barrier is generally not recommended.
What Happens If You Don't Use A Vapor Barrier?
Vapor barriers help to keep moisture from affecting walls and other building materials. Without one, you may find that dampness becomes trapped in the wall space. This can cause water damage and rot.
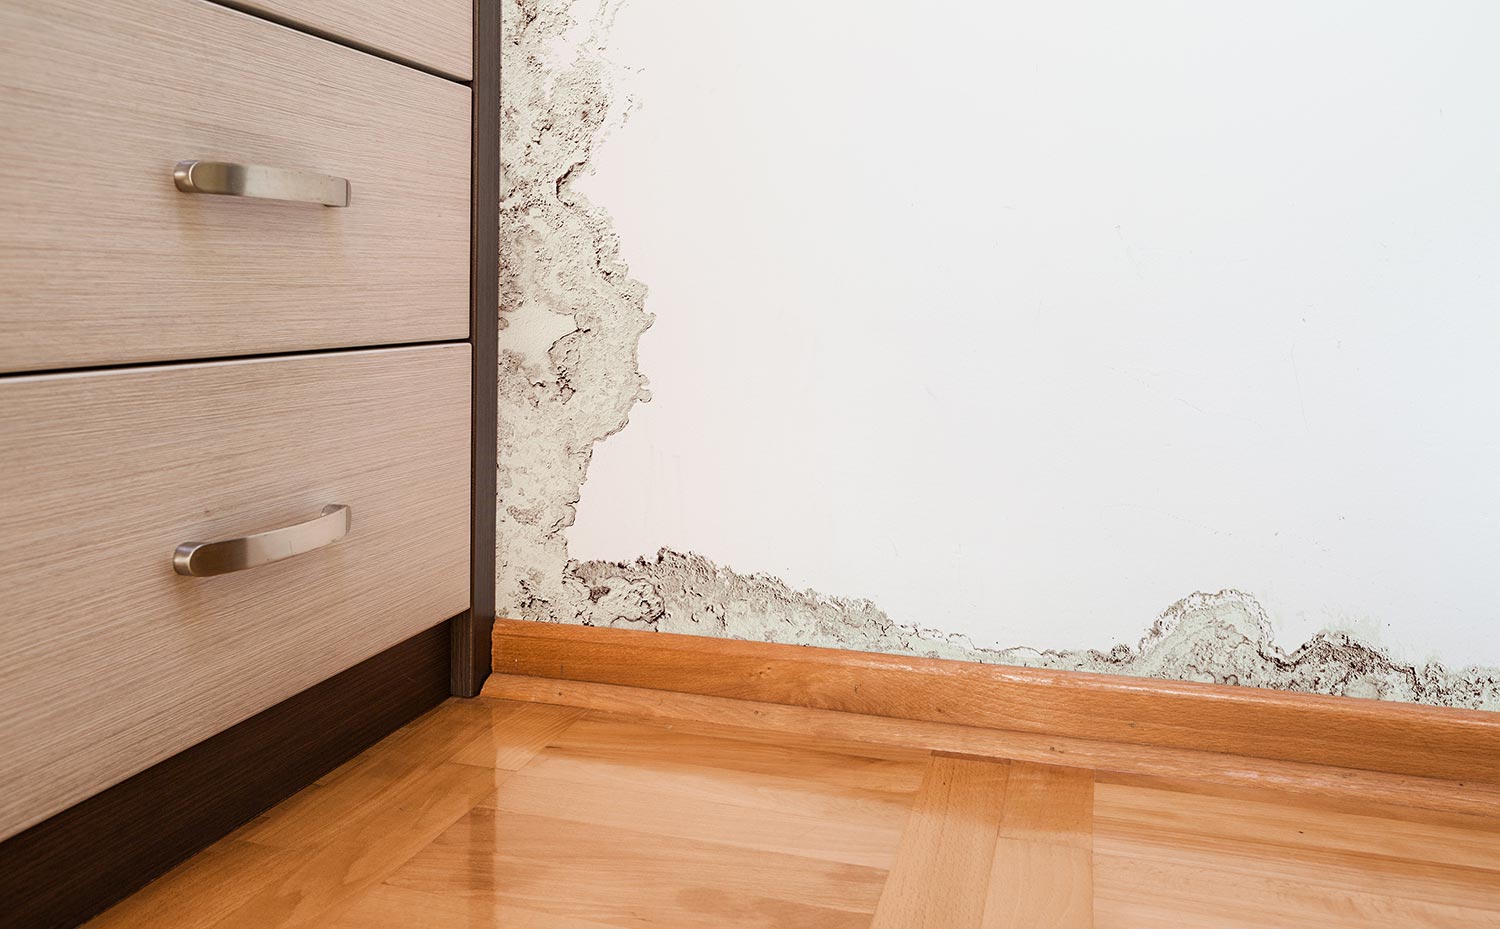
However, it's important to use vapor barriers carefully. In some cases, improperly installed vapor barriers do more harm than good. You can accidentally trap moisture by the use of a vapor barrier. Though it's meant to keep moisture out, it can do the opposite.
Double-check whether vapor barriers are appropriate for your area. Always follow your local building codes first and foremost.
In general, if you live in an area with a mixed climate, you need a vapor barrier to prevent mold and moisture problems. This is a region that is hot and humid part of the year, but cold and snowy other times.
In Conclusion
Loose-fill insulation comes made from fiberglass or cellulose most often. Mineral wool is a less common choice as well. How much you'll need depends on what R-value you are insulating for. They offer an R-value of somewhere around two or three for every inch, depending on the material.
To know exactly how thick your insulation needs to be, first decide what R-value you want to obtain. Then check the specifics of your insulation. When you've determined the R-value per inch, then just do the math. Divide your total R-value by the R-value per inch. This way, you can quickly determine how many inches you need in all.
