
You turn on your car's AC during a hot summer day only to find warm air from the vents. Now, you're sitting in the driver's seat, wondering if your vehicle has an air conditioner leak. But what can you do to find out? We researched the solution to this predicament, so keep on reading.
A nitrogen pressure test can be an excellent choice to find a leak in your car’s AC. This process typically follows these steps:
- Check for existing leaks in the system.
- Purge any remaining nitrogen from the air conditioner.
- Attach pressure probes and begin feeding nitrogen into the unit.
- Let the nitrogen stand for approximately 30 to 60 minutes.
- Spray different car AC areas and search for leaks.
Some car owners might find the nitrogen pressure test a tedious way to find a leak in their vehicle’s AC.
So continue reading as we discuss other solutions to help you find leakage in your car’s air conditioner. We’ll also discuss the nitrogen pressure test in greater detail.
![Female Car Mechanic Checking the car ac, How To Find Car AC Leak [Even Without Dye]](https://hvacseer.com/wp-content/uploads/2022/06/How-To-Find-Car-AC-Leak-Even-Without-Dye.png)
How Do I Find An AC Leak In My Car Without Dye?
You can use nitrogen pressure to find a leakage in your car’s AC if you don’t want to use a dye or have no immediate access to that product.
Using nitrogen to find leaks in a car’s air-conditioning system generally uses acoustic signals to detect seepages, regardless of their size or severity.
However, you may need to purchase relatively expensive equipment for this operation. If you don’t want to spend more than you should on these items, an alternate solution would be to send your vehicle to a reliable repair shop.
Nonetheless, here’s a look at this process if you want to proceed with it:
What You’ll Need
- Mild soapy water
- Spray bottle
- Nitrogen pressure test kit
- Valves
Step-by-Step Guide
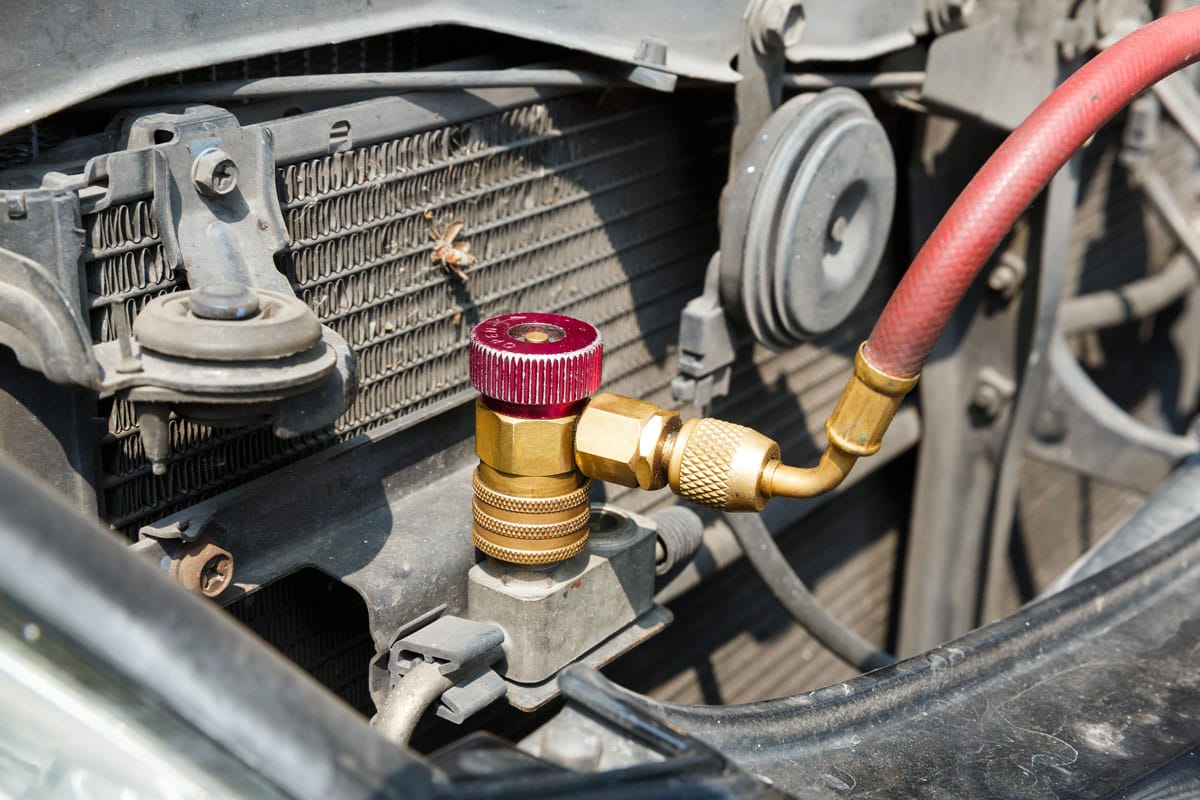
- Check for leaks in or around the Schrader valve by spraying a mild soapy solution. Don’t continue to the next step until you address this leak first.
- Purge leftover nitrogen from the AC system.
- Attach pressure probes to the appropriate terminals.
- Start feeding nitrogen into the system at about 250 to 600 PSIG. Note: the required pressure range might differ based on your situation, so follow the manufacturer’s instructions.
- Connect a valve to the pressure probes to help control the nitrogen flow.
- Let the nitrogen stand for about 30 to 60 minutes.
- Spray mild, soapy water on the different parts of the AC system to search for bubbling, which generally signifies a leak.
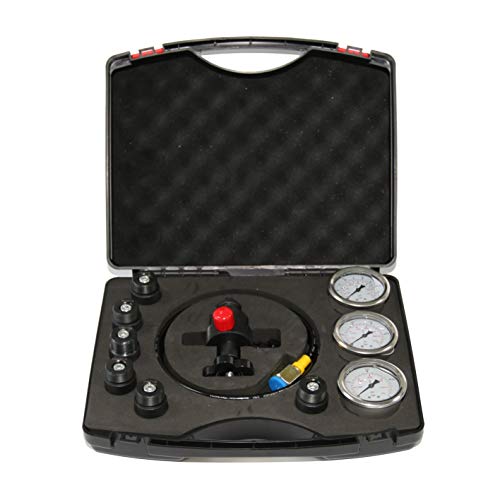
Check out this nitrogen pressure test kit on Amazon.
Watch the clip below to gain additional insights into this procedure. Note that the video shows how to do a nitrogen pressure test on a cooling unit in a residential HVAC system.
However, the process should still be similar to finding a leakage in a vehicle's cooling unit. Also, don't hesitate to consult your owner's manual if you have difficulty finding certain parts:
How Do I Find A Leak In My Car’s AC Using Dye?
A UV dye can also be a good option for car AC leak detection. But it’s still important to note that not every dye to detect leaks works the same way. Some variants might still be challenging, even with a UV light.
Also, don’t use other types of dye to find an AC leak in your car. Otherwise, you can risk damaging your vehicle’s assemblies and parts. Still, you may not need any special skills for this job, making it a relatively DIY-friendly undertaking.
However, you might need to take safety precautions before you proceed. For instance, wear safety goggles to prevent splashes of dye that might get into your eye. Also, wear a face mask or respirator since the formula might irritate your nose and throat.
After taking note of those details, continue the process by following these steps:
What You’ll Need
- UV dye
- Black/UV light flashlight
- Car AC coolant
Step-by-Step Guide
Step #1: Locate The Accumulator
Open the hood of your vehicle and find the accumulator. This assembly protects the car’s air-conditioning system by preventing compressor malfunction and breakdown.
It should also be typically in the middle of two components: the evaporator opening and the compressor suction terminal.
Step #2: Connect The AC Hose
Attach one end of the AC hose to the low-pressure side of the accumulator. Generally, you can't make a mistake in this step. It's because the typical automotive AC hose has low- and high-pressure ends that fit specific openings.
In other words, attempting to do the low-pressure end of the hose to the high-pressure side may likely fail.
Step #3: Use The Dye
Fill the low-pressure end of the AC hose with the dye. Follow the manufacturer’s instructions to avoid over- or under-filling it.
Next, screw the can of car AC coolant to the other end of the hose. Ensure it has an airtight seal to avoid leaks from the container.
Then, get in the driver’s seat and turn on the AC. Set the cooling system to its maximum possible setting. With the air conditioner running, pump some coolant into the system. Doing so should also apply the UV dye to the cooling unit.
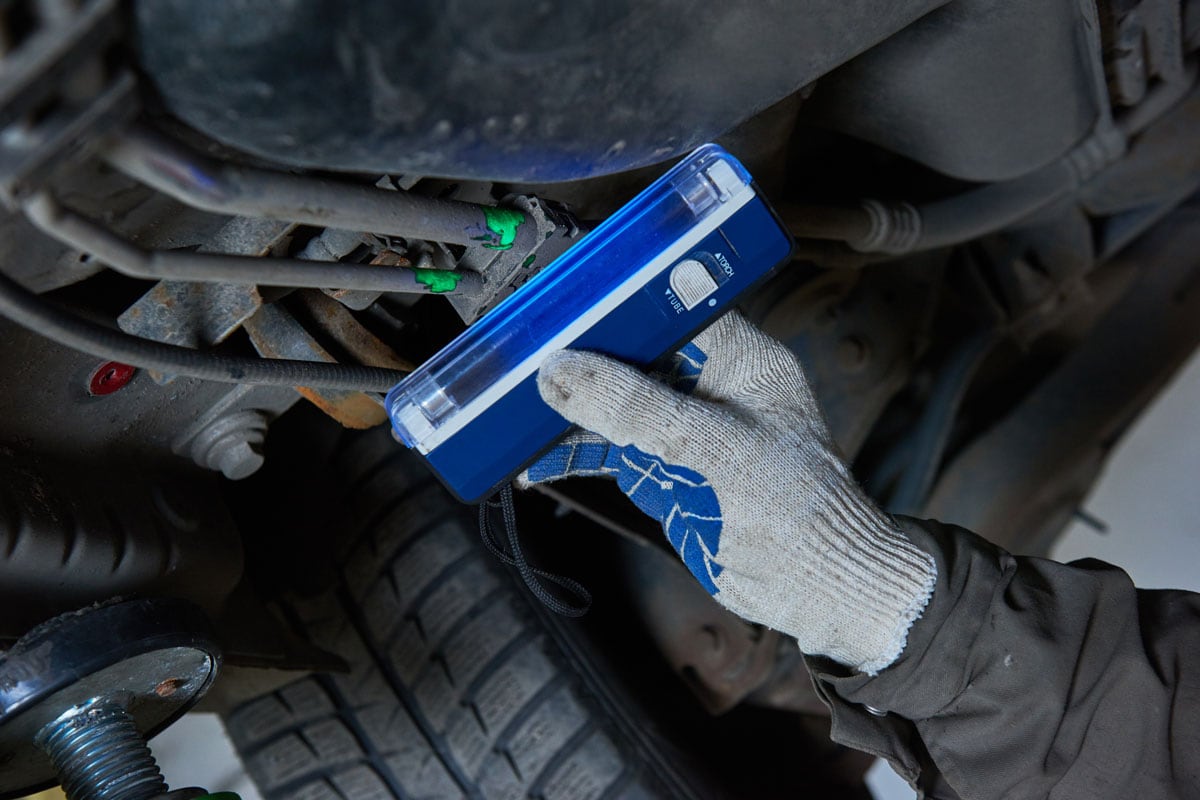
Step #4: Look For The Leak
Let the vehicle’s engine and air conditioner run for approximately 15 minutes. Turn off both the AC and engine afterward.
Search the various assemblies and parts under the hood for any sign of the UV dye. You may need to turn off the light in your working area and use the UV light to find traces of the dye.
Once you find the leak, you may proceed with the appropriate repair and replacement operation to fix the leak.

Check out this product on Amazon.
Take note that the steps above should work with relatively any car. But you may still need to consult your vehicle’s owner’s manual if you have difficulty with specific actions.
You can also watch the video below for a visual guide to the steps above. The person in the clip will also help you diagnose your vehicle if you can’t find the AC leak:
Aside from the dye, you might also notice your car’s AC leaking water. If you find this situation concerning, read our post to see if it’s normal.
Can You Use Soapy Water To Find AC Leak In a Car?

Keep in mind that this method can be a good solution for finding leaks in a car’s AC, although it can be a reasonably laborious job. Still, soapy water can be inexpensive for those who don’t want to spend extra money on other leak-detecting products.
What You’ll Need
- Coolant recharge kit
- Automotive cleaning detergent
- Water
- Spray bottle
Step-by-Step Guide
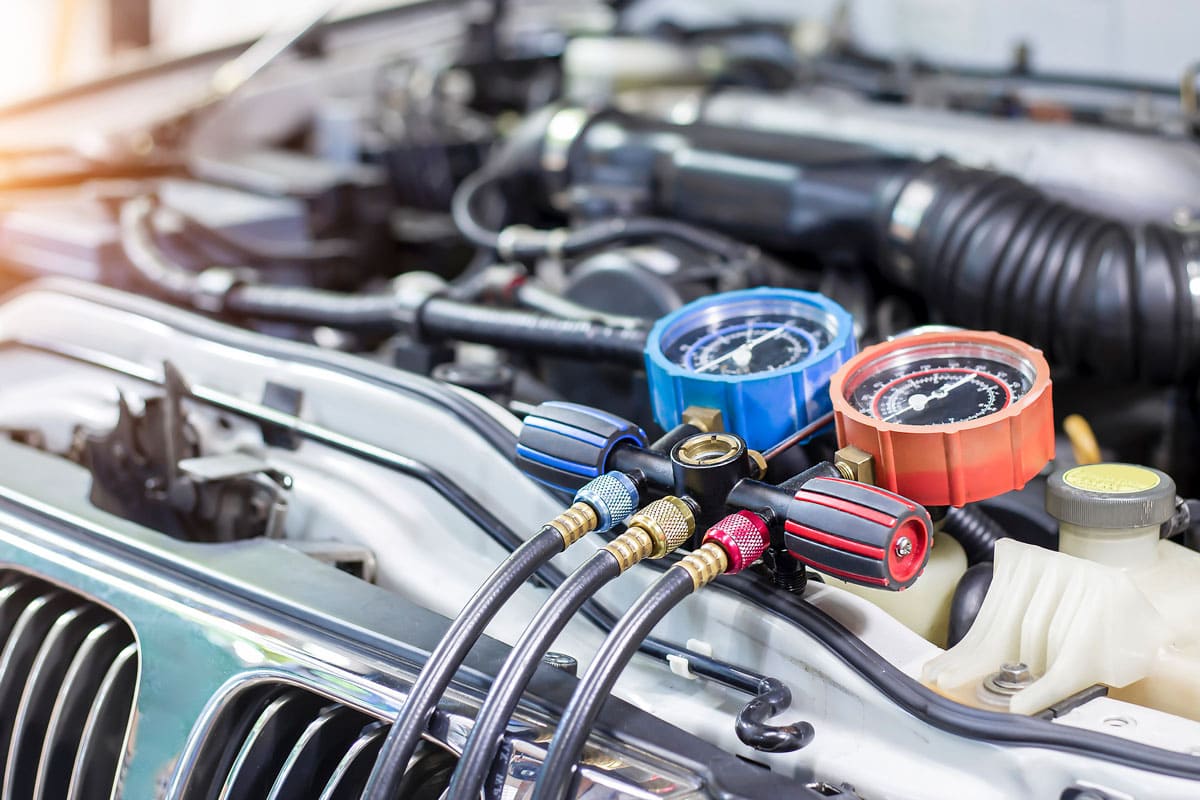
- Attach the coolant recharge kit to your car’s AC system.
- Mix the automotive cleaning liquid with water in a spray bottle.
- Open the low-pressure valve of the recharge kit to the maximum allowable position. Close it once it reaches the desired point.
- Spray the different assemblies and components of your car’s cooling to search for bubbles.
Take note that you may need to apply additional pressure to the system using the recharge kit if you can’t find the leak within a certain period.
You can also watch the video below for a demonstration of the steps mentioned above:
Ensure you remove unwanted moisture in your car’s AC after you finish. Excess water might put your vehicle at risk of mold growth. But you can get rid of mold in your car’s air conditioner. Read our post on this concern as we highlight four helpful solutions.
How Much Does It Cost To Fix A Leaking Car AC?
Using professional automotive repair services to fix a leaking car air conditioner typically costs around $100 to $800. The overall expenses may depend on the problem's severity and the parts that need fixes or replacements.
Final Words

A UV dye is one way to detect an AC leak in the car’s air conditioner. Another solution would be to use a nitrogen pressure test, albeit this option might be more laborious than a dye.
If you don’t want the hassle of finding the AC leakage and repairing this problem, sending your vehicle to a reliable repair shop might be best.