
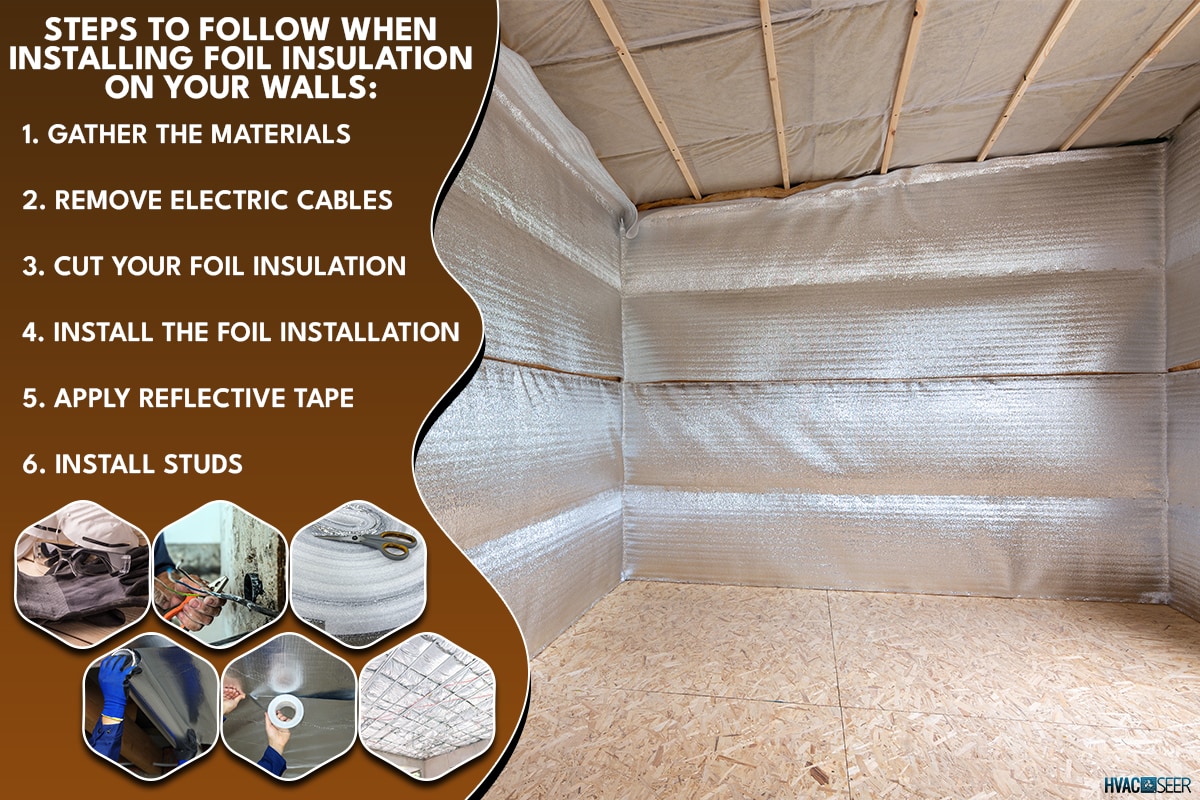
If you want to renovate your home, you've probably thought of applying foil insulation to your walls for extra protection. If you are wondering how to install the foil insulation on your walls, we've got your back. We've done extensive research on this method and found the best answers.
These are the necessary steps on how to install your foil insulation on your walls:
- Gather the materials
- Remove electric cables
- Cut your foil insulation
- Install the foil installation
- Apply reflective tape
- Install studs
Installing foil insulation on your walls will significantly help your home's temperature efficiency. We will discuss if the face of foil insulation matters, the steps to install it and if it needs an air gap. Continue reading to discover the answers to each query.
Which Way Do You Install Foil Insulation?
Foil insulation is one of the best insulations against heat or cold. Its reflective coating can be on one or both sides.

The orientation of your foil insulation depends on the climate your place is constantly experiencing. Take note that if it is hot outside and you want to stop the heat from coming to your home, the reflective part of your foil insulation must face outside.
On the other hand, if it is freezing outside, the best orientation of the reflective part is inside. With this, the foil insulation will keep the heat in your home.
As you can see, the reflective part of your foil insulation is the one where you want to keep the heat.

Click here to see this foil insulation on Amazon.
Benefits Of Using Foil Insulation
Foil insulation is a desirable form of insulation due to its various advantages. Having it installed on your walls can significantly enhance the thermal performance of your home.
By acting as a barrier to the movement of heat, foil insulation helps maintain a cozy temperature inside your home. Foil insulation can stop condensation from leaking from your walls which may cause mildew and mold.
It can also shield your interior from dust and wind, and some people also use it to lower their energy costs.
Foil insulation is made of aluminum which can keep the heat from entering your home and stop the heat from leaving your home during winter. Aluminum foil also tensile strength is higher, which can withstand moisture absorption and deterioration.
It is also safer to install with the least amount of protective gear. Foil insulation is lightweight, reasonably priced, and has a long lifespan. The best part here is that it does not release harmful toxins into the environment.
A Guide To Installing Foil Insulation On Walls
Wall insulation is crucial for building or renovating homes since it keeps a structure warmer or cooler. Foil insulation is typically used because it lowers the heat output and cooling expenses for your home and other structures.
Foil insulation is also appropriate for speedy installations because it is simple to shape and handle. It is known to be lightweight, making installing it on your walls relatively easy.
Below are the necessary steps to follow when installing foil insulation on your walls:
1. Gather the Materials
Make sure to have all the necessary materials needed for the project beforehand. Don't forget to have safety tools like gloves.

Click here to see this electrical gloves on Amazon.
Also, having safety goggles can aid you in avoiding toxic elements while working. These materials will protect you from any unexpected happenings in your workplace.

Click here to see this Honeywell safety glasses on Amazon.
Always remember that it is better to have extra foil insulations. It is considerably quicker to remove the excess than it is to try to fill the gaps later.
2. Remove Electric Cables
You must have extra caution while putting foil insulation on your walls. It is essential to remember that foil conducts electricity. When there is the presence of live electrical cabling in your workplace, put it away from the wall where you will attach your foil insulation.
When you touch the foil while it comes to contact with the live electric cabling, you may get electrocuted, which can cause burns to your tissues. That's why it is always a must to wear your safety tools and be careful in working with any electrical-related work.
3. Cut Your Foil Insulation
Cutting your foil insulation is simple and flexible when using the right tools. Cut it according to the measurements of your wall. You may divide it into parts depending on your preference when installing.
Use sharp scissors to ensure that it will cut through the foil insulation smoothly.

Click here to see this scissor on Amazon.
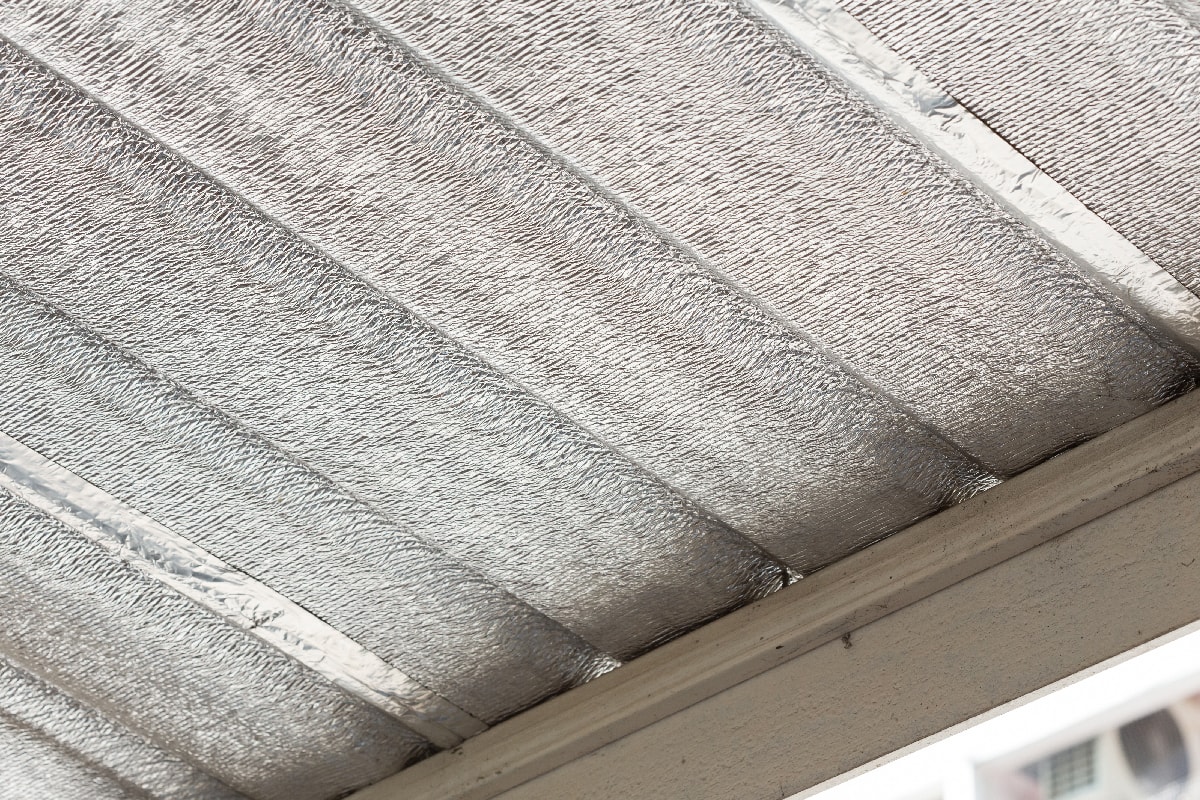
4. Install the Foil Installation
Poor installation can cause significant moisture, health, and durability issues. Thus, install your foil insulation parallel to the base of the studs. Always start with the corners so you can easily adjust the measurements at the end.
For the foil insulation to stick to your wall, use a staple gun and attach it to the studs. You can feel the studs just by touching it, so don't worry if you think you lost it.
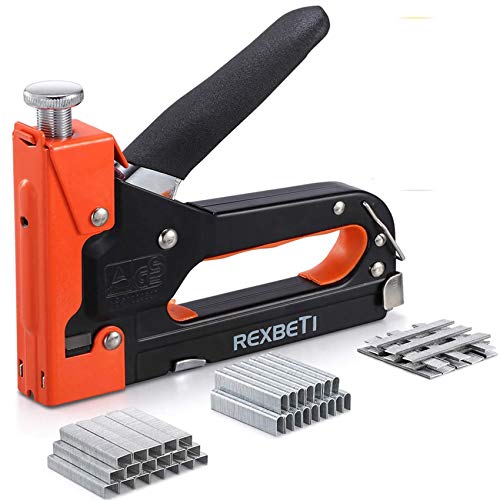
Click here to see this Rexbeti staple gun on Amazon.
Check for any vents present while you attach your foil insulation. Cut it with a cutter to remove the foil in front of it.
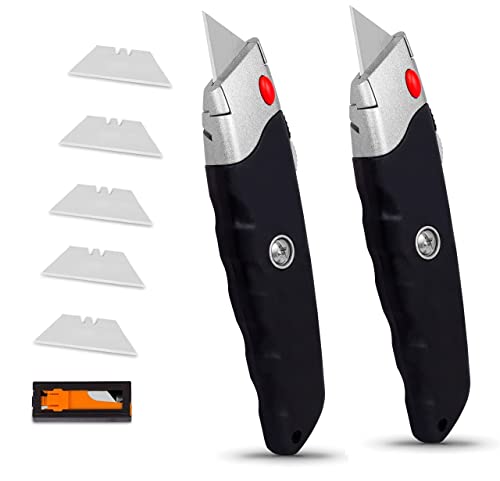
Click here to see this utility knife on Amazon.
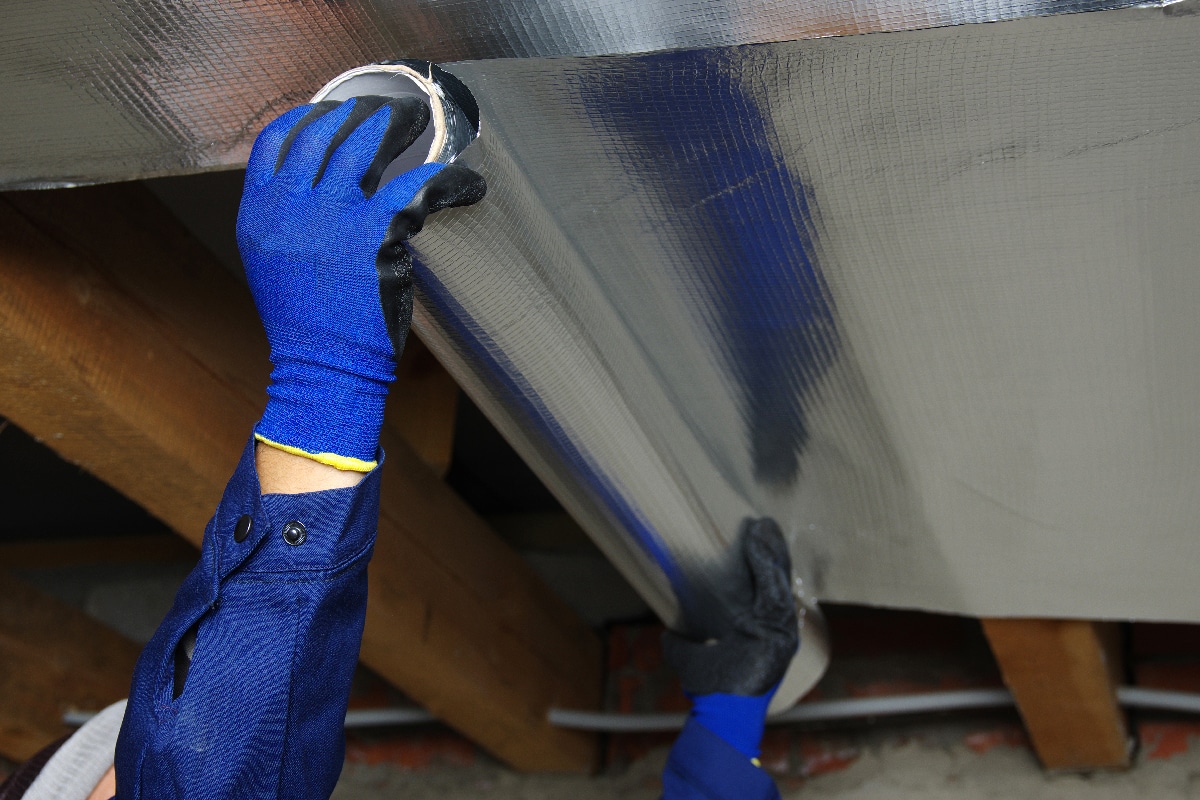
5. Apply Reflective Tape
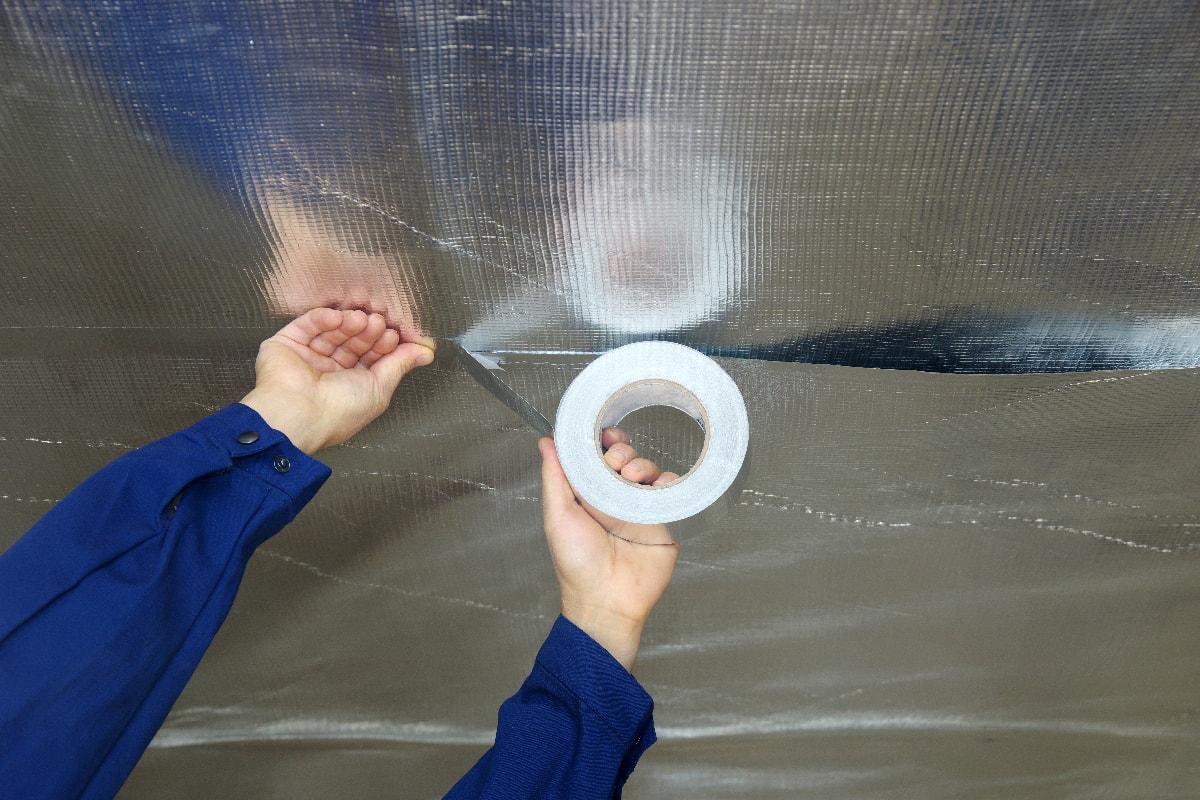
If you have divided your foil insulation into many parts, do not forget to apply it with reflective tape between each foil at the end so that it will fill any gaps and will not wobble or look loose.
It also gives your foil insulation a uniform appearance. You can get the best performance from your insulation by making sure all of the walls are covered.

Click here to see this silver reflective tape on Amazon.
6. Install Studs
You may add another stud to tighten the foil insulation. Fasten it using screws.
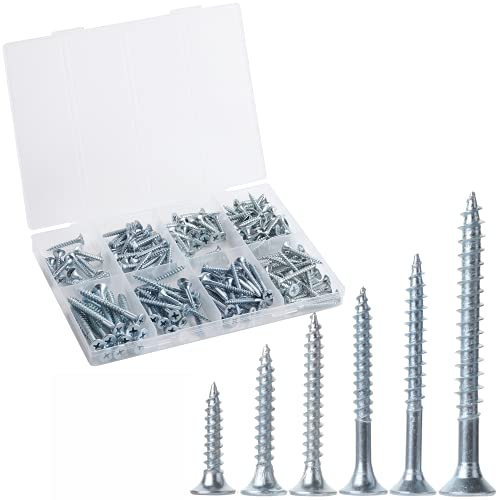
Click here to see assorted screws on Amazon.
The best and easiest way to attach the screws is by using an electric screwdriver.

Click here to see this Skil cordless electric screwdriver on Amazon.
Attaching studs in front of your foil insulation will allow you to attach additional materials, such as cement boards or plywood.
Does Foil Insulation Need An Air Gap?
One of the considerations you should remember when installing foil insulation on your walls is the air gap. Your foil insulation will not work effectively if not for the air gap.
The air gap supports the existence of radiant heat, which can help you, especially during winter. Radiant air occurs due to radiation from your home's exterior and conventional insulation.
Your foil insulations require an air gap of approximately one inch when you install it on your walls. It is not a problem if you opt to have bigger air gaps because they are actually effective. More significant air gaps can encourage more airflow, keeping the temperatures down.
Take note that the air gap in your foil, regardless of which side it is, will not affect how the foil insulation works when it comes to keeping away or retaining the heat.
How Long Does Foil Insulation Last?
Many homeowners today utilize foil insulation on their walls. The primary purpose of this is to lessen the heat transfer impact. This material is also a benefit to homeowners because of its lifespan.
Foil insulation can last up to 50 years which greatly lessens your cost.
In Closing
It is undeniable how to foil insulation is beneficial to every homeowner. It can reflect heat to its source because of its reflective quality. There are only six simple steps to install your foil insulation on your walls: gathering the materials, removing electric cables, cutting your foil insulation, installing it to the wall, applying the reflective tape, and installing studs.
Do not hesitate to contact experts if you are unsure what to do while installing foil insulation. This can also shorten your time to install your foil insulation. They can help you and advise you on what's best for your home.
We hope the process we have mentioned above has helped you. For more interesting posts, kindly check these out:
Faced Or Unfaced Insulation In Crawl Space: Which To Choose?
How To Install Mineral Wool Insulation In Ceiling [A Complete Guide]
What Is The R Value Of Bubble Wrap? [Is It A Good Insulator?]