
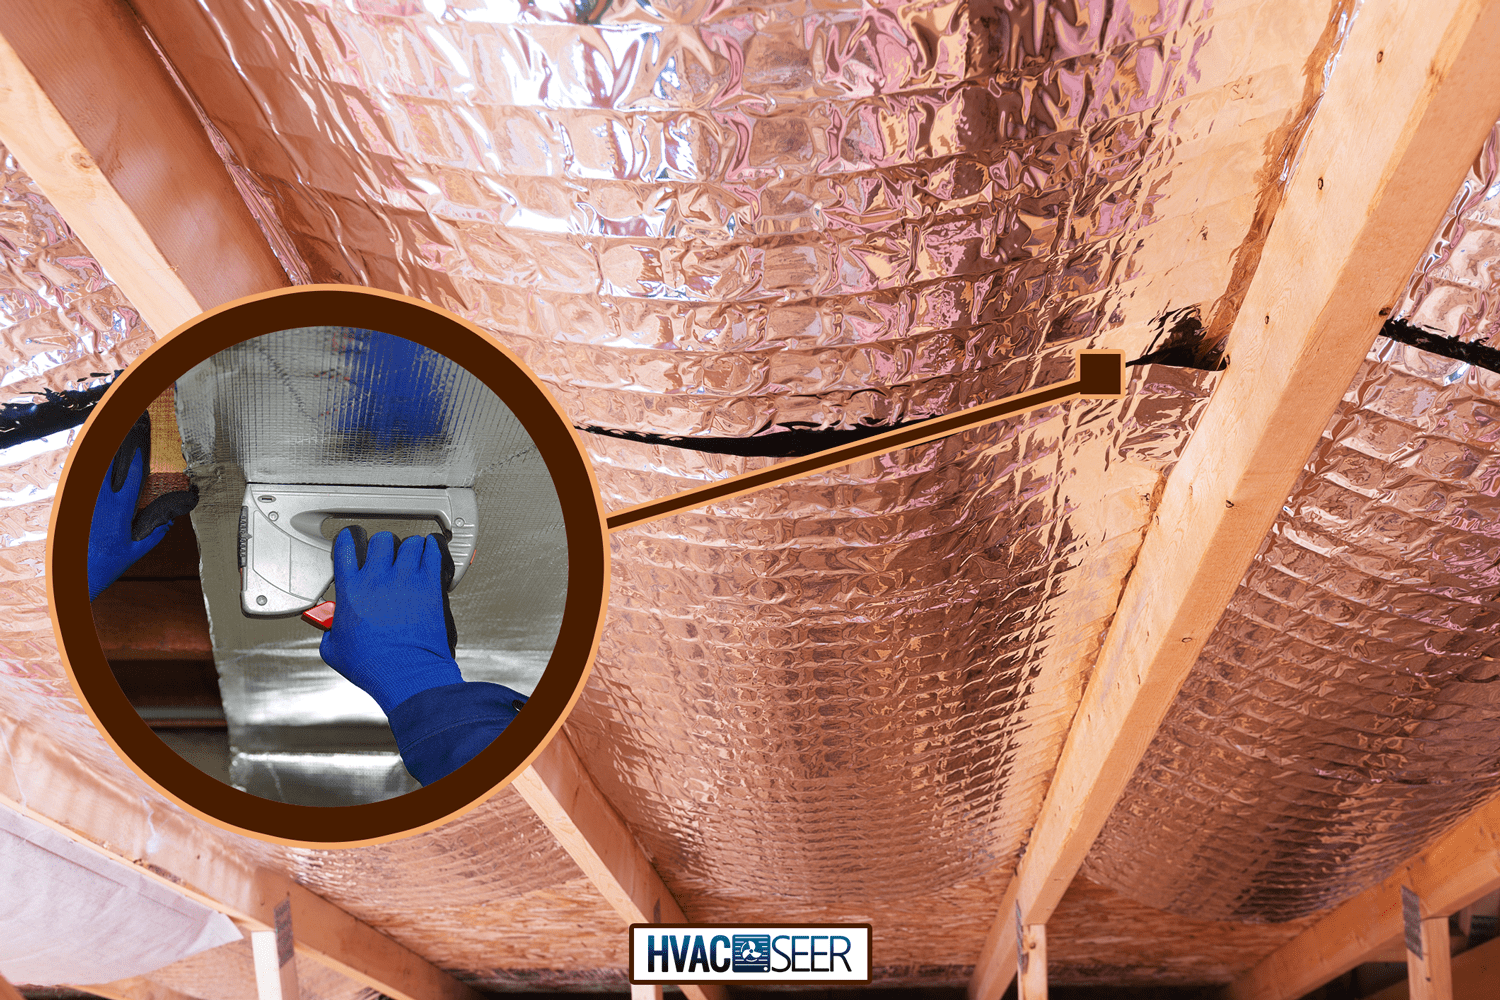
Installing a radiant barrier is an effective and easy way of insulating your home. Many homeowners tend to install it by themselves, and you can too. If you don't know how, you've come to the right place. We've done some research to provide you with in-depth guidance on how to install radiant barriers.
There are two tried and tested methods for installing a radiant barrier in your attic—the staple-up and the over-insulation methods. The staple-up method refers to when you staple the radiant barrier into the rafters of your attic, leaving a small gap from the decking for ventilation. The over-insulation method is when you blanket the whole attic floor with a radiant barrier, covering as much floor space as you can.
Now that you know the two methods of installing a radiant barrier, let's take a closer look at their steps. We'll also help you determine which installation method is best suited for your home. Read on!
Staple-Up Method
The staple-up method is commonly used for attics that have a lot of ductwork on the floor or for houses in hot climates.
You might wonder why it's better for hot climates. This is due to its proximity to the roof. The radiant heat coming from the roof is immediately reflected by the barrier, keeping your home cool on those hot summer days.
Before you install a radiant barrier in your attic, there are some tools that you will need to make the process easy. These are common tools you can find in your home toolbox.
- Tape measure
- Staple gun with staples
- Box cutter
- Marker
- A straight edge
To apply the Staple Up Method, follow these steps:
Step 1: Take Note of the Measurements
Measure out the length of your attic. Take note of all the dimensions. This will make sure that the length of the radiant barrier you have will be sufficient for the whole project.
Step 2: Cut Radiant Barrier into Specific Lengths
Cut out a radiant barrier equivalent to the length of your attic. It's easier to install the radiant barrier by stapling it across the rafters rather than going from top to bottom. Include a couple of extra lengths for any errors or changes.
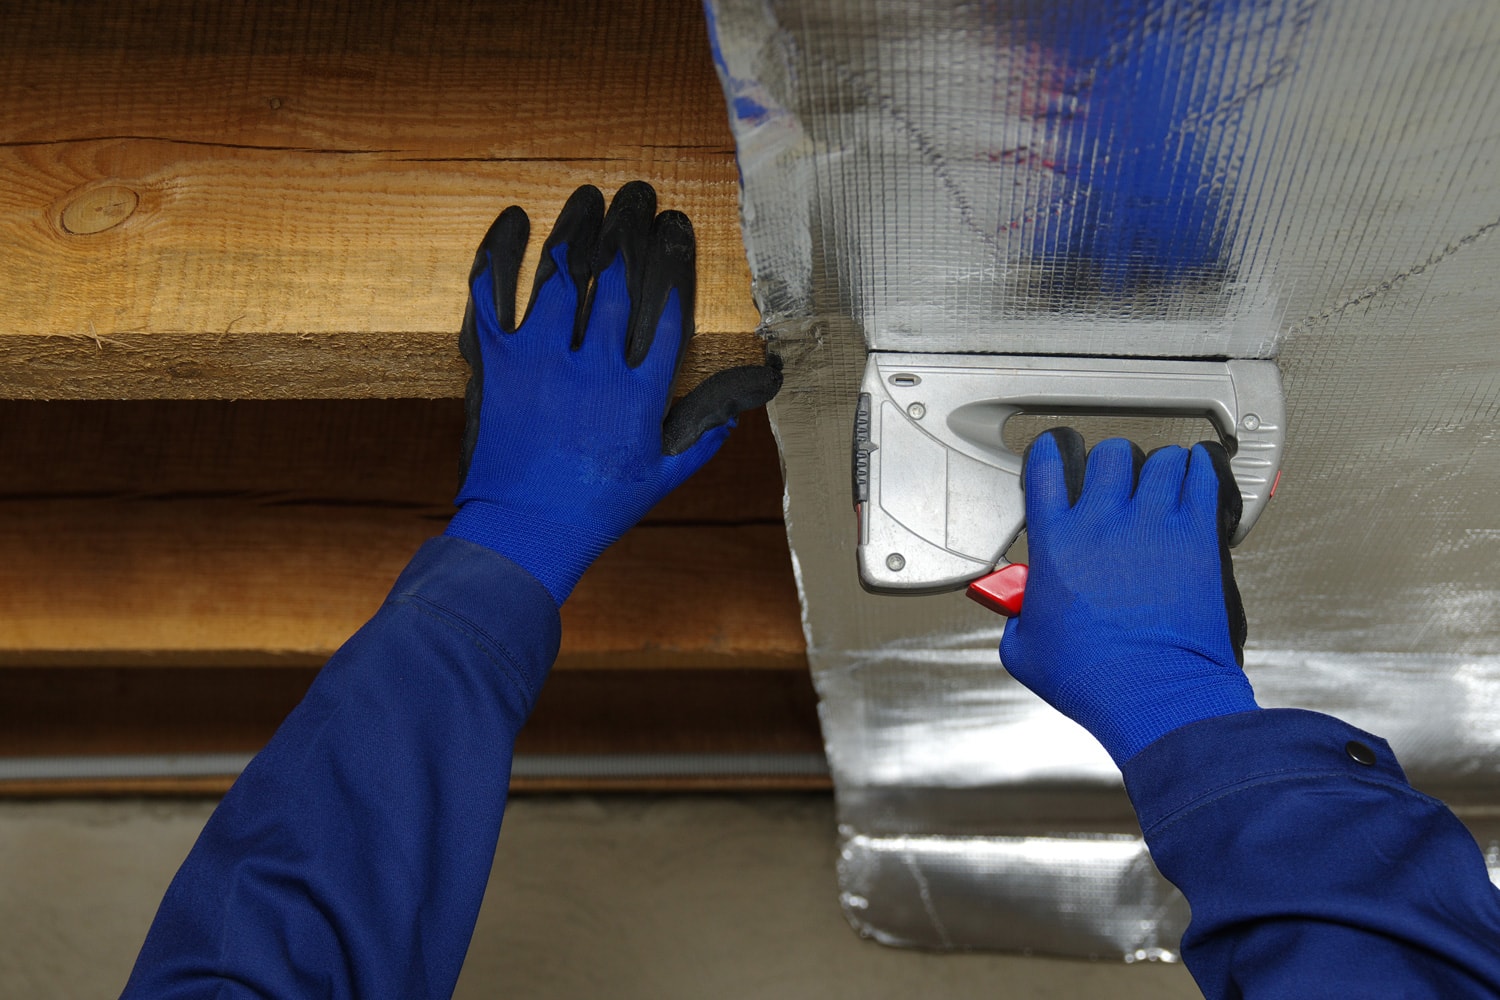
Step 3: Start Stapling
Staple the top part of the radiant barrier around 3 inches below the top ridge. This will act as ventilation and will also prevent moisture from building up in between the decking and the insulation material. Also, make sure to staple it on the rafters and not directly on the decking. You need to have an air gap for the radiant barrier to work effectively.
Step 4: Continue Stapling
Staple the top part of your radiant barrier onto all the rafters until you reach the entire length of your attic. Keep it as neat and as level as you can.
Step 5: Avoid Loose Sections
Once you've secured the top portion, find the middle rafter and staple the radiant barrier, keeping it tight and neat at the same time. This step will make sure there are no loose sections during the rest of the stapling process.
Step 6: Keep it Tight
From the center, staple the radiant barrier rafter by rafter. Keep it tight until you've finally reached the outermost rafters. Cut off any excess on both sides to keep it tidy.
Step 7: Fill up Your Whole Attic
Repeat steps 1 to 6 until you have covered your entire decking from top to bottom. Make sure to also leave a 3-inch air gap at the bottom for ventilation.
Step 8: Going Around A Joint
For areas where you've encountered a joint, make a 2-inch cut across the joint and then cut the remaining length of the radiant barrier. This gives you enough leeway to fold or staple around the joint. Tuck the excess radiant barrier on top of the lower radiant barrier you've installed.
If you need a visual guide for these steps, check out this video.
Over-Insulation Method
If the staple-up method is a little too much for you, we got your back! There is an easier and faster method for installing a radiant barrier.
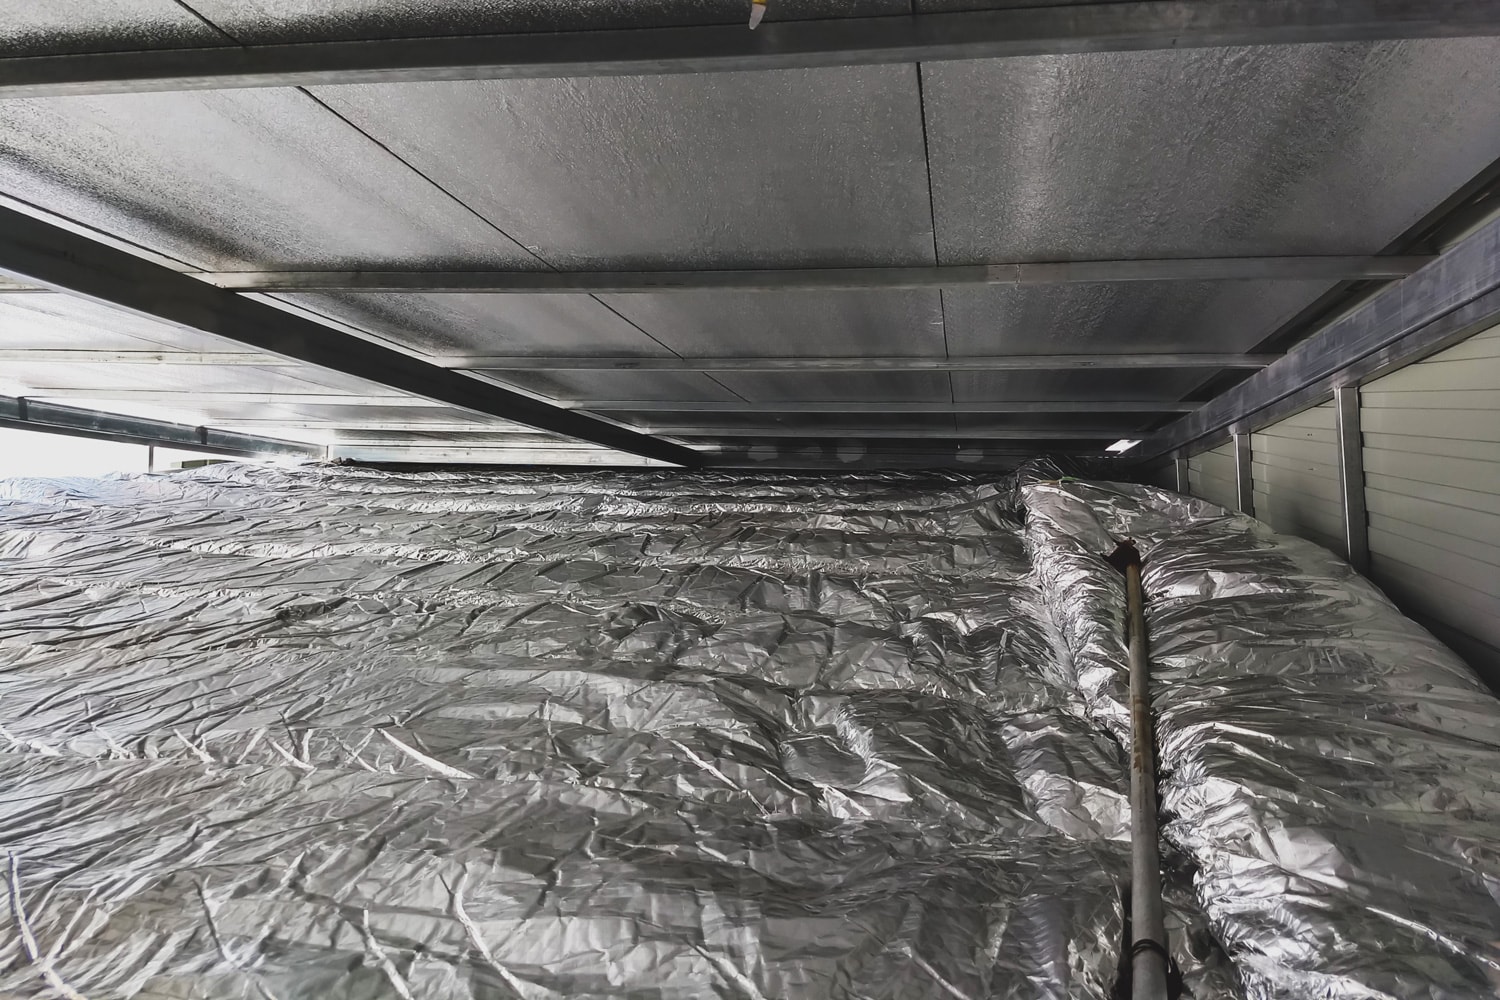
The Over-Insulation Method or laying foil on top of your attic insulation minimizes airflow and reduces the radiant heat loss/gain from the attic. This will help your home be more comfortable during summer and energy-efficient in winter.
Make sure that you have gathered the following items so that installing your barriers will be easy.
- Tape measure
- Wood trim, or PVC pipe (at least a foot long)
- 1-pc common wood nail
- HVAC tape
- Cutter
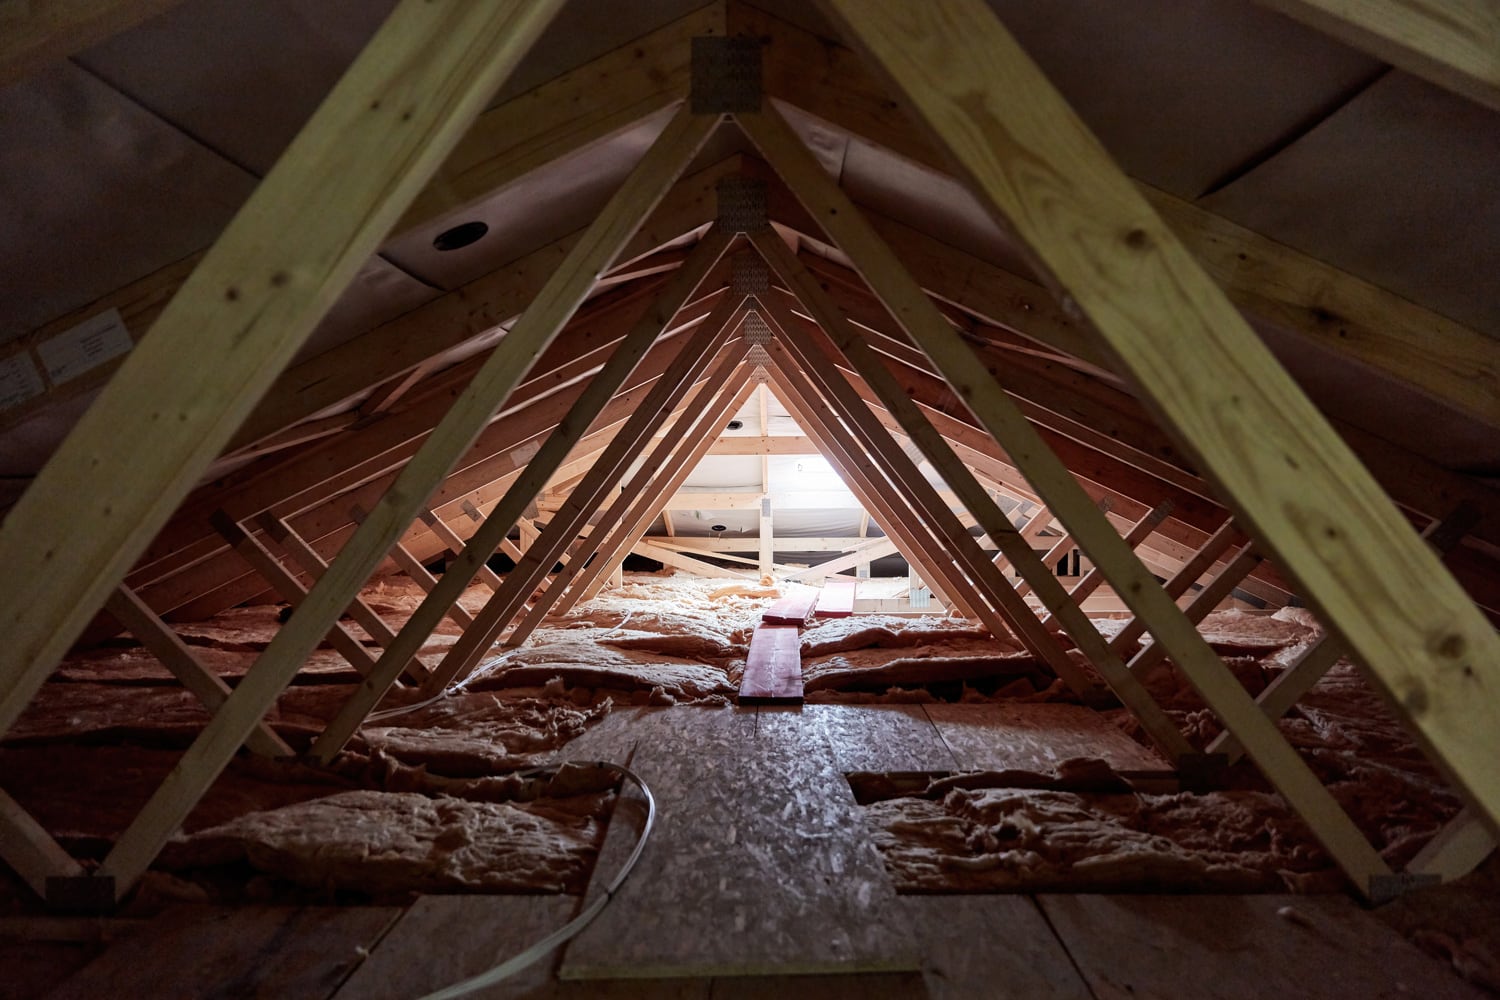
Step 1: Know Your Attic Floor's Measurements
Measure the area of your attic floor. Make sure you have sufficient radiant barrier to cover the entire area. Keep in mind that the more coverage, the better.
Step 2: Cut and Prepare Radiant Barrier
Pre-measure and cut the pieces according to the layout. Roll them up and bring them into the attic as needed.
Step 3: Lay the Radiant Barrier
Lay the radiant barrier directly on top of the attic insulation. Radiant barriers work best with good attic insulation. Ideally, attic insulation should be at least a few inches above the wood of your attic. If you don’t have enough attic insulation, contact your local HVAC specialist, and they can help help with the issue.
Step 4: The Importance of a Poker
Create a poker. Take your wood trim or PVC pipe (at least a foot long) then tape a nail to the end of it. This will be helpful in reaching the corners of the attic.
Step 5: Use the Poker to Cover the Corners
Start laying down the radiant barriers in the far ends of the attic, then work your way towards the exit. Use the poker to stab the foil and push it into the corners. Cover up the entire attic insulation like a blanket.
Step 6: Going Around a Joint
When you encounter joints, cut two slits across the joint about five inches wide and two to three inches apart. Then cut the bottom up of the joint. Wrap the foil around the joint and tuck it down tightly.
Step 7: Connecting the Radiant Barriers
Cut the HVAC tape into two- to three-inch pieces, create an L shape, and tape it on one side every three to four feet to create little tabs. Lay one piece on top and slide it back and forth until the overlapped sections are only a couple of inches at most. Use your poker to push those tabs down and keep the two pieces together.
We have two big reminders when it comes to the over-insulation method:
- Cover as much area as possible
- Keep the overlapped sections a couple of inches at most.
Check out this video for a visual guide to the step-by-step process of the over-insulation method.
Which Radiant Barrier Method Is Best For Me?
Climate plays a key role in determining which type of installation method suits your home. Even though the over-insulation method is easier to install, it does not mean that it will work well in all types of climates. Let's take a look at how the methods fare in different climates.
Hot Climate Areas
The staple-up method is easily the best choice for hot climates because it reduces heat flow into the attic insulation by directly reflecting radiant heat.
We do not recommend the over-insulation method for this particular climate but it remains a good choice as it is faster and easier. However, you might need to check for decent ventilation in the attic if you are considering this method.
Mixed Climate Areas
The over-insulation method is your best pick for this climate. It keeps the heat out during summer and the heat in the winter. It might not be as effective as the staple-up method during summer, but overall, it is a good trade-off with its impressive performance during winter and who wouldn’t want that?
Cold Climate Areas
The over-insulation method is undeniably the most popular for colder climates, as it reduces convective looping or cold air that penetrates the attic insulation. It helps with the efficiency of the existing insulation by preventing heat and warm air from escaping.
To Sum It Up
Installing a radiant barrier for your home is a cost-effective way of promoting good insulation. When installed properly, it's also a good way to lower energy bills. Make sure you get a good brand of radiant barrier that will last for a long time.
Remember, it is better to invest in a high-quality and expensive radiant barrier than to purchase a cheaper one that you will have to replace every few years.
If you found this post helpful, you may also be interested in these related articles:
How Long Does Attic Insulation Last?