
Are you planning to install a vapor barrier on your basement's concrete floor but don't know how? Well, you've come to the right page! We've consulted the experts to provide you with a step-by-step procedure on how to properly install a vapor barrier.
To properly install a vapor barrier into your basement's concrete floor, follow the steps below:
- Choose a vapor barrier/retarder
- Remove any debris and dirt
- Unroll and cut vapor barrier
- Apply adhesives on the edges
- Adhere the vapor barrier to the wall
- Seal the vapor barrier seams
- Fix any damage
Installing a vapor barrier is a bit challenging and requires not the usual tools you can find at home. Attention to detail is key, so we'll take a closer look at each step. Along the way, we'll also discuss the frequently asked questions related to the topic.

Steps to install a vapor barrier on basement concrete floor
Given the different climates of the U.S., a well-installed vapor barrier—or the more accurate term—vapor retarder, is very important to protect your home.
These help ensure that your house will not experience structural problems from unwanted moister. At the same time, they also reduce the risk of potential health problems due to molds, mildew, and soil contaminants over time.
Efficient moisture control in your basement is one of the best ways of maintaining your house and preserving energy. So, in this article, we've provided a detailed procedure on how to properly install a vapor barrier to adequately retard moisture from seeping through your concrete floor.
Step 1. Choose a vapor barrier/retarder
The measuring unit used to gauge the ability of the material in slowing down the diffusion of water vapor is called permeability or "perms".
According to the International Residential Code (IRC), there are three classes of vapor retarders that have different permeability: Class I, Class II, and Class III.
Class I is considered the class with the very low permeability vapor retarders, with a perm rating of 0.1 or less. This doesn't allow any moisture to get through. This class includes polyethylene sheets, nonperforated aluminum foil, glass, sheet metal, and rubber membranes.
Class II has a low permeability rating which is greater than 0.1 and less than or equal to 1.0. This is considered semi-permeable since they allow some fluid to get through.
Examples of Class II are vapor retarder paint, plywood, 30-pound asphalt-coated paper, kraft-faced fiberglass batts, and unfaced expanded or extruded polystyrene.
Class III has a permeability rating that is greater than 1.0 and less than or equal to 10.0. These offer the least protection against moisture.
Examples of Class III are enamel paint, latex paint, cellulose insulation, board lumber, house wrap, brick, concrete block, 15-pound asphalt-coated paper, gypsum board, and fiberglass insulation (unfaced).
As per IRC's requirement, a minimum of 6-mil or 0.06 perms vapor barrier must be placed between the base course/subgrade and the concrete floor slab. This means that only the Class I vapor barriers meet this requirement.
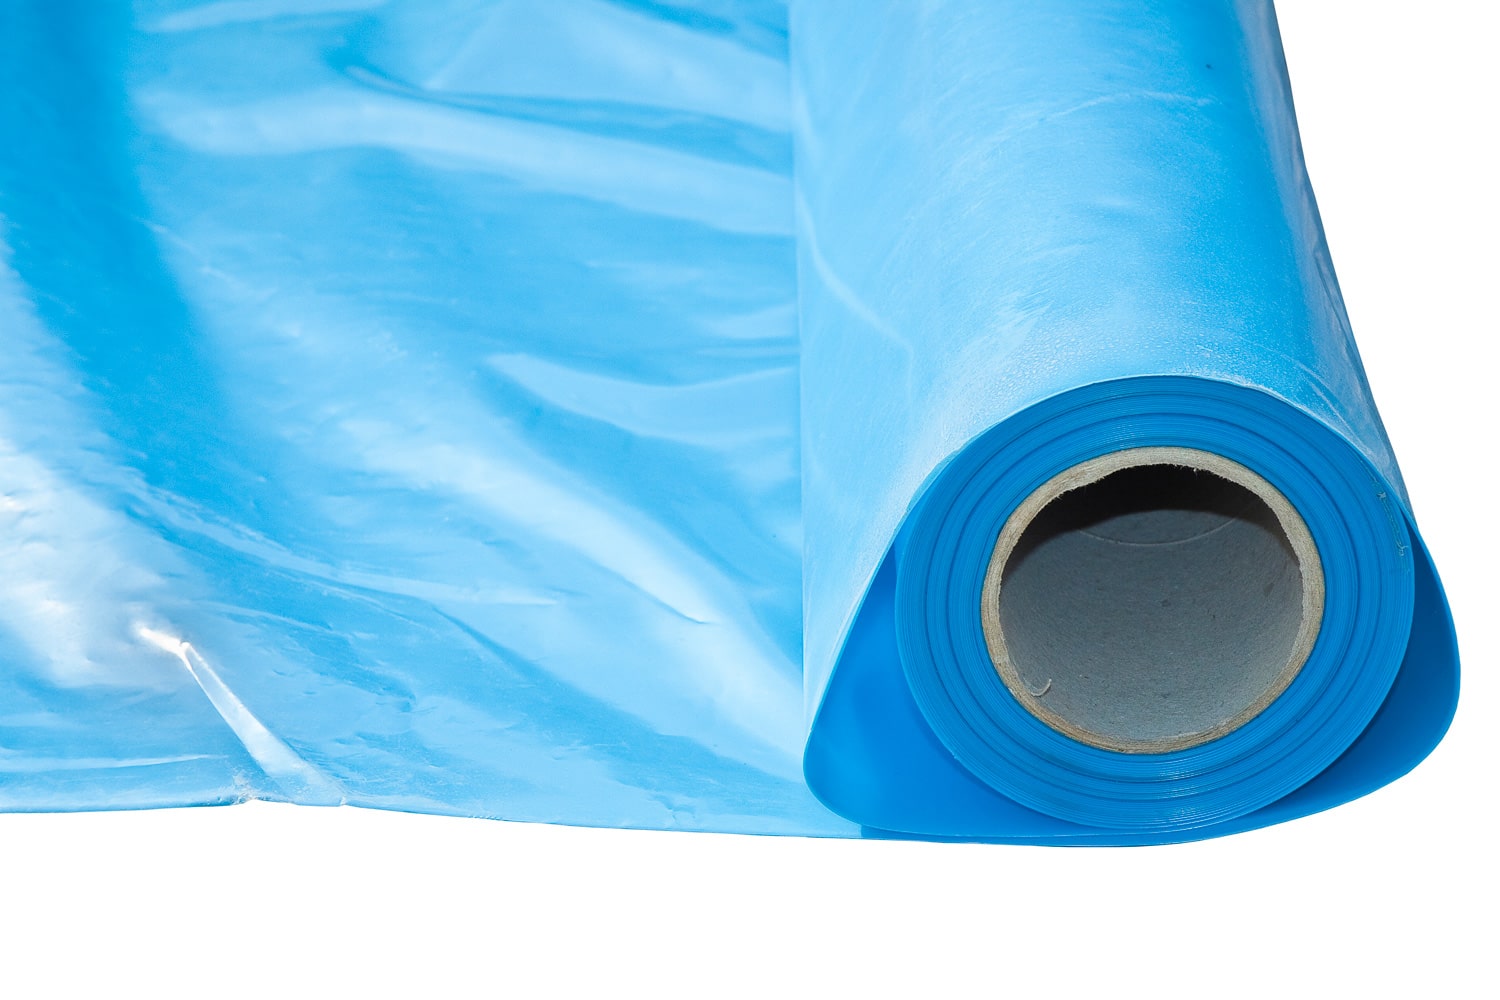
However, a higher perm rating will work for other projects. A minimum of 10-mil works well as a vapor barrier, especially for the basement.

Check out this Poly Sheet vapor barrier on Amazon
Step 2. Remove any debris and dirt
Take note that one way of ensuring a quality vapor barrier installation is to make sure that the floor and walls are free from any dirt and debris.
Remove any foreign debris and make sure to compact the base to help lessen any sharp or irregular components that could damage the vapor barrier material during the installation.
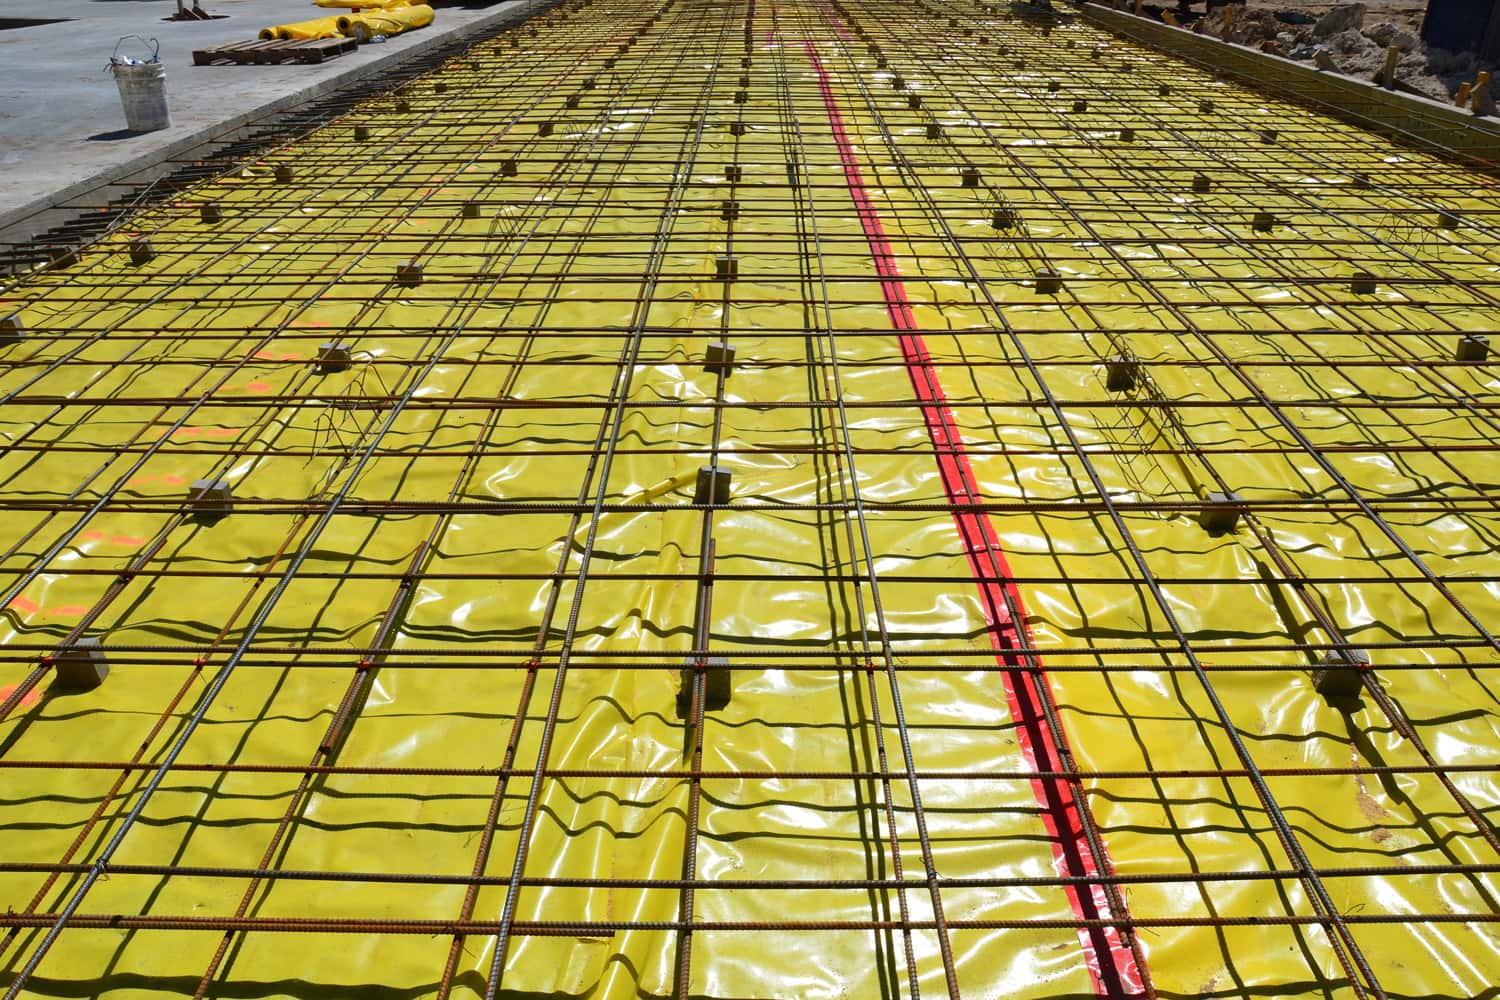
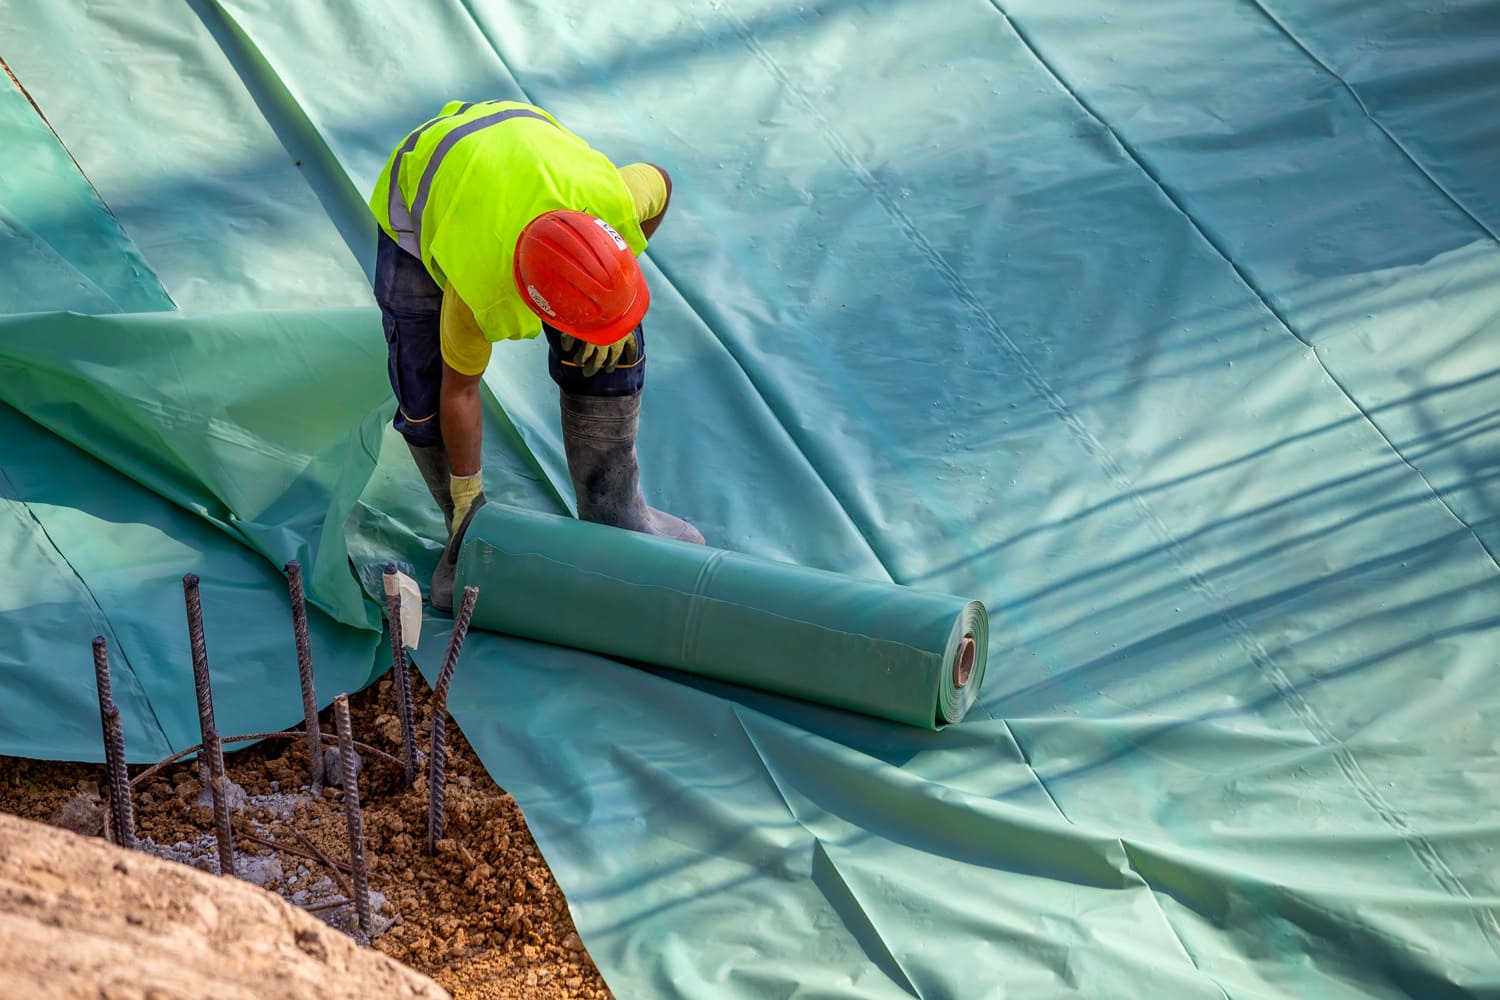
Step 3. Unroll and cut vapor barrier
Once you've already chosen a vapor barrier material, carefully lay it over the area where the slab is to be placed. It should completely cover the placement area.
Make sure to follow the requirement set by the IRC that all joints and seams must overlap each other at least six inches.
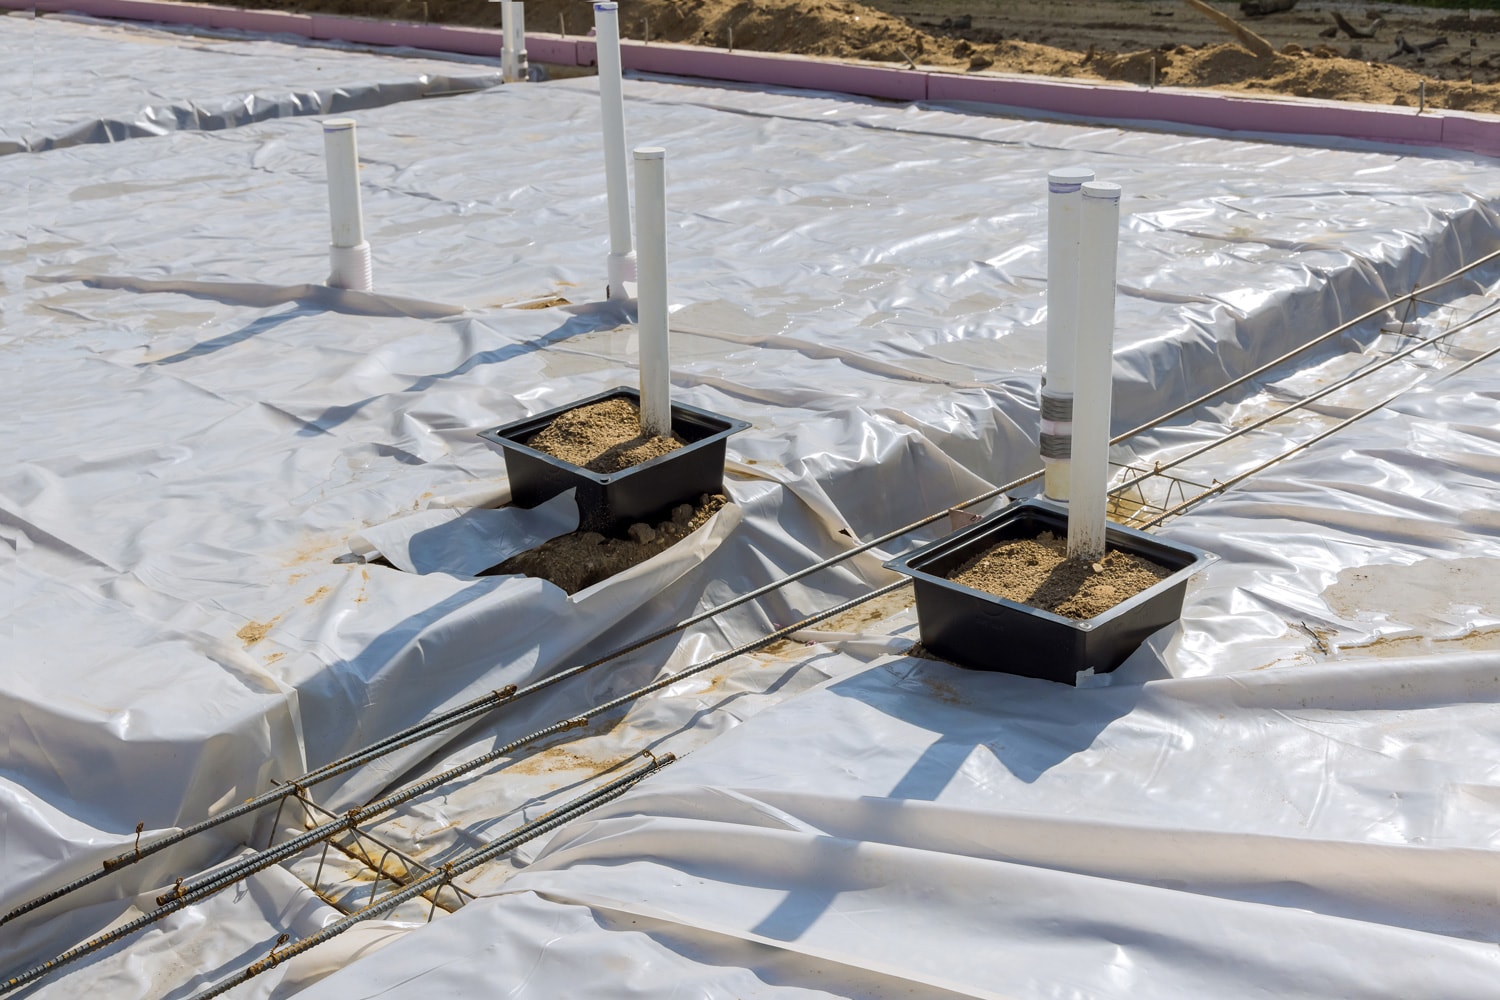
To cut the vapor barrier according to your preferred size, simply use a cutter. Also, make sure to set an allowance for any possible pipe penetrations.
Once the sheets of vapor barriers are laid down, don't try pounding on form stakes through the vapor barrier, and never punch holes in the vapor barrier to allow bleed water to escape.
Step 4. Apply adhesives on the side edges
As some experts would suggest, it is always better to seal the vapor barrier at the perimeter edges first than on its seams using a smaller perimeter strip.
This is because it can reduce a lot of pressure and weight at the edges and can prevent gaps or spaces on the wall that can cause a "tenting" effect due to stretching/reaching after laying out hundreds of feet of material to cover the last few inches.
You can either use a mastic-type sealant or a double-sided construction tape as an adhesive. As much as possible, apply the adhesive as close to the terminating edge while, at the same time, keeping it entirely on the vapor barrier material.
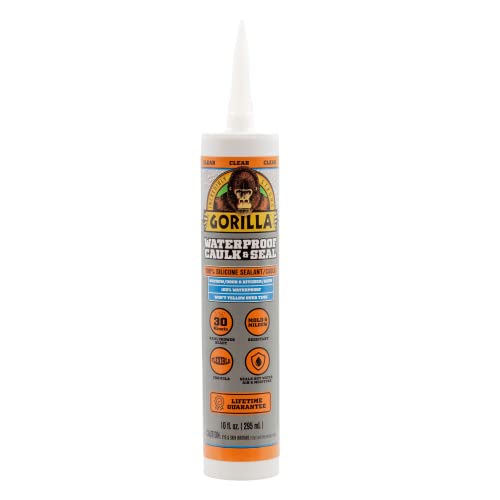
Check out this mastic-type sealant on Amazon
Step 5. Seal the vapor barrier to the wall
Gently seal the vapor barrier into the wall and if the condition of the terminating edge isn't providing consistent pressure to hold the vapor barrier in place, you can use a term bar to fasten it in place.
Step 6. Seal the vapor barrier seams
Once you're done sealing the vapor barrier's side edges, it's time to seal the vapor barrier seams using the seaming tape provided by the manufacturer, as recommended by the ASTM E1643.
Always remember to clean the area of adhesion first to ensure that it is free from any dust, dirt, moisture, and frost—allowing maximum adhesion. Also, don't forget to seal around all blackouts and pipe penetrations using the vapor barrier seam tape.
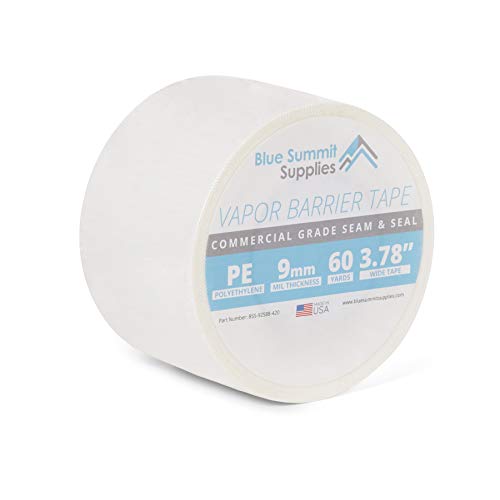
Check this vapor barrier tape on Amazon
Step 7. Fix the damage
The last step that you need to do is to go around and check for any damaged or missed areas.
If there are extra vapor barrier materials that could be used as patches to fix those spots, then you can use them to cover those areas and seal them using seam tape.
For reference, you may check the video below:
Where should vapor barriers be installed?
If you're in an area where the climate is cold during the winter season, vapor barriers should be installed on the internal side of the wall near the warm interior space, or in the warm part during winter.
In areas where air-conditioning units are extensively used, a vapor barrier, if required, should be installed on the outer side of the wall.
When should you not use a vapor barrier?
The International Residential Code (IRC) classified North America into eight climate areas. You can use these to determine when a vapor barrier might be needed when building a structure.
Vapor barriers can be helpful in climate zones 5 (Cold) and north and in the Marine 4 zone. You should install Class I or Class II vapor barriers on the interior if you live in these climate zones.
When should you not use a vapor barrier?
When building in hot, humid climates like zone one, two, three, and four, vapor barriers are neither required nor prohibited.
The North American Insulation Manufacturers Association (NAIMA) recommended the use of Class II or II vapor barriers in warmer climate zones if you choose to install one.
In Summary
Installing a vapor barrier is a bit challenging but can still be possibly done if the steps are done correctly.
The first thing that you need to do is to choose a good quality vapor barrier material. Next, you need to clean the perimeter and floor. Now, you can lay down the vapor barrier on the floor. Seal the perimeter of the vapor barrier first.
Next, seal the seams of the vapor barrier using the vapor barrier tape provided by the manufacturer. Lastly, repair any missed or damaged spots using the same tape.
If you wish to know more about vapor barriers, you may check out these interesting posts before you go: