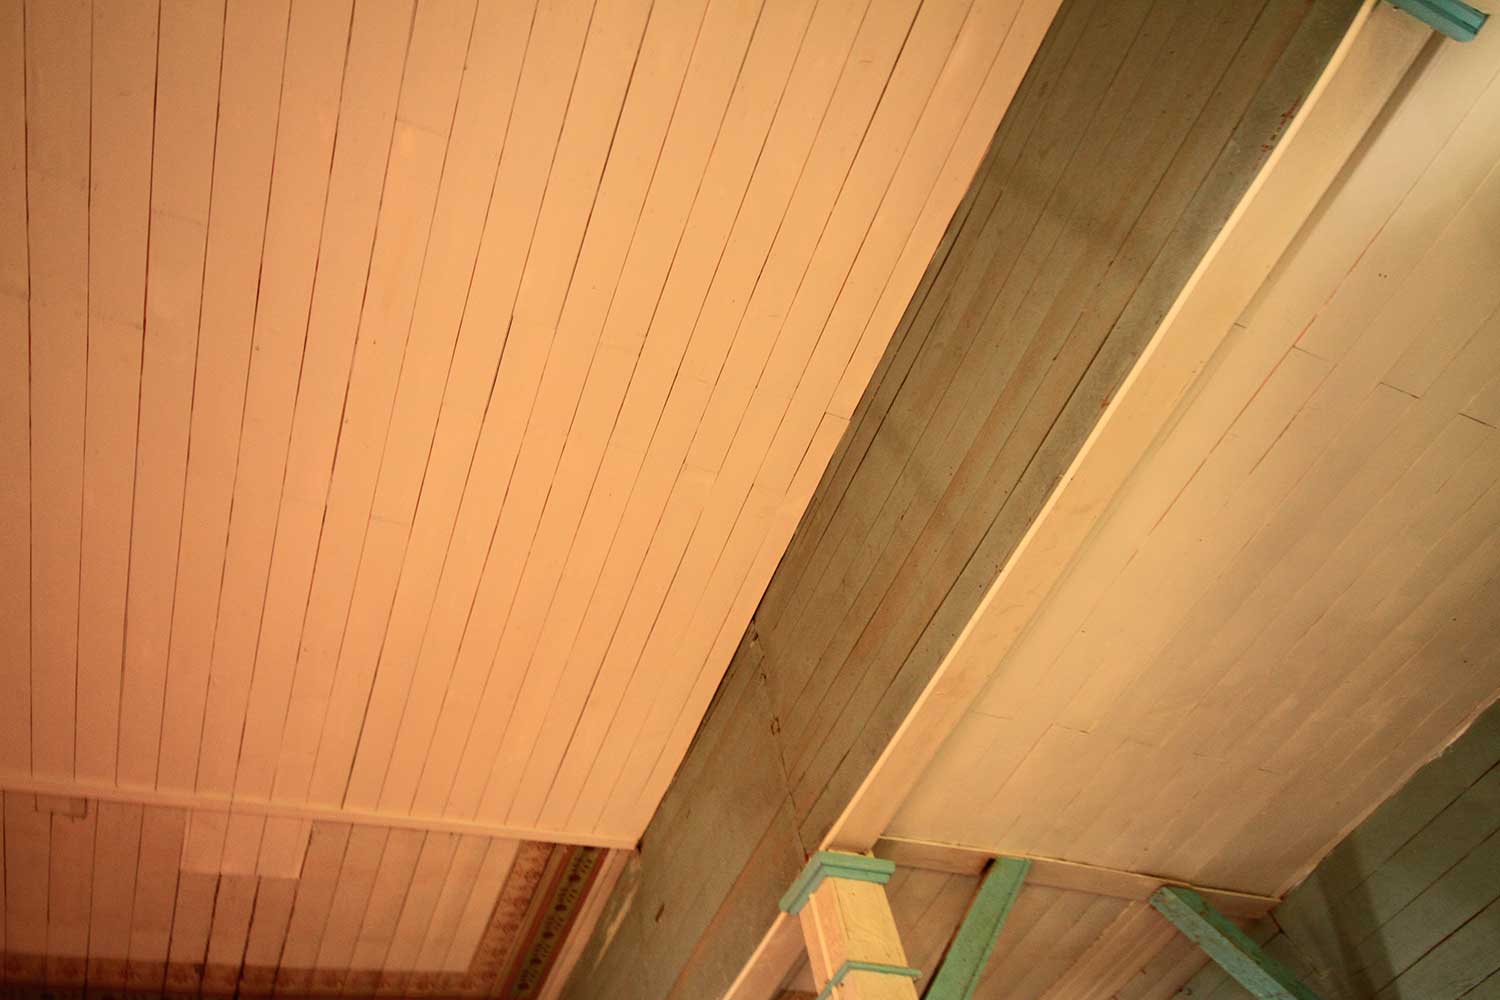
In today’s DIY world, the confusion about how to insulate something like tongue and groove (T&G) on the ceiling can make even an expert frustrated. Whether it’s an old house or you want to install some new T&G, the expanding and contracting properties of wood T&G leads to concerns about how to insulate. Fortunately, we've found the best methods to guide you in how to install insulation for a T&G ceiling.
To insulate a tongue and groove ceiling:
With attic access:
- Install a vapor barrier on the backside of the tongue and groove.
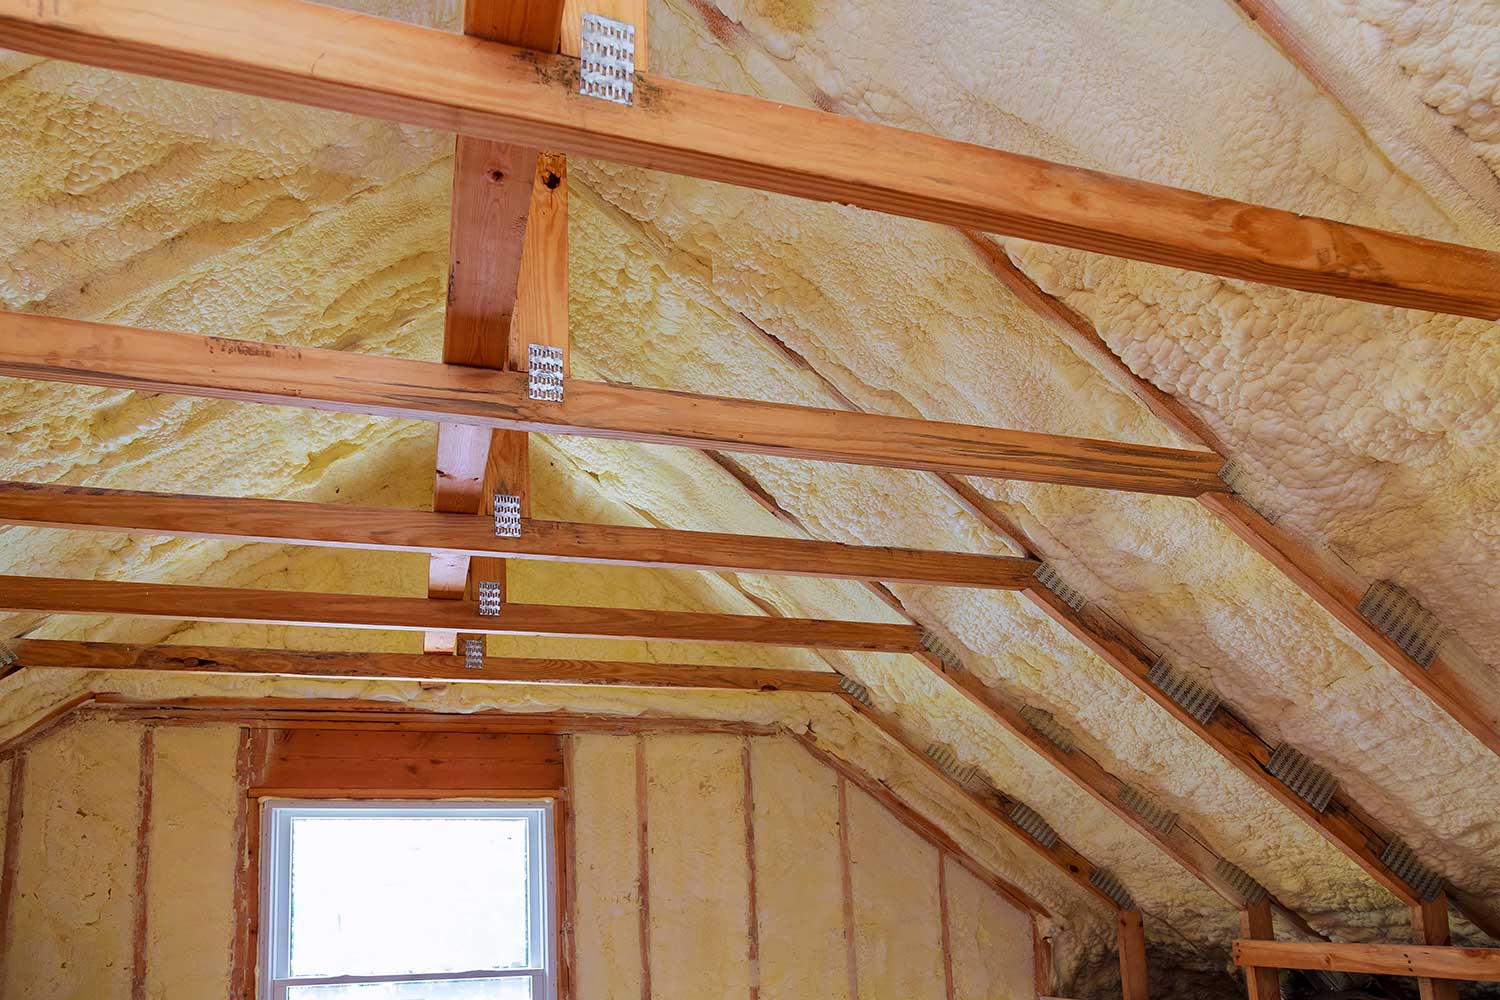
- Apply open-cell foam three inches thick from stud to stud. Alternately, use closed-cell spray foam applied one-inch thick; it acts as its own vapor barrier.
- Fill to the top of joists with blow-in cellulose material.
Without attic access:
- Carefully remove the tongue and groove.
- Install an insulating material between joists/framing.
- Install drywall, seal, and re-install the tongue and groove boards.
Insulating a tongue and groove ceiling—especially during a remodel—is quite challenging. But if you learn about insulation and the nature of tongue and groove, then you can conquer this problem. In this post, we’ve compiled our research and included the related information about how to insulate a tongue and groove ceiling properly. Please, stay with us for everything you'll need to know to get your project underway!

Contents
Why do you insulate a ceiling?
You insulate a ceiling primarily to keep the climate inside different from the outside --without exacerbating your electricity bill. Another reason you insulate a ceiling is to protect your home from water intrusion, which causes mold, mildew, and rotting of your building materials.
Insulating a ceiling with the proper materials, including a vapor barrier, will prevent both of these problems. Whether cold or warm, your location determines what type of insulation and vapor barriers you should use. Let’s look at the material options you'll have for insulating tongue and groove ceilings.
What insulation is used for ceilings?

There can be several types of insulation used for ceilings in a modern home, and several can be used for tongue and groove ceilings. We’ll take a look at the pros and cons of each below.
R-values — what are they?
Insulation is all rated by something called R-value. The 'R' stands for resistance. Various terminology such as R-rating or R-factor also describes this. The 'R' is simply a number that refers to how much insulation the material will provide. The bigger the number, the more it insulates.
Types of Insulation
Rigid Foam Boards
Pros: Strong and durable, it also blocks vapor
Cons: Edges must be sealed, and the boards could crack with house movement
Rolled Fiberglass
Pros: Easy to cut, without the need for edge sealing
Cons: No vapor barrier
Batting
Pros: Fits between standard framing and sold with or without a vapor barrier
Cons: Difficult to use in non-standard construction
Blown-in Cellulose/insulating filling
Pros: Good for inaccessible spaces and spaces with obstacles
Cons: No vapor barrier
Spray Foam - Open or Closed-cell
The main difference between open and closed cell spray foams is that open-cell does not provide a vapor barrier and closed-cell does. R-values also vary: Open-cell insulates at R3.5 per inch, whereas closed-cell insulates at R6 per inch.
See this video if you want a more detailed explanation:
Now that you understand why to insulate and the types of insulation, let’s discuss how.
How to insulate a Tongue and Groove ceiling
The important thing to understand is that insulating a ceiling can be difficult, and you may need professional help. The real value of this article is that you will have the knowledge of what should happen; insulating a T&G ceiling is a tricky installation that even professionals debate.
To insulate a T&G ceiling from the attic side, without removing the boards:
- Remove any existing insulation: you may be able to re-use batting-type insulation once you have finished the spray foam process if it is still in good condition.
- Remove any damaged, molded, or rotting backing on the T&G.
- Be sure the area is dry; vacuum with a shop-vac.
- Repair any loose, damaged, or rotting wood.
From below, securely nail any loose T&G to the framing above. Once the T&G is secured to the framing;
- Put a layer of Kraft paper (a vapor resistant, strong construction paper) directly onto the back of the T&G; cut it to fit between the framing and joists.
- Using either closed-cell or open-cell spray foam, seal the entire backing from joist to joist -up to the wood. Remember, the region where you live will determine the type of spray foam and how thick to apply it.
- Once you have applied the thickness of spray foam required, use blow-in insulation to fill the area to the top of the joists themselves.
Your T&G is now insulated; there is no need for caulking.
To insulate a T&G ceiling from below, if you have no way to access the attic:
- Carefully remove each board of the T&G; remove loose nails and set boards aside. Smart tip: Repaint or seal the T&G while it’s off the ceiling, instead of trying to do it once it’s re-installed!
- Remove loose nails from the ceiling joists.
- Install batting between the joists; do not compress or it will lose its ability to insulate. If you have a tall ceiling, you may opt to build a new framework to accommodate a thicker layer of insulation.
- Install drywall over the entire ceiling. Seal the edges with plaster and drywall tape. No need to sand.
- Re-install your T&G on top of the drywall. Make sure to leave an expansion gap around the edges of 3/8- to 1/2-inch to prevent buckling.
Your T&G is now insulated!
For those without the option to insulate from an attic or the skill-set to remove the T&G and install insulation and drywall, the only option is to seal the cracks to limit indoor heat or cool air escaping. We’ve covered this in the next two questions.
Should you caulk a tongue and groove ceiling?
The reality of tongue and groove is that it is decorative but not so great for insulating a room, which can cause problems if it was not properly insulated. It’s similar in property to a wood floor; it needs to be able to expand and contract with the seasons. For that reason, caulking is not always the best option.
However, if you find that you do have a reason to caulk your T&G ceiling, the best way is to use a product with some ability to stretch and expand with the wood.
If any cracks develop, you can always touch them up with a little bit of the same caulk. This is a simple way to extend the life of the ceiling and help create some insulation.
This kind of caulking is helpful for use on expanding/contracting material. See it on Amazon.
How do you seal a tongue and groove ceiling?

If you want to seal a tongue and groove ceiling - and you don’t have the option to insulate it or remove and re-install it as explained above, then the next best option is to seal any cracks that have formed due to expansion/contraction, age, or poor installation.
- Wear a ventilator or mask and eye protection. Sand all the surfaces around and at the cracks, including the ceiling edges.
- Using a caulking gun, caulk all of the cracks and edges of the ceiling, wiping off any excess with a clean, damp cloth or paper towel. Note: for unpainted T&G, use clear caulk; it goes on white but dries clear.
- When the caulk is dry, repaint the surface with a roller brush, and 2-3 coats of paint. If the surface was natural wood (no paint), paint with 2-3 coats of a clear protective sealant.
Why is my tongue and groove buckling?
Tongue and groove can buckle for a couple of reasons, one of the main ones being that the wood was not allowed to acclimate to the ambient humidity of the room where it was installed. To prevent this, you need to open the packaging and allow the wood to sit for a week or more in the same room in which it will be installed.
Another reason that tongue and groove can buckle is faulty installation. As we mentioned above, the wood needs to acclimate, but it also needs room to expand and contract.
It’s similar to installing a wood floor; you need to leave adequate space, about 3/8-inch to 1/2-inch, around the perimeter of the ceiling for natural expansion and contraction. This should prevent the wood from buckling.
In summary
Remember that T&G is essentially a decorative product, so it always needs vapor and airproof insulation. If you find that you can’t insulate from above, or do a re-install, then you can still seal using caulk for some insulation gain.
Acclimate any new T&G ceiling boards before installation, and choose an environmentally friendly spray foam. Now you can enjoy the beauty of your tongue and groove ceiling for years to come!
For more information about related topics when insulating a ceiling, read the following posts:
Does Foam Insulation Shrink Over Time?
Spray Foam Temperature Settings [Cold And Hot Climate Issues]

