
Like all home through-holes, microwave vents are often the culprits for unwanted cold breezes. Having identified this, you are wondering how to insulate around a microwave vent. We combine industry professional knowledge and up-to-date research to answer your question in this post thoroughly.
To insulate a microwave vent, follow these directions:
- Gain access to your vent area.
- Spray foam around vent.
- Allow foam to dry and trim excess foam.
- Reassemble area.
To learn more about each of the above steps, keep reading the rest of this post. We cover different microwave vent configurations to ensure we provide instructions useful to your situation.
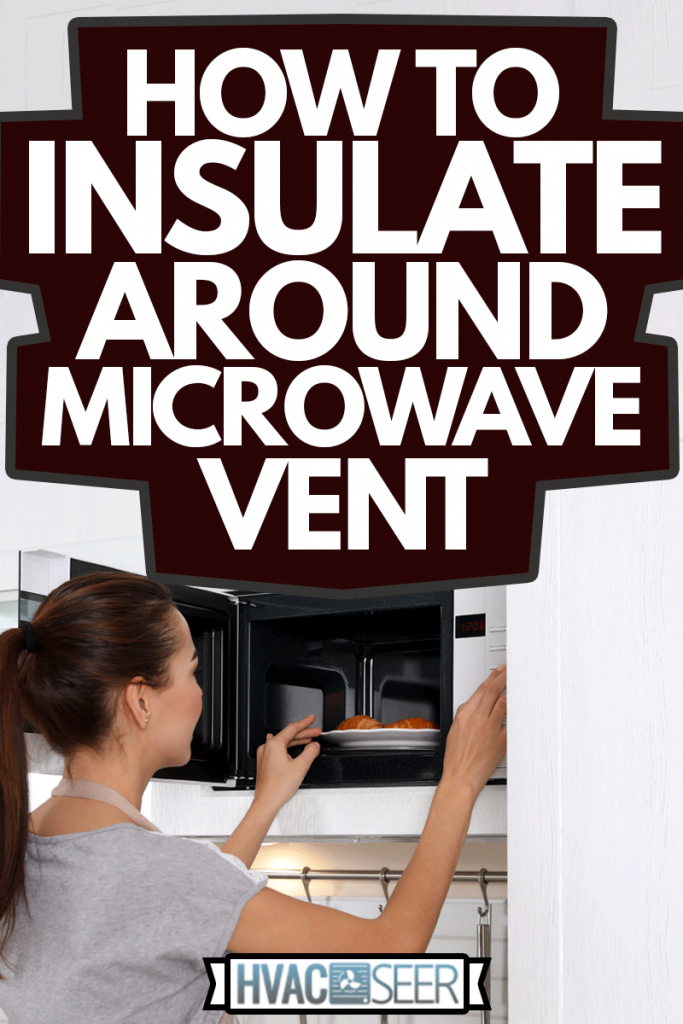
How To Insulate Around Microwave Vent
The following general directions should be all you need to stop air and temperature from sneaking inside your home around your microwave vent.
1. Gain Access to Your Vent Area
Gaining access to your vent area is often the most difficult part of this project. However, the exact steps you take depend on the form of your microwave venting.
Generally, microwave vents either go directly out the wall behind the microwave or have a short duct that leads to the outside of the home. The first direct vented option is the most common.
For the more common configuration, you will have to remove the microwave to access the interior side of the vent opening. For ducted vents, you can leave the microwave in place.
Alternatively, and no matter the configuration, you can also access your microwave vent from outside.
In the following subsections, we cover how to access a direct vented microwave, a ducted microwave, and how to access this space from outside of your home. No matter which technique you choose, the goal is to access the space around the vent.
Direct Vented Microwave
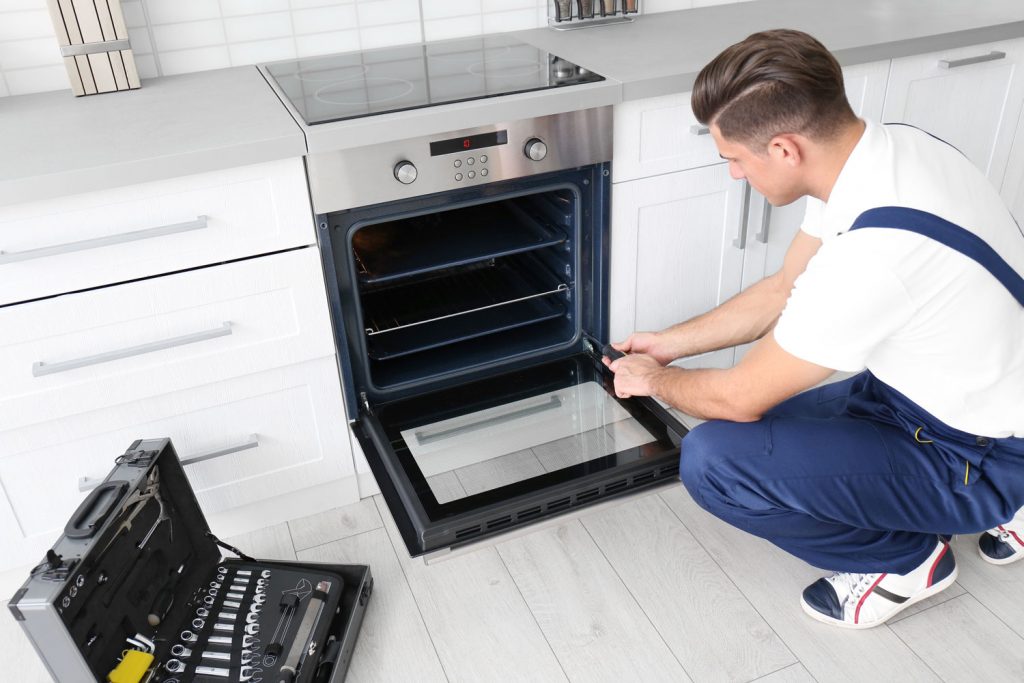
To access the venting for a direct vented microwave usually requires removing the microwave and potentially removing some cabinet elements. Therefore, it is wise to get a helper to support the weight of the microwave as you remove it from the brackets.

First, inspect the accessible parts of the microwave for any screws or bolts that hold the appliance in place. Sometimes, it will be set on a shelf that butts up to the venting.
Now, and if needed, slowly undo the fastening hardware. While you do this, have your helper support the weight of the microwave.
Be careful, microwaves can be very heavy and awkward. Without a gentle hand, you run the risk of dropping the microwave and damaging it or the fasteners.
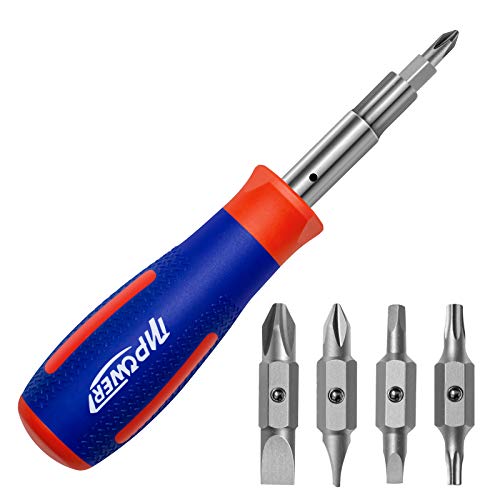
Click here for a multi-head screwdriver on Amazon.
Once you have safely removed, unplugged, and set the microwave aside, you usually will be able to see the venting area and the offending holes. However, sometimes there will be additional wood or drywall elements in your way.
Ideally, you will be able to remove these obstructions by undoing screws or other easily replaceable fasteners. However, sometimes you will need to use a saw to cut yourself a larger access.
Remember, you only need a very thin access area to fit the spray foam straw nozzle.
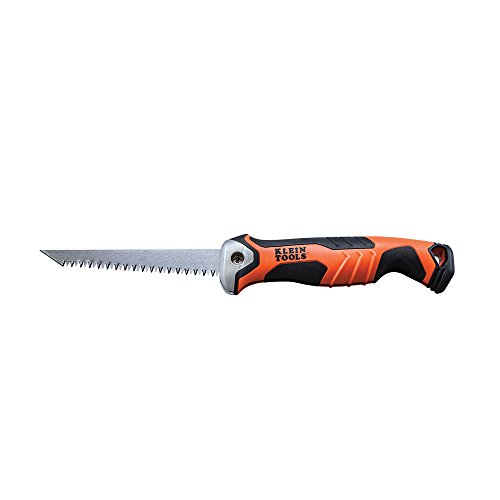
Click here for a drywall saw on Amazon.
If you do any saw work, make sure to make no cuts that will be visible once the microwave is replaced. Further, be very cautious not to cut into any electrical wires or plumbing.
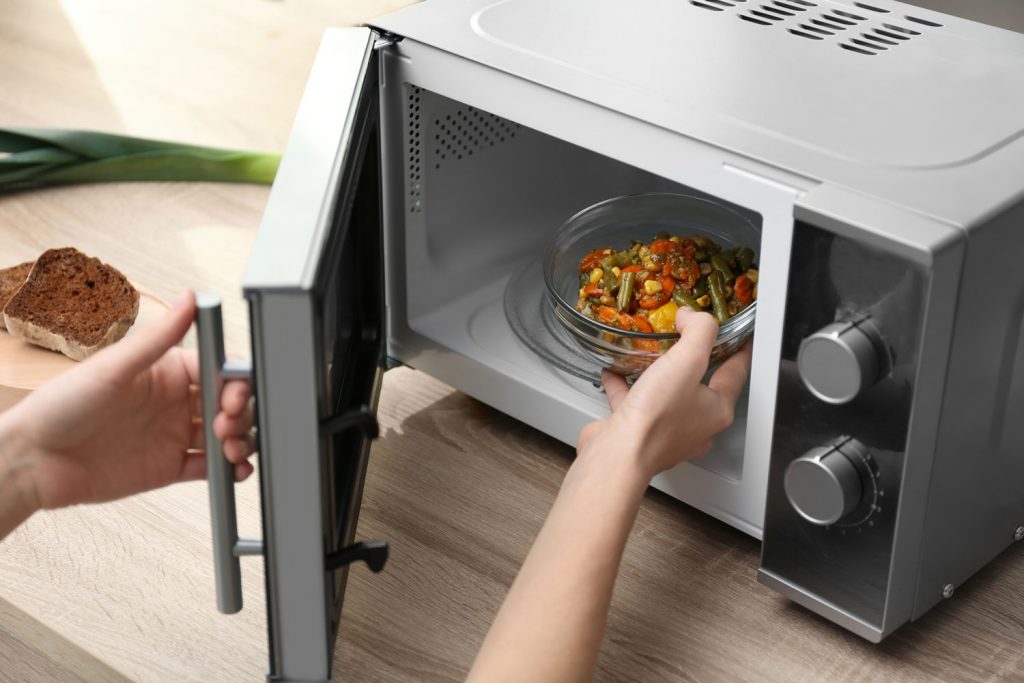
Ducted Microwave

Ducted microwaves are generally on interior walls. In these cases, the microwave outflow vent is somewhat removed from the microwave itself. Therefore, cabinets or drywall are likely to be the only interior obstructions separating you from the vent.
Depending on where the vent is, you may not want to remove any material. If this is the case, try following the below directions for outside access. Otherwise, remove wood or drywall that is in the way until you can access the vent opening.
If the vent goes through your ceiling, you may be able to access around the vent from inside your attic.
Whichever choice you make or configuration of microwave you have. You have accomplished this step when you can spray foam insulation around the vent using a spray foam can.
Outside Access
Accessing your microwave vent from the outside can be the least destructive and simplest option. First, it is likely that your dryer has a flapper vent cap. These are most often attached with screws or nails.
For screws, remove them. For nails, carefully pry them off without damaging the siding or vent.
Once the cap is removed, you usually will already have access to insulate around your dryer vent. However, sometimes you may also need to remove one or two pieces of siding.
If you have to remove siding, be very careful to avoid breaking the pieces before you put them back.

Click here to see this nail punch set on Amazon.
As a pro-tip, drive the siding nails through your siding using a nail punch to make the siding removal much easier.
2. Spray Foam Around Vent
Now that you can see around your microwave vent, we finally get to actually insulate this space. In most cases, canned closed cell spray foam is the easiest and most effective product.

Click here for a spray foam on Amazon.
First, put down newspaper or other disposable material on anything you worry about dripping foam on. Second, set up the spray foam can, including the long straw-like tip. Now, test the foam by spraying just a tiny bit onto the newspaper.
This test lets you sense how fast the foam comes out and how quickly it expands. You will notice that it expands to almost twice its original size.
Take note; if you overfill the space around your microwave vent, you run the risk of making a mess or having the expanding foam cause damage.
Now, carefully spray foam around your entire vent. Try to fill about 50% of the space to give the foam space to expand.
Ideally, you want the foam to fully surround the vent and even expand into your walls a small amount to provide a high level of insulation and air sealing.

Click here for a silicon caulk on Amazon.
In rare cases, you will find that there is only minimal space around the microwave vent. If that space is less than 1/4-inch, you can choose to seal up the vent using silicone caulk instead of spray foam.
3. Allow Foam To Dry and Trim Excess Foam
Once the foam is dried, you should plan on waiting about 8-hours for the foam to cure. Once cured, you can cut the foam with a knife or scissors.
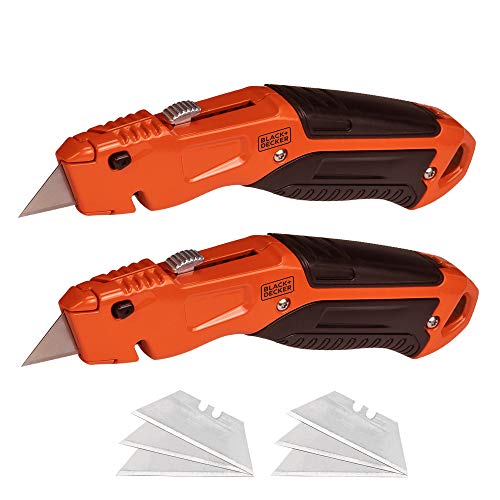
Click here for a utility knife from Amazon.
Thus, you should trim any excess foam that sticks out around your vent. The goal is to allow your microwave any building elements to fit back into place easily.
4. Reassemble Area
Finally, you can now reassemble the area. This means putting back all the material, inside or outside, that you took off to access and insulate around your microwave vent.
For interior-only projects, the bulk of this work usually replaces the microwave. Once again, this is easiest with a helper who can hold the appliance while the other person re-secured the screws or bolts.
If you had to remove visible wood or drywall, patch these as best as possible.
For projects where you had to remove the vent hood or siding, you should replace all parts in the opposite order that you took them off.
Repainting once you have the pieces back in place for the siding will produce the best finished look. Do not worry about getting the new nails exactly in the old nail holes.
For the vent, it is wise to use silicone caulk on the top and sides to stop water from collecting behind the vent.
What happens if a microwave doesn't have enough ventilation?
According to microwave manufacturer Samsung, microwaves will overheat and stop working properly if they do not have enough ventilation.
However, it is not critical that your microwave is vented outside. Instead, microwaves are often just given clearance as a ventilation solution.
Is a microwave damper necessary?
If your microwave is vented outside, a damper is significant. These simple flaps keep the microwave vent closed unless the fan is running. Without the damper, the outside air can much more easily blow and seep into your house.

Click here for a microwave vent damper on Amazon.
If you have an undampered microwave vent, change this out for a dampered version. This upgrade will save you much more energy than insulating around your vent alone.
Do convection microwaves need to be vented?
Convention microwaves do not need to be vented. Generally, the only appliances that 100-percent need vents are those that use combustion, such as gas or wood.
How much clearance do you need around a microwave?
Each microwave will include literature that specifies the exact clearance required. However, and generally, you should give your microwave three inches of clearance on the top and both sides.
It is recommended that you leave at least one inch of clearance for the back. The microwave legs provide bottom clearance.
Additional Reading
To learn more about vent insulation, read these great articles:
- Should Soffit Vents Be Covered With Insulation?
- How To Insulate Around A Dryer Vent
- Does Furnace Vent Need To Be Insulated?
In Closing
In this post, we answered the question of how to insulate around microwave vents. We include directions that should apply no matter your venting system. To conclude, we answered several related questions. Good luck!