
Are you renovating an old house, and you're wondering how you can insulate the shiplap outer walls? Or perhaps you want to install insulation into an uninsulated old house with shiplap outer walls? We researched this question, and we’re here to bring you the best answer.
Follow the steps below to insulate behind a shiplap:
- Install a layer of home wrap behind the shiplap, between the shiplap and stud where tar papers are installed before.
- Seal any gaps between window frames and the wall with a can of spray foam. Do the same thing for the gaps between the door frame and the wall.
- Measure the distance between studs.
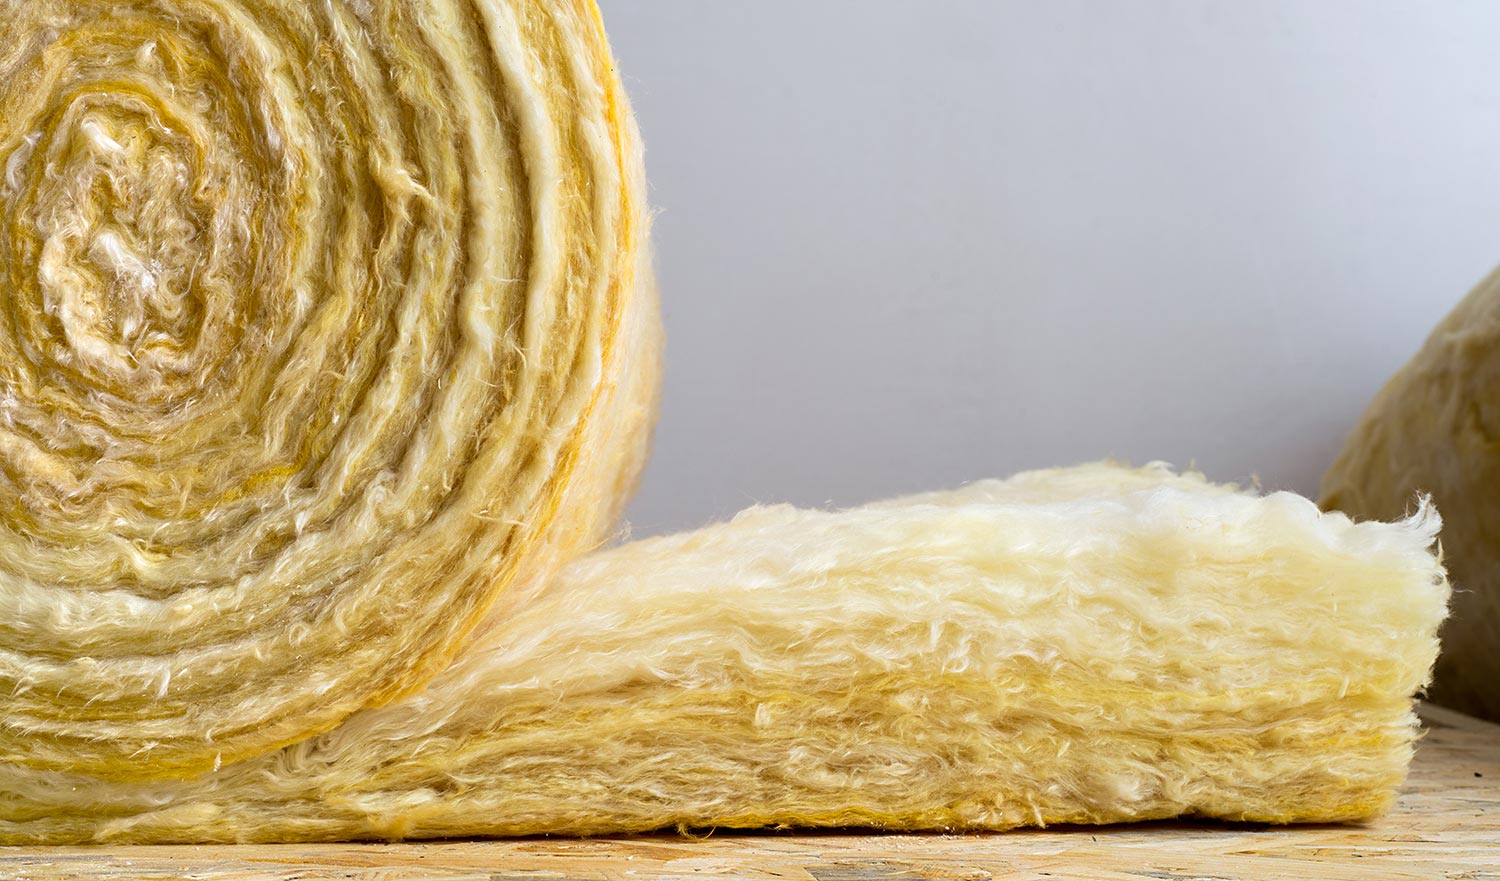
- Trim the fiberglass batt based on the measurements that you took.
- Insert the fiberglass batt snugly between the studs. Repeat this until you have covered all the inside cavities with fiberglass batt.
- Cover the fiberglass insulation with a polyethylene vapor barrier.
- Install paneling over the polyethylene vapor barrier.
Most of the steps above have additional details that your might want to know. The details will help you make choices during your project that will help improve the result. And we have all this information for you in the sections below. Read on!
Insulating behind shiplap
Shiplap has seen a sudden increase in popularity in recent years thanks to shows that have often used it in their renovations. Shiplap doesn’t absorb a lot of moisture. In case it did, you’d want it to be able to dry without letting that moisture into your wall cavity.

Safety first
Handle fiberglass batt with care to minimize the particles that get into the air. Fiberglass insulation is made of numerous glass particles embedded into the fiber. This can irritate the skin, eyes, and nasal passageway.
OHSA’s analysis of fiberglass makes it important to wear protective goggles, dust mask, long pants, socks, cap, boots, and a long-sleeved shirt before handling fiberglass insulation.
Carefully remove your clothes and wash them in a separate load after you finish handling fiberglass insulation. Even though it is not uncommon for fiberglass particles to remain on clothing, they can easily be rinsed away during washing.

Try AstroAI's Black Reusable Dust Mask. See it on Amazon via this link.
Detailed Steps to Insulate Behind Shiplap
1. Install a layer of home wrap
Home wraps are waterproof materials that still allow air to pass through. It acts as a weather-resistant barrier, preventing water from getting into the interior wall cavity while allowing water vapor from the inside to pass through to the outside.
Mold and rot can set in if moisture gets into the stud cavity. Additionally, batt insulations like fiberglass or cellulose lose their R-value if they get exposed to moisture. This is because heat can bypass the insulation by traveling through the moisture in the insulation.
Home wraps prevent this from happening even if the shiplap gets soaked. If you have a separate sheathing layer, install the home wrap between the sheathing and the shiplap siding.
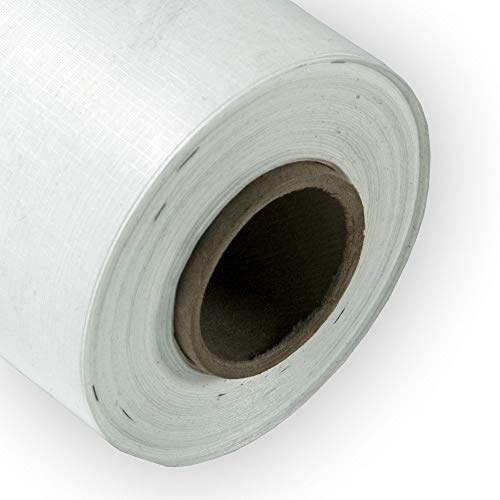
DuPont's Tyvek HomeWrap might work for your project. See it at Amazon via this link.
2. Seal gaps between window frames and door frames
Once you’re done with installing the home wrap layer, look for gaps between the window and door frames. Seal these gaps with a can of spray foam then let it settle and dry overnight. Trim the excess foam with a long knife or cardboard cutter once it has dried the next day.
3. Measure the distance between studs
Use a measuring tape to measure the distance between studs. Measure the overall length of the studs from the floor to the ceiling.
4. Trim the fiberglass batt
Add a quarter of an inch to half an inch to the measurement when you trim the width of the fiberglass batt.
5. Insert the fiberglass batt snugly between the studs
The added width will allow the fiberglass batt to more easily fit within the wall cavity between the studs. It will stay in place without the need for a fastener.
The side with paper or foil backing should face the living area or towards the inside of your house. Keep adding the fiberglass batt until you have covered all of the wall cavities with the fiberglass batt.
6. Cover the fiberglass insulation
The polyethylene vapor barrier will act as a seal for the fiberglass batt. This is a breathable layer that doesn’t trap moisture and thus prevents the growth of mold.
Fasten the polyethylene vapor barrier with staples. Repeat this step until you have covered all the walls with the polyethylene vapor barrier.
7. Install the paneling
You can install the paneling once you have covered the walls with the polyethylene vapor barrier. You can even use shiplap on the inner walls.
A horizontally installed shiplap can make a room look bigger. On the other hand, a vertically installed shiplap can make a room higher, emphasizing the roof and lighting.
What other insulation materials can I use with shiplap?
Even though we used fiberglass batt in the steps that we provided above, you can use three other types of insulation materials that work well with shiplap walls.
Some of the steps will have to be adapted to the other insulation materials. We provided all the necessary modifications in the sections below. Additionally, we will discuss the advantages and disadvantages of using these other materials.
Rigid foam insulation
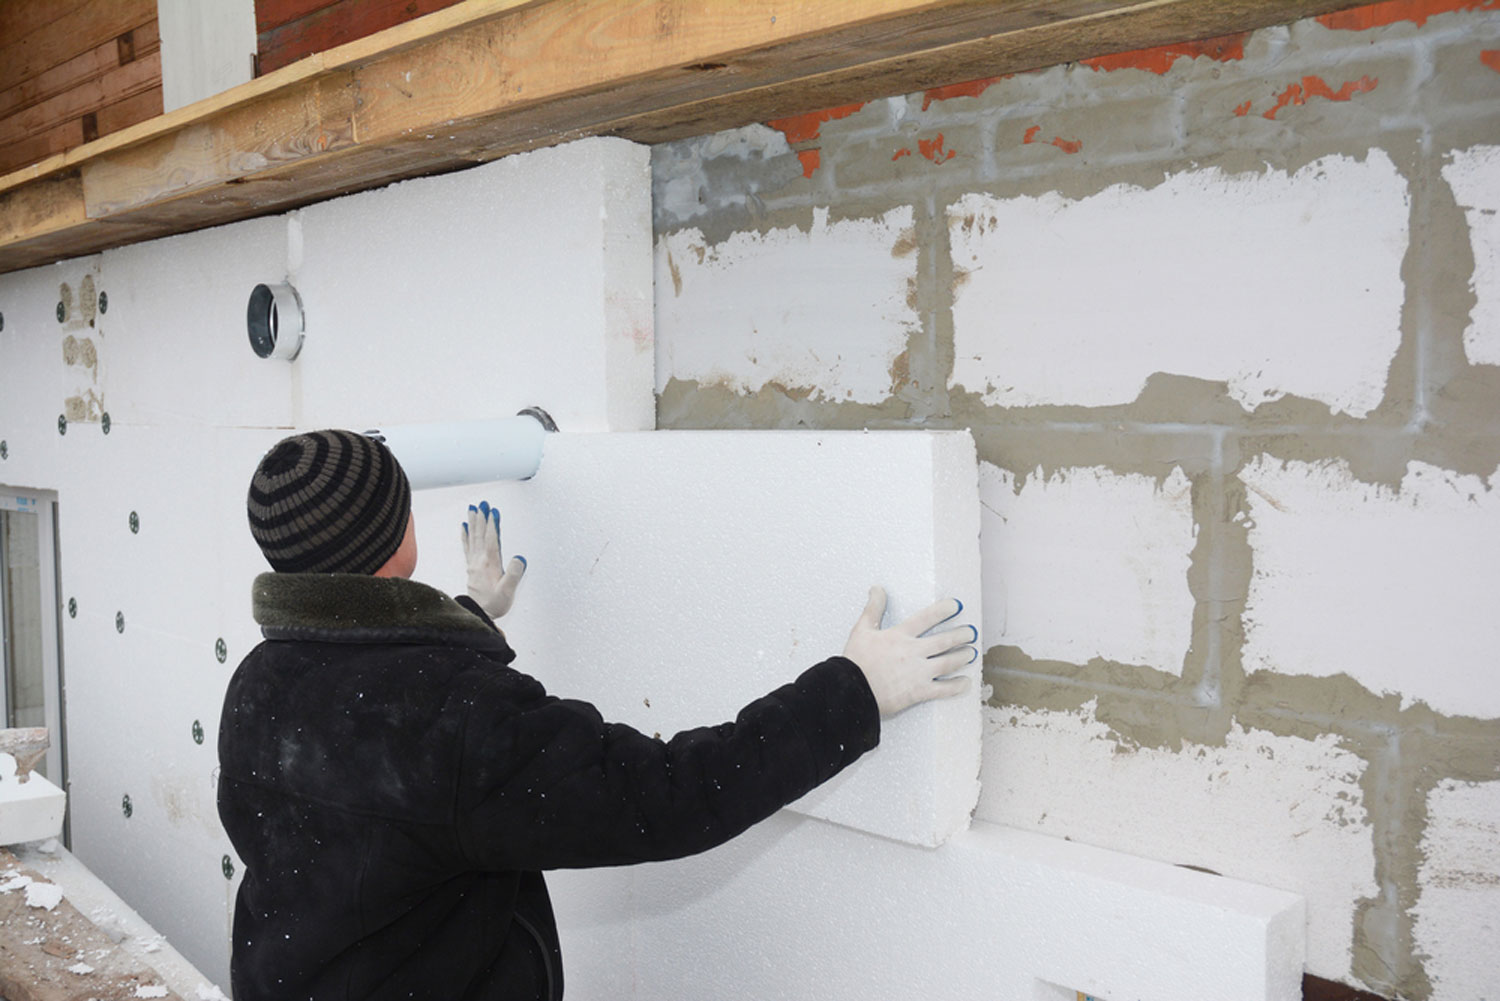
Most states have building codes that specify a minimum R-value for home insulation. The downside of using a fiberglass batt is that you will need a deep wall cavity between the studs if you want to achieve a high R-value with it; 6 inches or so.
Rigid foam insulation coupled with can spray foam is an effective way to achieve a high R-value with a wall cavity between the studs that are not too deep.
Adjust the steps above with the following to adapt the instructions to the installation of rigid foam instead of fiberglass batt.
- When measuring the rigid foam, make the width half an inch to an inch shorter than the distance between the studs; this creates a small space between the sides of the rigid foam and the studs.
- Use mounting tapes to temporarily keep the rigid foam in place when positioning between the studs. Make sure that the space on both sides of the rigid foam and the studs are more or less the same.
- Use a can of spray foam on the space between the rigid foam and the studs.
- Seal the space between two rigid foams with aluminum foil tape.
Another advantage of this combination is that it creates a waterproof layer on the side of the house.
We have a great article here about the thickest foam board insulation that you can install.
Closed-cell spray foam
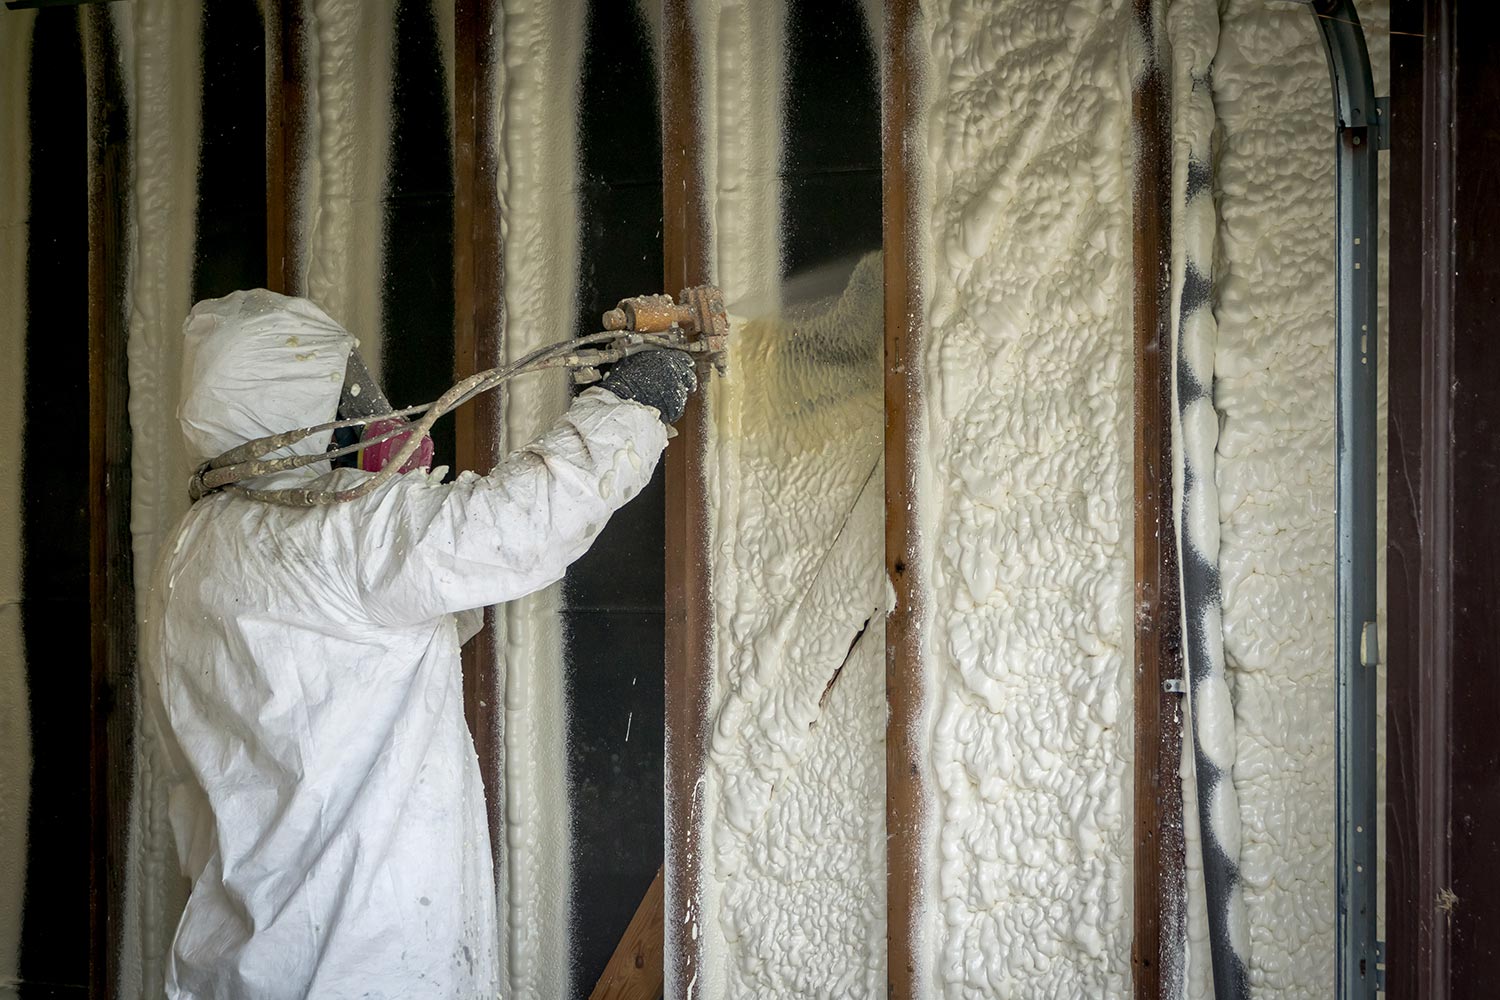
This option creates the best R-value even with the smallest wall cavity size. However, this is not a DIY route anymore because you will need special equipment to spray the foam and special protective gear. A professional should spray the closed-cell foam on your walls.
Additionally, this option is the most expensive of all.
If you plan to use closed-cell spray foam, the only modification to the steps would be to remove the part where you measure the distance between the studs. You do not need to know the distance between the studs anymore because professionals will spray a closed-cell spray foam evenly on the entire surface of the cavity between the studs.
Additionally, you do not need to install a polyethylene vapor barrier before installing paneling for the inside walls if you’re going to use closed cell spray foam for insulation.
Check our article here about the R-value of spray foam insulation.
Mineral wool
Mineral wool is like fiberglass batt. However, it is made from mineral fibers that are created when molten rock is spun at very high speed and temperatures. The process of creating mineral wool is akin to how cotton candy is made.
Mineral wool insulation often contains a terpolymer binder and oil to minimize dust. Like fiberglass batt, it is also hard to achieve a high R-value with mineral wool if you need one.
The installation of mineral wool is like the installation of a fiberglass batt. You don’t need to modify anything from the original set of steps above.
Can I leave insulation exposed?
One of the questions that might have crossed your might after you completed covering the cavities between the studs with insulation is whether you can leave it exposed or not.
If the room where you installed the insulation is only used for storage, then you can leave the insulation exposed. If not, then you will need to cover it.
Insulation that is left exposed poses a fire and health risk from getting exposed to the insulation materials.
Conclusion
Shiplap is a classic material that has made a resurgence in recent years. In some cases, the way it was insulated in the past no longer meets present building code requirements.
The method for insulating shiplap must be updated to meet present-day standards.