
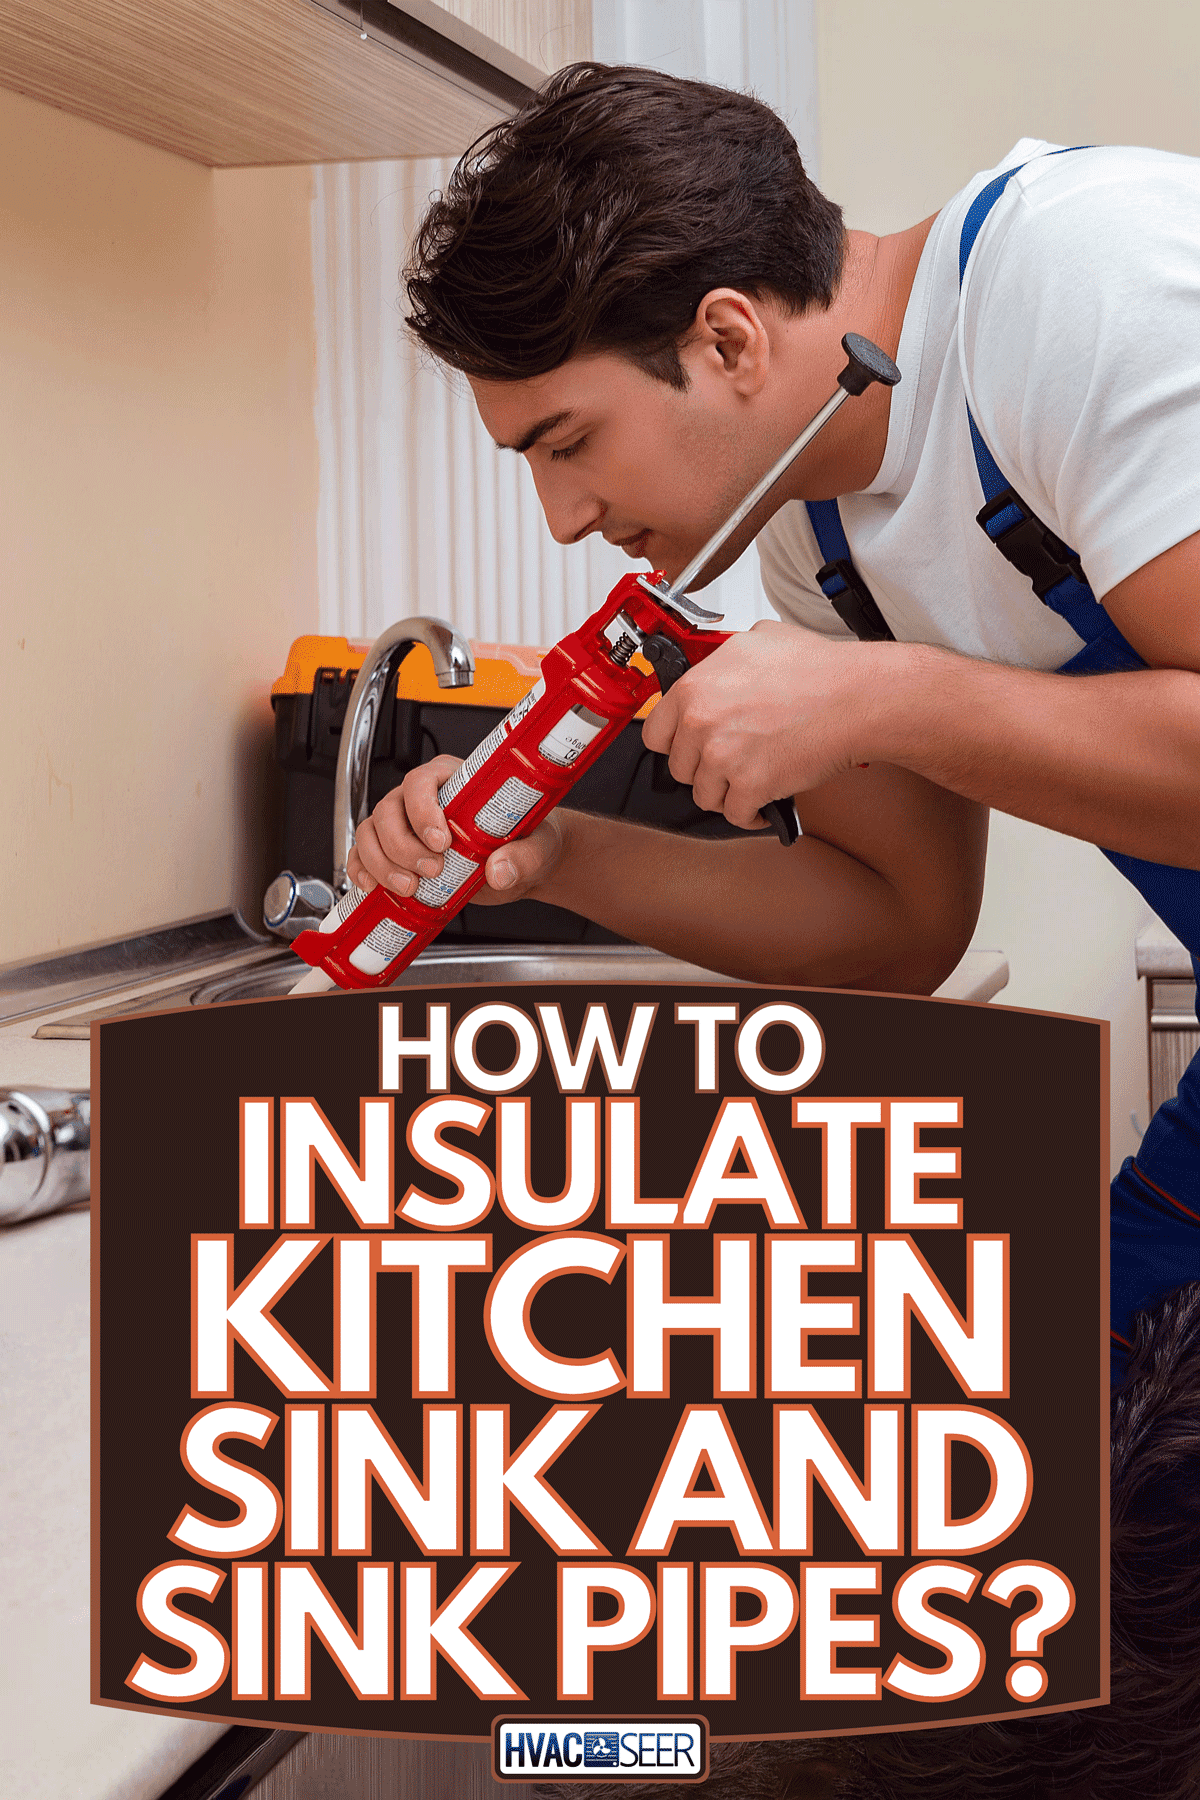
Are you building a new house or perhaps doing a major kitchen renovation, and you want to know how to properly insulate the kitchen sink and sink pipes? Perhaps you feel that your pipes and sink don’t have sufficient insulation? Look no further because we have the answer right here for you.
The fastest way to insulate your kitchen sink is by using a rubberized undercoating spray on the sink's underside. The pipes can be covered by neoprene pipe wrap insulation foam to insulate them.
We have the detailed steps on how to insulate the sink and the pipes below. Additionally, we have compiled additional information that you might want to consider before you plan for the insulation project in your kitchen. Read on!
What is the importance of insulating the sink and sink pipes
Before we proceed with the detailed steps, here is a quick list of the advantages of insulating your sink pipes.
The greatest threat to badly insulated pipes is freezing temperatures. Once the temperature drops, water left in the pipes can freeze, expand, and create tiny cracks on the pipes that could eventually break open or burst the pipes.
Insulating pipes can significantly impact your energy consumption. Proper pipe insulation limits heat transfer to the pipes, improving the thermal efficiency of your home and saving you money.
Insulated pipes can improve your water temperature by two to four degrees. This will allow you to lower the temperature setting of your water heater and help you save on energy bills.
How to insulate kitchen sink and pipes?
Now that we’ve discussed the advantages of insulating pipes, let's proceed to the steps in insulating your sink and sink pipes.
Materials needed
- Tape measure
- Rubberized undercoating spray. The number of cans you’d need will depend on the size of your sink. There is a version of the rubberized undercoating that does not come in a spray can. You can use this if you prefer.
- Paintbrush -if you’re using the brush-on version of the rubberized undercoating instead of the spray can version
- Cardboard
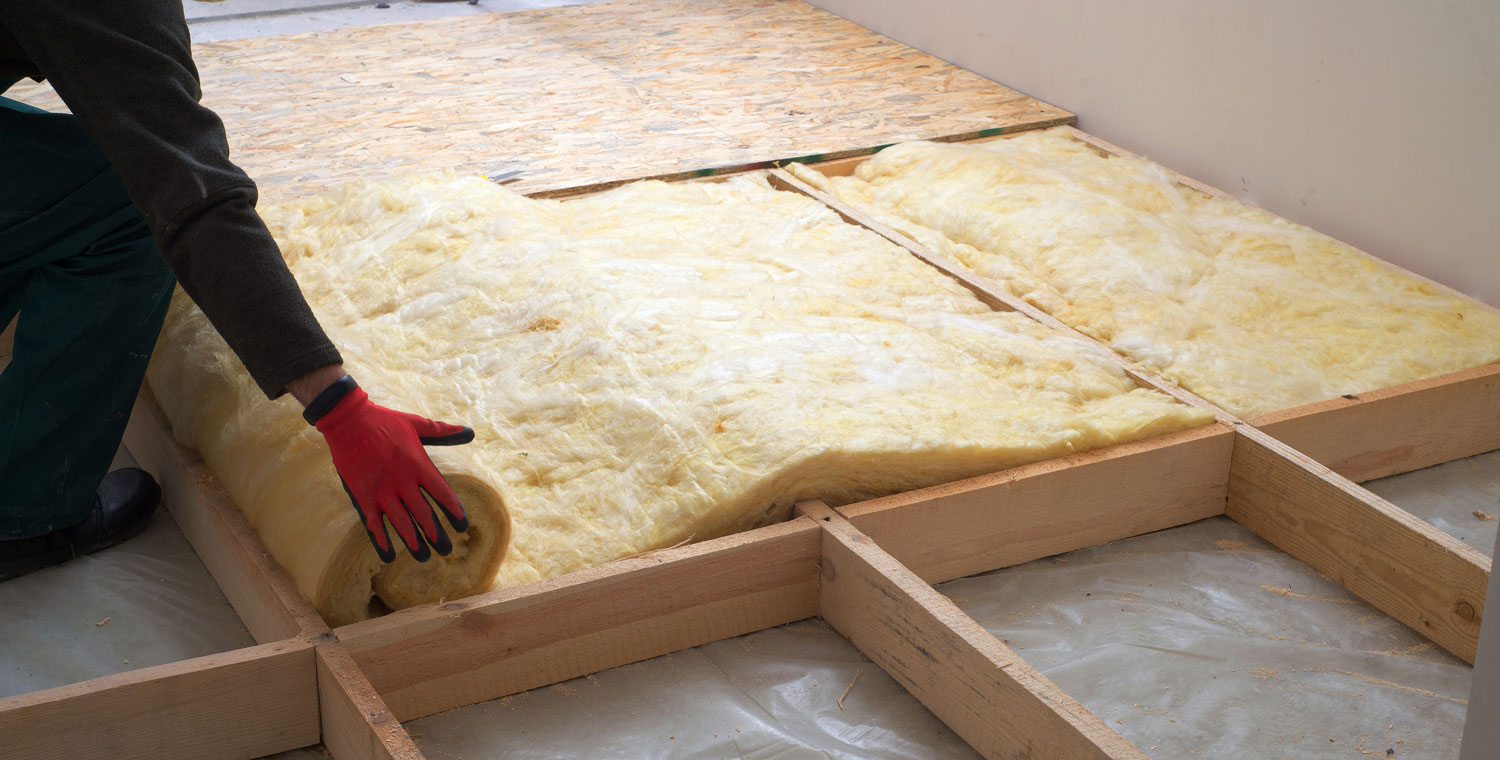
- Pipe sleeves or strips of fiberglass insulation
- Duct tape or cable ties to secure the sleeves, or aluminum foil tape or wire to secure the fiberglass pipe wrap.
- Scissors, box cutter, or utility knife
- Headlamp (optional)
- Steel wool or copper wool
- Silicone caulk
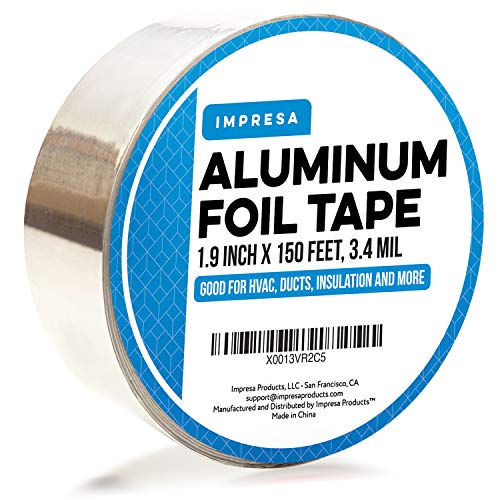
This professional-grade Impressa Aluminum Foil Tape might be helpful. See it on Amazon via this link.
This article might also interest you: "How Long Does Fiberglass Insulation Last."
Safety first
According to Energy Saver, the U.S. Department of Energy's (DOE) consumer resource on saving energy, it is important to wear gloves, long sleeves, and pants if you’re using fiberglass pipe-wrap to insulate your pipes.
Use a face mask and open the windows in the kitchen before using the rubberized undercoating spray.
Step-by-step instructions
There are three areas under the kitchen sink that needs to be insulated. Each area requires a different approach. Thus, we separated the steps into three different sections below.
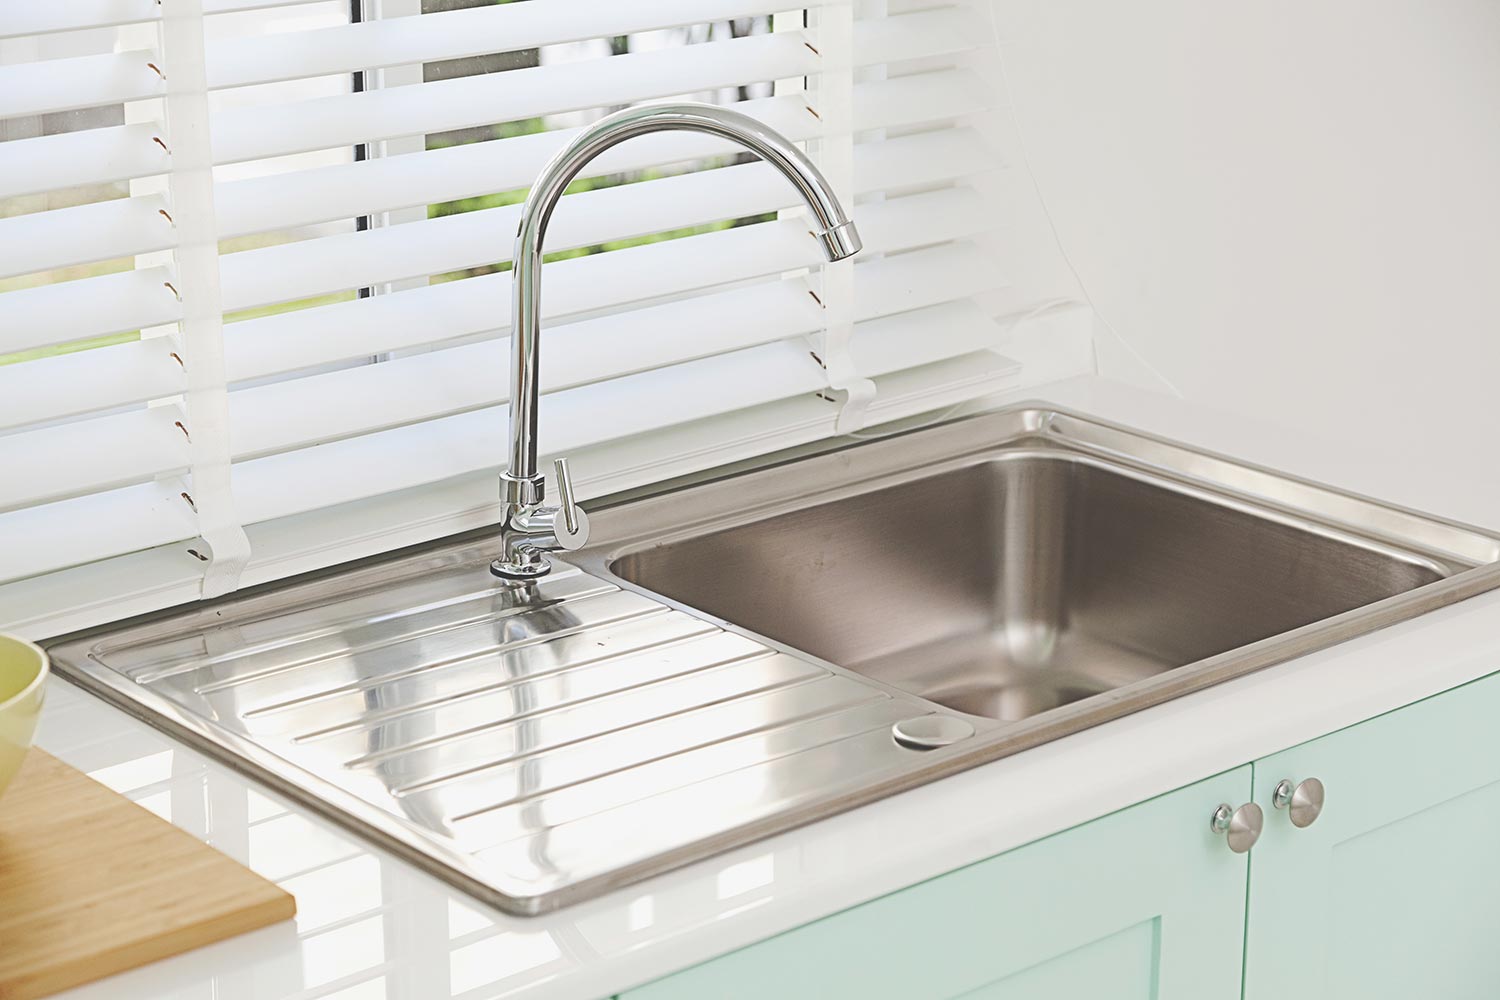
Kitchen sink insulation
The steps below are for insulating the kitchen sink (using the spray can version):
- Position the cardboard so that it can prevent the rubberized undercoating from getting to areas where it’s not supposed to.
- Position the spay can’s nozzle at least four feet away from the bottom surface of the kitchen sink.
- Press the sprayer while slowly moving the can from left to right. Spray evenly on the bottom surface of the kitchen sink.
If you’re using a brush-on version of the rubberized undercoating, apply it on the bottom surface of the kitchen sink like you would do with paint.

Try Rust-Oleum Professional Grade Rubberized Undercoating spray. See it on Amazon via this link.
Sink pipe insulation
The steps below are for insulating the kitchen sink pipes:
- Measure the pipes. Start from the bottom of the sink to the wall.
- Measure the external circumference of the pipe. The external circumference of the pipe should match the internal circumference of the pipe sleeve.
- Cut the pipe sleeve to the needed lengths.
- Place the pipe sleeves on the pipes. Position the seam of the pipe sleeve so that it will be facing down from the pipe. Use the box cutter to trim the pipe sleeves as needed on pipe bends.
- Use duct tape to secure the pipe sleeves. Use wires or aluminum foil tape to secure the fiberglass pipe wrap.
Holes around pipes
According to the CDC, holes under the kitchen sink can be filled with steel wool or copper wool. Stuff the wool into the hole tightly, filling it with as much wool as possible. Use scissors to trim the wool as needed.
Seal the patch with caulk after you’ve filled the hole with as much steel wool or copper wool that can be squeezed into it. Silicone caulk provides the best result for this purpose.
Skip filling the hole with steel wool or copper wool if the hole to be patched is small. Patch it with caulk without filling it with wool.
This method should be applied to any other holes in the other sinks inside your house.
How to insulate the rest of the kitchen without tearing the walls?
Now that you’ve insulated the kitchen sink and the sink pipes, are you wondering if there are ways that you can improve the insulation in your kitchen without tearing into the walls? We’ve listed some tips below to help improve your kitchen’s insulation and the rest of the house.
Thermal curtains
Installing thermal curtains on your kitchen windows will help keep them warm during the winter months. The bonus of thermal curtains is that they can also help keep the kitchen cool during the summer months too!
These curtains are specifically labeled as thermal or insulating. And you can even install them in other rooms inside your house if you’d like!
Insulate electrical outlets
The electrical outlets and switches in your kitchen may be small, but they can be the exit point of warm air in winter or cold air in summer. To make it worse, imagine the total amount of area when you add all the switches and outlets in your house—not just in the kitchen. That is a large uninsulated area!
Foam gaskets can help you solve this issue. Install them behind the outlet and switch covers to block heat loss. Adding a carefully applied spray foam can further increase insulation in these areas.
Window seals
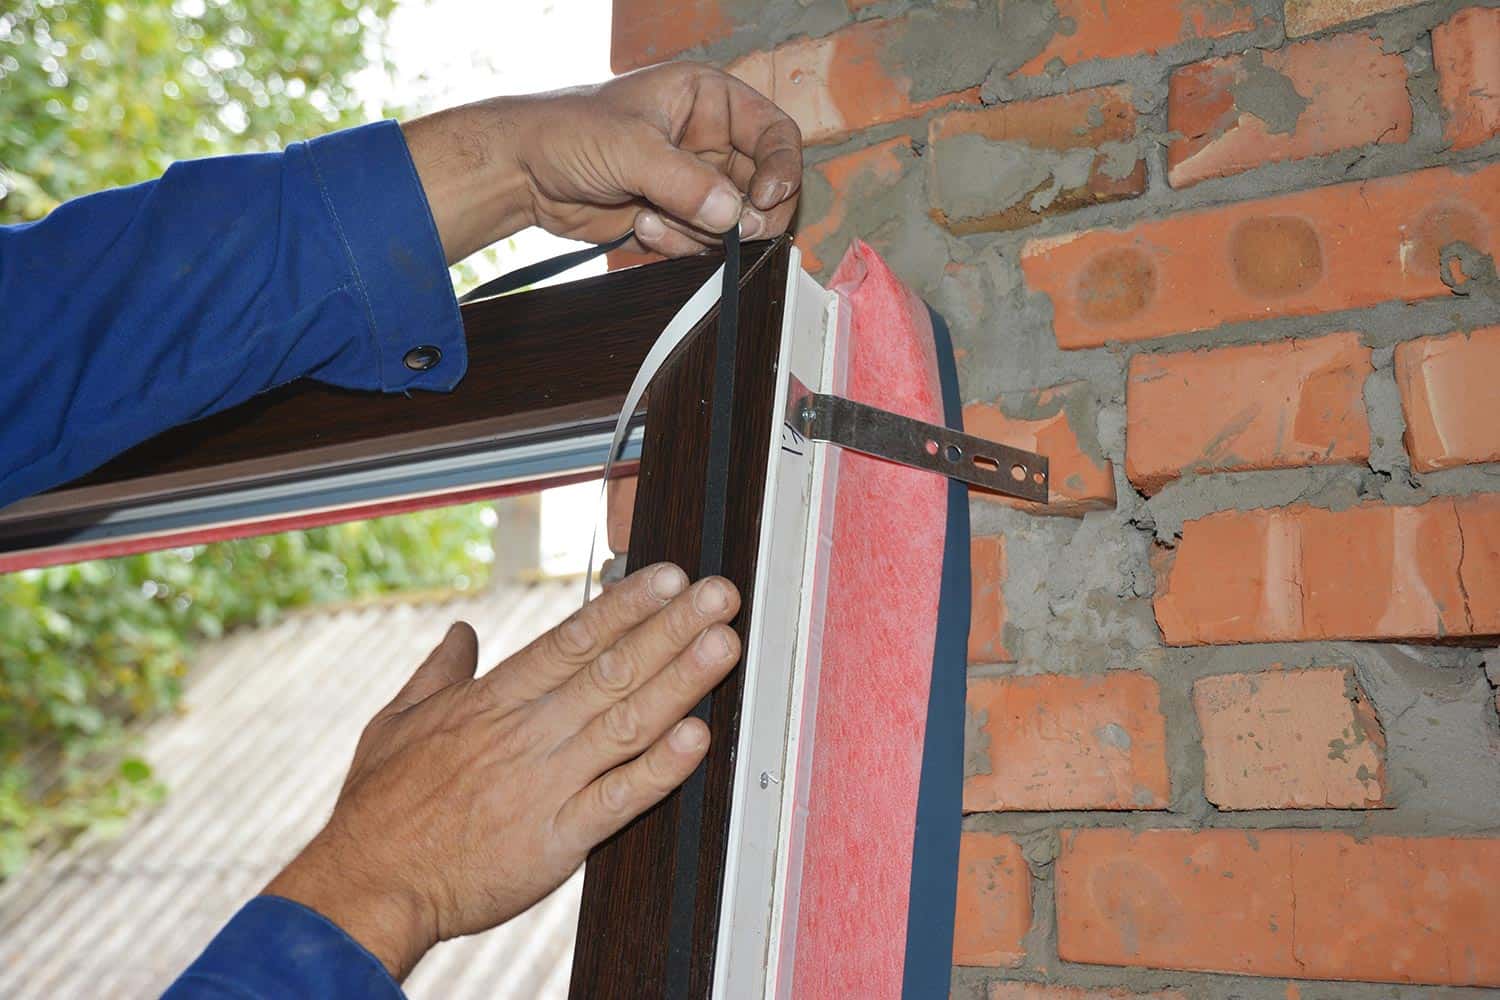
Check the window seals in your kitchen for damage. Leaks in window seals are one of the leading causes of heat loss—and not just in the kitchen. Install weatherstripping to seal the gaps in your kitchen windows and the rest of your home.
Recessed lighting
Recessed lighting in your kitchen and in the rest of your home is a commonly overlooked exit point of warm or cool air. Switch to IC-rated lighting to help eliminate this source of energy loss.
Are there eco-friendly insulation options?
The insulation industry has long been a concern when it comes to health, safety, and environmental issues. Unknown to most, however, several alternative eco-friendly insulation materials are now available.
Although these alternatives only fill a niche demand in the insulation industry, for now, demand is expected to grow in the coming years. Eco-friendly builders and consumers are on the rise, and with them, the demand for these alternative insulation will also grow.
Soy-based foam
Soy-based foam is rapidly growing in popularity among consumers. Its advantages include:
- High acoustical and air-sealing properties
- Class 1 fire ratings
- No chemicals that will off-gas after installation
- Does not have materials that pose health risks
- Renewable composition
- Highly resistant to degradation
Using soy-based insulation can make buildings eligible for the Leadership in Energy and Environmental Design (LEED) certifications.
Wool
Wool is a natural product whose popularity is rising in the Northeast. Insulation made from wool provides many benefits that include:
- Strong moisture absorption and desorption properties
- Improved acoustics, wool is a natural sound blocking material
- Absence of carcinogens. This eliminates skin, eye, and respiratory irritation during installation
- Improves indoor air quality because wool absorbs indoor air pollutants
Hemp
Similar to the first two, hemp offers many environmentally friendly and health safety features like:
- Biodegradable and fully recyclable
- Contains zero hazardous materials
- Can absorb a significant amount of moisture without degrading thermal performance
- Zero degradation
- Does not attract insects or rodents
Recycled denim
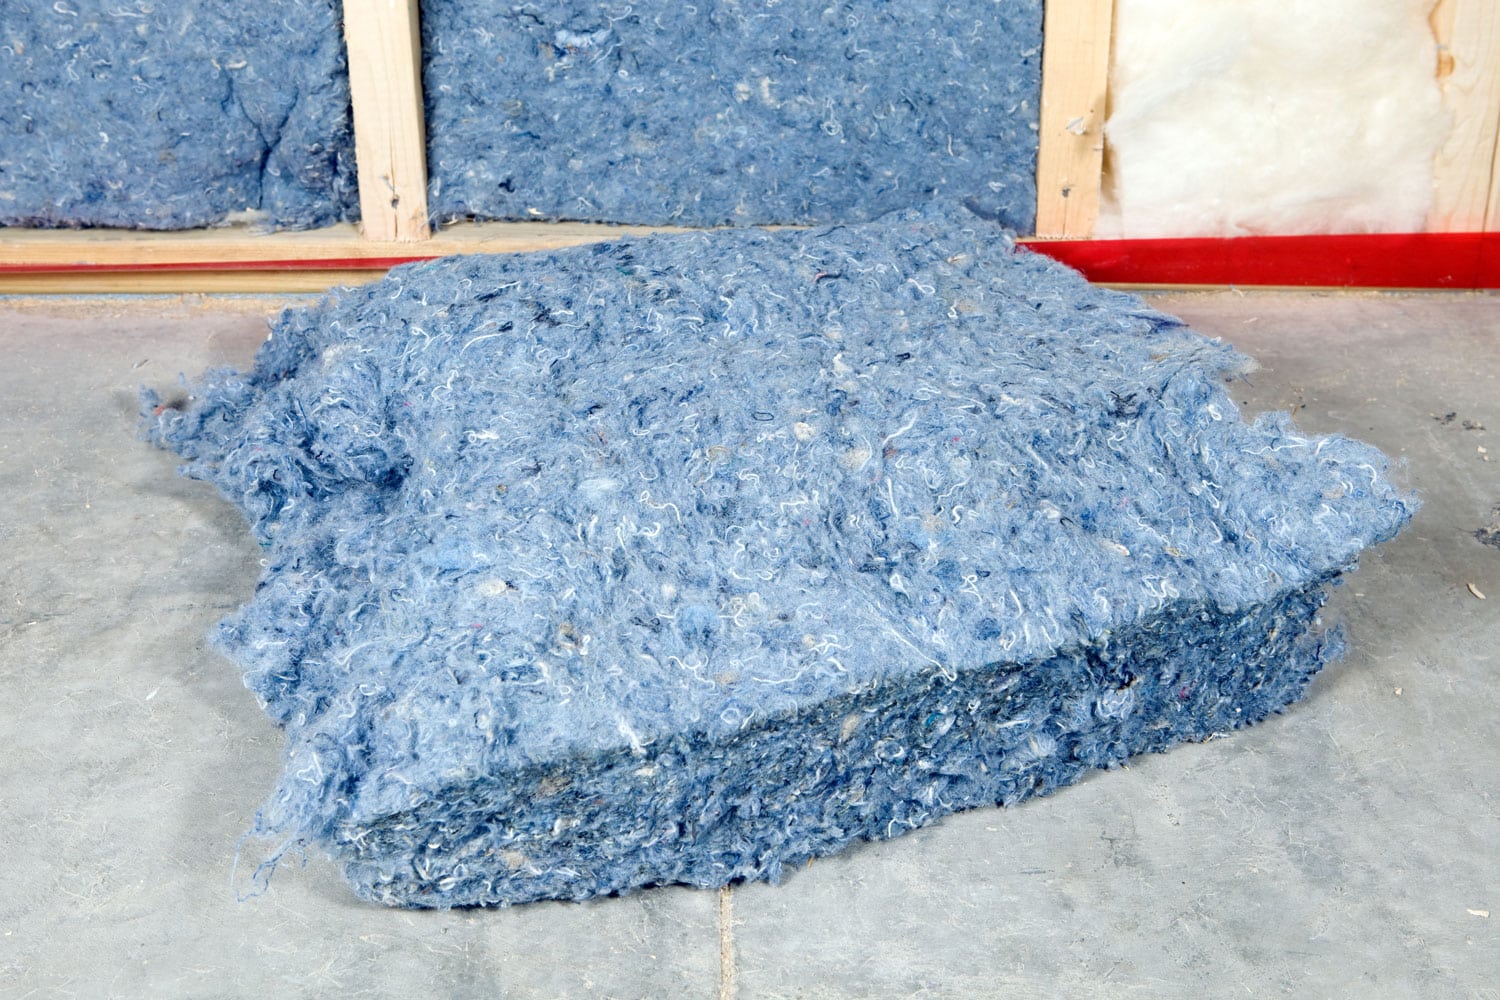
Wondering how to give your old jeans new life? You can now give them a second life as building insulation!
Recycled denim brings with it features like:
- Higher acoustic ratings than traditional insulation materials
- Excellent alternative for interior wall insulation in bedrooms or home theatres
- Denim does not contain harmful ingredients like volatile organic compounds and formaldehyde
- The manufacturing process is basically waste-free
Learn more: "Denim Insulation Vs. Mineral Wool (Rockwool)."
Conclusion
There are several activities involved to properly insulate the area under the kitchen sink. Insulating this area is important because it helps save energy in addition to protecting the pipes under your kitchen sink from damage.