
Parallel chord trusses are often very deep and very far apart. This makes insulating them with conventional means more difficult. Thus, you are wondering how to insulate parallel chord trusses. We combine industry professional knowledge and up-to-date research to answer your question in this post.
There are two main ways to insulate parallel chord trusses. You can insulate with spray foam if you do not plan on adding a ceiling under the trusses. If you add a ceiling, you can insulate with blown-in insulation. Using blown insulation requires that you ensure that the truss space is well ventilated.
Keep reading the rest of this post for directions on how to perform both of these insulation techniques on parallel chord trusses. These details will help you choose which method is best for you. To conclude, we answer a few questions related to the topic of this post.
How To Insulate Parallel Chord Trusses
In the following sections, we cover adding spray foam or loose-fill insulation to your parallel chord trusses.
Spray Foam
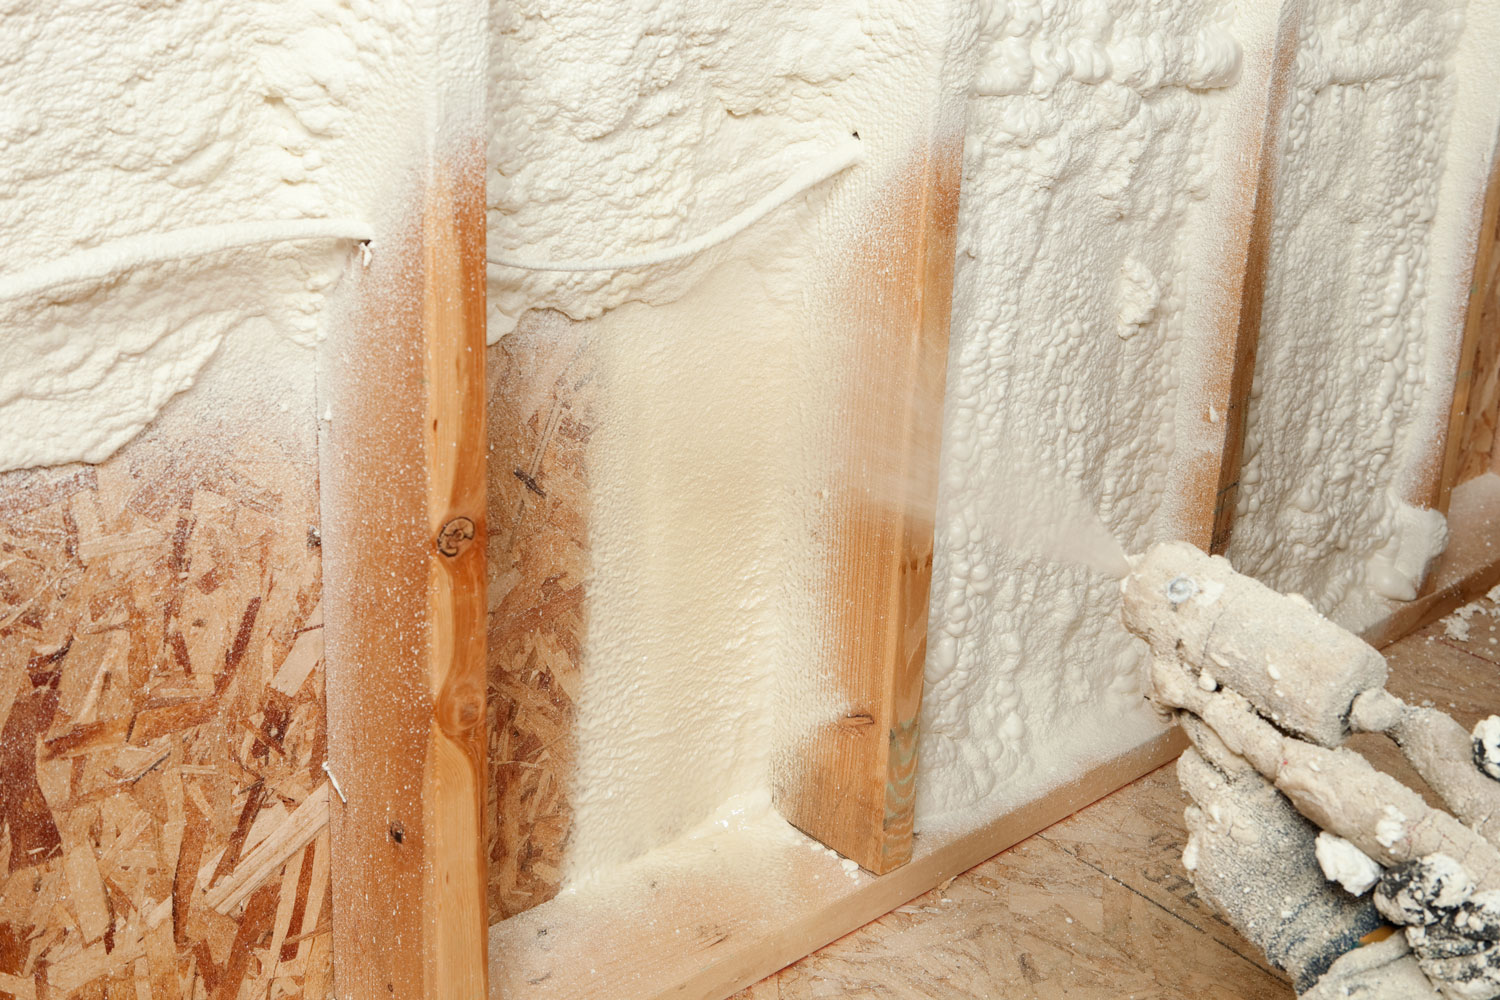
Spray foam insulation is applied in a liquid form that sticks to any surface. Then, the foam expands and hardens. When closed-cell spray foam is used, it doubles as a vapor and air barrier. Further, the hardened foam adds rigidity to the surface it is applied to.
Closed-cell spray foam is also one of the most insulative materials used in modern construction, with an R-value of up to R-6.5 per inch. Open-cell spray foam is less insulative but still quite effective at an R-value of about R-3.5 per inch. That all being said, spray foam is generally quite expensive.
Usually, professional companies are hired to install spray foam. The specialized equipment these companies have and their experience make the process go much more smoothly.
Therefore, it is wise to get a few bids from a professional spray foam company before attempting this project yourself. However, we cover the basic do-it-yourself steps to adding spray foam in the following sub-sections.
1. Prepare Area
Preparing the area involves taping and tarping off all surfaces you do not want spray foam to land on. As this project is for trusses in the roof, some foam is bound to fall onto the walls and floor.

Click here for painter's plastic from Amazon.
Once dried, the foam can be tough to remove from some surfaces but should scrape off hard surfaces like concrete or wood.
2. Gain Access
The most challenging part of this project for parallel chord trusses is to gain access to the surface you need to insulate. Sometimes, ladders may be appropriate. However, if you can erect scaffolding, the entire job will be easier and safer.
The goal is to have a plan that allows you to get a spray foam gun 6" to 8" from the ceiling. This is difficult because of the heavy spray foam container and short hose.
3. Gather Materials and Tools
Most DIY spray foamers will use prepackaged foam that generally covers around 200 square feet or so per container. Alternatively, it may also be worthwhile to investigate renting high-end spray foam equipment from an equipment rental facility or home improvement store.

Click here for a spray foam kit from Amazon.
For best results, be sure that you have enough foam to cover the entire project on hand before you start. This makes the process more efficient. If you end up with any extra, return all of the unopened containers.
Importantly, and according to the EPA, you will want to wear eye, body, and breathing protection while spraying the foam to avoid breathing the harmful off-gassing.
3. Spray Foam
Adding the actual spray foam involves first following the directions on the container or tools. Once set up, be sure to test spray into a trash can or other surface. It is wise to observe how much the foam expands to avoid over-spraying.
While depressing the trigger, hold the gun 6" to 8" from the surface and slowly draw it along the ceiling. The goal is to add an even continuous layer of spray foam. The thicker the cured foam, the higher the final R-value will be.
When insulating parallel chord trusses, you will likely want to insulate both the roof between the trusses and the part of the truss that runs along the roof. This will provide the most continuous final layer of insulation and air barrier.
For a visual guide on how to spray the insulation, watch this helpful YouTube video:
4. Allow to Cure
Before using the space, give the foam eight to twenty-four hours to fully cure. This will ensure that it has been fully off-gassed, which makes the space safe to use.
Blown-In Insulation
To add blown-in insulation, you will need to add a solid layer of material to the bottom side of the parallel chord trusses. This could be drywall for a more finished look or plywood for a more industrial vibe.
Even with the extra materials needed for this layer, it may be cheaper to add blown-in insulation when you compare it to spray foam. Spray foam is certainly the more affordable and easier call if you already have the ceiling layer.
Take note it is essential to add ventilation to parallel cord truss assembly. This usually involves baffles along the eaves and potentially ridge vents or other roof ventilation. We cover the basic steps required for this process in the following subsections.
1. Add Ceiling
First, you will want to make sure you have a solid ceiling to blow the insulation on top of. Take the time to research best practices for this job. You will want to make sure there are no gaps that allow the loose-fill insulation to fall into the space below the trusses.
Importantly, be sure to leave yourself access so that you can get into the truss space and blow or add the insulation later.
2. Install Ventilation and Baffles
Installing ventilation and baffles is very important, or the dead air space may cause moisture and other issues.
Baffles
Baffles allow the eve vents access to the space between the trusses even when insulation is blown into the space. Essentially, they just dam the insulation away from the vents allowing airflow. Many professional products are on the market, but it is also common to use cardboard.
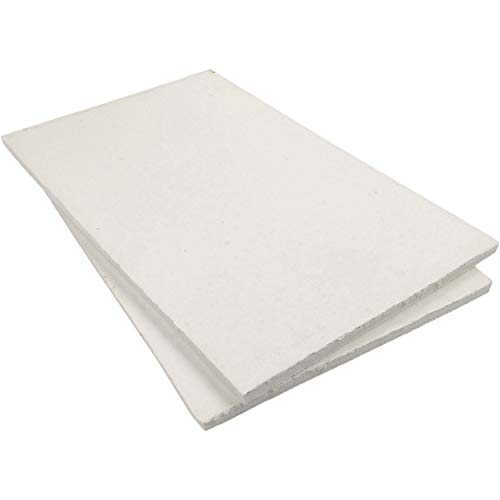
Click here for baffle board from Amazon.
To install the baffles, secure them in place, making sure they fully span from truss to truss. Use scissors and a measuring tape to cut them to size. Then, use a staple gun to attach them to the framing. Watch this YouTube video for a visual guide:
Vents
There is a wide range of products designed to vent through a roof. For this project, install either a ridge vent right along with the ridge or roof vents near the top of your roof's peak. The goal is to allow air to flow from your eve vents up and out near the roof peak.
3. Choose Insulation and Application Technique
Now, you will want to choose fiberglass or cellulose loose-fill insulation. Fiberglass is a little cheaper, but cellulose has a better R-value per inch. Also, you need to decide if you will spray the insulation with a blower or hand spread the insulation.

Click here for loose-fill insulation from Amazon.
Check around for blower rental prices and consider whether it is possible to enter between your trusses by hand. If the space is really tight, use a stiff hose extension to reach the back of the tight parallel cord truss attic.
For the easiest job, buy all the materials you will need beforehand. Then, if you have any leftover bags of loose-fill insulation, you can return them if you have not yet opened them.
It is also a good idea to choose your desired R-value at this point. Generally, you can get about R-3.5 per inch of insulation. More inches thus equal more upfront cost but also more savings. It is common practice to insulate ceilings to R-49.
4. Blow or Spread Insulation
Now that you have your materials and have the ventilation installed, it is time to blow or spread the insulation. This is a straightforward but labor-intensive process. Start in the farthest away location and then work towards the accesses. Be sure to follow all directions on the blower motor.
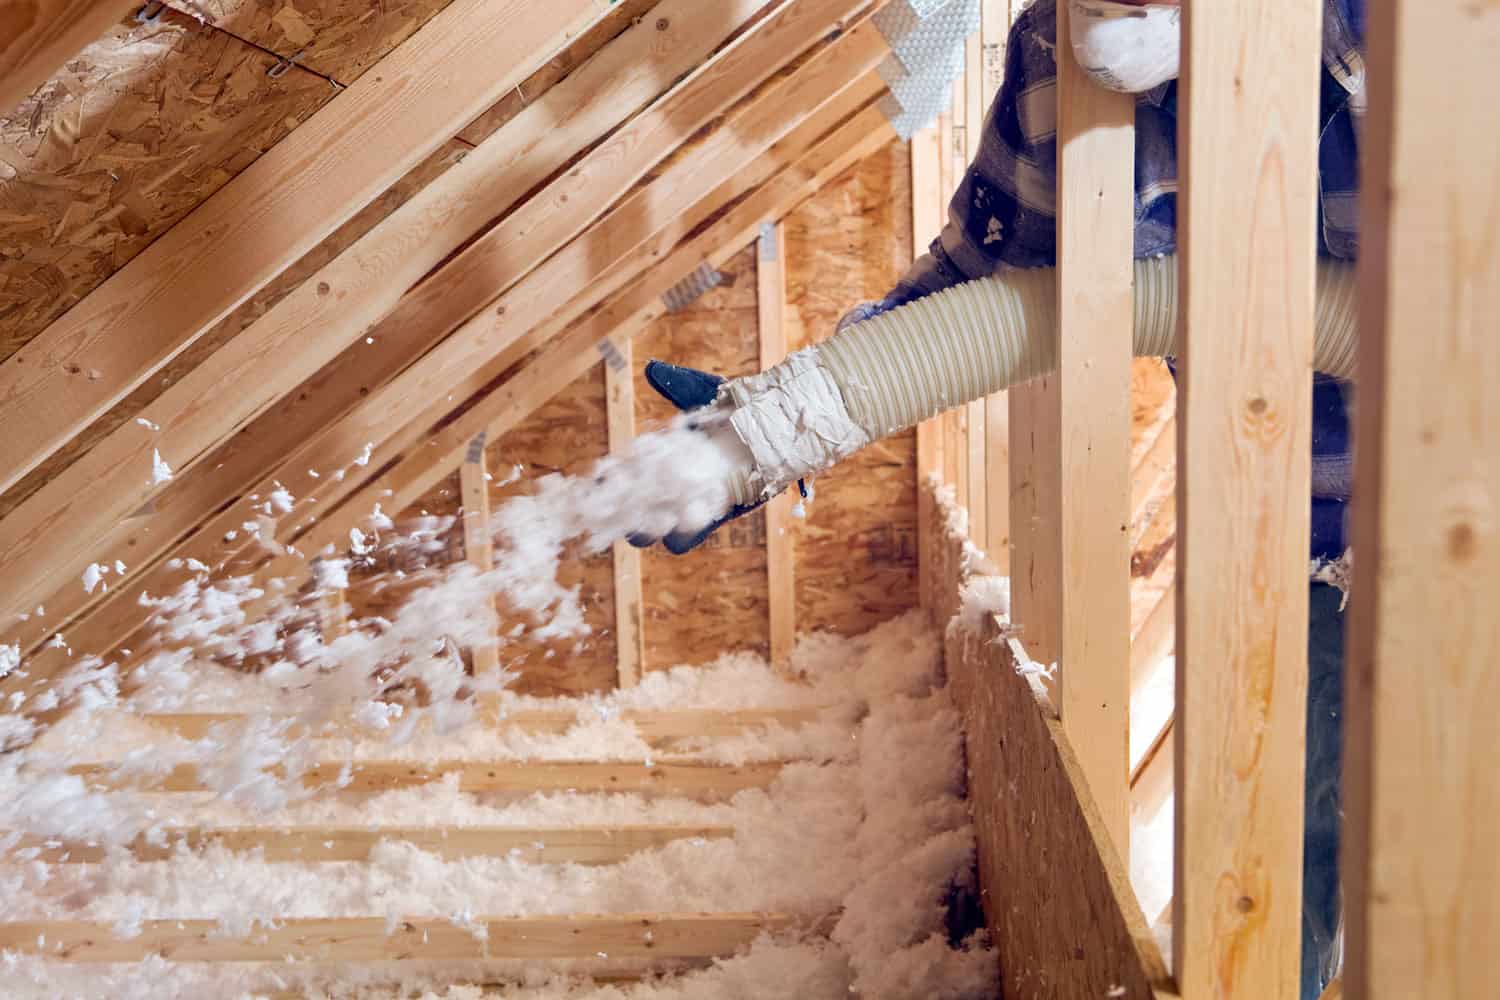
The goal is to build the insulation up to the desired depth throughout the entire space. This means both on the ceiling and within the truss construction.
What are the advantages of parallel chord trusses?
Parallel chord trusses can span a very long way without the need for internal bracers. Also, they do provide a lot of space for adding insulation.
Can you insulate between trusses?
Yes, you can. The best ways to insulate between trusses are spray foam or loose-fill blow insulation. Directions for accomplishing this are outlined in the above discussion section.
How do you insulate exposed roof trusses?

If you want to leave your roof trusses exposed, the best way to insulate is with spray foam insulation. However, it is also possible to use batt insulation that you twine into place. That being said, this is only a viable option if the trusses are 24" apart or closer.
Additional Reading
To learn more about insulating ceilings, read these excellent HVAC Seer articles:
In Closing

This post covers the two best ways to insulate between parallel chord trusses. The discussion includes step-by-step directions for both techniques. Good luck!