
Plumbing tasks can seem daunting, but with the right tools and some guidance, you can tackle many common jobs on your own.
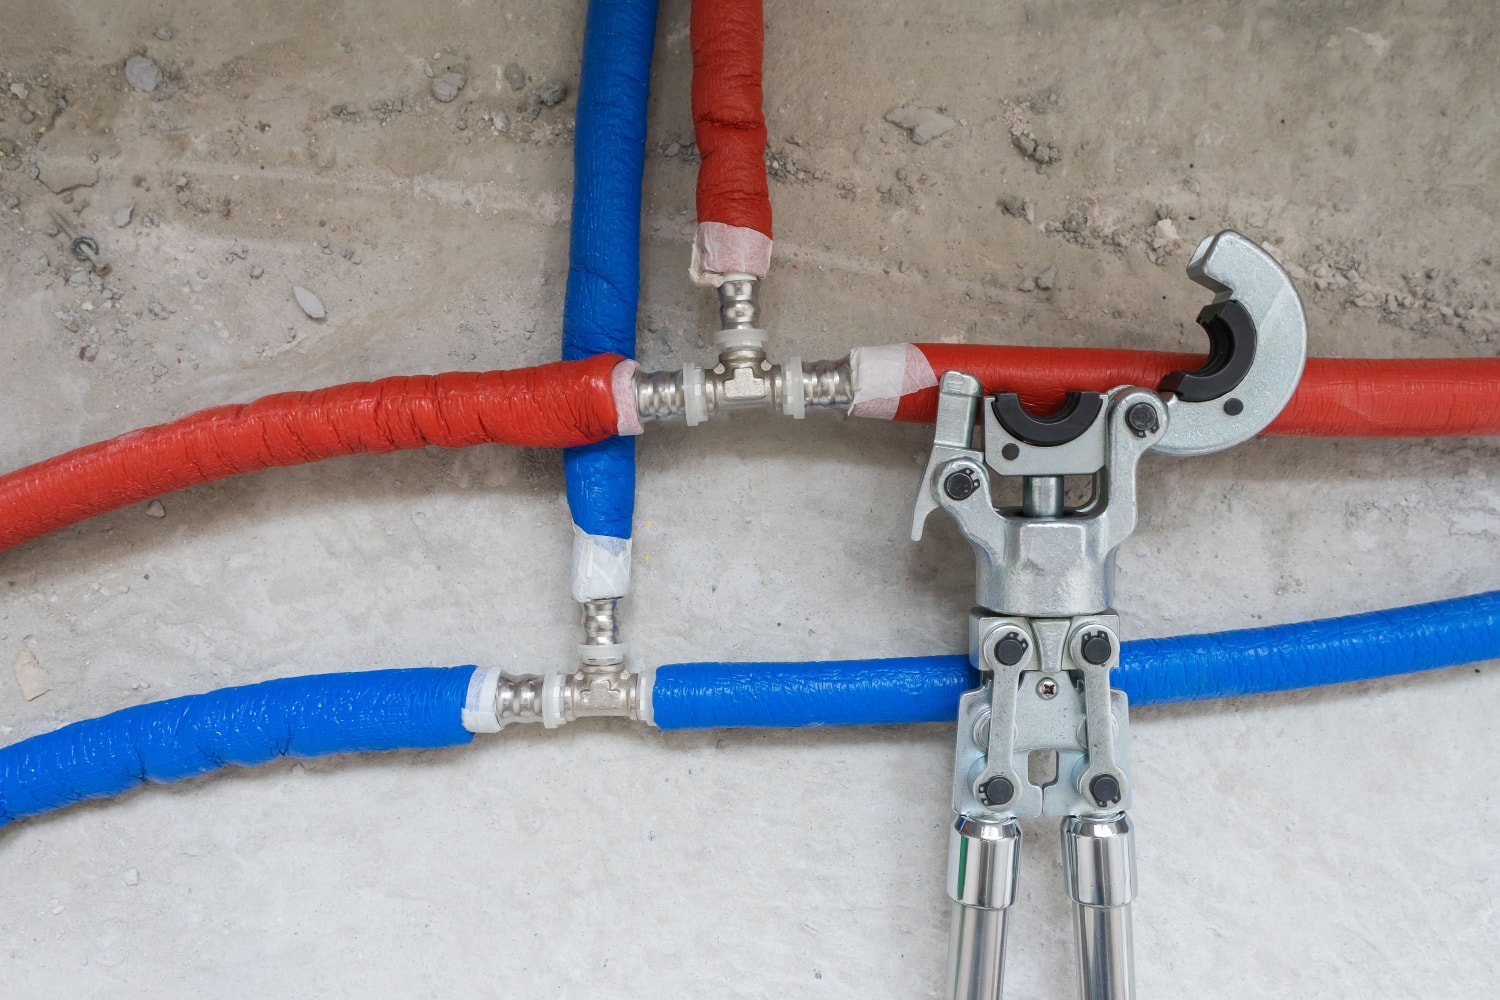
One essential tool for any DIY plumber is a plumbing crimping tool. This handy device allows you to create watertight seals around pipes and fittings, ensuring a secure connection that will hold up under pressure.
A plumbing crimping tool is a must-have for anyone looking to install or repair PEX tubing, which is commonly used in residential and commercial plumbing systems.
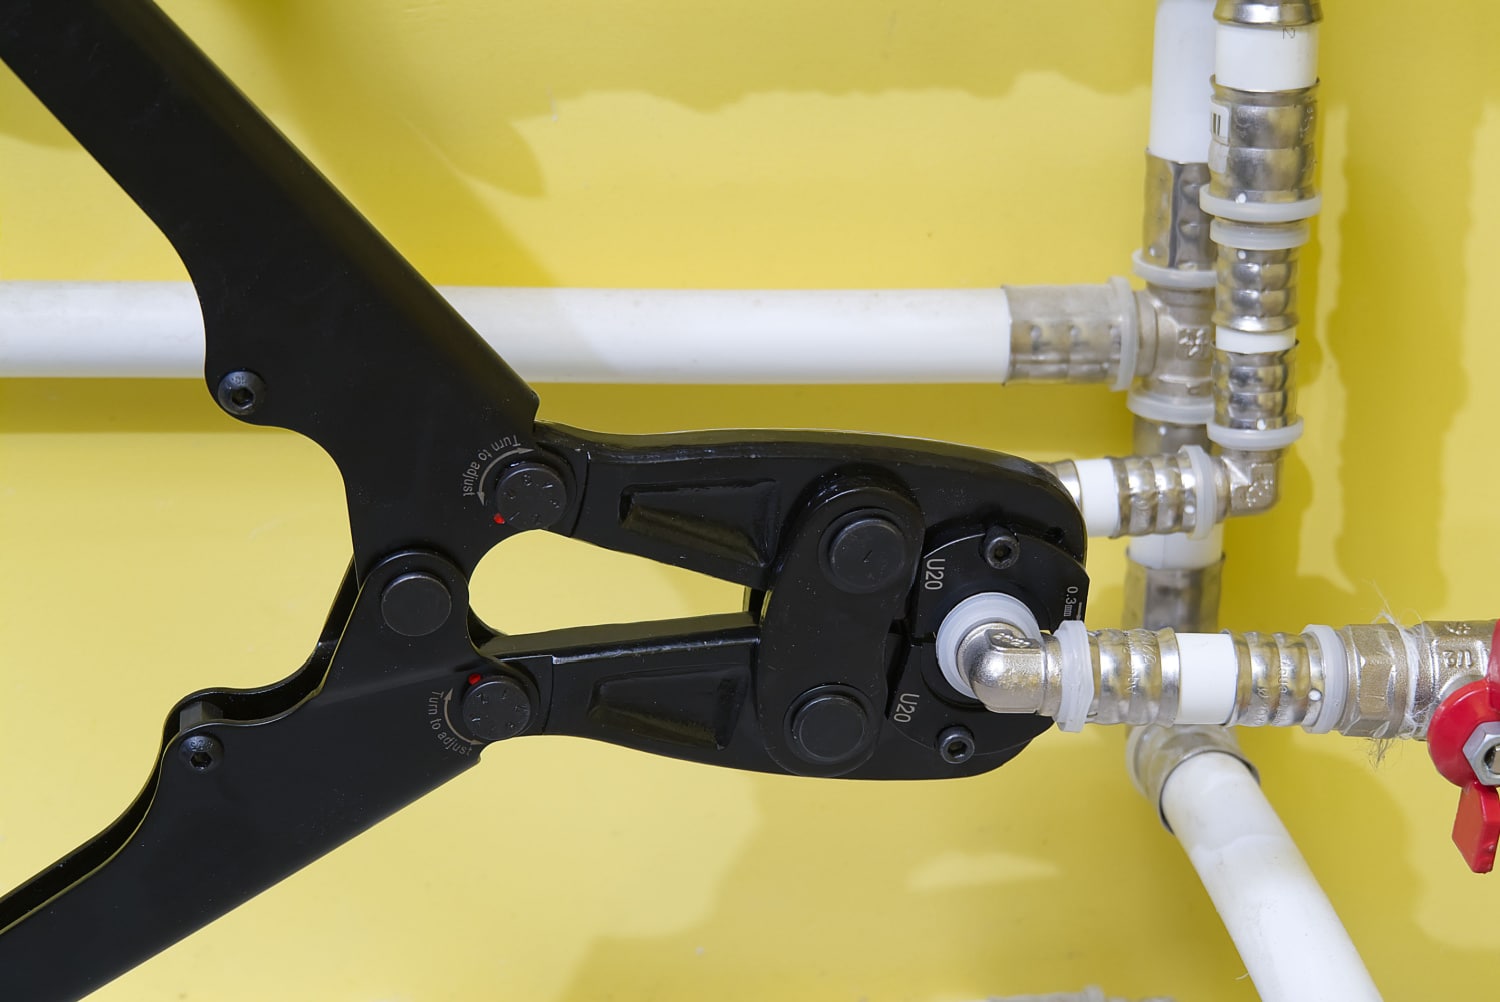
PEX tubing is a flexible, durable, and cost-effective solution for transporting water within a building, but it requires special connections to ensure leak-free performance. That's where the crimping tool comes in.
By applying even pressure around a crimp ring, the tool forms a tight seal between the pipe and fitting, creating a reliable and lasting connection.
Before getting started, make sure you have the right size crimp rings and fittings for your PEX tubing. Having all the necessary components on hand will help ensure a smooth and successful project.
You might also like: Will Plumbing Solder Work On Aluminum: Unraveling The Mystery
Types of Plumbing Crimping Tools
Here are the different types of crimping tools available in the market and their uses.
PEX Crimp Tool
When working with PEX tubing, a PEX Crimp Tool is your go-to tool for making reliable and secure connections. You'll be using copper crimp rings to fasten the tubing to fittings.
Available in various sizes, the PEX Crimp Tool covers common tubing dimensions, such as 3/8-inch, 1/2-inch, 3/4-inch, and 1-inch. Here's a brief overview of how to use it:
- First, slide a copper crimp ring onto the PEX tubing.
- Next, insert the fitting into the tubing until it's fully seated.
- Open the jaws of the PEX Crimp Tool and carefully position them around the crimp ring.
- Squeeze the tool's handles firmly to compress the crimp ring, securing the tubing to the fitting.
- Check the connection with a "Go/No-Go" gauge to ensure a proper seal.
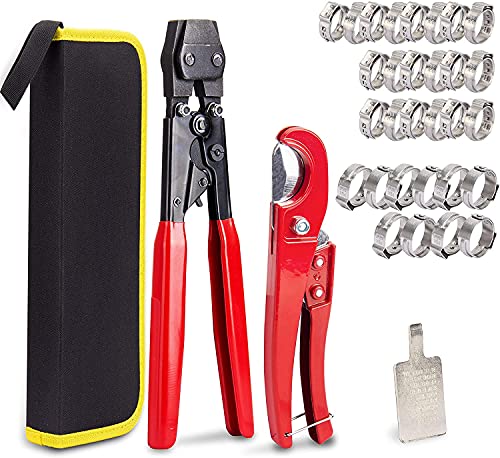
Try this set of PEX crimping clamp cinch tools on Amazon.
Copper Crimp Tool
For copper pipe connections, the Copper Crimp Tool is essential. Unlike PEX, copper piping requires special copper press fittings and matching copper crimp rings.
You'll find the Copper Crimp Tool available in different sizes to accommodate common copper pipe dimensions, such as 1/2-inch, 3/4-inch and 1-inch sizes. Follow these steps to create a secure connection:
- Start by cutting your copper pipe to the desired length, making sure the edges are clean and smooth.
- Slide a copper crimp ring onto the pipe and position it approximately 1/8 to 1/4-inch from the end.
- Push the copper press fitting into the pipe, ensuring it sits snugly against the crimp ring.
- Open the jaws of the Copper Crimp Tool and encircle the crimp ring.
- Squeeze the tool's handles tightly to compress the crimp ring and firmly secure the pipe to the fitting.
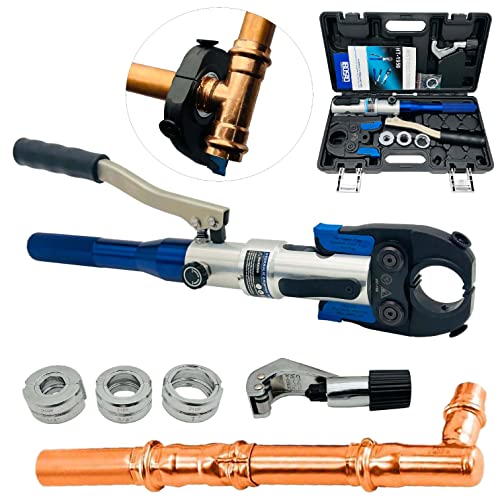
Check out this copper tube fitting hydraulic pipe crimping tool on Amazon.
Using these crimping tools makes it easier to create airtight and watertight connections in your plumbing projects.
Just remember to use the appropriate-sized tool, crimp ring, and fitting for your specific application, and you'll be off to a great start!
Basic Components of a Crimping Tool
Crimping tools have basic components that set them apart from other types of cutters. If you're out looking for a plumbing crimping tool, here are some of the components to look at:
1. Jaw
The jaw is the part of the crimping tool that does the actual work of crimping down onto your pipes or connections. It has a specific shape and size designed to accommodate a certain type of pipe or connection.
To use the jaw effectively, make sure it is clean and free of debris. Position it correctly around the pipe or joint you're working on, and apply sufficient pressure to create a strong, secure crimp.
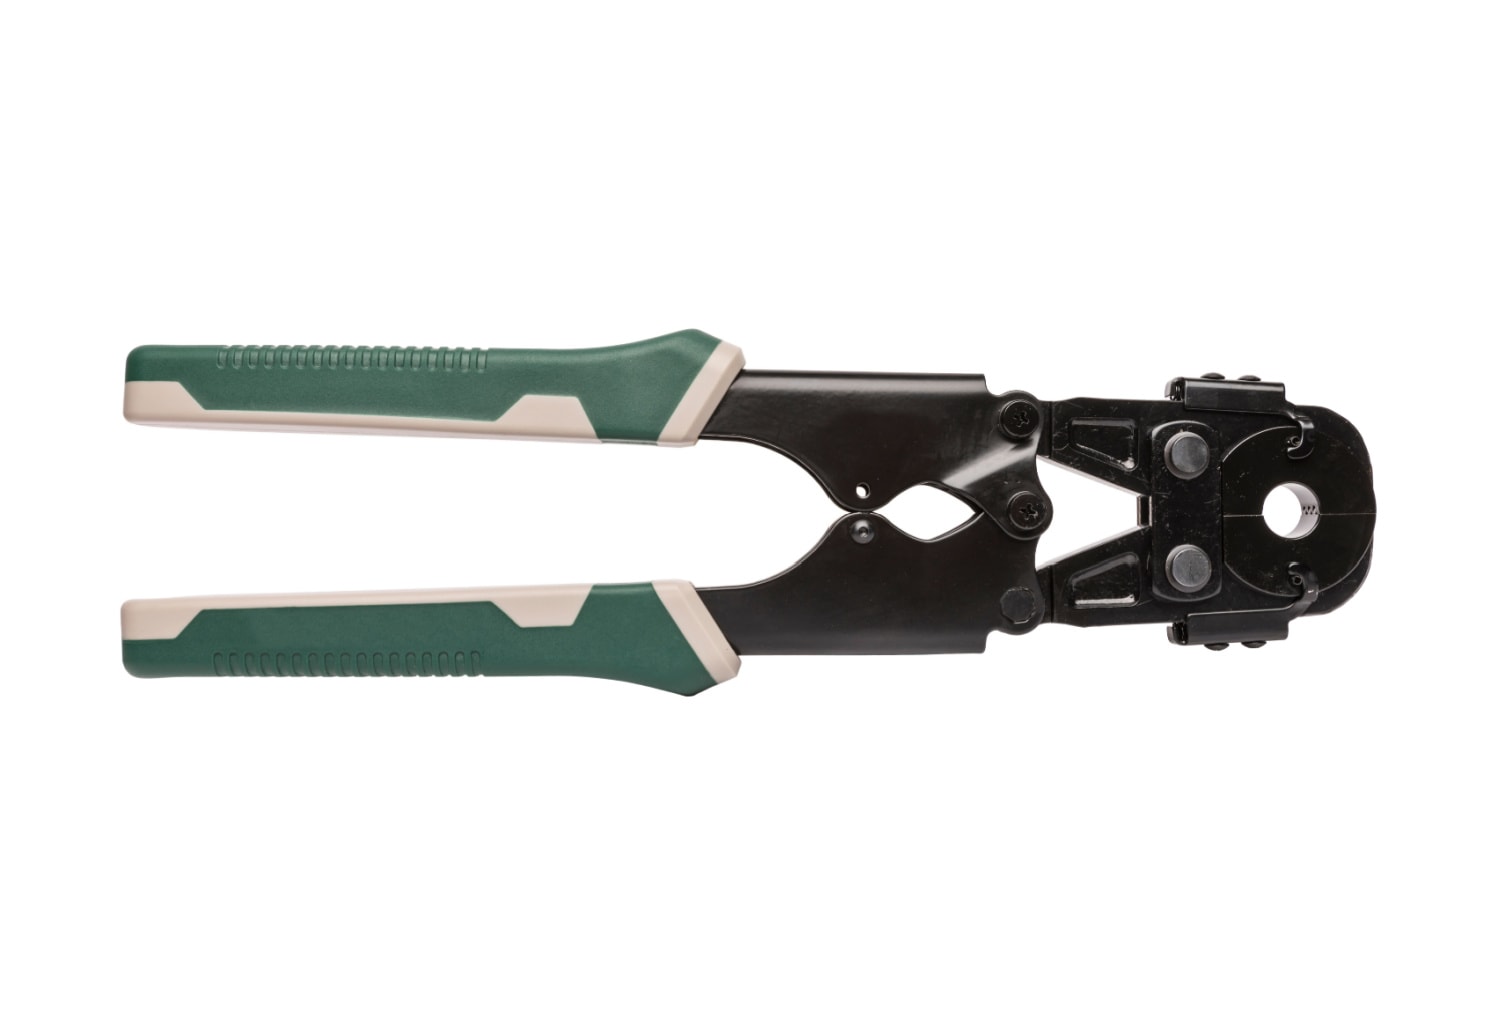
2. Handles
The handles of a crimping tool are the long, usually rubber-coated parts that you grip while using the tool.
They provide leverage and control for your crimping process, making it easier to apply the necessary force without straining your hands.
To use the handles efficiently, hold them at a comfortable angle and apply even pressure, squeezing them together with a steady motion. If necessary, you can use both hands for better control and stability.
3. Adjustment Mechanism
The adjustment mechanism is an essential component of your crimping tool, as it allows you to fine-tune the amount of force applied to the jaw during the crimping process.
This ensures a consistent, secure crimp that meets the requirements of your specific plumbing project.
Adjusting the mechanism usually involves tightening or loosening a screw or knob, depending on your tool's design. Be sure to consult your tool's user manual for specific instructions on how to make these adjustments.
And always test the crimp on a spare piece of pipe or connection before working on the actual project to ensure you have the right settings dialed in.
Using a Plumbing Crimping Tool
Here are the general steps to the proper use of a crimping tool. Take note that there may be slight changes in the process depending on the type of tool you have.
Be sure to check out: How Can You Soften Plumber’s Putty: Easy Techniques For Perfect Consistency
1. Positioning the Pipe and Fitting
To use a plumbing crimping tool, start by positioning the pipe and fitting. First, cut the pipe to the desired length using a tube cutter.
Next, slide the crimp ring onto the pipe, ensuring it's 1/8 to 1/4 inch from the end of the pipe. Then, insert the fitting into the pipe until it is fully seated.
2. Aligning the Crimping Tool
Now that the pipe and fitting are in place, it's time to align the crimping tool. Open the crimping tool jaws and position them around the crimp ring.
Make sure the tool is at a right angle to the pipe and the crimp ring is centered between the jaws. Double-check that the jaw's opening is equal to or slightly larger than the diameter of the crimp ring.
3. Applying Pressure to Crimp
With the tool properly aligned, it's time to apply pressure and crimp the connection. Squeeze the crimping tool handles together firmly and evenly until the jaws are fully closed.
This will compress the crimp ring around the pipe and fitting, creating a secure and watertight connection. Once complete, release the handles and remove the tool from the crimped ring.
Check out this short video below on how to use a PEX crimping tool.
Inspecting the Crimped Connection
First, take a close look at the crimped connection. Make sure the ring or sleeve is tightly compressed around the pipe and fitting. You want to see a uniform, smooth surface around the connection.
If any gaps or uneven areas are present, this may indicate that the crimp was not properly applied. In such cases, you should remove the connection and re-crimp it before proceeding.
Next, run your fingers along the crimped area, feeling for any bumps or irregularities. These could be signs of a misaligned crimp, which could potentially cause leaks later on.
If you find any issues during this tactile inspection, it's crucial to correct them by removing and re-crimping the connection.
To further ensure the connection's integrity, you can perform a pressure test. Connect the crimped section of the plumbing system to a water supply, and gradually increase the pressure.
Carefully observe the connection for any signs of water leakage. If you see water escaping from the crimp, this means that the connection might be weak or incorrectly applied.
It's essential to address this issue before continuing with your plumbing project.
Lastly, consider using a go/no-go gauge tool, which is specifically designed to verify the accuracy of crimped connections.
Simply slide the gauge over the crimped ring or sleeve, and if it moves smoothly over the connection, the crimp has been done correctly. If the gauge doesn't fit or feels tight, the crimp may need to be adjusted.

Check out this 3/8 inch go/no-go gauge tool on Amazon.
Selecting the Right Crimp Tool
First of all, consider the type of pipe you'll be working with. Most crimp tools are designed explicitly for either PEX or copper pipes.
Ensure that you choose a crimp tool that's compatible with the material of the pipes in your project. For instance, if you're working with PEX pipes, look for a PEX crimp tool.
Next, check the size of the connections you'll be making. Crimp tools are available in various sizes to accommodate different pipe diameters. Common sizes include 1/2-inch, 3/4-inch, and 1-inch.
Some crimp tools offer interchangeable jaws, allowing you to work with multiple pipe sizes using a single tool. This option might be convenient if you anticipate working with various pipe sizes in the future.
Another aspect to consider is the handle length and comfort of the tool. Using a crimp tool requires a considerable amount of force, and a longer handle can provide better leverage.
Look for a crimp tool with ergonomic handles that will be comfortable to use, especially if you'll be working on a large-scale project.
Lastly, consider the quality and durability of the crimp tool you're selecting. A well-built, high-quality tool is an investment that can serve you well for years to come.
Look for reputable brands with good reviews from professional plumbers and experienced DIYers, as they often produce reliable and efficient tools.
You might also like: How To Attach Heat Cable To PEX Pipe
A Plumbing Crimping Tool is Versatile and Easy to Use
Using a plumbing crimping tool can greatly improve your efficiency and success in plumbing projects. Remember, these tools are versatile and can be used on a variety of piping materials such as copper, PEX, and PVC.
By following proper guidelines and techniques, you'll see just how useful a crimping tool can be in securing pipe connections.
When working with your crimping tool, always make sure to wear appropriate safety gear, such as gloves and eye protection, to ensure your well-being.
Do not forget to double-check your connections for secure and leak-free fittings. Doing so will save you time and effort in the long run, ensuring that your plumbing projects run smoothly and efficiently.
We hope you find your plumbing crimping tool to be a valuable asset in your toolkit, making your plumbing tasks more manageable and successful. Good luck!