
Is your toilet still leaking even after replacing the flapper? We know how frustrating that may be especially if your trip to the hardware store was all for that one problem: a leaking, never-ending refill of your toilet bowl. But don't fret, as we've researched to find out why this is and how to fix it, once and for all.
If your toilet still leaks even after replacing the flapper, these are the common culprits (and our recommendations for each):
| Reason | Recommendations |
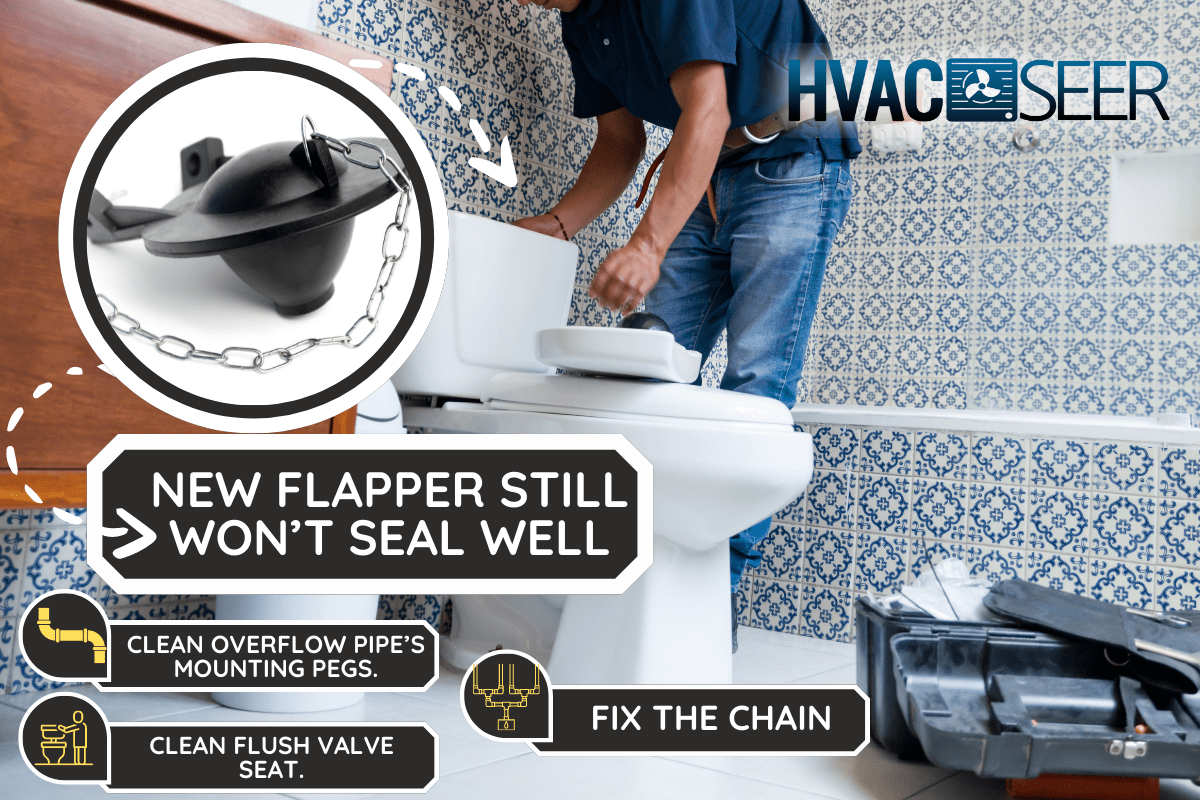
| New flapper still won’t seal well | Clean overflow pipe’s mounting pegs
Clean flush valve seat Fix the chain |
| Chain doesn’t respond to handle | Replace handle |
| Refill tube is too low | Raise refill tube |
| Tank refills nonstop | Fix or replace float
Replace fill valve |
| Broken overflow pipe | Remedy or replace overflow pipe |
While there are only two avenues for water to travel from tank to bowl—the flush valve seat and the overflow pipe—you have to consider looking at the other parts too. To avoid getting overwhelmed, we have put together this easy-to-follow guide to stem that wasteful leak for good.
Toilet: New Flapper Still Leaking - Why And What To Do?
The toilet is marvelous proof of humankind's innovative mind. As much as it has served our species for the longest time in history, it also lasts a considerable amount of time before wear and tear shows. When a tank does start leaking, replacing the flapper usually does the trick. But what if it doesn't?
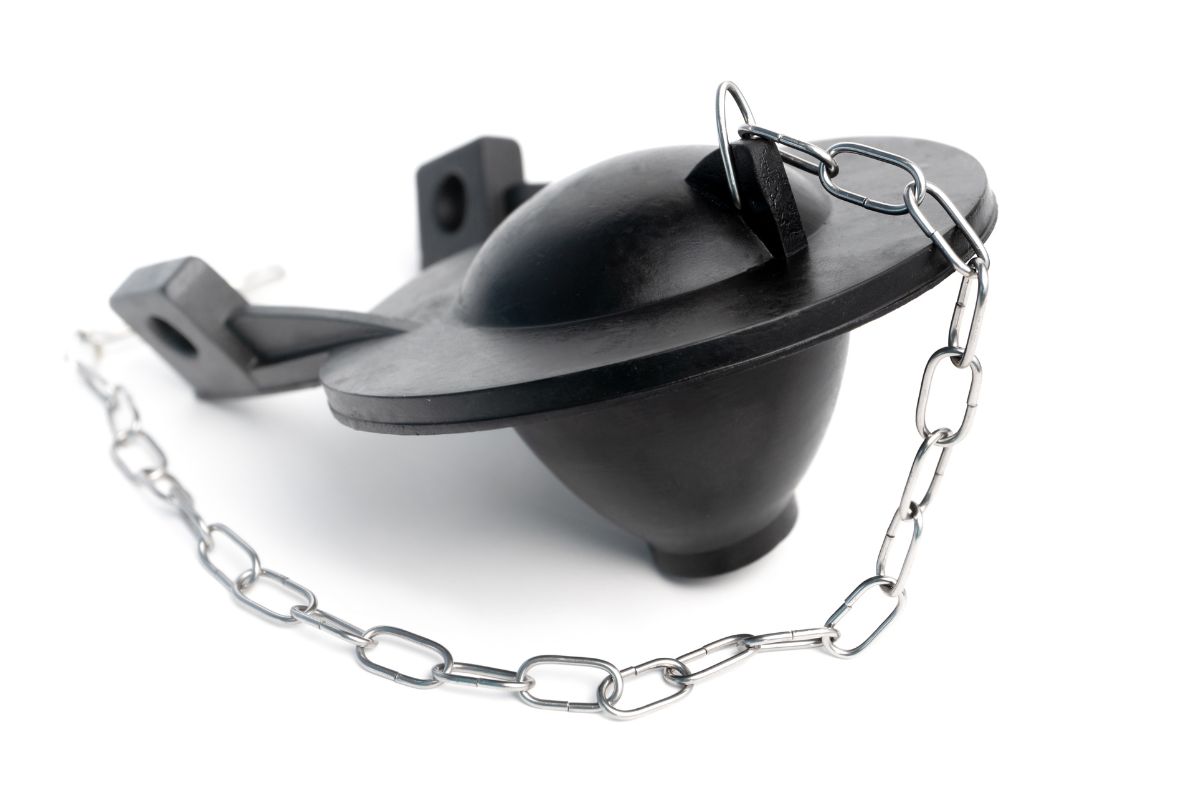
New flapper still won't seal well
Check to see if you bought the correct size flapper. Most come in 2" or 3" variations. To determine which one your toilet needs, measure the inside diameter of the drain hole. You can also compare the old flapper with the new one just to make sure you bought the right kind.
Clean overflow pipe's mounting pegs
Assuming that the size of your new flapper is correct, the first thing to do is to connect it to the overflow pipe's mounting pegs. Try lifting the flapper and then letting it go a few times to see if gravity allows it to drop straight into the center of the flush valve seat.
If you feel too much friction between the overflow pipe and the flapper, gently clean the mounting pegs with an old toothbrush.
Clean flush valve seat
While you're at it, you can attempt to smoothen a rough flush valve seat edge by gently scrubbing using 500-grit sandpaper. Wipe clean with a wet rag afterward.
If your flush valve seat comes with a gasket, check for corrosion by running your finger around it. That gasket, just like a flapper's exterior, is made of rubber which naturally disintegrates over time.
If brittle or chipped, no amount of careful scrubbing can return its pliability. It's time to replace the gasket.
Since the flapper and the gasket work together to form a watertight seal, some flapper repair kits will sell them as a set. However, if you bought just the flapper, you can also find a generic gasket of the same size. Bring the old one to the hardware store as a sample so they can give you a compatible replacement.
Check out this Korky flapper repair kit on Amazon.
Fix the chain
Inspect the chain that connects the flapper to the handle rod. If too short, it might not allow the flapper to drop when you flush; or it could simply break when you flick the flush handle with more force than usual. If too long, the chain could get tangled up or stuck in between the flapper and seat when you flush the toilet.
Either way, too long or too short can cause leaks through the flush valve seat. For optimal length, let the chain slack by around 1/2 inch. Connect one end to the flapper and the other to the handle rod. Try to flick the handle a few times to see if the flapper lands straight into the seat.
Remove the excess chain but leave 2-3 rings to allow room for future adjustments. You can use a wire cutter or two pairs of pliers to disconnect the link where you need to.
While flapper chains are stainless, they aren't immortal. A rusty one—or a flat-out broken one—warrants immediate replacement.
If you haven't gotten the chance to replace the chain yet, you can use similar stuff lying around the house, such as a cheap necklace that no one wants to wear; use paper clips to attach the improvised chain where needed.
However, more often than not, you'll be better off buying the real thing. Replacing a busted chain is a cheap and easy fix that could very well make your day (and make the leak go away).
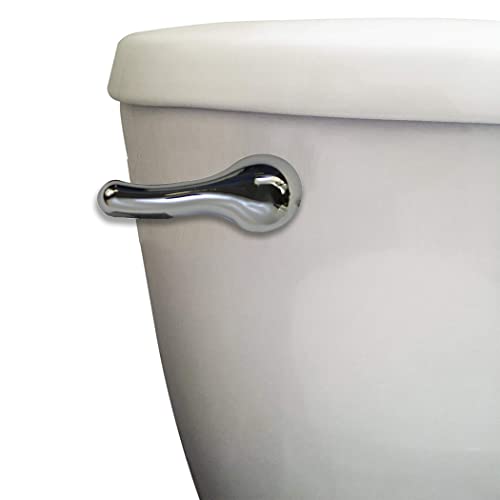
Chain doesn't respond to handle
If the flapper won't go down even though the chain seems loose, granted the chain is fine, then there's a problem with the handle.
On the rare occasion that the handle is stuck in the "flush" position (as if it's pressed down and won't come back up), you can try realigning it by loosening the nut, positioning the handle horizontally, then re-tightening the nut while keeping hold of the handle.
Note that the nut has a reversed thread. Be careful not to overtighten.
A more straightforward option would be to replace the handle. If ordering online, check to see what type of handle is needed before you order; there are various types to choose from (e.g., front-mount and side-mount). If you prefer to buy it at a physical location, bring the old handle to ask which ones will work.
Check out this Danco handle replacement on Amazon.
Refill tube is too low
The purpose of a refill tube is to fill the bowl after each flush. It does this by supplying water through the overflow pipe.
However, as George Daniels and Loyd Weaver describe in the Popular Science article titled How to Repair Your Toilet Tank, the "sneakiest leak of all" happens when the refill tube falls lower than the tank's water level.
In this case, the refill pipe will suck water from the tank and bring it up and out through the overflow tube. To stop this kind of leak: Pull the refill pipe out a little, then reattach the clip to the top of the overflow tube; it should still shoot water into the overflow tube but not be submerged below water level.
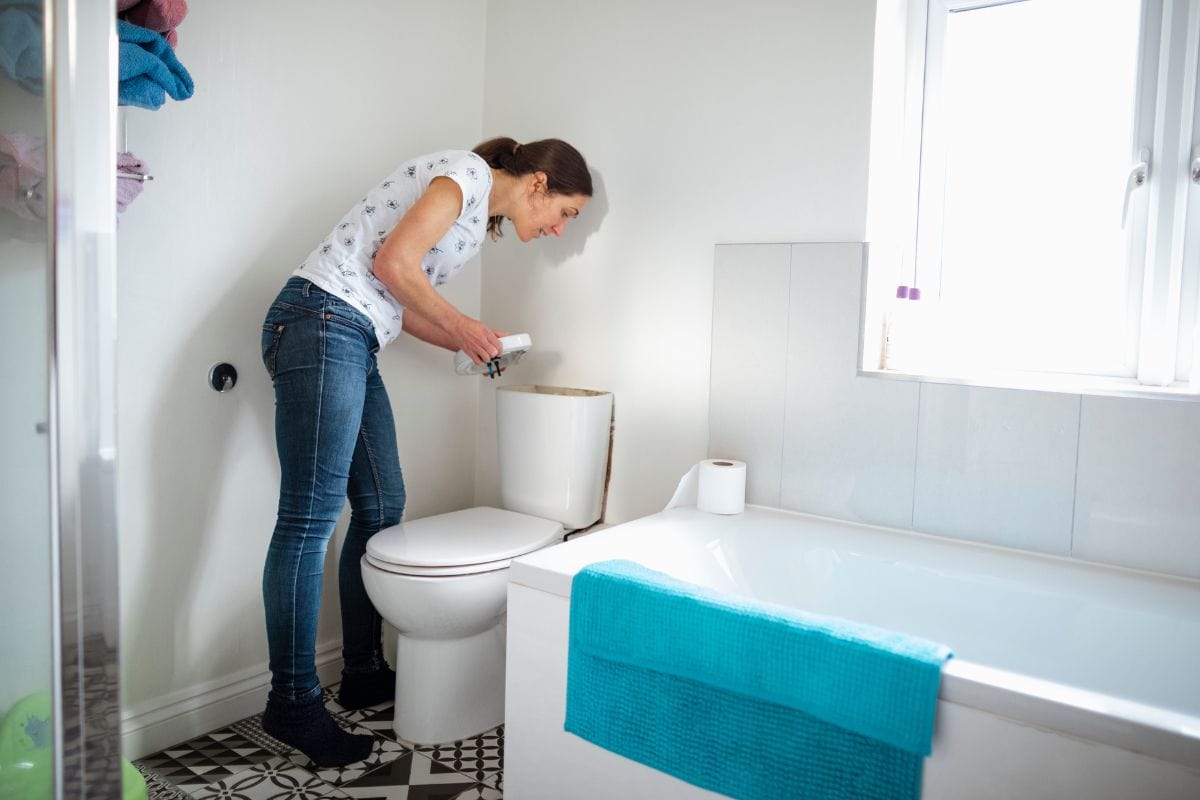
Tank refills nonstop
If the tank seems to refill nonstop, the problem lies in either the float or the fill valve.
Fix or replace float
Excess water will drain through the overflow pipe when the water level is too high. If this is the case, you can lower the water level by turning the nut or screw in the fill valve, which adjusts the height needed for a float to close the fill valve. Through trial-and-error, keep adjusting until the water level is set to your desired height.
If there's water inside a float ball, replace it with a new one. If you're uncertain which ball to buy, bring the punctured one to your local hardware store for recommendations.
Replace fill valve
You need to replace the fill valve if:
- Your toilet has a perfectly functional float ball, yet the refill won't stop.
- Your toilet uses a float cup instead. In this case, it'll be hard to replace the cup if broken.
Fill valves labeled "universal" will fit most toilet models and brands. Look for your toilet's model first so that you have a sound basis for deciding which replacement to buy.

Check out this Fluidmaster universal fill valve on Amazon.
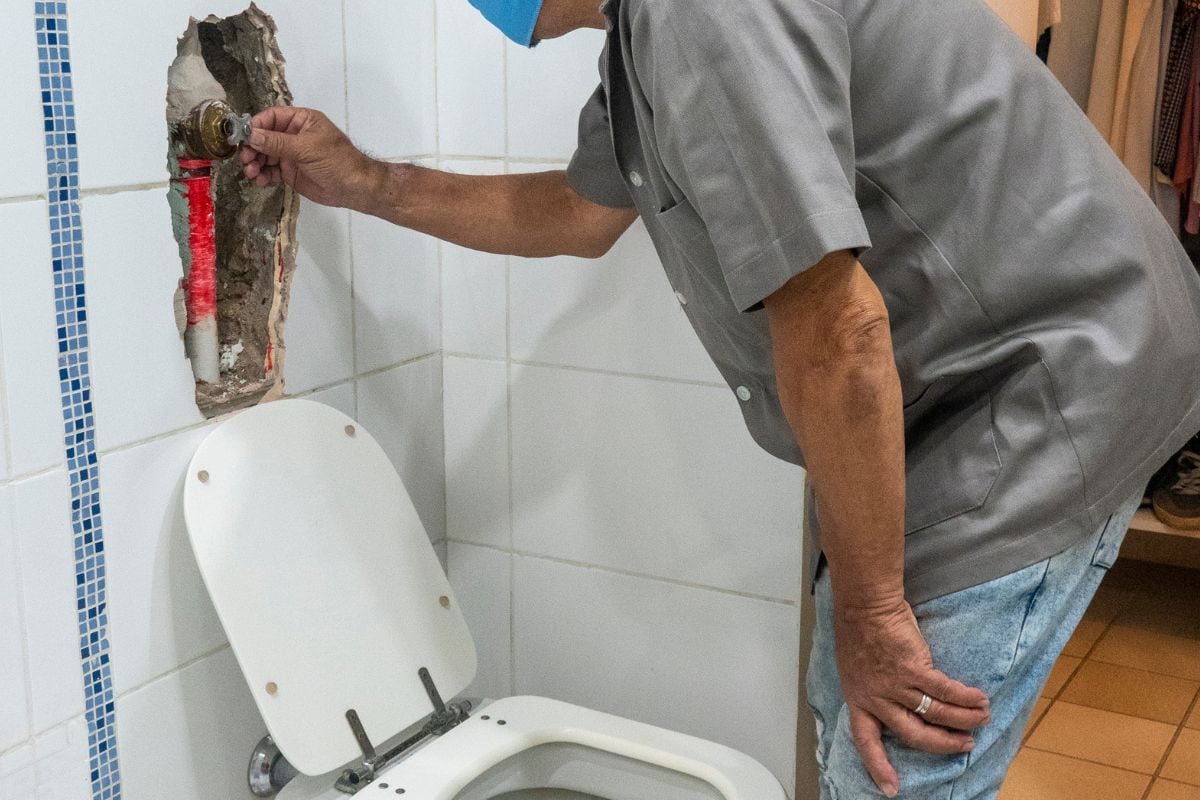
Broken overflow pipe
Since this pipe is made of plastic, it can also degrade over time. You can remedy small or hairline cracks by applying silicone caulk. But for an old, corroded overflow pipe—especially if it looks like you can't patch it up any longer—your best bet is to replace it.
By this time, some of the surrounding components may have already served long enough to deserve an overhaul. In this case, consider getting a complete toilet repair kit.
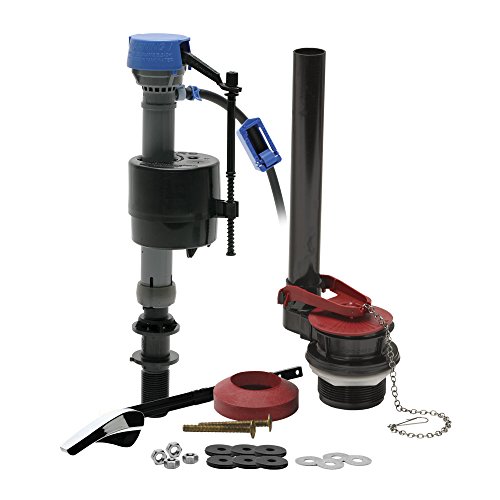
Check out this Fluidmaster all-in-one repair kit on Amazon.
Why does my toilet flapper keep going bad?
The two most common reasons why flappers give up sooner than usual are (1) in-tank cleaners and (2) hot water.
Suspect #1: In-tank cleaners
Because they contain high amounts of concentrated chemicals, these drop-in tablets hasten the degradation of rubber and plastic.
Many plumbers discourage the use of these products, and your warranty could also be voided. Healthier alternatives include cleaners that attach to the side of the bowl and white vinegar to clean the insides of the toilet tank once a month.
Suspect #2: Hot water
Connecting your toilet to a hot water source or deliberately pouring hot liquid into the tank can degrade the flapper. Avoid heat in the tank at all costs.
In closing
When you replace your flapper but your toilet still leaks, it's essential to know how to diagnose and fix the problem. In this article, you've seen how to address this pesky problem on your own.
If you found this post helpful, be sure to check out these related articles: