The main purpose of a thermostat is to determine and maintain the desired temperature of specific rooms in your home. We have researched relevant information that you need to know about the different wire connections of a thermostat.
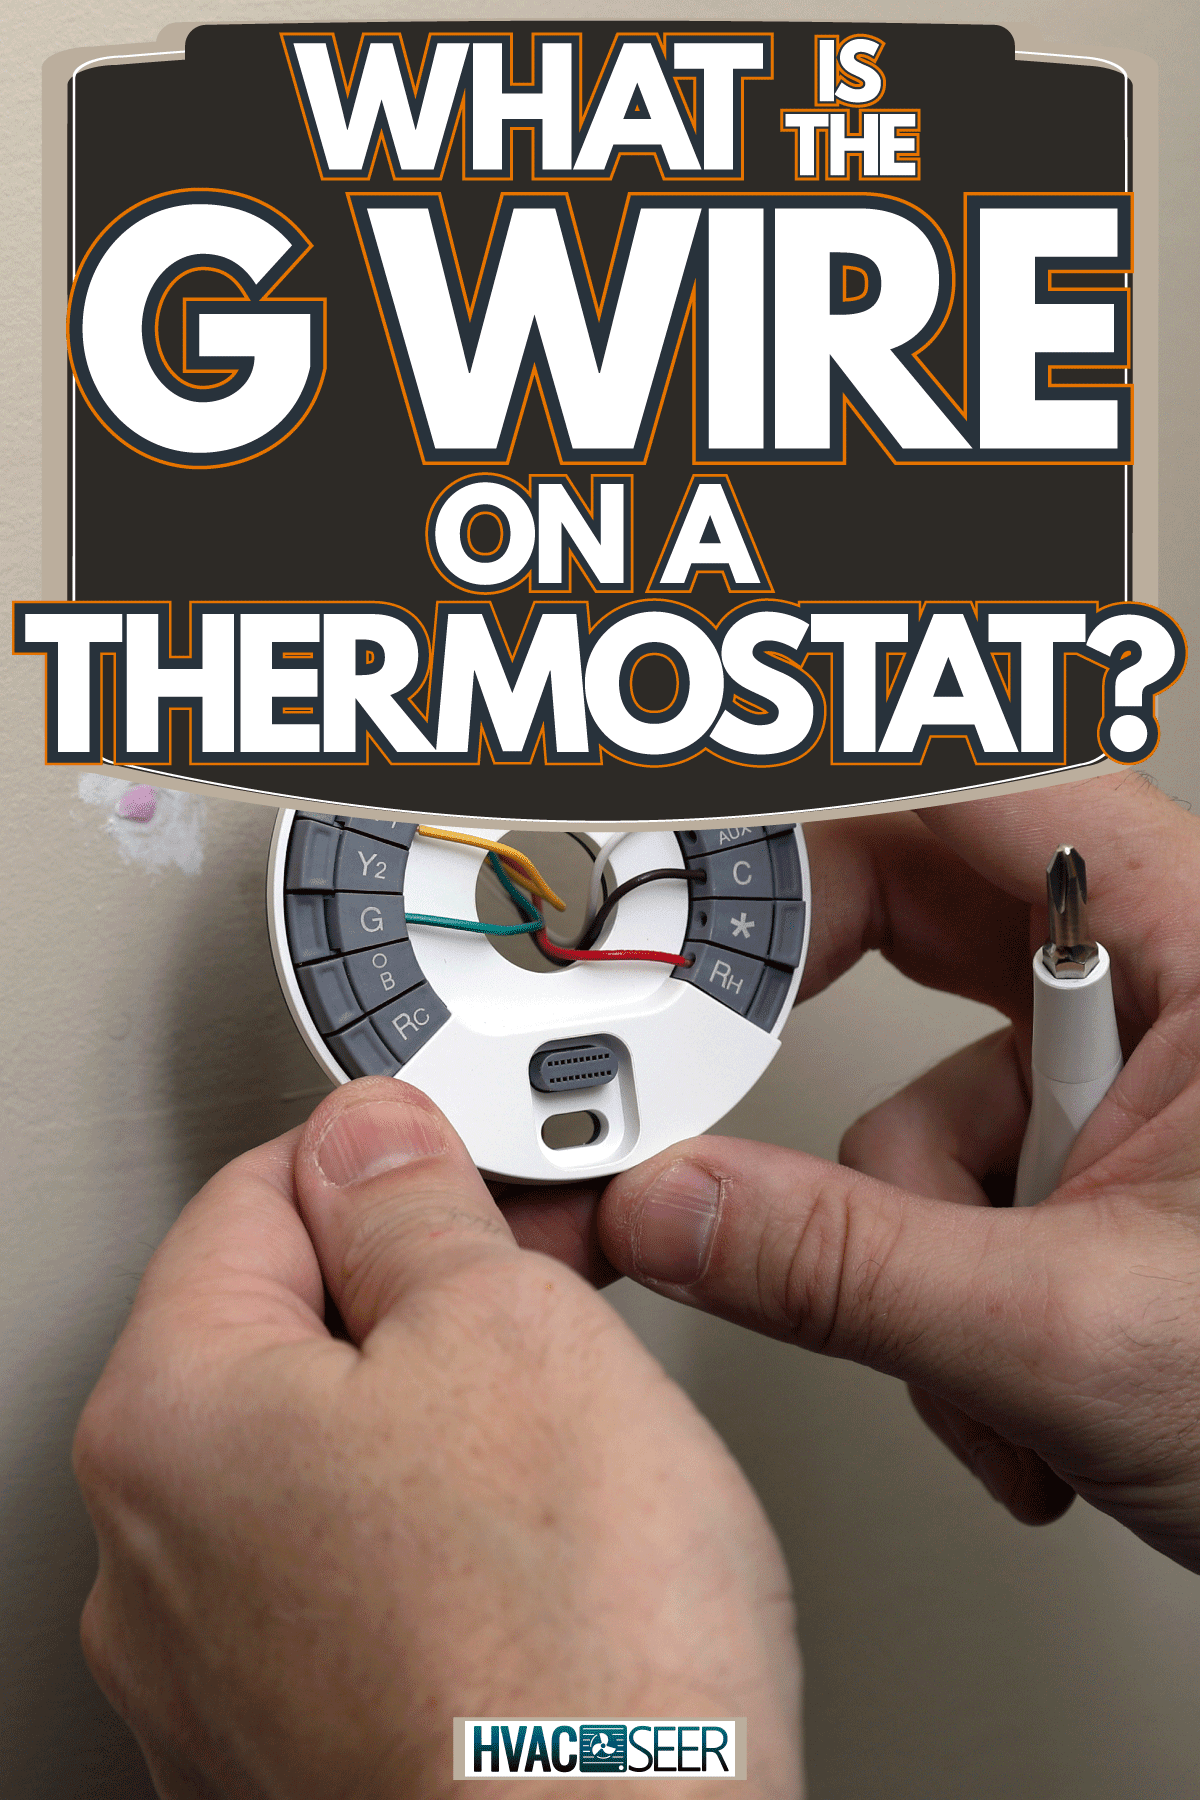
The G wire is responsible for switching the blower fan on and off automatically or manually once the desired temperature is achieved. This is done via the thermostat. The fan blows and pushes the cool or warm air circulating inside the vents and into your home.
The number of wirings inside a thermostat differs based on their overall function. Some have 2 wires, 3 wires, and so on. These cables inside a thermostat have their own uses. In this article, we aim to guide and inform you about their roles or purposes and the ways on how to replace the material. If you wish to find out more, continue reading!
Purpose Of A Thermostat
The thermostat is a component of your HVAC that generally controls the temperature inside your home. It plays a vital role in making sure the heating and cooling systems are adjusted and regulated to your desired level.
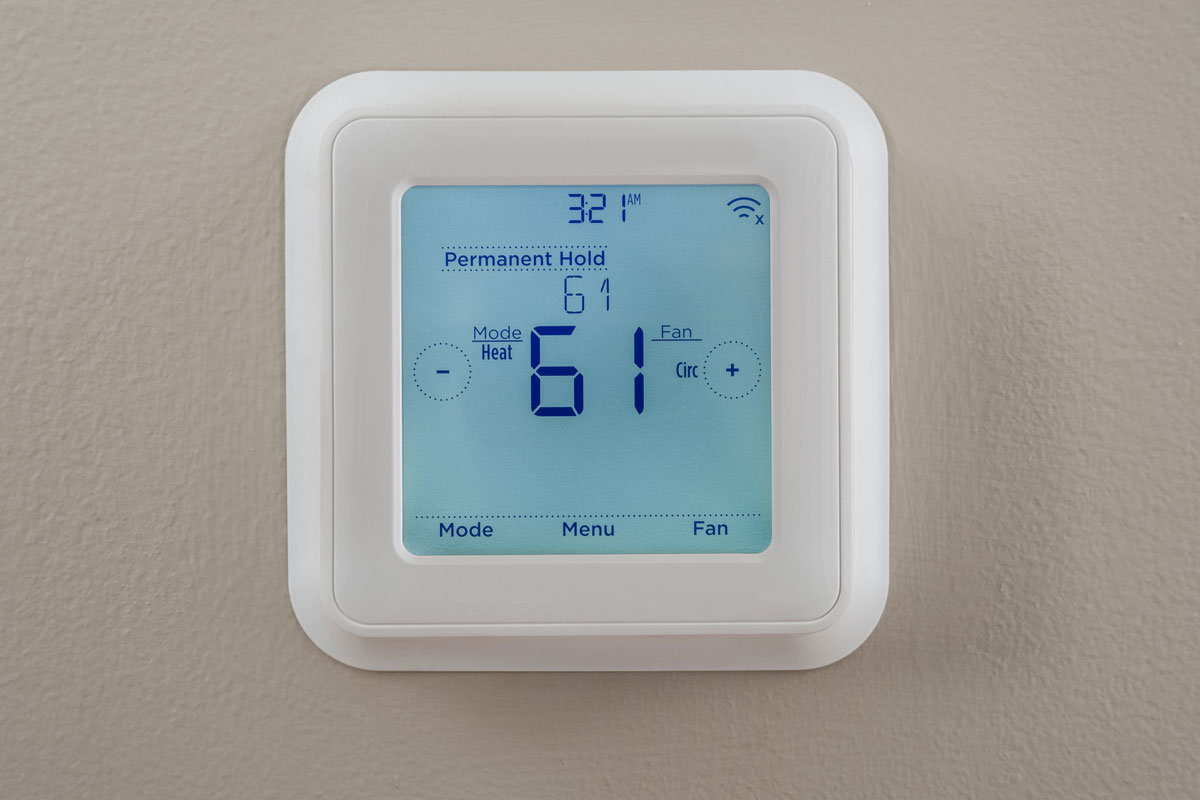
A malfunctioning or faulty thermostat cannot perform its purpose and cannot run at its optimal capacity. This tends to increase utility bills because your HVAC system would not work efficiently.
Your heat pumps, air conditioners, furnace, and other temperature regulator appliances will run continuously without the thermostat controlling and regulating them.
Thermostat Wirings And Functions
C Wire
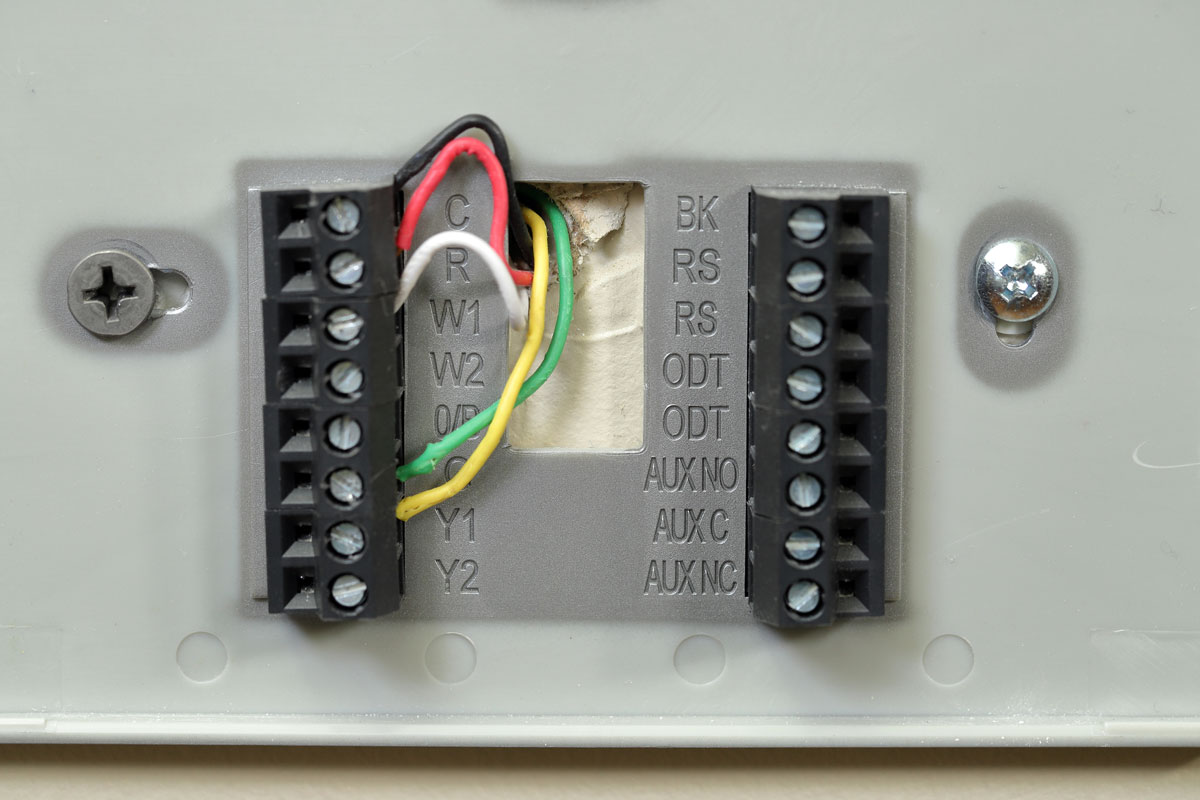
The C wire often has the colors black or blue and is referred to as the Common wire. This cable completes the 24 Volts electric circuit that is connected to the transformer. It basically functions as a connection from the transformer to the thermostat that helps adjust the voltage level.
In newer thermostats, the electric supply of the circuit runs continuously, while in older models, the loop only gets completed when you switched on your HVAC or the system. The C wire is not often found on the latter, but it is incorporated in smart thermostats.
R, Rh, And Rc Wire
The R or Rc wire is the red cable. If your thermostat indicates only the R, then this wire powers your entire HVAC unit through a transformer. If you have both Rc and Rh labels then the former controls cooling, and the latter powers the heating systems. Both cables are connected to a different transformer.
G Wire
The green wire or the G cable powers the blower fan of your unit. The electric current that goes into the fan is regulated by this cable.
Y, Y1, And Y2 Wires
These yellow cables functions as a wire that connects to the compressor. An HVAC compressor is essential in the refrigeration process since it compresses and pumps air in order for your unit to meet heating or cooling requirements.
Once your thermostat is set to cooling, the Y cable sends a signal to your unit, telling it to switch on the air conditioning system. Y1 is for ordinary or those that contain only one compressor. This is what we usually have in our homes.
Y2 can only be seen in air conditioners that have two compressors. An AC with two compressors has two levels of performance - high during intense summer heat and low amidst mid-range temperatures.
W, W1, And W2
White wires are generally for heating and are directly connected to your system that is why furnaces and heat pumps have W cables in their thermostats. However, you would not be able to find this on air conditioning units.
O, B, Or O/B Wire
O/B wires are generally connected to the reversing valve - a valve that changes the direction of the refrigerant flow. This reverse process changes the refrigeration cycle from heating to cooling and vice versa.
O is the orange wire that is responsible for the reverse valve cooling. Most major heat pump brands such as Lennox, Trane, and Goodman have this cable that is connected to the condenser - the outdoor unit that basically collects or releases heat.
B thermostat or the dark blue wire is for the reverse valve heating. It changes the valve from cooling to heating. In some cases, this cable is a single O/B wire instead of two separate cords.
X Or Aux
Auxiliary heat is basically a backup heating system within your unit. The thermostat determines the conditions on when to switch on the aux. The X or Aux cable generally sends the signal to your heat pump to turn on a second heating source, especially when the temperature inside your home is too cold for the unit to work alone.
Tips For Replacing Thermostats
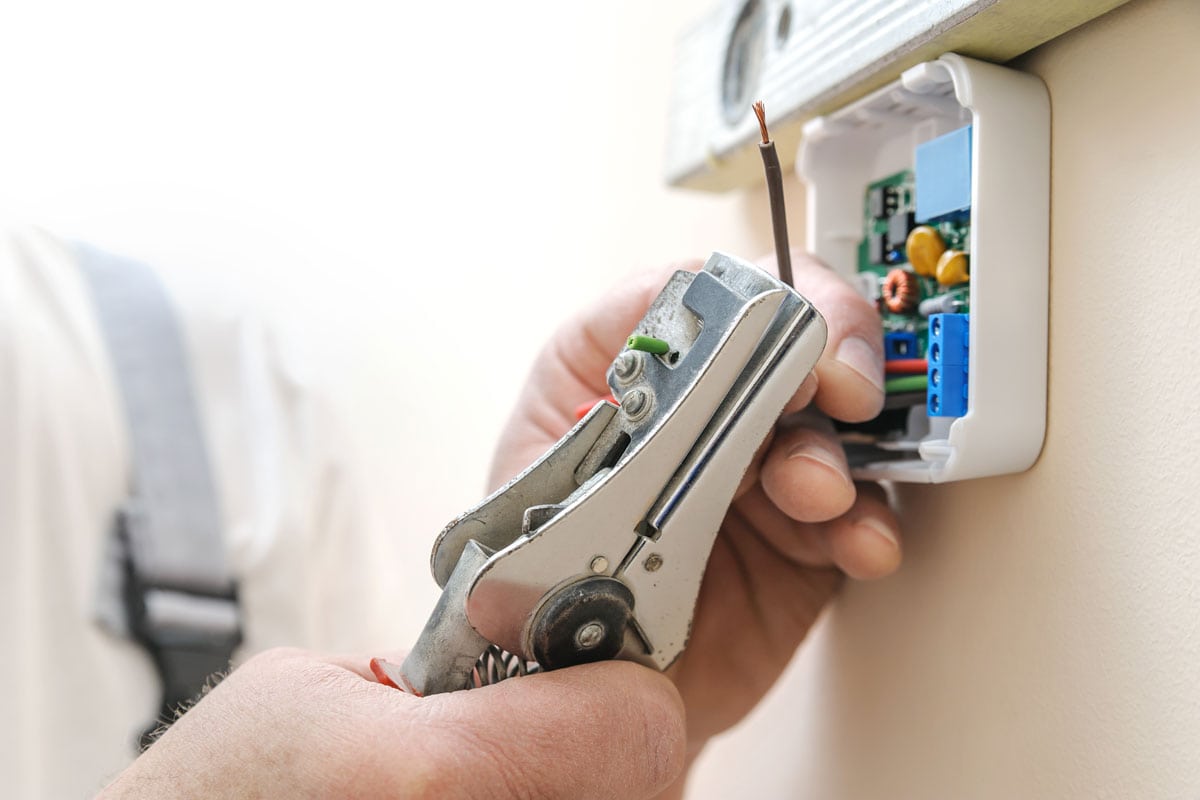
When replacing thermostats, take note that not all models have similar wiring requirements. Some cables do not necessarily follow the color codings. It is relevant to pay attention to the labels, not just the colors because your new thermostat may have different wiring placements.
To make the task simpler, you can label the wires with a small piece of masking tape before disconnecting them from the thermostat.
In some cases, not all wires are needed to be placed in your new thermostat. Some models require 2, 3, 4, or 5 wirings. To illustrate, a W wire is not necessarily incorporated in air conditioning units because its main function is to connect the thermostat to a heating system such as a furnace.
With all this being said, it is still advisable to refer or consult the manual of your newer thermostat before beginning the project, to know the specific cables that need to be attached to the terminal.
How To Replace Thermostats?
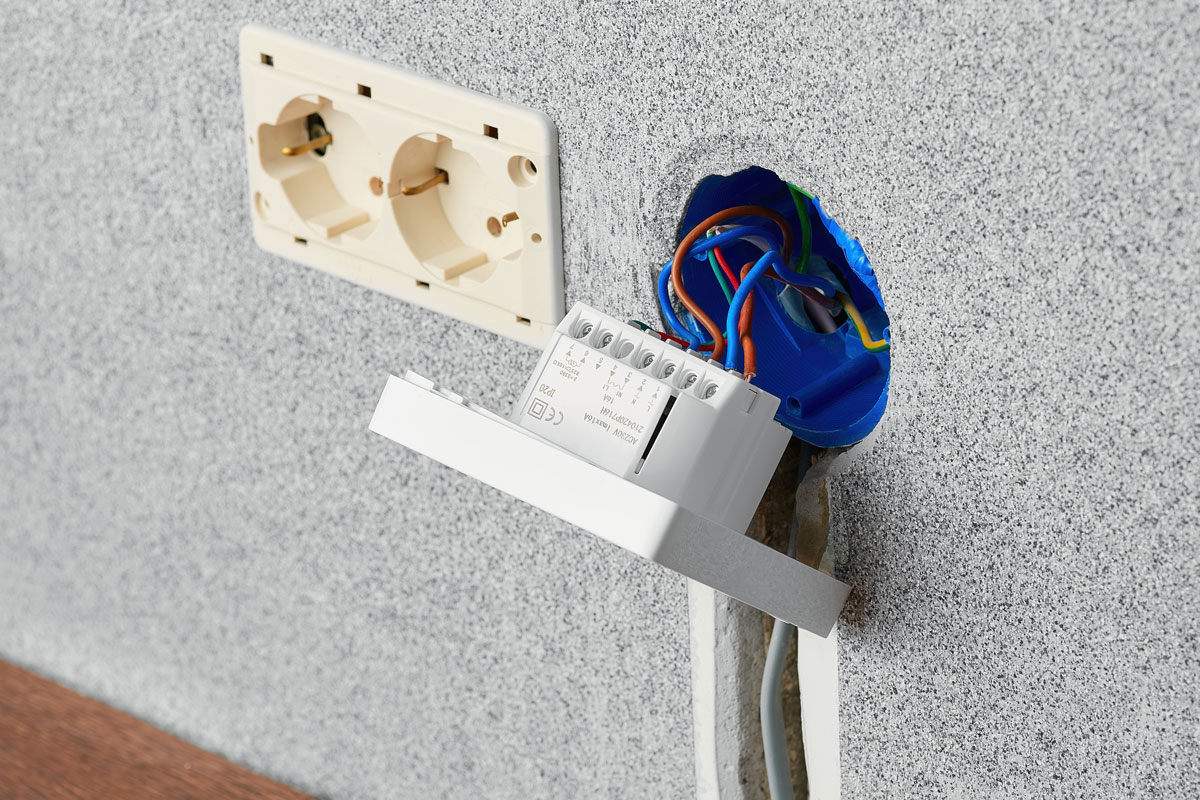
Before anything else, you have to switch off the main power supply of your HVAC for your own safety. Afterward, remove the front plate and the dial to expose the wires and connections. But before you touch any cables, use a voltage tester to make sure that the lines are all dead.
Take a picture of the cables, or label the wires before disconnecting them from the thermostat. If there are any loose and unconnected wirings, label them as well. It would be much easier to determine the actual connections when installing your new thermostat.
Now that you have labeled the wirings, disconnect them from the unit by unscrewing the pieces that hold them together. Afterward, remove the backplate as well. Ensure that the wires stay drooping outside the wall. You can tape a pencil on the cables to keep them in place.
You may now install the new backplate onto the wall. If the dimensions of the material are bigger than the older one, you can drill a new hole on your concrete wall and then apply a plastic or metal filling so that the teeth of the screw can attach or affix itself.
Once finished, you can now attach the wirings to your new thermostat. Check all the labels or pictures and ensure that the placement of each wire is correct. Affix the cover onto the backplate.
Switch on the main power supply and check if everything is working correctly.
What Are Common Thermostat Problems
The desired room temperature hinges on, and is dependent on a well-functioning thermostat system. Certain technical issues may lead to air conditioning and heating fluctuations and affect the overall comfort of your home. The following contains common problems and ways to address them.
Incorrect temperatures may simply be due to a faulty setting. Make sure your thermostat is set at the proper and specific number rather than the general features of cool, heat, or fan.
If your HVAC system runs continuously without the appropriate changes in cooling or heating, determine the actual room temperature with a thermometer and compare it with the adjusted point. A significant difference may require a thermostat replacement.
The average functional and useful life of most thermostats is about 10 years and similar to most appliances and fixtures, they need either to be calibrated or substituted with a new unit.
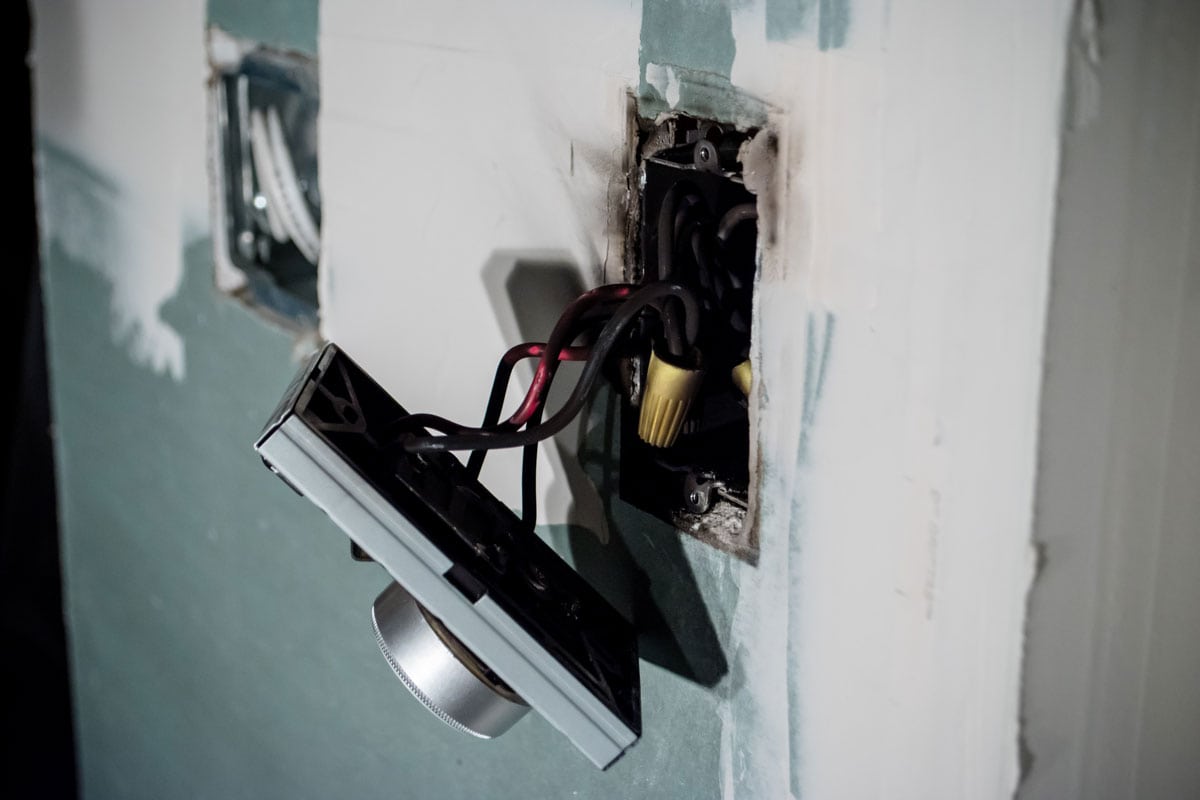
A clear indication that your thermostat may be malfunctioning is reflected in your energy consumption. Increased bills may be due to an inefficient or worn-down system that misreads the room temperature and fails to adjust accordingly. Again, a thermostat change may be needed in this situation.
Thermostats are designed to be temperature sensitive which means that the placement of the equipment influences its function and reliability. Avoid positioning the fixture in sunlit areas, sources of drafts, and any other source of extreme heat or cold.
Oftentimes, dirt or debris buildup forms a layer of material that affects the sensitivity and effectiveness of your thermostat. Lift the housing and brush the accumulated dirt, this usually solves the problem and restores its function.
Wiring installations may loosen, be damaged by moisture, and corrode over time, this creates poor connection within the thermostat components and decrease its functional ability. Replace damaged wires and maintain the unit on a regular basis to optimize its use and lifespan.
In Closing
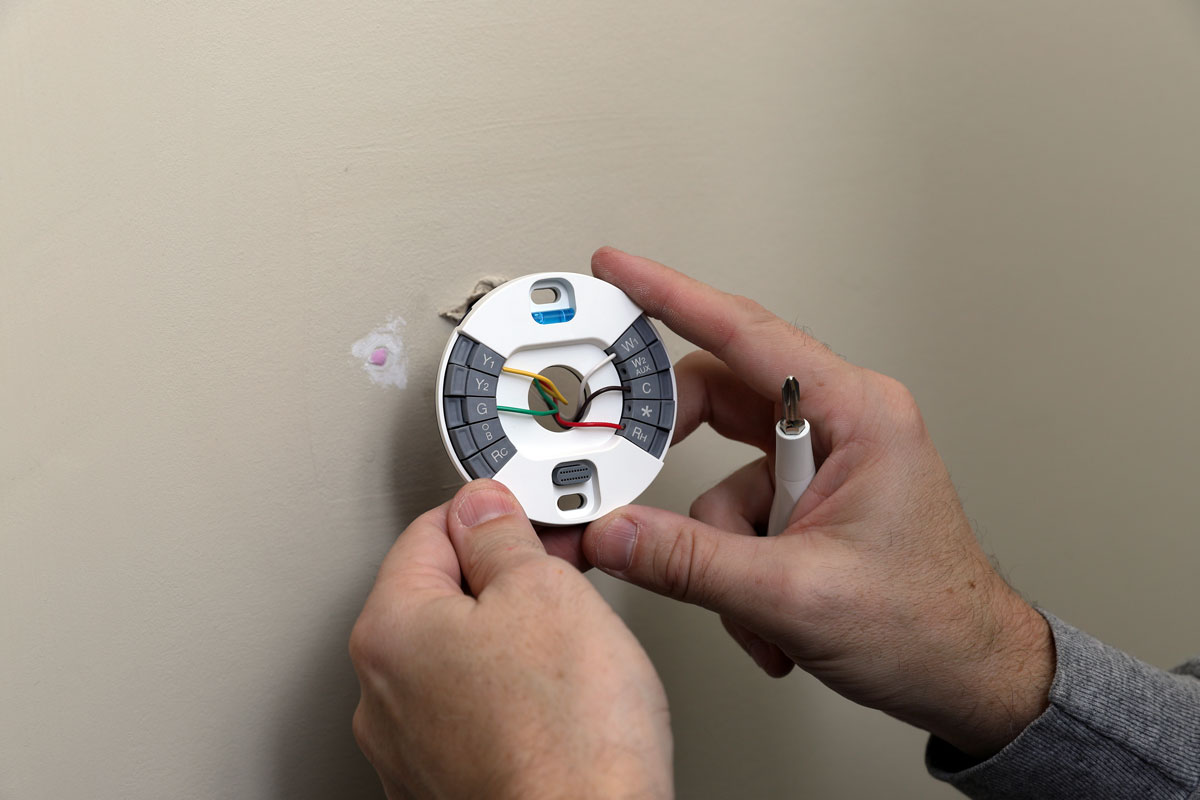
Thermostat units feature a series of wire connections so designated to identify and define their function. We hope this article proved to help provide you with insights regarding this matter.
