
Everything goes smoothly with your kerosene heater when it's new. However, after some time, you notice that the flame is too high, too low, or uneven. How can you fix the problem? Read on to get well-researched information on why the problem is happening and what you can do about it.
Your kerosene heater can emit a curvy flame due to various reasons. It can be because of a clogged or dirty wick, incorrect wick placement, or an old or damaged wick that needs replacement.
You can remove the deposits or tar development in your wick by burning it dry.
The wick must be pinned correctly, and you need to replace the wick as needed. It can be a DIY project by following the instructions in this post.
Checking each possible reason can be effective in resolving your heater issue. So, continue reading to know the steps to burn the wick up dry and replace the wick properly. And learn how to maintain your wick or heater overall to avoid different heater issues.
Why Is My Kerosene Heater Flame Too High, Too Low, Or Uneven? [What To Do?]
A kerosene heater is portable and convenient to heat a room without the cost of heating your house. It is also a good heat and light supply during a power outage. Or a heater is also used for cooking, lighting, and heating.
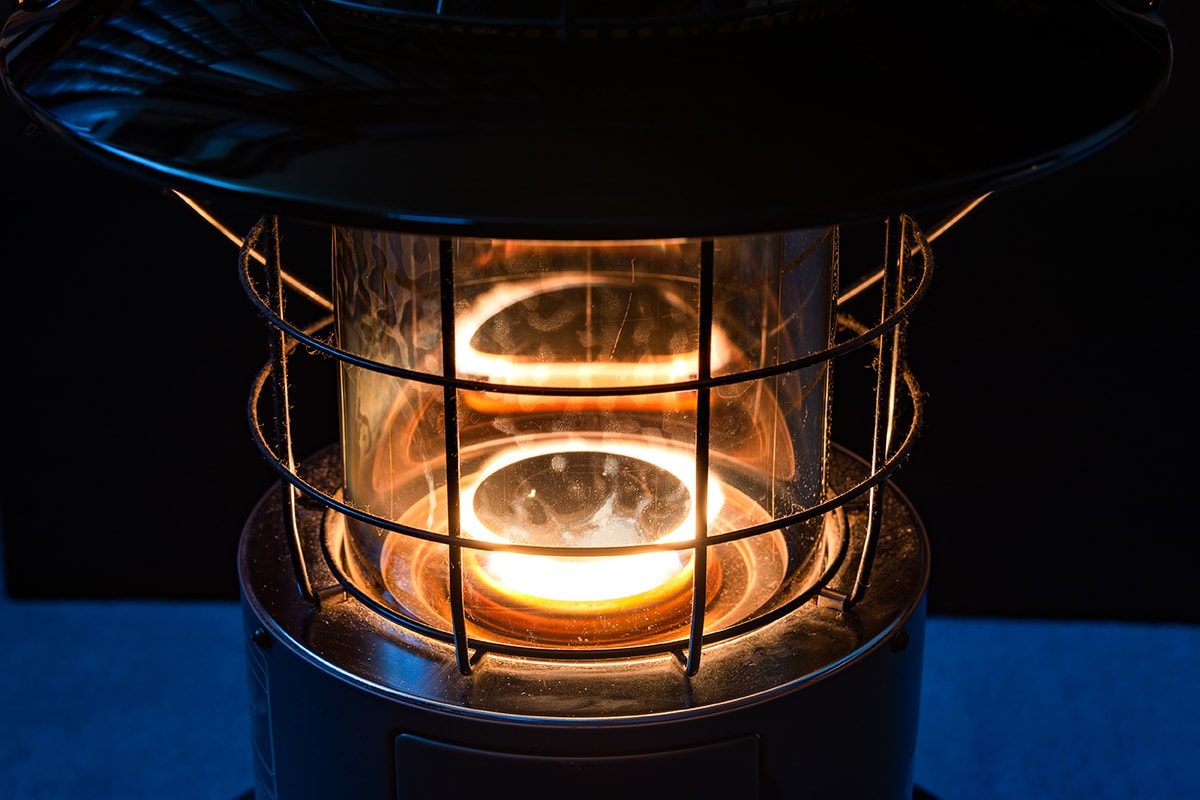
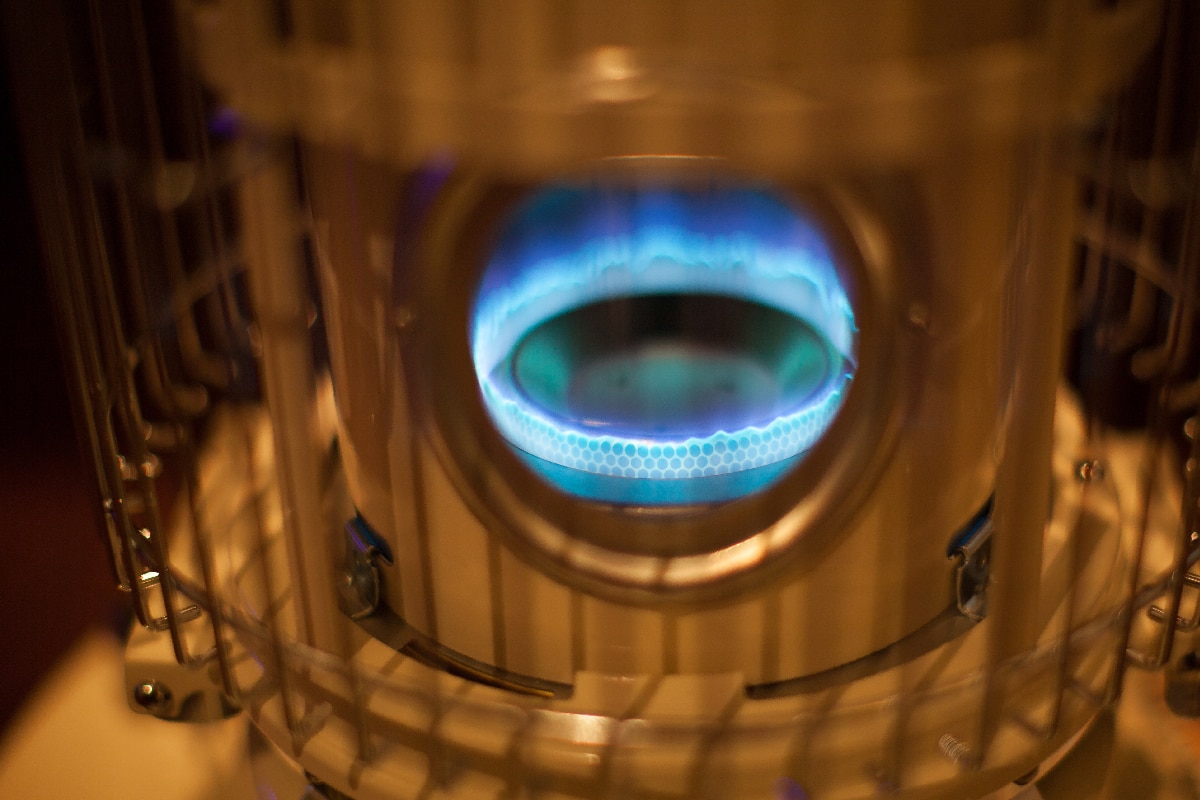
The kerosene heater works as a burner with a wick that absorbs kerosene, heats it, and turns it into a gas. The process is called gasification. The heater accurately oxygenates and creates a flame. It is like a lamp with kerosene as its energy source.
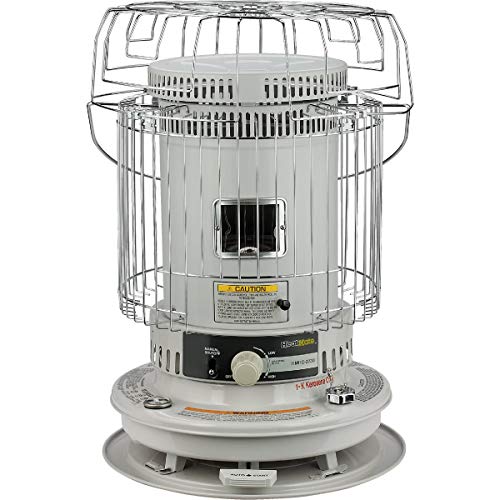
Check out this kerosene heater on Amazon.
Clogged Or Dirty Wick
One reason your kerosene heater flame is uneven or jogged is an accumulation of tar on the wick or some deposits. So, the solution is to burn dry the wick to resolve this problem. Allow the heater to burn dry its kerosene until it beats out. Follow the easy guide to burn dry your wick:
- Put your heater outdoors since dry burning emits a foul smell and harsh gases.
- Empty the fuel tank.
- Put a few drops of wick cleaner straight on top of the wick before burning. It acts as an aid for deep cleaning your wick.
- Light the heater and let it burn for hours until it beats out.
- Make sure to blare the wick up to the utmost before the heater goes out. It supports better cleaning of your wick.
- Afterward, let it cool and put the wick down.
- Refill the tank with fuel and wait for 15 min. until the wick gets soaked.
- Light it as usual. It should be burning all right now.
Incorrect Wick Placement
In some cases, even after a few wick replacements, there is still uneven flame. The possible reason is you have not pinned the wick correctly into its case or teeth. Ensure all parts you removed must be reattached in the same manner when replacement, including the wick.
Here's an easy guide on how to attach your wick properly:
- Open the new wick out of its packaging.
- Fold the wick and put it in the center of the round case.
- Pin the wick into the teeth to attach. Make sure to put all the wick studs in their corresponding holes.
- Place the wick holder and close it tightly.
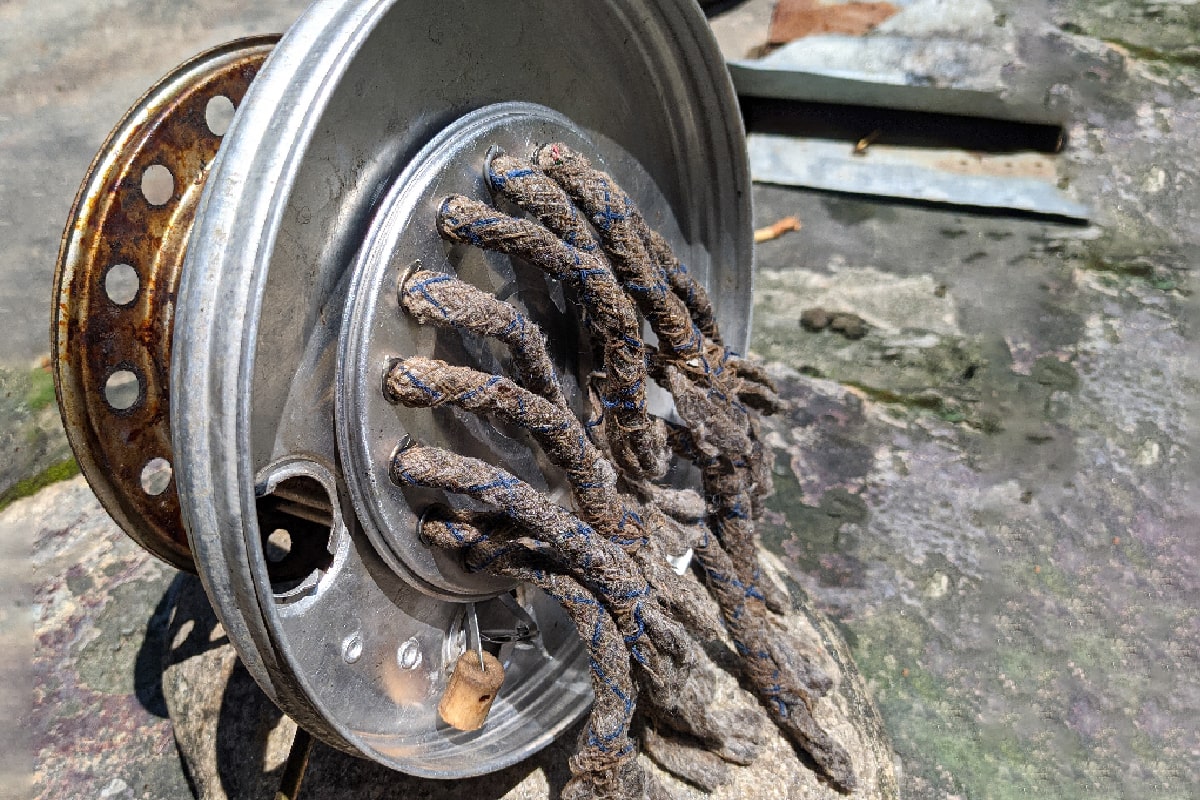
Wick Replacement
Your wick can be too old or dirty to repair by burn drying. That's why you continuously have an uneven flame. Good thing the wick is replaceable. So, change the old wick to the new one correctly.
Some heaters don't use wicks with pins which is a little confusing to attach. But all heaters have a gear shaft to raise and lower the wick with the turning knob. Here's the replacement guide to follow:
- Burn dry your heater first, following the first procedure on the page. Then wait for it to cool down.
- Start disassembling by detaching the fuel tank, batteries, and wick adjuster knob.
- Unlock the front grill and carefully detach the catalytic converter. Be mindful of the glass chimney not breaking.
- Unfasten the screws connecting the cabinet and the heater base. Put all the screws in one place. And take out the cabinet by lifting it straight.
- Take out the mica windshield over the burner.
- Remove the wing nuts around the wick assembly connected to the base. Again take it out by lifting it straight.
- Fold and detach the wick from its holder and the teeth.
- Install the new wick to the holder and attaching into the teeth. Make sure to press down all the pins to the teeth for a tight installation.
- Put the wick adjuster knob back.
- Position the shut-off switch on the adjustment assembly to the lowest point.
- Fasten the wing nuts loosely and slowly raise the wick with the knob.
- Then, secure the wing nuts after you have adjusted the wick height with the knob, ideally 3/8 in. appearing at the top.
- Put back all the rest you have removed from the first step carefully and accordingly.

Check out this kerosene heater wick on Amazon.
How To Maintain Kerosene Heater Wick
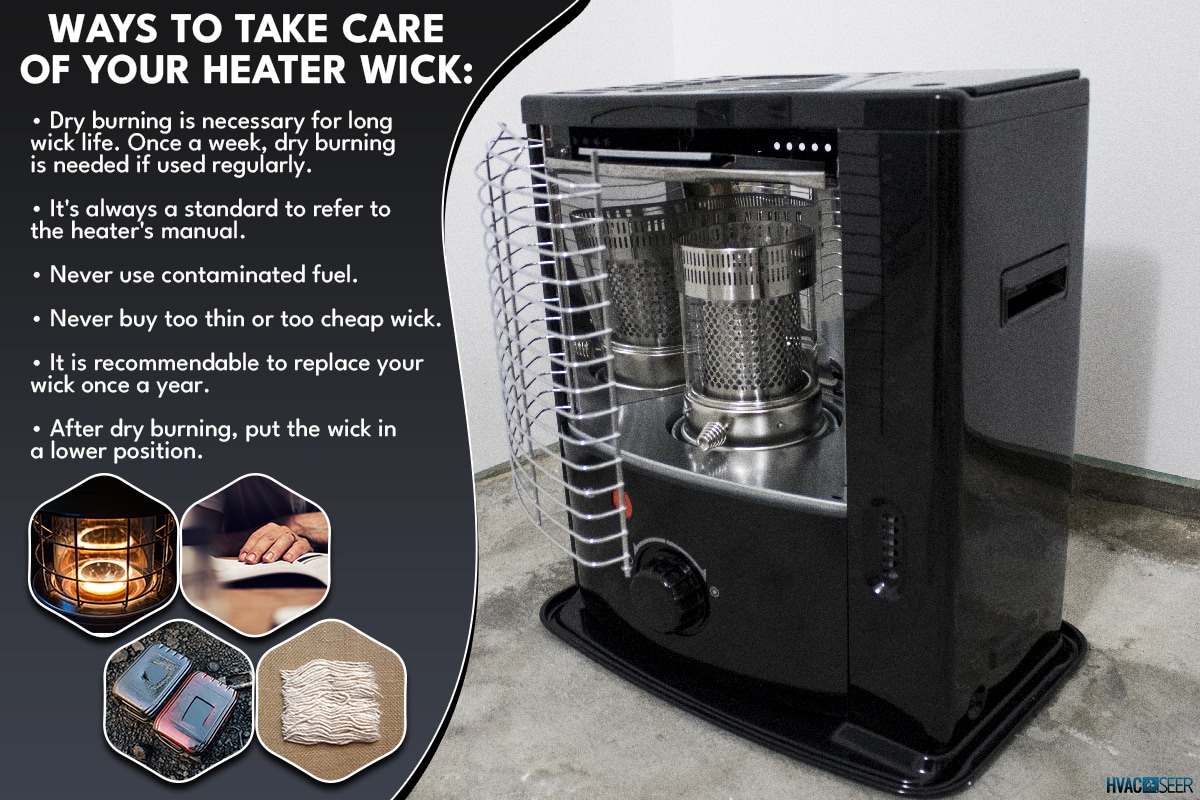
A dirty wick is a problem. Knowing its maintenance and regular check is necessary to have the heat supply you need in your house, even if it's for a short time or temporary. A fire without producing heat at all is almost useless. So, here are some ways to take care of your heater wick:
- Dry burning is necessary for long wick life. Once a week, dry burning is needed if used regularly. Also, dry burn after the first use within a week or after consuming fuel of 3 tanks.
- It's always a standard to refer to the heater's manual. It will orient you to basic troubleshooting and care tips for your heater model.
- Never use contaminated fuel. It will affect the smell and burning quality of your wick. Thus, poor heater quality.
- Never buy too thin or too cheap wick. It will cause a problem in no time.
- It is recommendable to replace your wick once a year.
- After dry burning, put the wick in a lower position.
Handling Kerosene Heater

The kerosene heater guzzles oxygen as it burns. So, burning it in a small room or a not well-ventilated area, especially for a long time, can be dangerous.
It also emits hazardous gases that can be a health risk, especially to pregnant women, the elderly, and people with asthma.
Keep the kerosene heater away from other things, such as furniture, clothes, bedding, and other flammable materials.
Never mix kerosene and gasoline, even in a container. And gasoline is never a substitute for kerosene in case you run out of it. Use and follow siphon instructions to fill your fuel tank for up to 90% only.
Empty fuel from the tank when not in use when storing. Always use new fuel upon using the heater. Replace low-charged or faulty batteries.

Check out this siphon pump on Amazon.
Can You Manually Light A Kerosene Heater?
You can light a kerosene heater manually with a match. But, many kerosene heaters have automatic or built-in ignition systems that make lighting convenient and quick.
You need to open the burn chamber with the burner and light a match to the showing wick.
In automatic lighting, turn the ignition lever after filling fuel to the tank. No matter how you light it, always practice safety precautions.
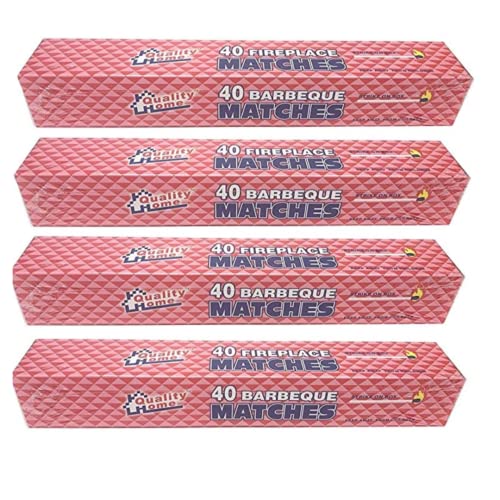
Check out these long-reach matches on Amazon.
What Causes Black Smoke From A Kerosene Heater?
Air and fuel mix up cause black smoke from kerosene. Exposure of your heater to airy or windy surroundings creates a very high flame state. Put your heater in a ventilated but not so windy or airy area to avoid dark smoke emissions.
To Close
Your kerosene heater flame is lumpy because of a dirty wick, incorrectly pinning, or requires changing the wick.
Burning dry is an effective solution to remove the black materials and debris from the wick and properly pin the wick or replace the wick. Adhering to the repair steps right will let you have a performing heater.
Learn more about kerosene heater usage and the kind that you need in these posts: