Since toilet handles are so often used, they ultimately wear out and need to be replaced. Most homeowners feel reasonably confident about doing this repair themselves. However, you might wonder if toilet handles have a standard size. We've extensively researched this issue and have a thorough explanation for you.
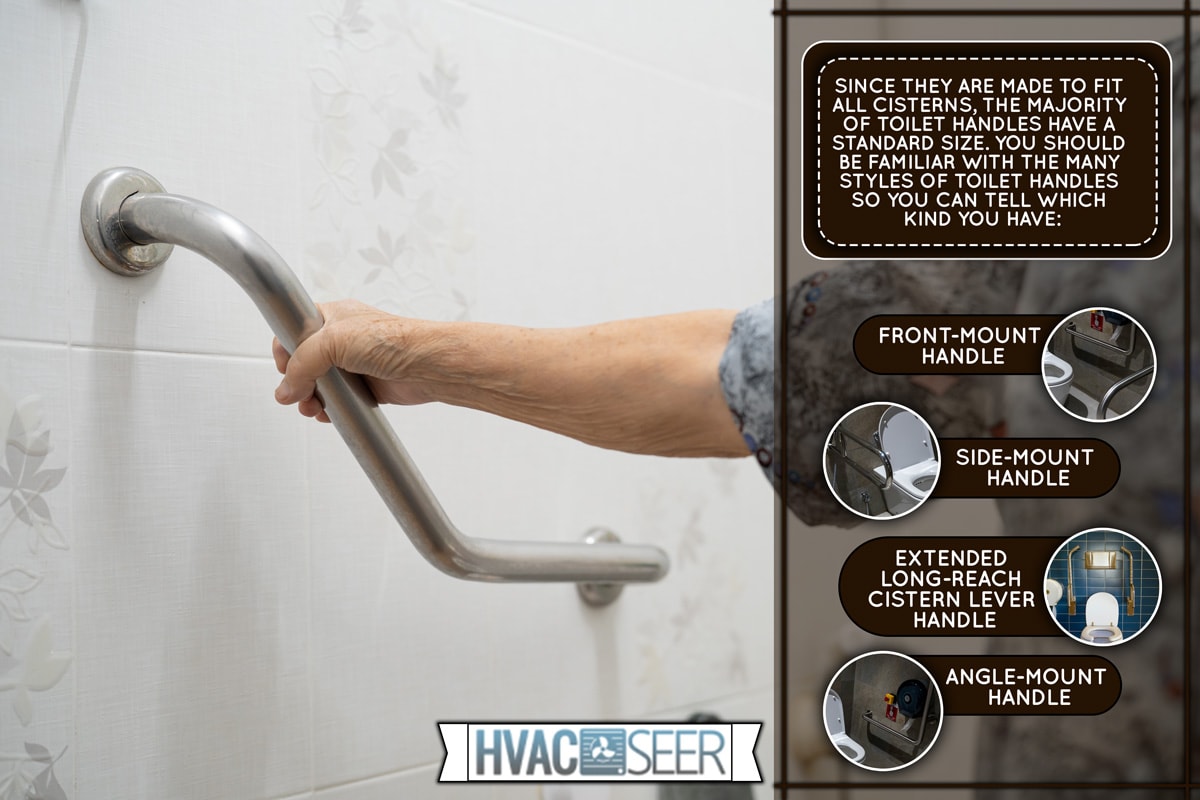
Since they are made to fit all cisterns, the majority of toilet handles have a standard size. You should be familiar with the many styles of toilet handles so you can tell which kind you have:
- Front-mount handle
- Side-mount handle
- Extended long-reach cistern lever handle
- Angle-mount handle
Selecting the proper replacement part will likely be challenging when trying to replace your toilet handle or lever. Continue reading to learn about the various handle options available for toilets and more.
Flush Handle Types For Your Toilet
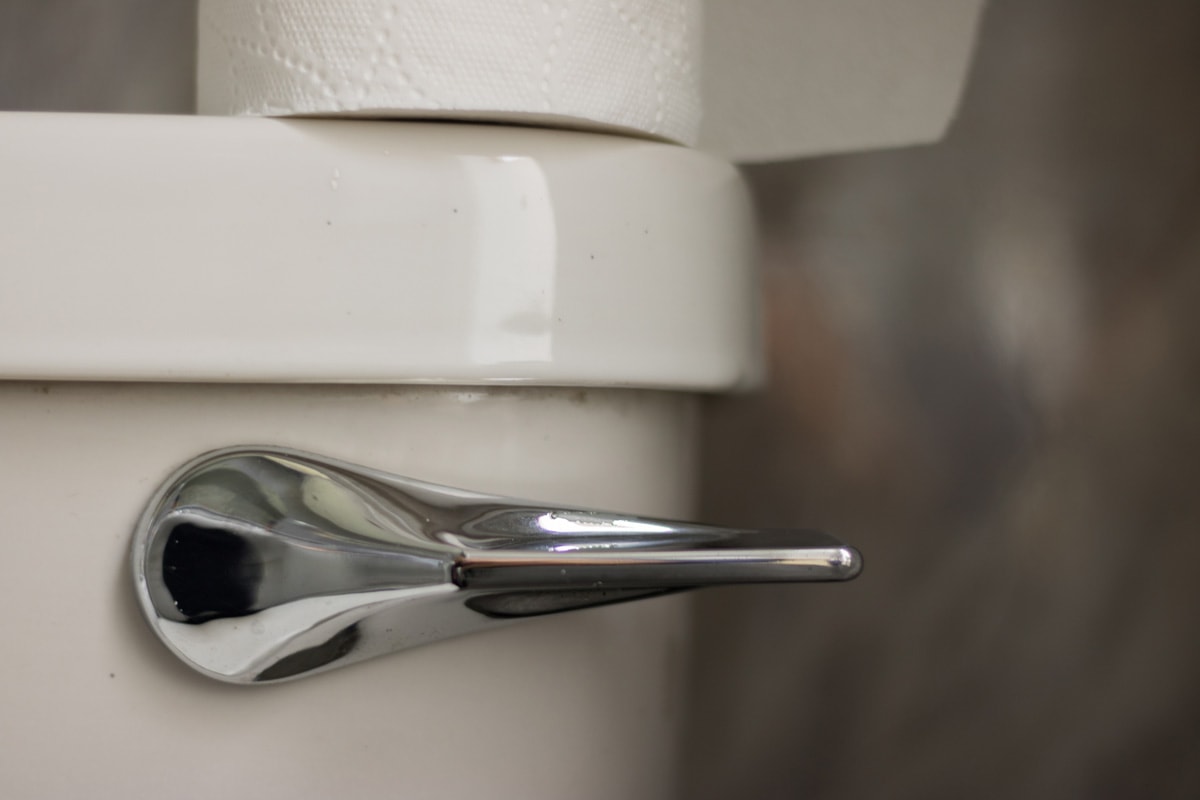
Anyone can replace a toilet handle with ease. You can buy the handle you require directly from the company that made your particular toilet.
As with any other plumbing element, there are a variety of options to choose from when buying toilet handles, so it's a good idea to be prepared before visiting the hardware or home improvement store.
You can determine the size and type of toilet handles you have by reading the brief descriptions of the various types provided below.
Front-mount Handle
The front-mount handle is the most typical style of handle. The fact that front-mount toilet handles are the most popular kind should not imply that all front-mount handles will function on all toilets.
A front-mount handle is typically easy to identify since the flush rod that fits inside the tank rotates in the same direction as the handle lever. It's normally located on the top left-hand corner of the toilet tank, but you might also have one with a top right-hand installation.
See this front-mount handle on Amazon.
Side-mount Handle
If you look closely at a side-mount handle, you will see that the flush rod fitting within the tank is bent at a 90-degree angle, allowing the rod to swivel up and down when the handle lever is operated.
Although side mount toilet handles are less popular than front-mount knobs, you should be able to readily find one at any hardware or home improvement store.
See this side-mount handle on Amazon.
Extended Long Reach Cistern Lever Handle
Use extended long-reach cistern lever handles on covert or hidden cisterns. This means that the actual tank of the toilet is hidden behind a wall or other feature; all you see is the seat.
Extended long-reach cistern levers can be trimmed to the required length using a hacksaw or handsaw.
Angle-mount Handle
An angle-mount toilet handle is what you have when the shape of a toilet tank is a little more rounded than rectangular. It might be challenging to match up handles for angle mount toilets because the angles can vary.
Some replacement handles come with a movable flush rod, enabling you to modify the angle of the rod to fit wherever the handle is mounted along the tank's curve.
See this angle-mount handle on Amazon.
How To Replace A Toilet Handle?
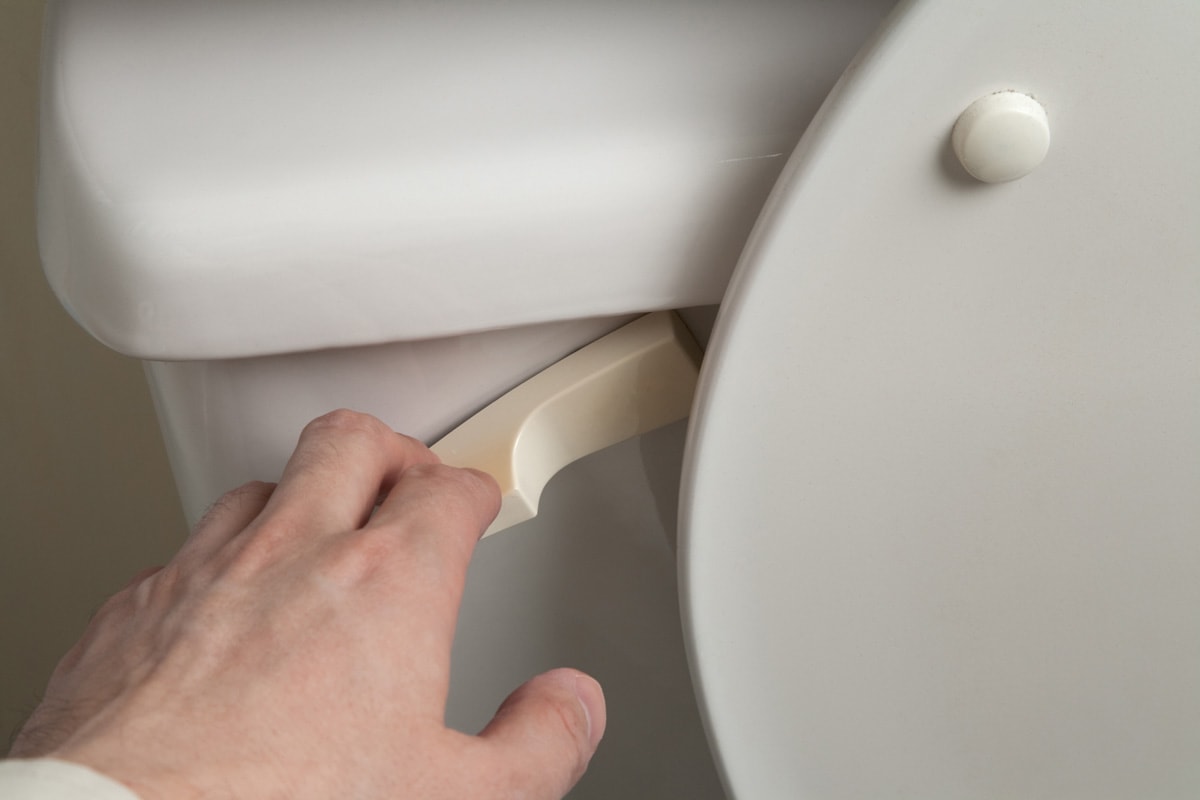
Your toilet's handle will eventually fracture, especially if it's plastic. Other frequent breaks are the bolt holding your toilet handle on. This can also happen on the lengthy plastic component or the tank lever holding the bolt supporting your toilet handle onto a chain.
Not every toilet handle functions the same. You may call the brand's customer service line, identify your toilet by name and model number, and ask them to check compatibility to see if a specific handle would fit your toilet.
Before changing it, remember that your handle may mount on the front, left, or right side. Whatever caused your toilet handle to break, follow these steps to replace it:
Open The Tank
The tank lid should be taken off and placed in a safe location on a towel that has been spread out. Be careful, as porcelain is brittle.
In addition to the brand name on the outside, take note of the model name or number of the toilet. You'll find this inside the tank. This will be important when you buy a replacement handle.
Unhook Lift Chain
The handle fastened to an arm that extends from the tank is connected to a chain that raises the flush valve. After locating where the chain is connected, you can take out the clasp that secures the chain.
The chain must be rehooked to the same hole in the new handle mechanism. To attach the chain to the tilt lever, locate the clasp. Keep in mind (for later) which hole the clasp is attached to on the tilt lever.
Remove Old Handle
To remove the nut holding the handle inside the tank, use a crescent wrench. Be cautious because most toilets have nuts with left-handed threads, which turn the other way from how a typical nut would.
Excessive force will break the ceramics if the wrench slides and bangs into the tank wall. Once the nut has been loosened, take it off by hand and insert the arm through the opening.
Replace The Handle
You can use your old handle as a reference when going to a store to choose a replacement that matches.
Before doing so, clean it using a soapy scrub sponge to remove any rust or mildew stains from the porcelain surrounding the handle hole, and put the arm into the hole after removing the nut from the new handle.
Make sure to maintain a tight fit without going overboard and use a wrench if necessary.
Attach the Chain
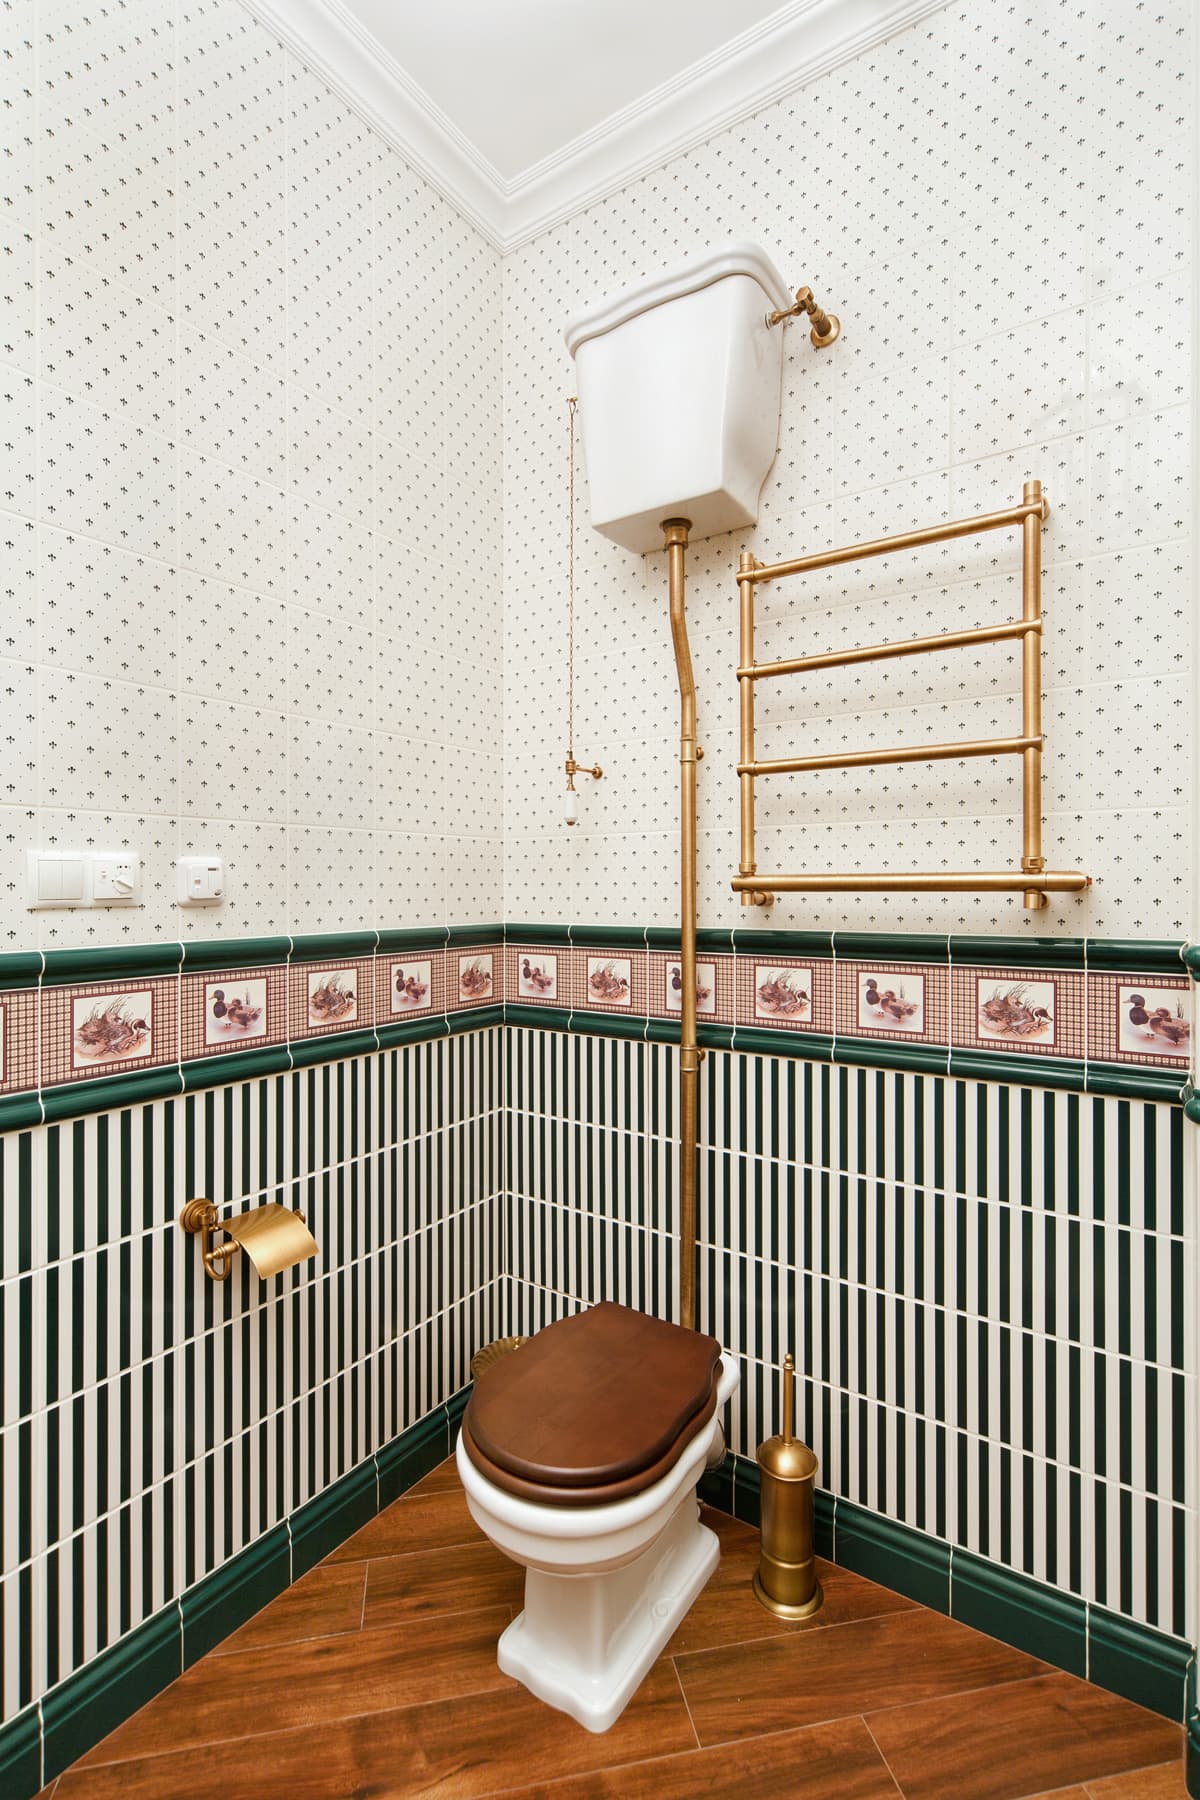
Attach the chain to the old arm's hole using the same clip. Do some test flushes after that. The tank won't empty if the chain is too light. If the chain is too tight, the flush valve may not seat properly and leak continuously.
Adjust or move the chain up or down a couple of links. Test it again until the flush is flawless. Make sure the chain is secured to the new tilt lever using the same hole as the previous tilt lever. Replace the tank lid when you're finished if you're happy.
How Do You Flush With A Broken Handle?
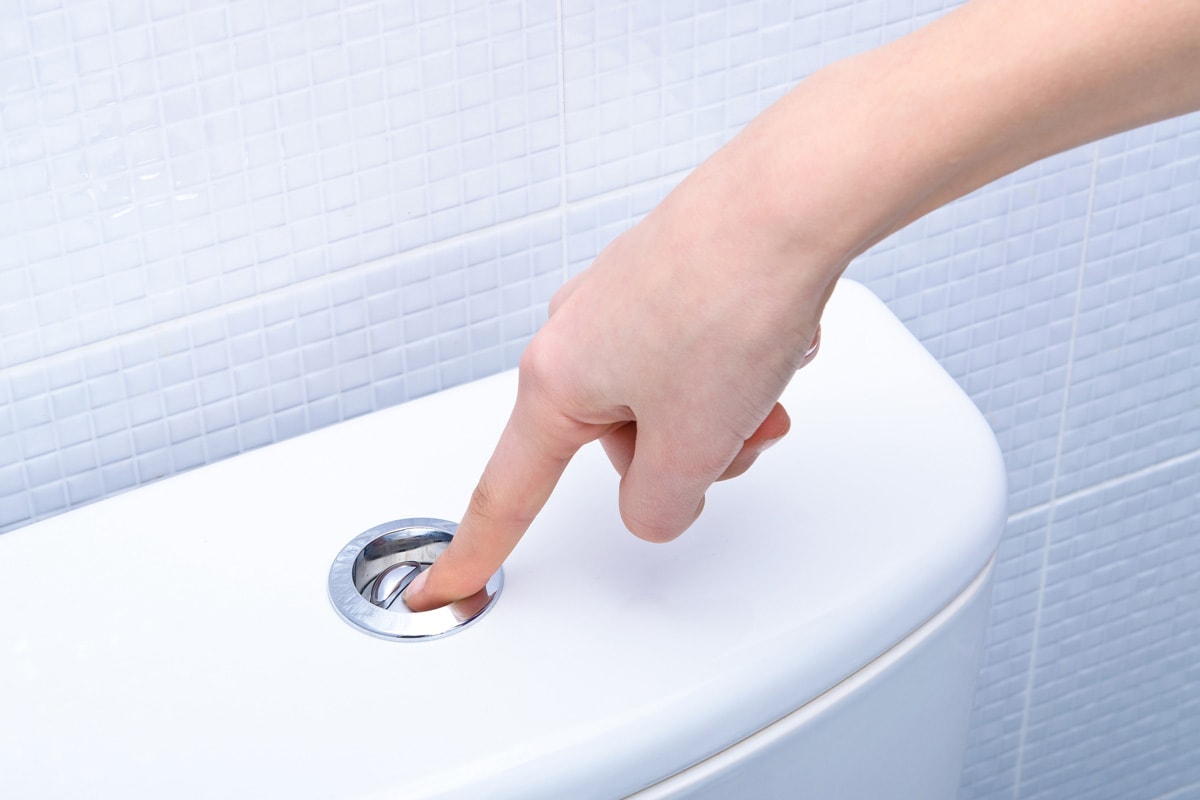
Nothing is more annoying than trying to flush your toilet by pressing the handle and discovering that it won't work.
You'll need to know how to manually flush your toilet if it won't flush and you can't fix it immediately.
Flushing a toilet manually is straightforward. You can do it even if the water supply is switched off. If this happens, try one of these three manual flushing techniques:
Lift The Flapper
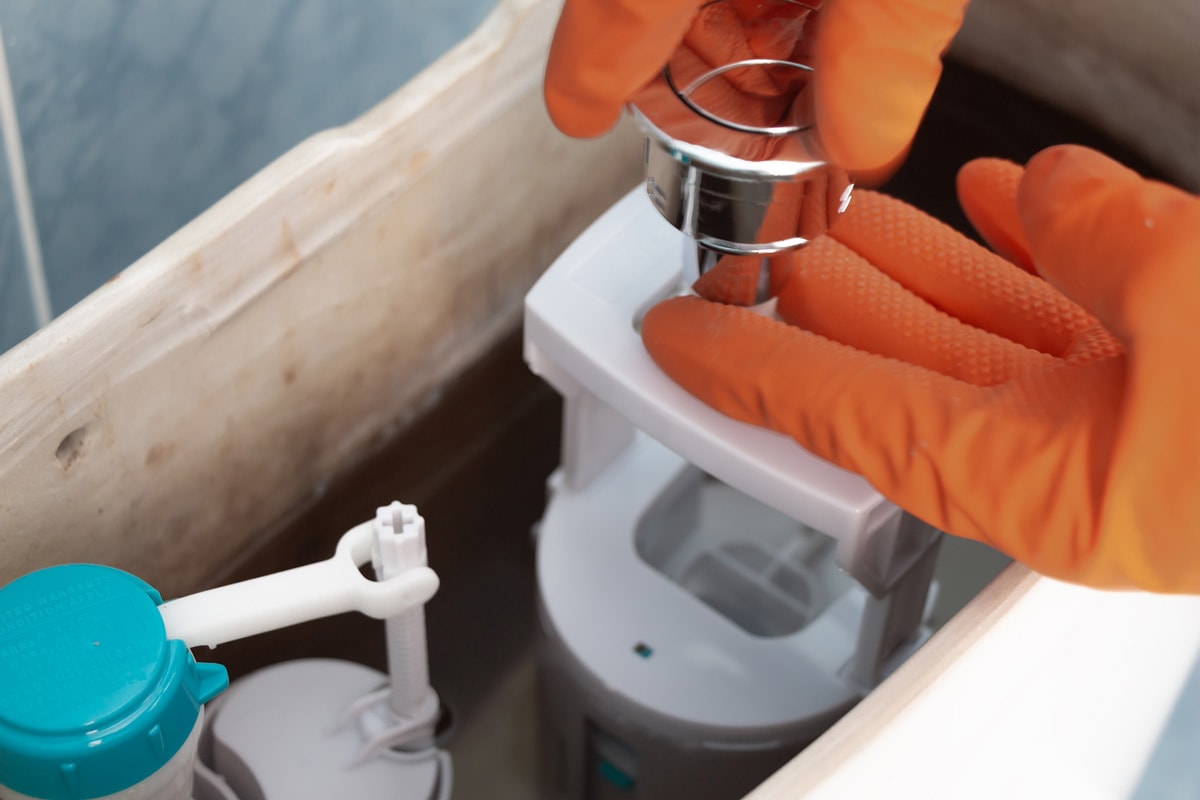
Remove the toilet tank lid to start flushing a toilet with a broken handle. This would be the water reservoir where the handle is located. The tank's bottom has a rubbery stopper called a flapper that is often red.
On the inside of the tank, there should be a chain connecting the flapper to the handle lever. You can raise the flapper and flush the toilet by pulling this chain upward.
Pour Water Into The Toilet Bowl
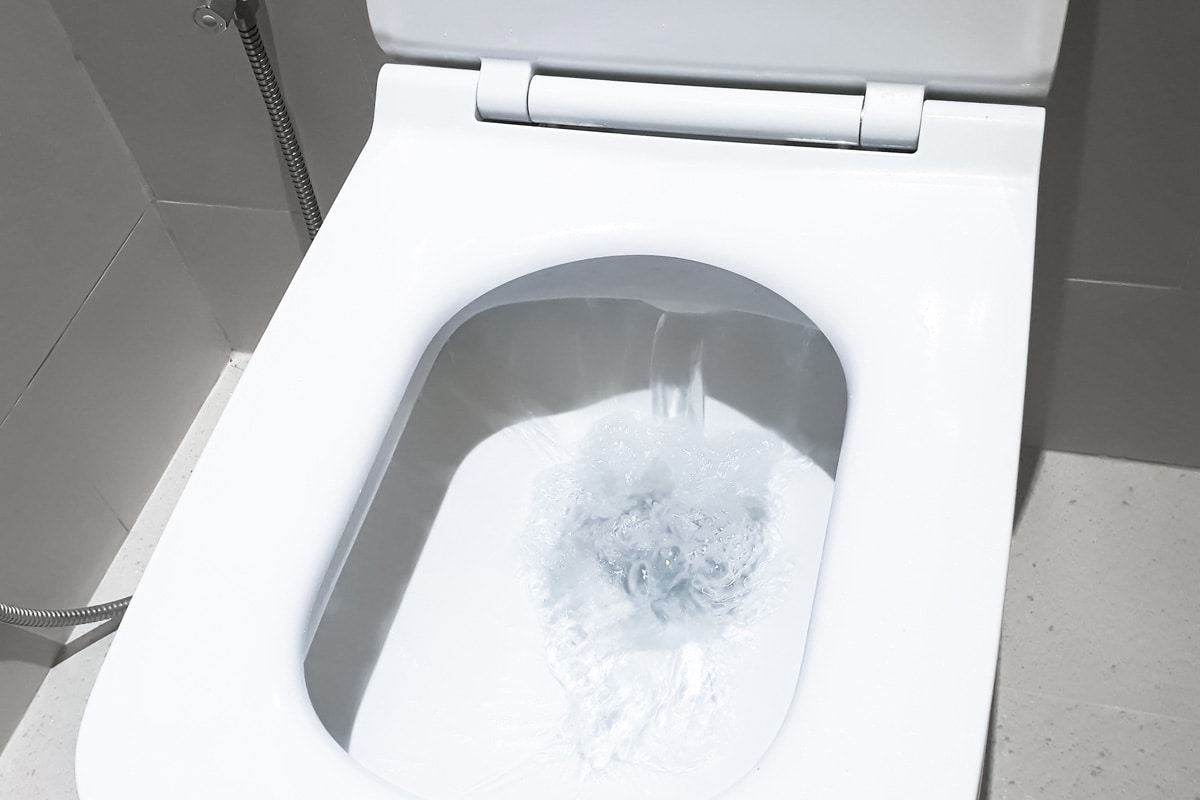
Simply dumping a lot of water into the toilet bowl will flush the toilet. Since toilets run by gravity, all your toilet handle does when you spin it, and the flapper and tug on a chain inside the tank. This simultaneously pours a lot of water into the bowl.
You can flush your toilet by adding a few gallons of water to the toilet bowl over 5 to 10 seconds. This will exert enough pressure for the water to be drawn down by gravity. Even without flowing water, this procedure will work.
Fill Toilet Tank With Water
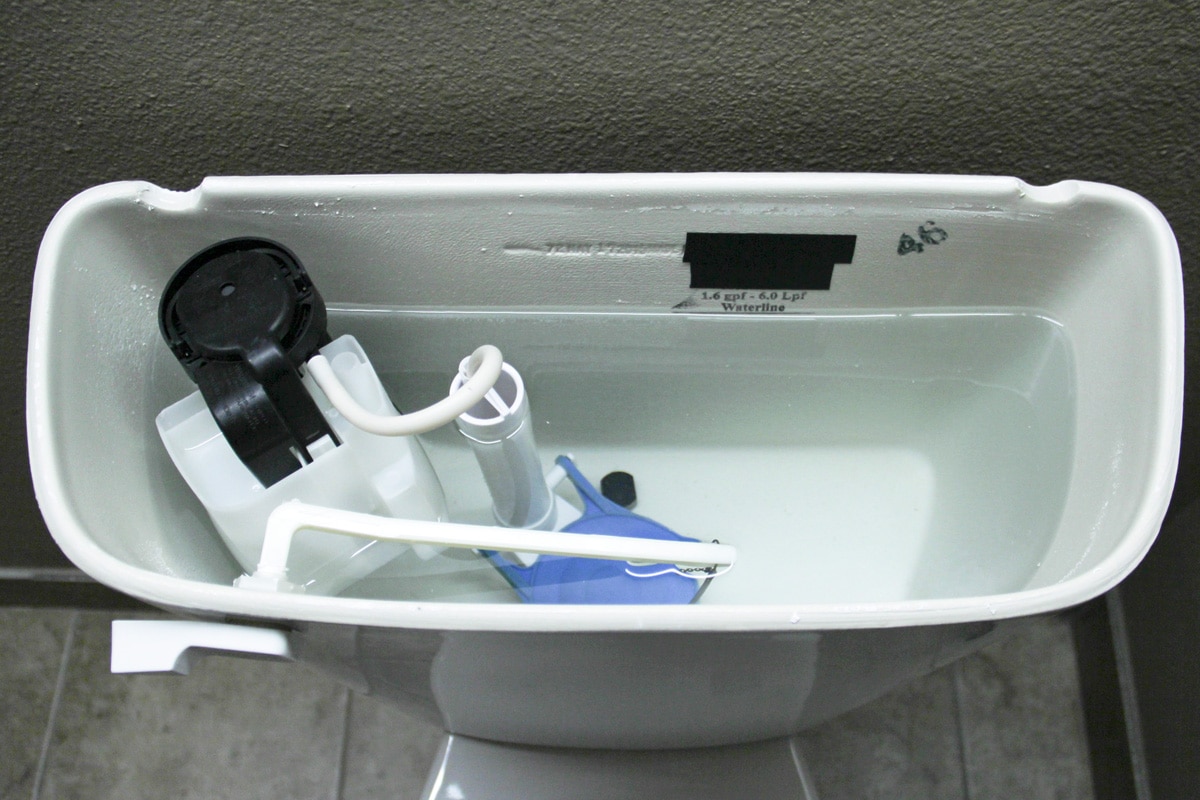
You can fill the toilet tank similar to how you would pour water directly into the bowl. Then pull on the chain, raise the flapper, and flush.
Doing it this way may be better than just pouring water directly into the bowl, because this gives you more control and guarantees you use the correct amount of water your toilet needs.
In Closing
No matter what tank lever you presently have, most toilet handles come in a standard size that will fit practically any toilet.
Although toilet handles come in a standard size, depending on the design and variation you choose, changes may occasionally be necessary to achieve a perfect fit.
If you found this informative, check this out too:


