
Would you like to know how close roof vents can be? Well, we have researched this topic and have answers for you. Knowing how close roof vents can be is vital to install them at the correct distance.
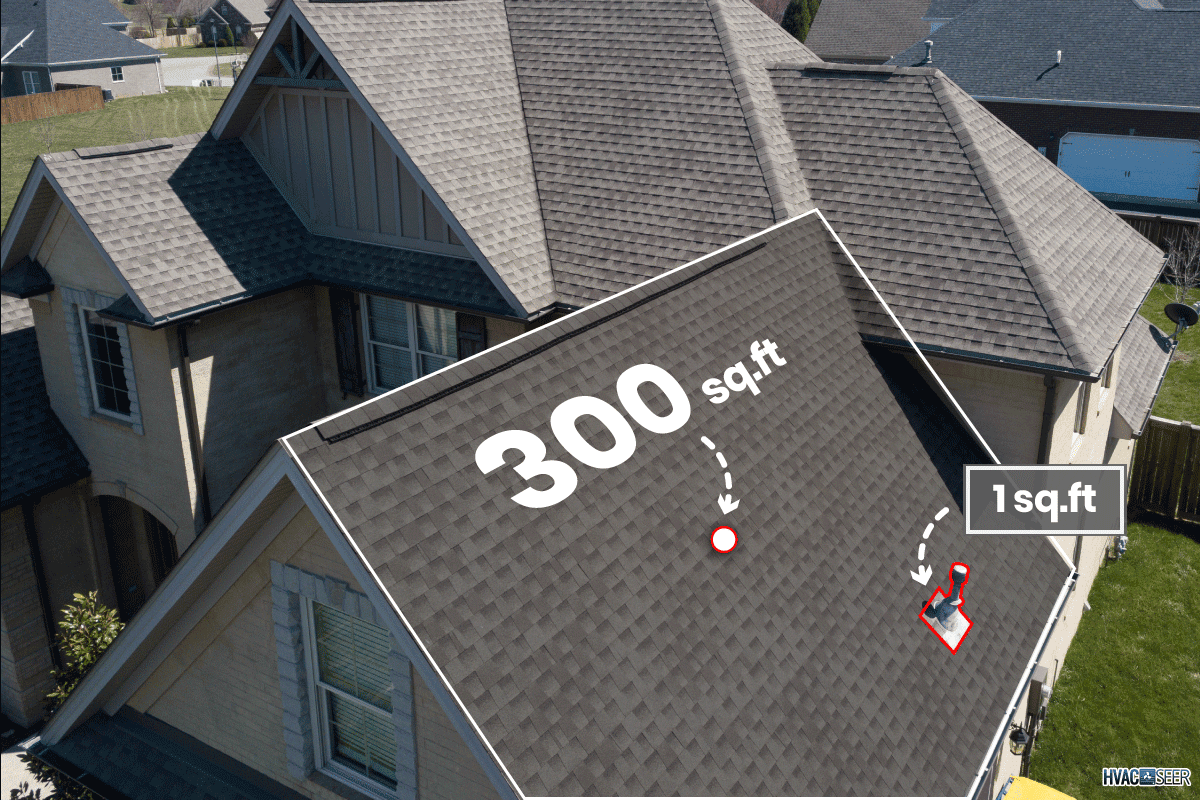
The distance between roof vents will vary depending on the size and shape of your roof. You will need one square foot of roof vents for every 300 square feet of roof. You will need twice as many roof vents if your roof doesn't have a vapor barrier.
In this article, we will learn how close roof vents can be. We will also learn the answers to other interesting related questions, such as what kind of roof vent should I use, and how do you install roof vents? Keep reading to learn more.
How Close Can Roof Vents Be?
The exact distance between your roof vents will depend on a few factors. These factors include the size and shape of your roof and if it has a vapor barrier. To find how far apart your roof vents should be, you must calculate the number of vents your roof needs.
Calculating The Vents
The general rule for calculating roof vents is that you need one square foot of roof vents for every 300 square feet of roof. If you have a roof with an area of 1,800 square feet, you will need six square feet of roof vents.
Next, you will need to find how many square feet each roof vent provides. Standard-sized box vents, the most common roof vent, provide 50 square inches of net-free area. Net-free area measures the area of the roof vent that allows air through.
Since every square foot has 144 square inches, you will need three standard-sized box vents to provide one square foot of ventilation. So a roof that requires six square feet of roof vents will need 18 roof vents if each provides 50 square inches of net free area.
If your roof doesn't have a vapor barrier, then double the number of vents to get an adequate number.
Calculating The Roof
Now the length of your house will come into play. It's best to place your roof vents close to the highest part of your roof. If you have a single ridge running down your roof, you can split your roof vents to run along both sides.
If your 1,800 square foot roof is 40 feet long and you need to place nine roof vents on each side of the roof, there is an easy trick to find how far apart to place them. Take the number of roof vents you need to place and add two. So for our example roof, you will get 11.
Now divide the length of your roof by that number to find the distance between each roof vent. For our example roof, you will want to place a roof vent every 3.63 feet to ensure even spacing across the roof.
Irregular Shaped Roofs
If you don't have a standard-shaped roof, you can add all the roof lengths in the highest locations. Divide the length of high roof locations by the number of roof vents you need to install to find how far apart they should be.
If you have a flat roof, look for the slightly higher side. A flat roof will have a slight grade to ensure water runs off. Place your vents along that highest side spaced evenly to allow for the best ventilation.
What Kind Of Roof Vent Should I Use?

There are several kinds of roof vents with different pros and cons. Let's learn about the various roof vents and find which will work best for your situation.
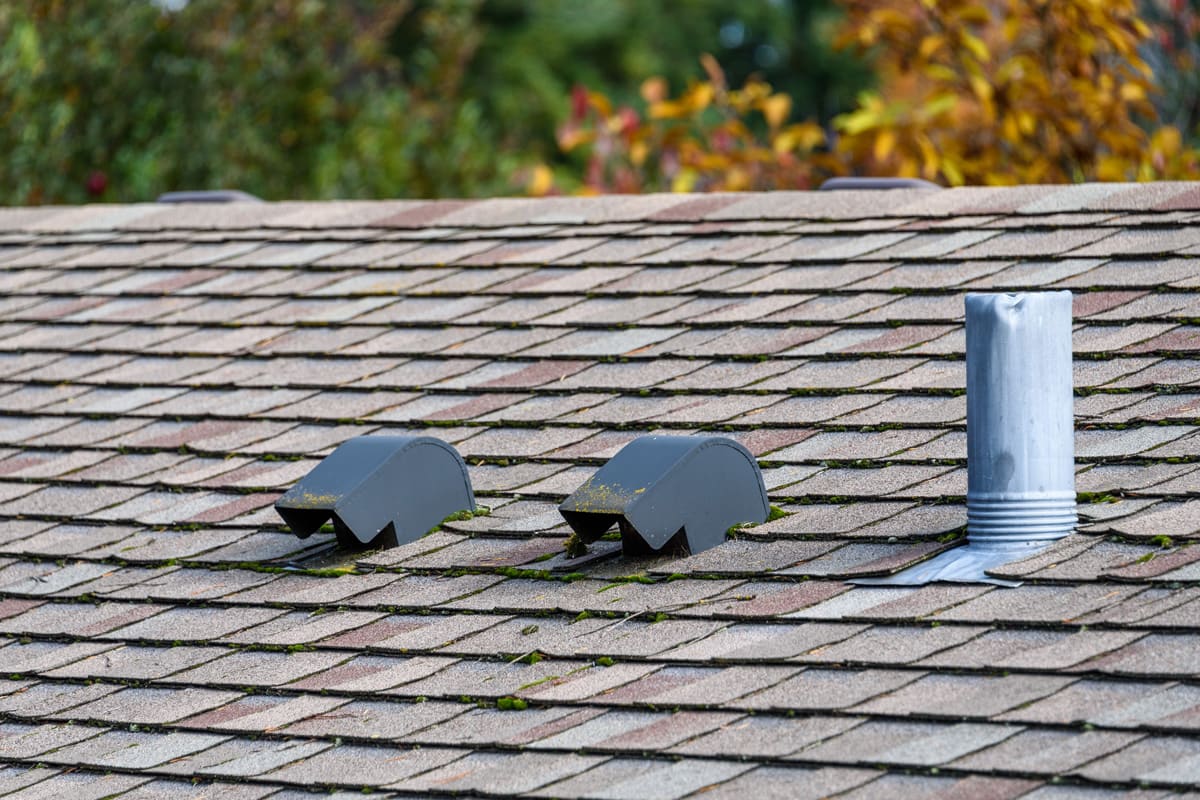
Box Vents
Box vents should be installed close to the roof's ridge to allow hot and humid air to escape. These vents are cheap and effective.
One drawback to box vents is that they don't provide a sizeable net-free area, so you will need many vents to provide adequate ventilation.
If you want to try box vents for your roof, here are two of the best available on Amazon.
Broan-NuTone Roof Vent

You can find this product here on Amazon.
Snowventco Roof Vent

You can find this product here on Amazon.
Cupola Vents
Cupola vents are large square structures that allow huge volumes of air to circulate. Because the vents stick above the main roof, they allow the hottest air to escape, making them highly effective and venting heat and moisture.
The most significant drawback to a cupola vent is its price. Since these vents are built as small structures, they require much more building materials.
If you want to try a cupola vent, here are two of the best available on Amazon.
Accentua Teton Cupola

You can find this product here on Amazon.
Accentua Olympia Cupola

You can find this product here on Amazon.
Powered Vents
Powered vents use a mechanized fan to pull air out of your attic. These vents work tremendously well at venting heat and moisture by utilizing electricity.
The drawback to using powered vents is that, eventually, the electronics will fail. You will occasionally need to make repairs to keep your powered vents working.
If you want to try powered vents, here are two of the best available on Amazon.
Broan-NuTone Powered Roof Vent

You can find this product here on Amazon.
Eco-Worthy Solar Powered Roof Vent
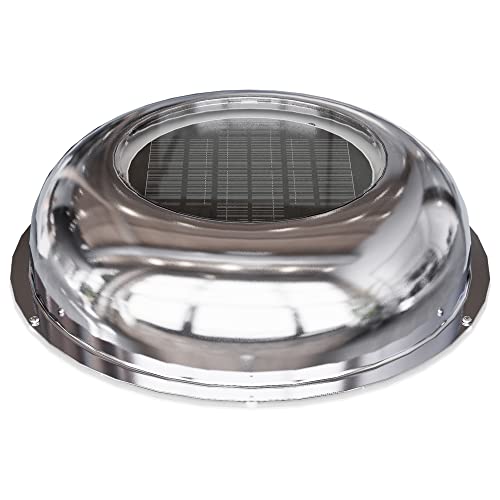
You can find this product here on Amazon.
Ridge Vents
Ridge vents are long vents along the top of your roof's ridge that allow the hottest air to vent quickly. Because of their location and size, these vents are highly effective at venting air.
While ridge vents are great, they do have the drawback of not providing adequate ventilation on their own. While a ridge vent will help with ventilation, you will need additional vents.
If you want to try ridge vents, here are two of the best available on Amazon.
Owens Corning Ridge Vent
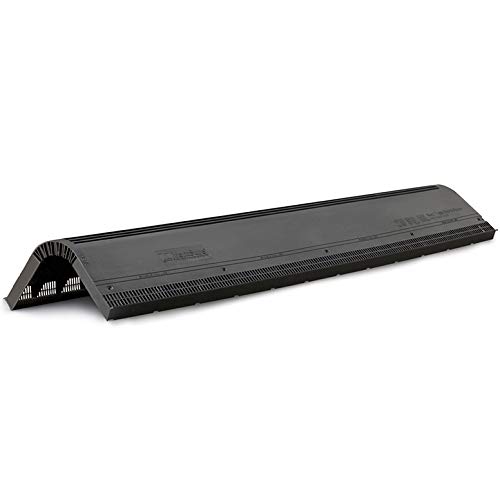
You can find this product here on Amazon.
Certain Teed Ridge Vent

You can find this product here on Amazon.
Whirlybird Vents
Whirlybird vents use the wind to turn an internal fan which pulls the air out of your attic. When the wind is blowing, these vents can effectively ventilate your attic.
The drawback to whirlybird vents is that they can be more expensive and only work best when the wind blows.
If you want to try whirlybird vents, here are two of the best available on Amazon.
Lomanco Whirlybird Vent
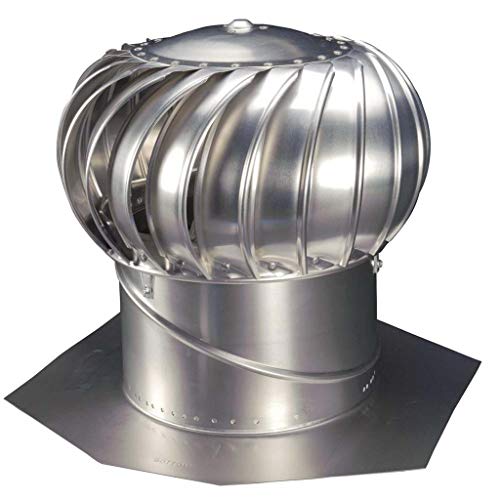
You can find this product here on Amazon.
Galv Steel Whirlybird Vent

You can find this product here on Amazon.
Conclusion
The best roof vents for you will depend on which pros and cons you find most desirable. In the end, combining several roof vents may be the perfect solution for any climate or budget.
How Do You Install Roof Vents?
To install roof vents, you will need to follow the proper steps. Let's learn the correct steps to install roof vents.
Mark Location
The first step in installing roof vents is to mark where you want each vent. Once you know how far apart they should be, use a marker to mark the location of each vent in your attic. It's essential to mark the roof vent location from the inside to ensure you don't put a vent directly over a wooden support.
Once the locations are marked, drill a screw long enough to puncture the roof through each mark. These screws will make it easy to find each location on the roof.
Remove Shingles
At the location of each screw, you will need to remove the shingles. To remove the shingles, use a prybar to separate them from the roof. Once the area around each screw is clear of shingles, you can drill the holes for the roof vents.
Drill A Hole

Different roof vents will require different hole sizes. Check your vent's size to drill the correct size hole.
Now, use a drill saw to cut a perfectly round hole. It would be best to drill a small pilot hole first to ensure the drill saw stays centered.
Once the hole is drilled, you can begin to secure the vent.
Secure The Vent
Using weather resistant screw, secure the vent by screwing each connection hole to your roof. It's best to use weather-resistant screws since they will be exposed to the elements.
Once the vent is secure, you can replace the shingles around it.
Replace Shingles
To replace the shingles, you can use the ones you removed, but new shingles will help improve the roof's longevity around the vent. Take a box cutter and shape the shingles to fit around the vent.
Now use roofing nails to secure the cut shingles around the vent. Be sure to layer the shingles to allow water to run off properly. Once the shingles are secured around the vent, you are finished installing your roofing vent.
Final Thoughts
This article taught us the factors that determine how far apart roof vents should be. We also learned about the pros and cons of different kinds of roof vents.
Remember, mark each location from the inside when installing roof vents to ensure you don't place them over wooden supports.
We hope you enjoyed this article. If you want to learn more, check out some of these other posts: