
Did you just finish installing your Mr. Cool Ductless Mini Split, and you want to know how to connect it to the internet through your home Wi-Fi? You’ve come to the right place, for we have researched this question and have the answer for you.
Follow the simple summarized steps below to connect your Mr. Cool to the internet:
- Install your Mr. Cool unit properly.
- Install the Mr. Cool app on your phone.
- Register for an account.
- Connect the Smart Kit USB adapter to your Mr. Cool unit.
- Get into the Wi-Fi setting mode.
- Select a Wi-Fi hotspot for your Mr. Cool unit.
- Enter your Wi-Fi password.
Learn more about your Mr. Cool Ductless Mini Split from the succeeding sections. The detailed instructions on how to connect your Mr. Cool unit to the internet can be found in the next section. Read on!
How to connect your Mr. Cool to your home Wi-Fi?
Here are the detailed steps to connect your Mr. Cool unit to your Wi-Fi router.
Installing The Mr. Cool App
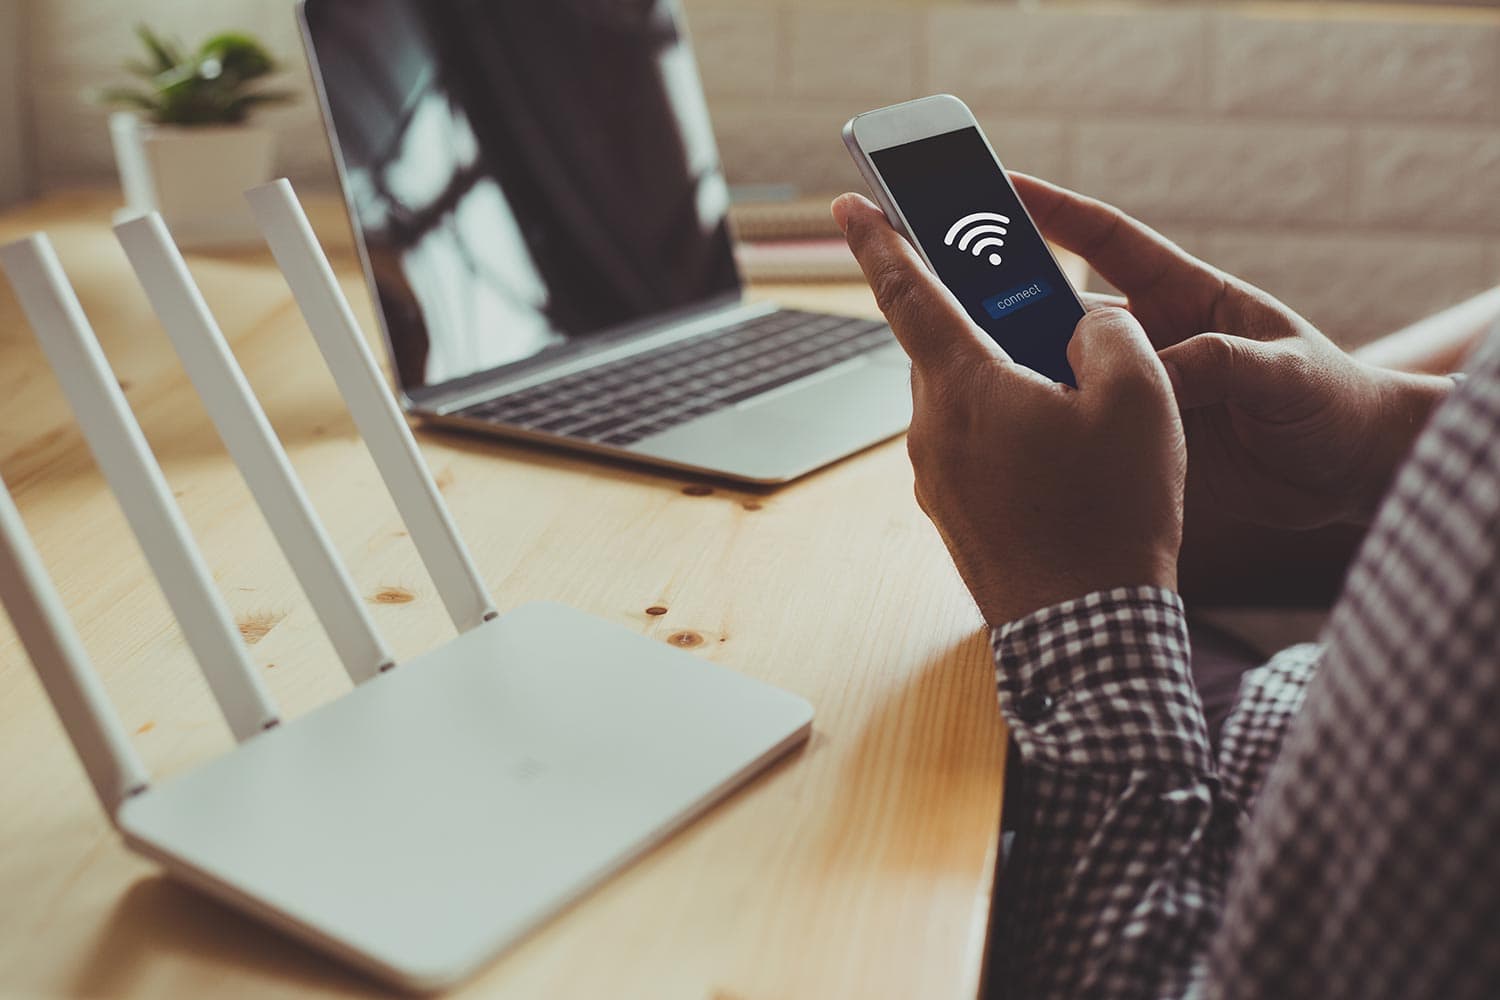
- Ensure that your Wi-Fi has an internet connection.
- Make sure that your phone is connected to the router and is receiving internet access.
- Look for the Mr. Cool app on Apple Store or Google Play Store. (You can search it without any period or spaces between the two words.)
- Install the Mr. Cool app on your mobile phone.
- Register through the app to create an account if you do not have an account yet.
Installing The Smart Kit USB Adapter
- Make sure that your Mr. Cool unit is installed correctly and is running properly.
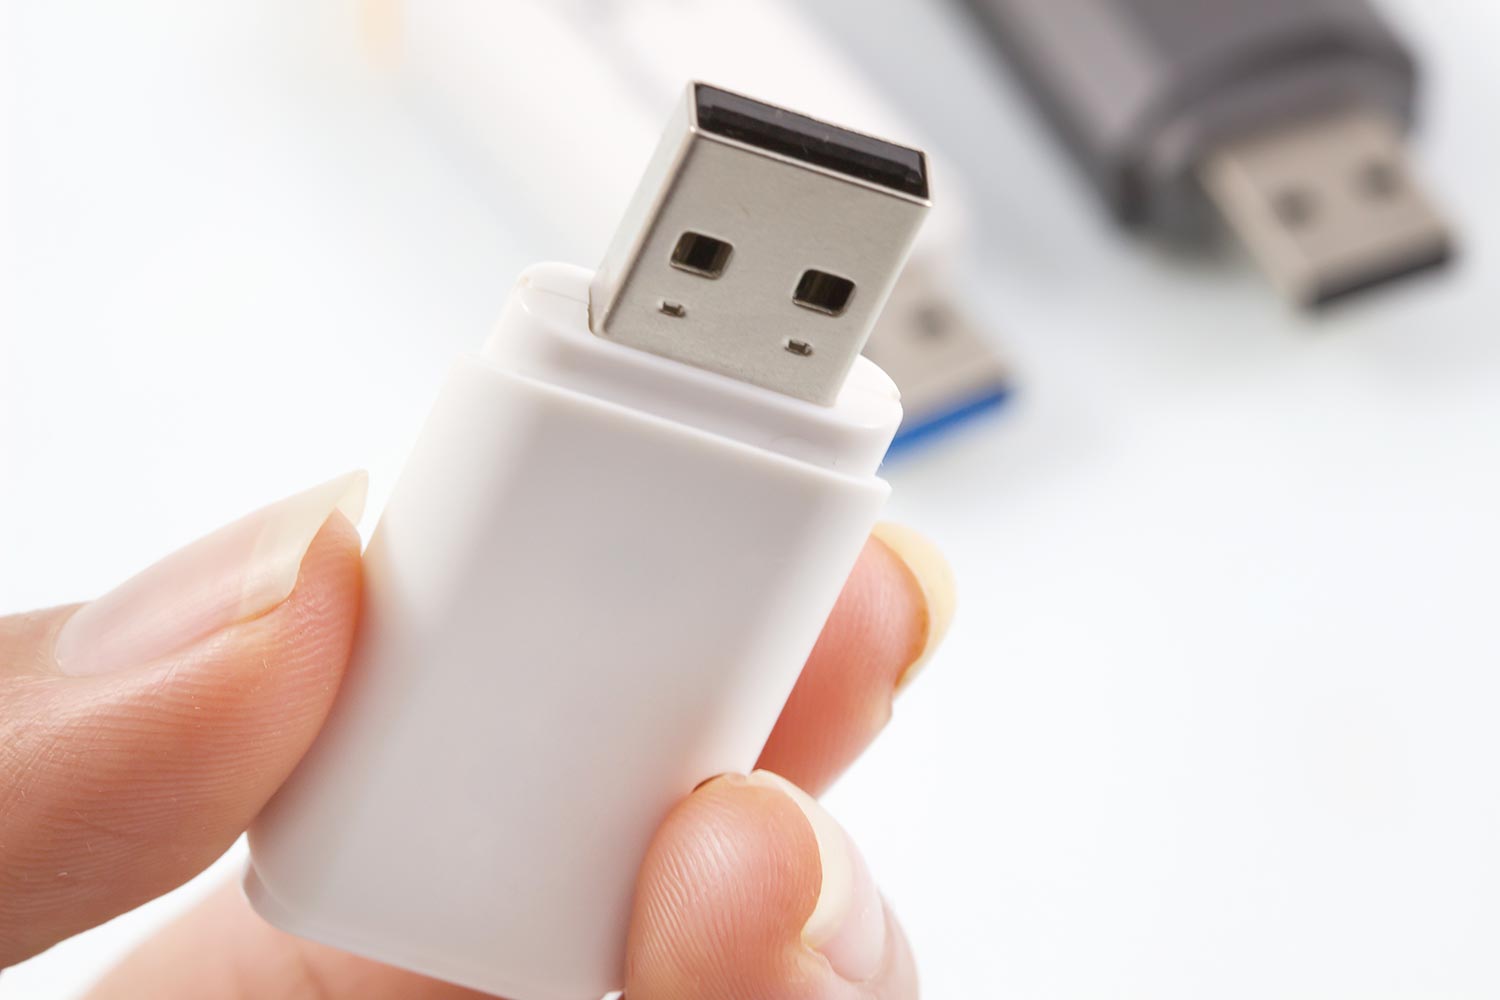
- Check the box of your Mr. Cool unit and look for the Mr. Cool Smart Kit inside. The Smart Kit is a small box that contains several QR code stickers, a Smart Kit USB adapter, and your user manual.
- Remove the cap from the Smart Kit USB adapter.
- Open the front panel of your Mr. Cool unit. You can open the front panel of most units by pulling it upward.
- Look for the USB port on the Mr. Cool unit. It is usually located behind the front panel, away from the mechanical parts of the unit. It will have an electrical wire coming from it.
- Insert the Smart Kit USB adapter into the USB port on your Mr. Cool unit. You can optionally place one of the QR code stickers on the surface of your Mr. Cool unit before you close the front panel. Alternatively, you can place the sticker in a location where you can easily find the QR code in case you need to reconnect your Mr. Cool to the internet.
Getting Into The Wi-Fi Setting Mode
- Turn off your Mr. Cool unit and wait for two minutes. Locate the LED button on the remote while you’re waiting.
- Turn your unit back on. Once it is completely back on, press the LED button on your Mr. Cool remote control seven times. The letters “AP” would light up on the front cover of your Mr. Cool unit. The “AP” indicates that the unit has entered the Wi-Fi setting mode.
Connecting To The Internet
- Open the Mr. Cool app on your phone.
- Tap on the “+ Add Device” to add your Mr. Cool unit. Your phone might ask for your permission to allow the Mr. Cool app to access the camera. Allow the app to gain access to the camera before you proceed to the next step. There will be a QR code scanning interface that will appear on the app after you agree to provide the app access to the camera on your phone.
- Scan the QR code on any of the stickers from the Smart Kit. The app will then ask you to select a Wi-Fi hot spot. If you have several Wi-Fi hot spots inside your house, select one that is closest to your Mr. Cool unit. Keep in mind that some routers can provide two or even three Wi-Fi hot spots at the same time—one running on the 2.4 GHz bandwidth and the other running on the 5.0 GHz bandwidth. The 2.4 GHz connection is best for your Mr. Cool unit.
- Enter the password for the Wi-Fi hotspot that you selected. Passwords for Wi-Fi hotspots are case-sensitive.
- After your Mr. Cool unit is successfully connected to the internet through your Wi-Fi router, it will appear on the list of devices on your Mr. Cool app.
- Tap on the device name of your Mr. Cool unit, and you can access it through the app on your phone. The app will allow you to access and control your heating and cooling anywhere you are as long as you have access to the internet.
How do I connect Mr. Cool to Google Home?
![]()
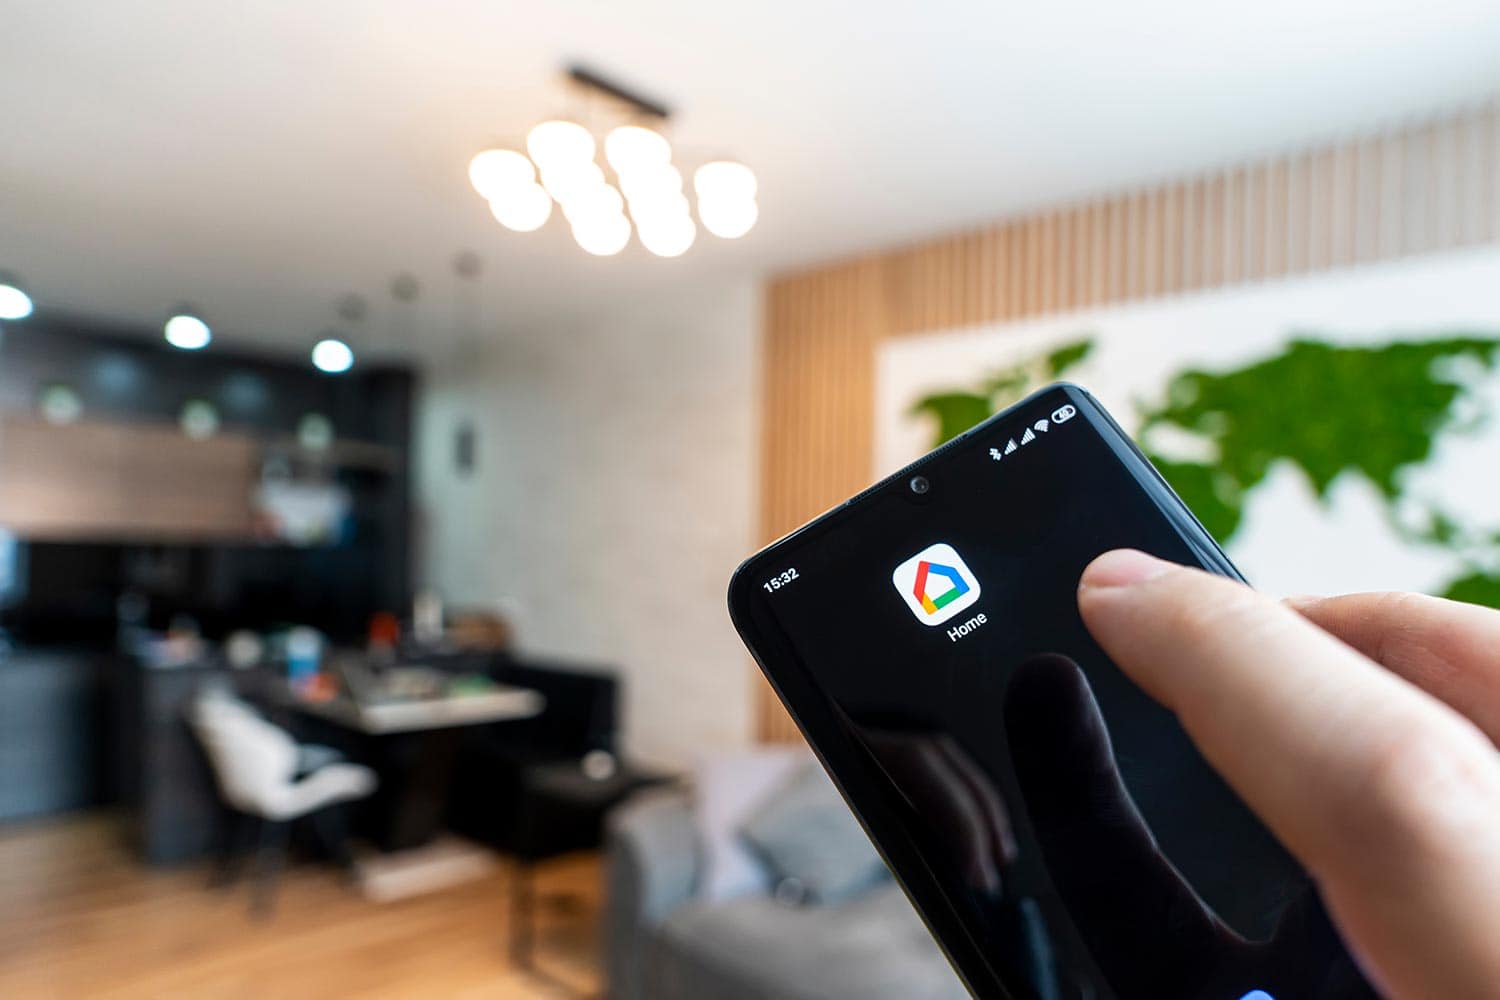
Google Home is an app that connects smart devices inside your home. This allows these devices to share information that enables the Google Home app to personalize your experience as well as learn from your usage patterns to better understand how to provide you with the best experience from your connected devices.
Your Mr. Cool unit is a smart air conditioner that can be connected to Google Home and work seamlessly with other connected devices.
Follow the simple steps below to connect your Mr. Cool unit to Google Home. It is important that you already have Google Home installed and running on your phone. If it is not installed yet, install it on your phone first, following the steps provided on the Google Home support website.
Moreover, you need to complete the Wi-Fi setup of your Mr. Cool unit by following the steps in the previous section.
Preparing To Connect To Google Home
- Search for Smart HVAC on Google Play Store or Apple Store.
- Install the Smart HVAC on your phone.
Connecting To Google Home
- Open the Google Home app.
- Tap on “Discover.”
- Select “Add devices” by tapping on the large white circle with a plus sign in the middle on the lower right of the screen.
- On the search interface on top of the screen, type in “Smart HVAC,” then tap the “Search” button on your phone.
- The Smart HVAC interface will open. It will ask you to sign in using your Smart HVAC account. Create a Smart HVAC account if you do not have one yet.
- Another window will pop open. This window will ask you to choose the device that you would like to add to your Google Home. Look for your Mr. Cool device and tap it to select it. A blue check mark will appear on the upper right corner of the Mr. Cool icon, confirming the device selection.
- Tap on the “Next” option at the bottom right of the screen.
- The next window will allow you to select the location where your Mr. Cool unit is located. The Google Home app allows you to control the different devices in multiple homes or locations. Selecting the correct home where your Mr. Cool unit is located is important.
- After you select the right home or location, you will be given another window where you can select an area or room. Select the area or room where your Mr. Cool unit is installed.
- Your Mr. Cool unit will then appear on the list of devices that are installed in the area or room that you selected. You can control the heating or cooling settings of your Mr. Cool unit using the Google Home app, making it easier for you to control all of your smart devices from a single location.
What Thermostat works with Mr. Cool?
Mr. Cool has its own Smart Thermostat—the Mini-Stat. Most popular thermostats are compatible with Mr. Cool. Additionally, Mr. Cool is also compatible with the Nest thermostats.
The third generation Google Nest Learning Thermostat is available on Amazon through this link.
Is the Mr. Cool remote a thermostat?
The standard Mr. Cool remote control is not a thermostat. However, the Mini-Stat thermostat can function as both a thermostat and remote control. It can control your Mr. Cool unit via infrared connection, just like a standard remote control.
The Mini-Stat uses an adapter for power. The adapter plugs directly into a 120-volt power outlet.
The back of the Mini-Stat has a cover that you can remove. Behind this cover is a connector that allows you to plug the Mini-Stat into a power source of 24 volts if you have one inside your home.
Conclusion
Connecting or reconnecting your Mr. Cool to your home Wi-Fi is simple but requires that you have the Mr. Cool app on your smartphone to configure the Wi-Fi connection.
If you enjoyed reading this article, you might find the articles below equally enjoyable to read: