It might not be time for a roof renovation, but you don't want to disregard any troublesome leaks. You might be considering patching the holes using Flex Seal Liquid but have no idea where to start. Well, we're here to help! We researched the step-by-step procedure on how to apply Flex Seal Liquid to a roof and share the information below.
Flex Seal Liquid works on different kinds of surfaces. It is best to apply it to a roof during good weather. Here are the steps on how to apply Flex Seal Liquid to a roof.
- Clean and prepare the roof.
- Stir with a paintbrush or roller before applying Flex Seal Liquid to the roof.
- Allow the first coat to dry for a few hours.
- Apply another coat and allow it to dry completely.
That's it! Applying Flex Seal Liquid is a lot easier than working on a paint job, right? And while that's true, we believe there's more to learn about applying Flex Seal on your roof. We have more useful information explained in detail for you below.
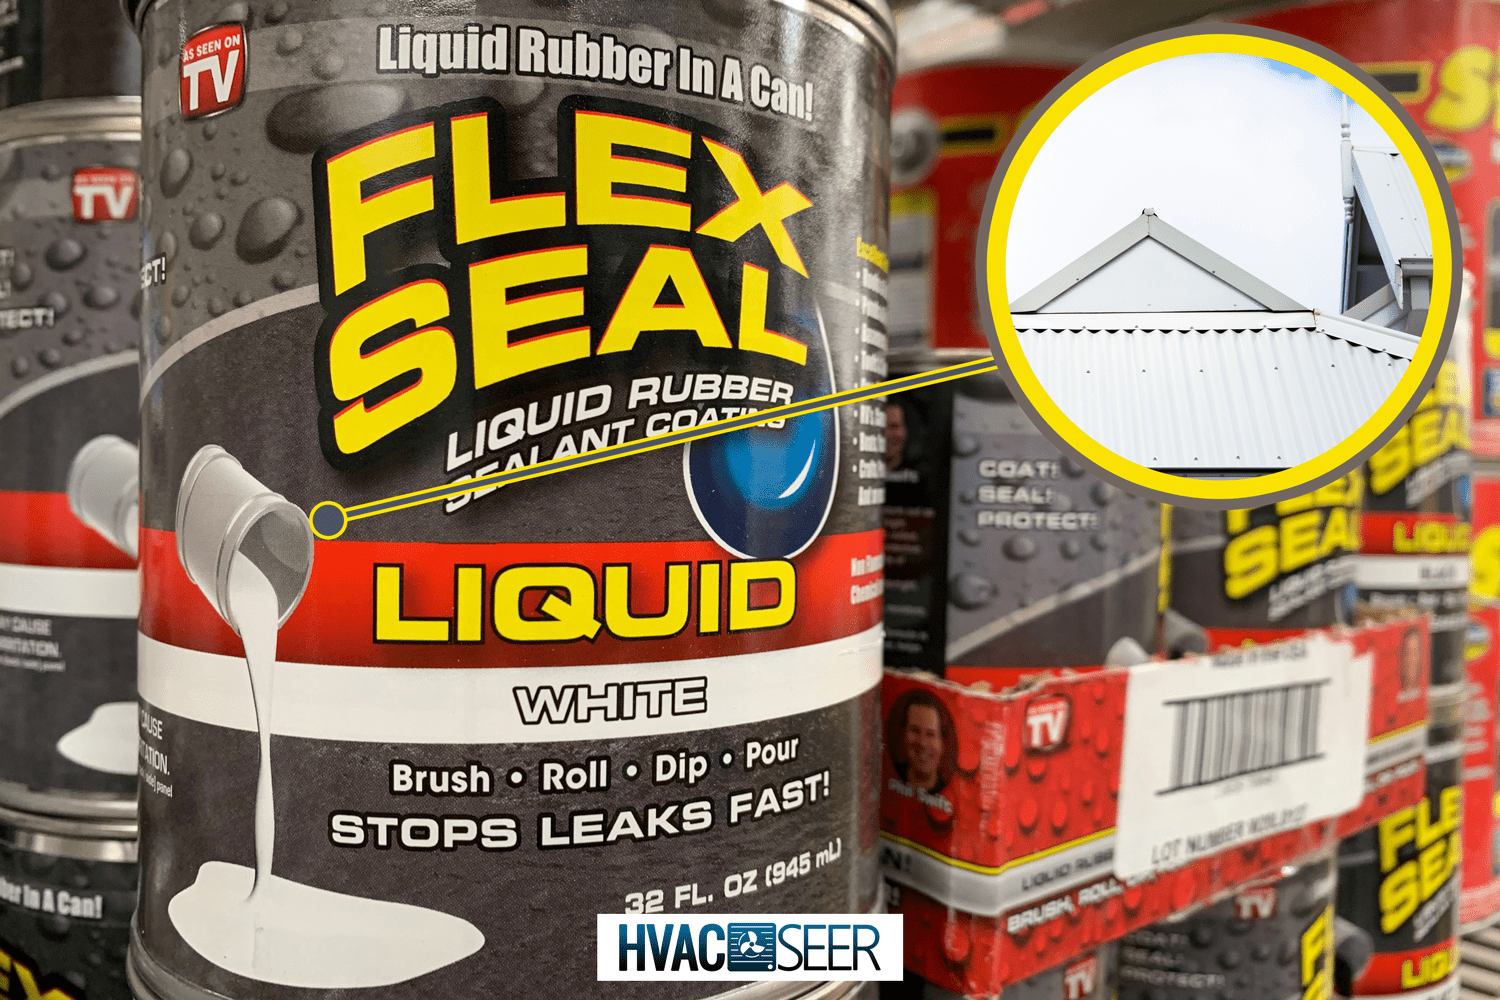
How To Apply Flex Seal Liquid To Roof
A roof renovation costs several thousand dollars. It is a big, costly project that brings with it a lot of inconvenience. That is why most people choose to delay it when possible and go for effective yet practical solutions. One way is to use rubber sealants such as Flex Seal Liquid.
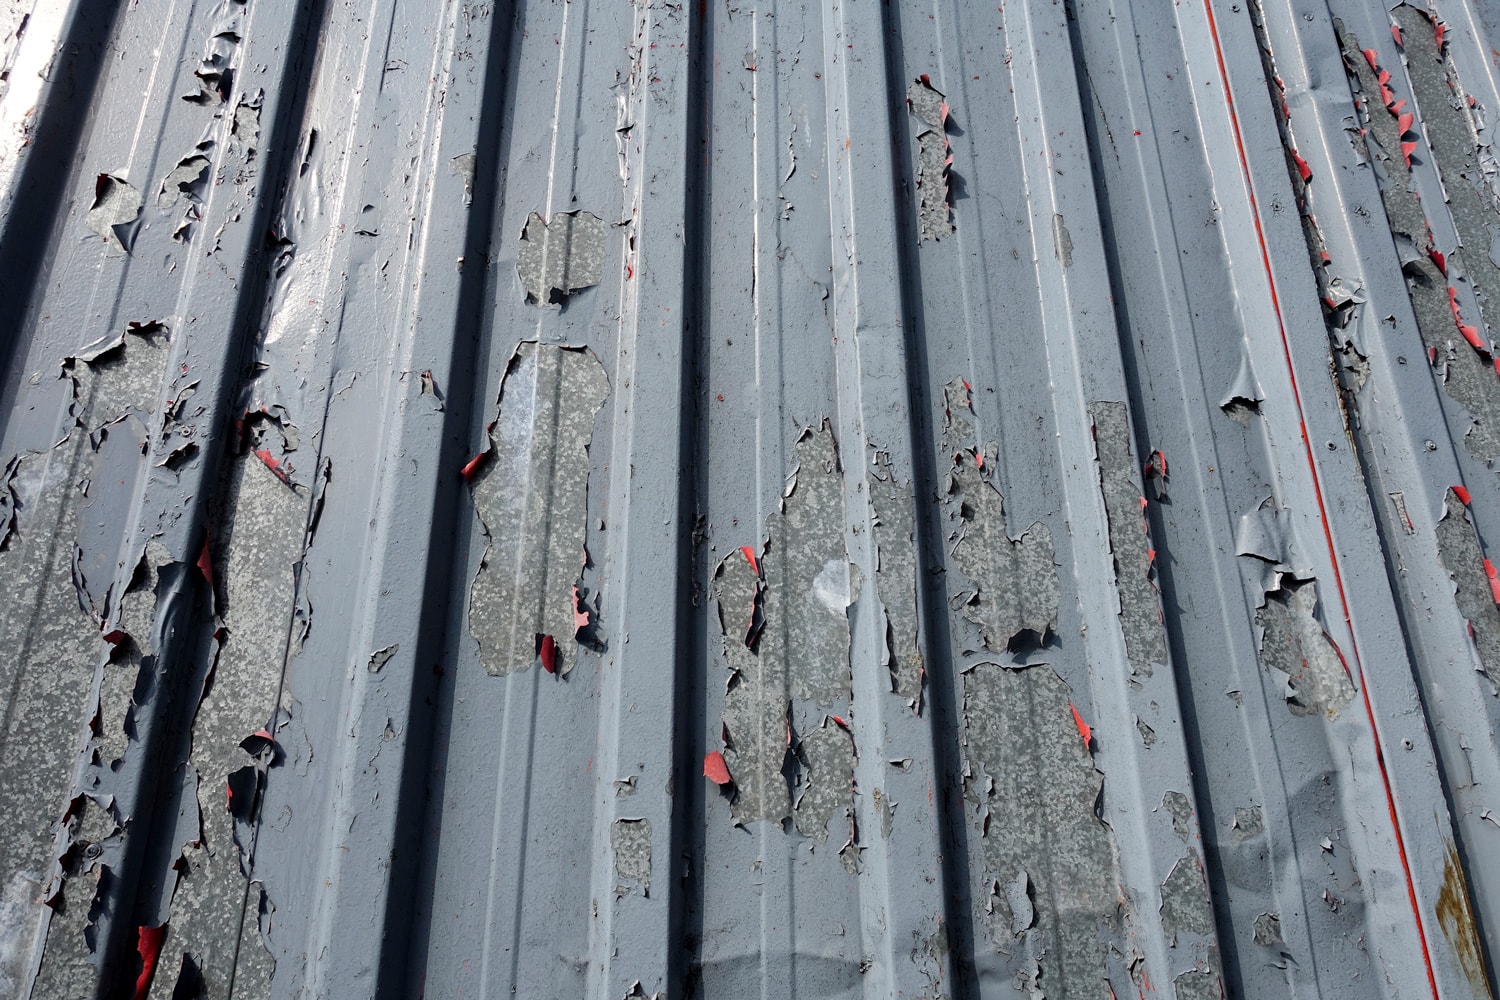
Flex Seal is liquified rubber that you can use to seal holes, cracks, and other possible sources of leaks on roofs and gutters. While it can also be used in many other applications, this post will focus on how to apply this product to the roof.
Tools and Materials You Will Need
Apply Flex Seal as soon as you open the product. That said, make sure to prepare the tools and materials you will need first. All you need are the basic ones listed below:
- paintbrush or roller brush
- paint tray
- dry cloth
- mineral spirit
- cleaning product and brush for cleaning the roof
- Flex Seal Liquid
- Flex Seal Tape (optional)
Wear a facemask during application to avoid inhaling the fumes. Flex seal odor lasts for a few hours after application. Follow these steps to begin applying Flex Seal Liquid:
1. Clean and prepare the roof.
To ensure efficient adhesion, you must first clean the roof. Remove dirt, grease, oil, and other elements that may counter the adhesive properties of the product. The roof should also be free of rust before you apply the liquid rubber.
If you need to wash the roof with water, then allow some time for it to dry completely. While Flex Seal does adhere to wet areas, the product manufacturer recommends applying it to dry surfaces for the best results.
2. Stir with a roller brush or paintbrush before applying Flex Seal Liquid.
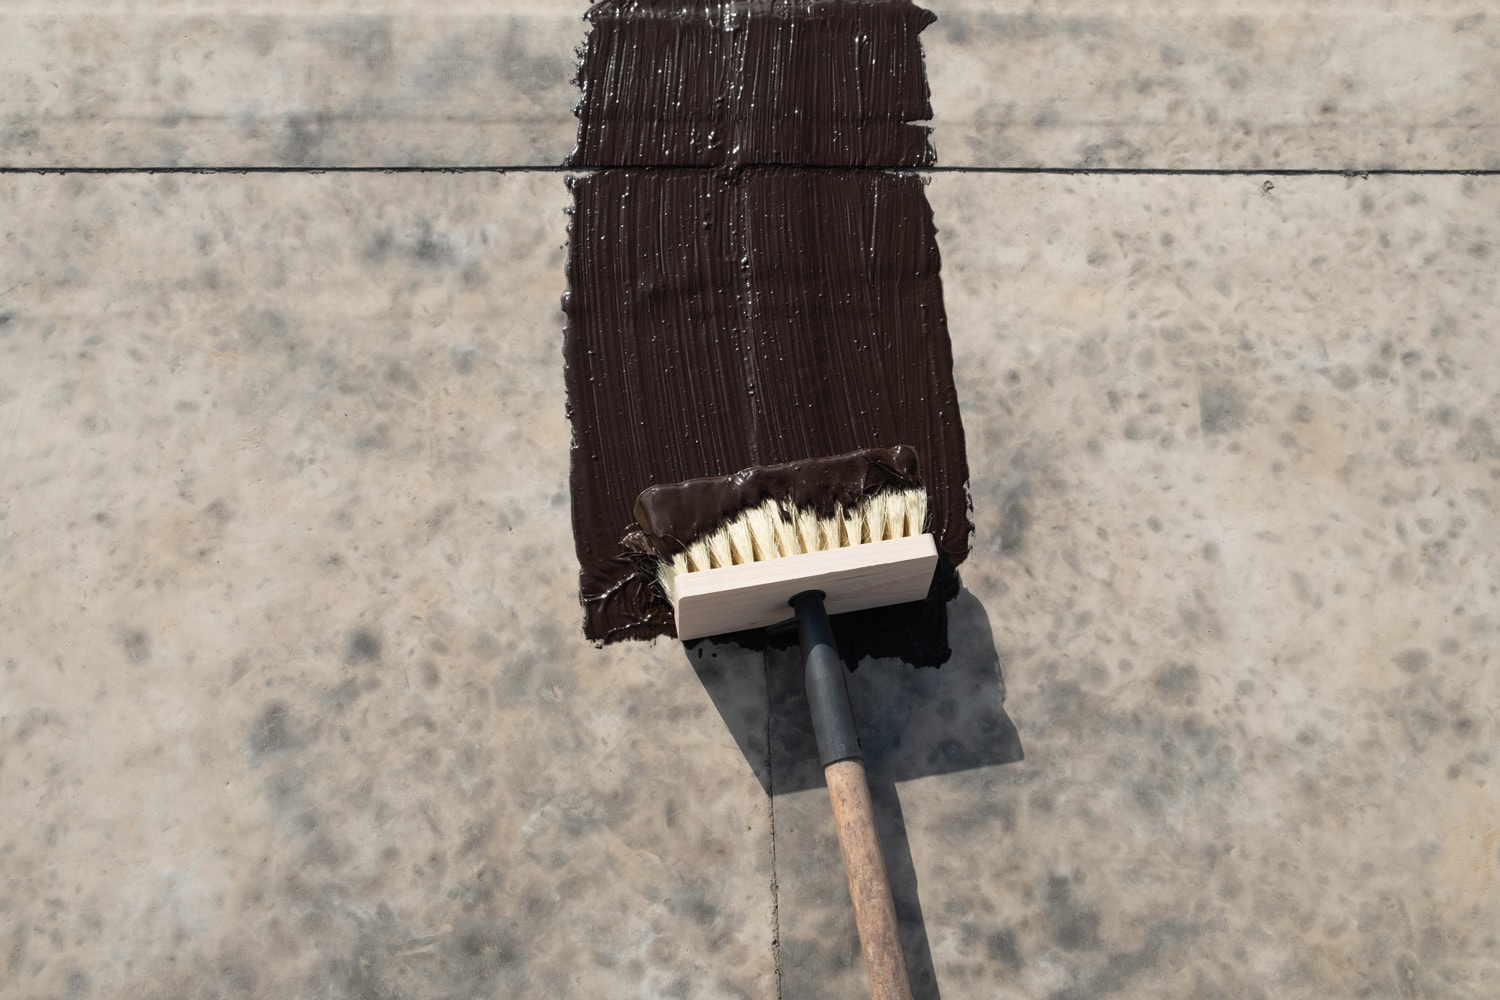
Flex Seal does not need a lot of preparation before use. After opening the lid, give it a stir, and it's ready for application. You don't need solvents or water to dilute the product.
Do not open the product until it is time to apply it. While it won't dry out completely, a skin may form on top when it's exposed to air for an extended time. The product does not work like most paints, which can simply be stirred to dissolve the skin. With Flex Seal, you have to remove the part that has already dried.
When applying Flex Seal Liquid, you may use either a paintbrush or a roller brush. Transfer enough of the rubber liquid into a paint tray to avoid exposing the unused product to the air.
View this 9-piece paint set on Amazon.
Maintain the same direction when painting the liquid rubber on your roof. It is easier to work in sections to spot tiny cracks and holes. You may also cover large holes with Flex Tape prior to liquid application.
3. Allow the first coat to dry for a few hours.
Flex Seal should be dry in a few hours if the weather is fair. Thicker coats may take longer to dry.
To test the product for dryness, run your fingers through the painted surface. It should not feel wet or tacky. Otherwise, wait for a few more hours and then check again.
4. Apply another coat and allow it to dry completely.
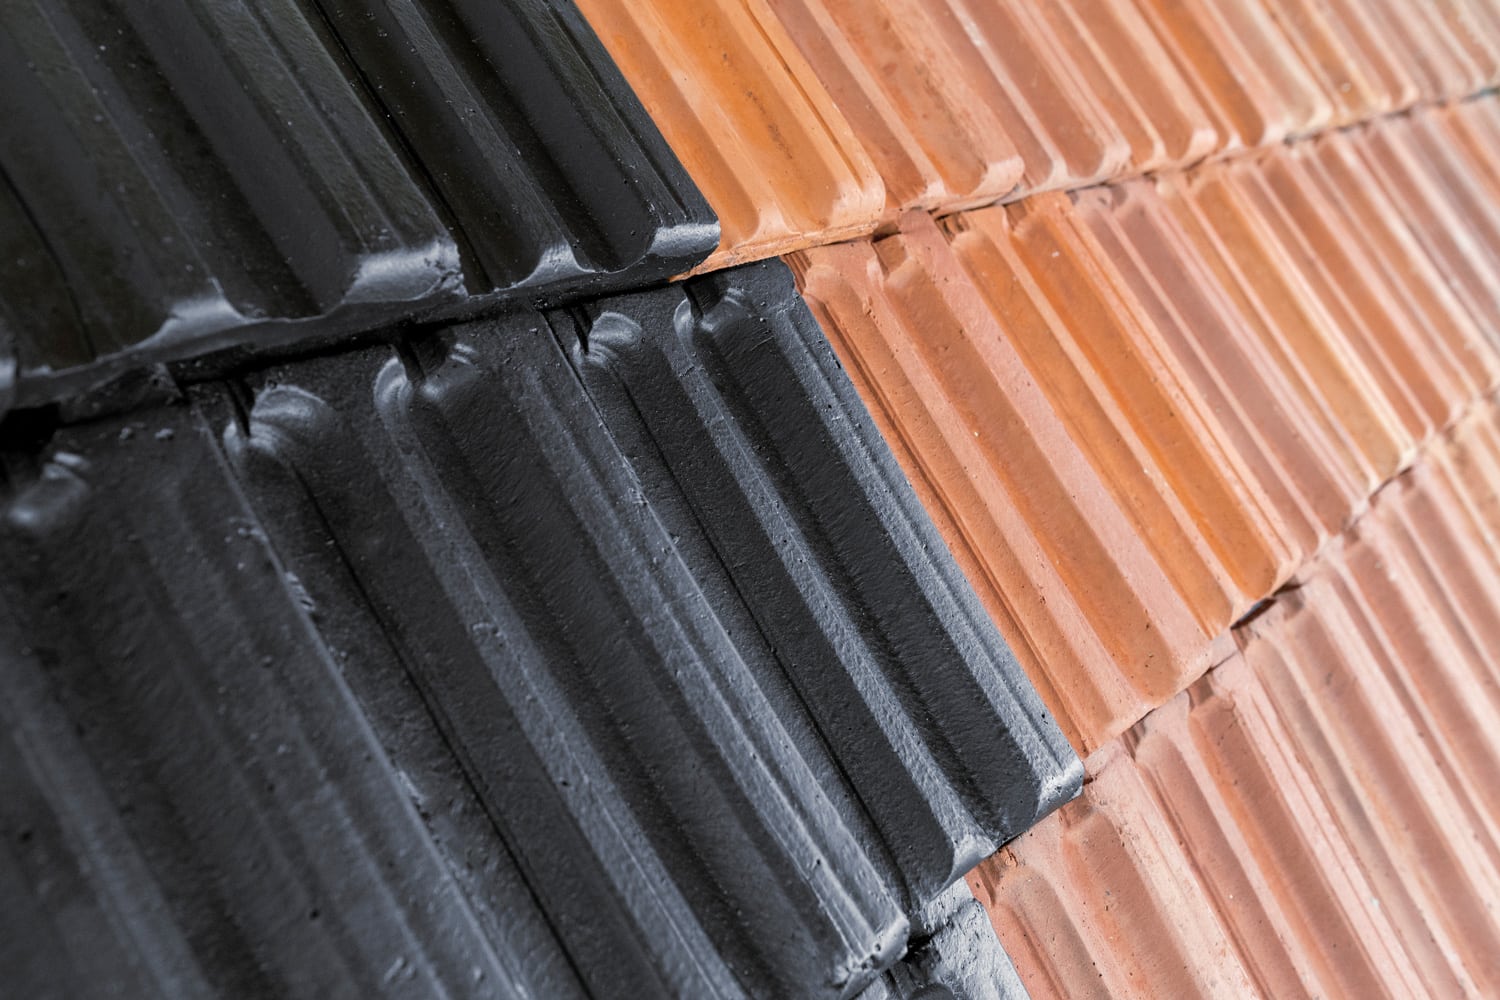
Apply the second coat only when the first layer of liquid rubber has dried completely. Of course, you may reapply when the product is half dry, but this approach will not deliver the expected durability.
Follow the same direction above when applying the second coat. Then let the surface dry again for as long as needed. Flex Seal is often fully cured within 24-48 hours.
That's how easy it is to seal leaks using Flex Seal. You can stop there or do another coat if you like. There is no limit to the number of coats you can apply, but remember to wait for each coat to dry before applying the next.
Another tip is to apply thicker coats of Flex Seal Liquid on cracked or punctured areas. The product becomes waterproof as soon as it dries out, but you may need to do a light test on areas with cracks and holes. If the light still passes through, then this means you need to apply another coat.
How Do You Remove Hardened Flex Seal?
If you accidentally applied the product on a surface, it is best to remove it while it is still wet. Use a dry cloth and mineral spirits to wipe off the product.
When removing cured Flex Seal, you can also use mineral spirits or acetone and soak the area for a few minutes. Then wipe it off with a dry cloth.
When Is the Best Time To Apply Flex Seal Liquid?
Flex Seal Liquid dries and cures faster when applied to the roof on a clear day. To achieve the best results, the roof temperature should not be lower than 32 degrees Fahrenheit or higher than 120 degrees Fahrenheit.
While it is possible to apply the product to wet areas, you would have to wait longer for it to dry and cure. The presence of liquid might also affect the adhesion and the consistency of the sealant, as well as impair its elasticity and durability.
It's important that you avoid applying the product when it's raining. You should begin the process at least 24 hours before an expected rainfall.
Can You Apply Flex Seal Liquid Over a Painted Roof?
You can apply Flex Seal Liquid over a painted roof. According to the manufacturer, Flex Seal may be applied on almost all types of surfaces including plastic, wood, drywall, and metal. Remember to follow the proper application procedures to get good, durable results.
On the other hand, you cannot apply paint over Flex Seal Liquid. Most paint products will not adhere to the product.
How Long Will Flex Seal Liquid Last On My Roof?
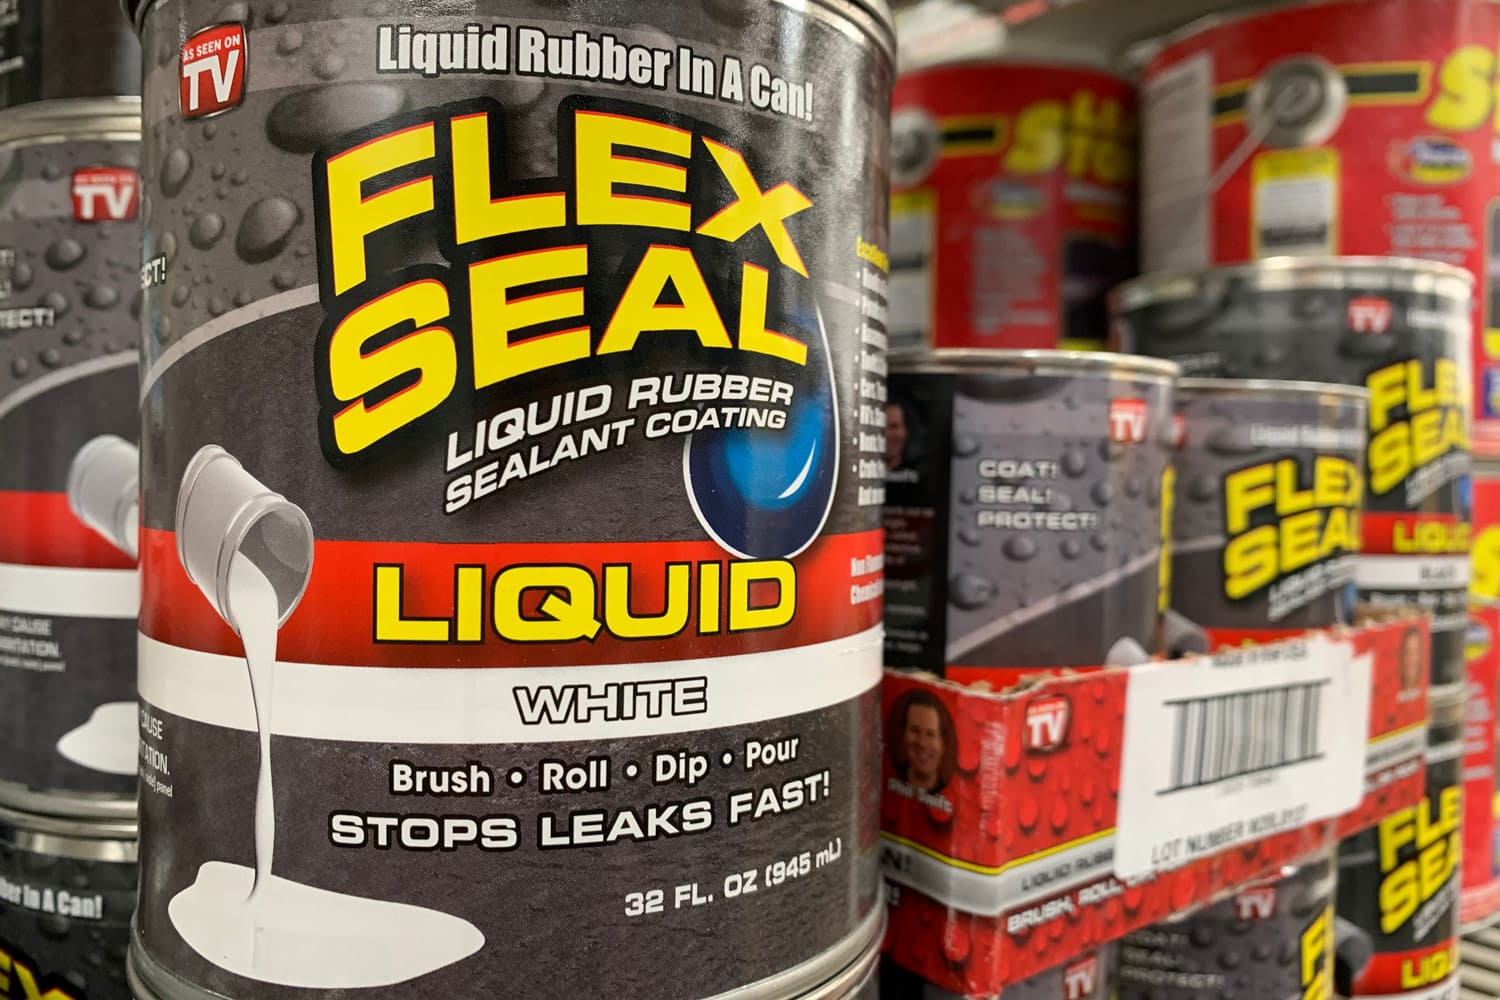
Flex Seal Liquid can last up to 30 years when applied and dried correctly. It does not crack, deteriorate, or fade.
Furthermore, Flex Seal remains elastic, which allows it to withstand harsh weather conditions. It contracts and expands along with temperature changes. It can withstand temperatures that range between 80 degrees Fahrenheit and 350 degrees Fahrenheit.
Additionally, Flex Seal Liquid does not react to cleaning products. It remains intact and effective even after being exposed to cleaning agents.
What Is The Lifespan of Flex Seal Liquid?
With proper storage, Flex Seal Liquid lasts up to 2 years. It is best to store the product with the lid tightly closed in a cool, dry place. Do not store it in an environment with a temperature over 120 degrees. If possible, use the entire product to avoid filming.
Alternatively, choose the size that best fits your needs. Flex Seal Liquid is available in 16oz, 32oz, and 1-gallon containers. You can also buy it in bigger quantities, known as the Flex Seal Liquid Max line, for larger applications.
Flex Seal Liquid Safety
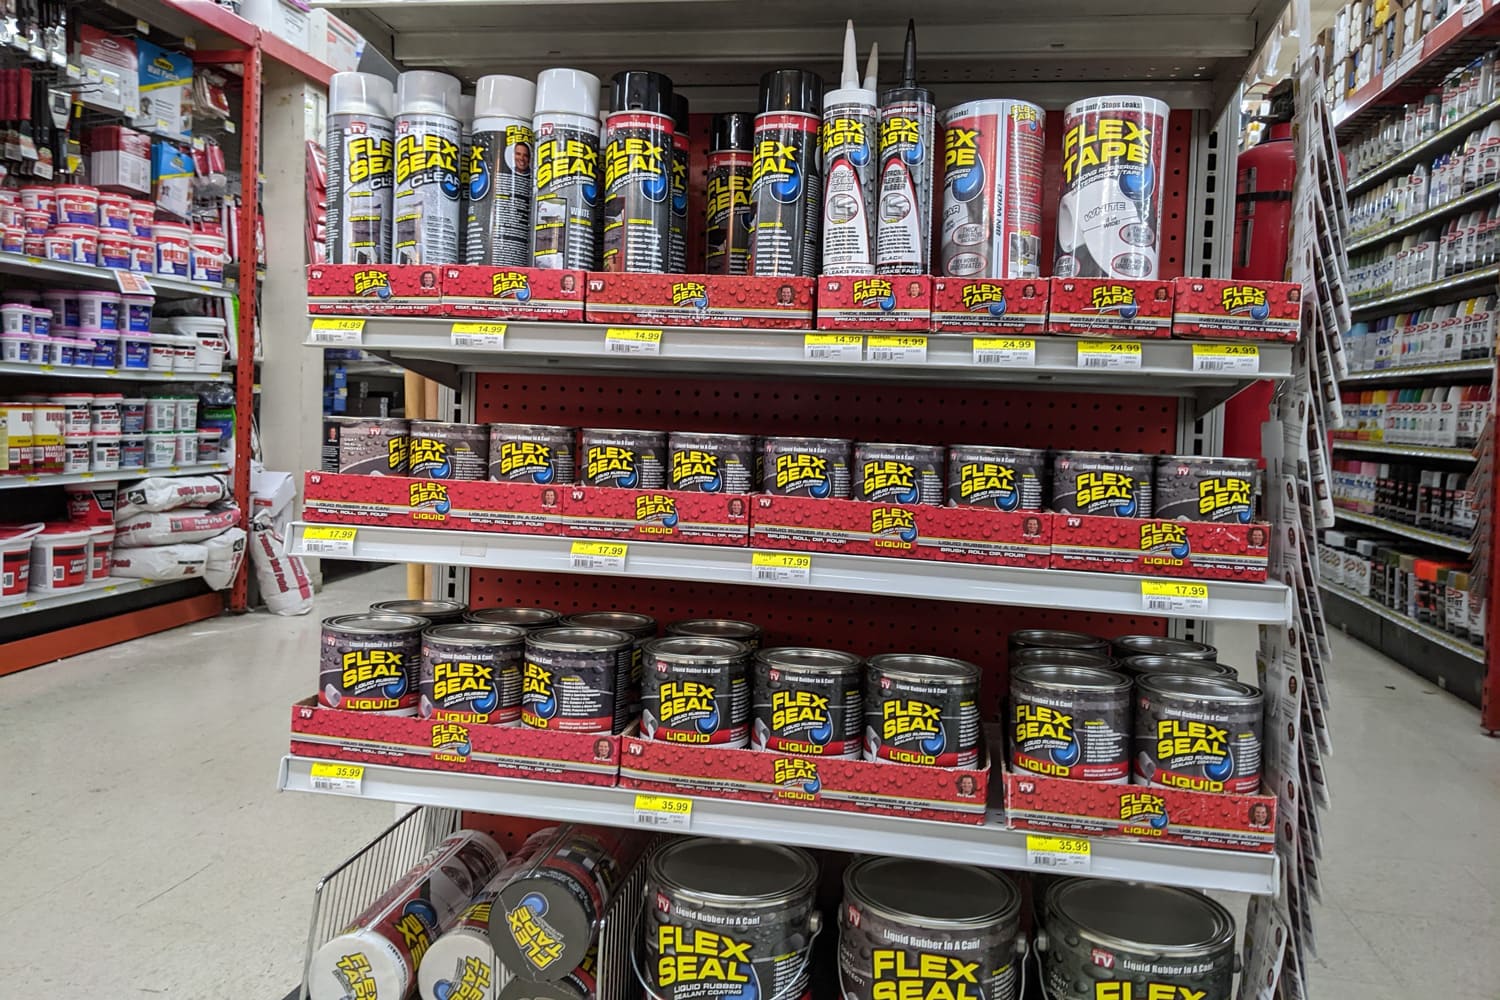
Flex Seal Liquid contains strong chemicals but is considered non-toxic to pets and plants once dry. It is recommended to perform the application in a well-ventilated area while using a facemask. Do not apply Flex Seal near any heat source.
For maximum safety, do not use Flex Seal on any object that contains flammable liquid or pressurized gas or emits extreme heat.
Final Thoughts
Applying Flex Seal Liquid to a roof is a straightforward process. You only need basic tools but should follow correct application procedures to achieve effective sealing that lasts many years. We hope you've learned a lot of useful information about Flex Seal Liquid in this post.
Check out these other posts for tips:
What Is The Best Sealant For Basement Walls? [3 Great Options Explored]

