
Are you planning to turn your attic space into another bedroom? If so, then you would need to install roof insulation from the inside. We can give you the answer and steps on how to do it based on our meticulous research.
Here is an overview of the steps to insulate the roof from the inside:
- Install an isolating barrier beneath the roof deck.
- Secure the fiberglass batt insulation between the rafters.
- Install drywall over the insulation.
We will talk about these steps in greater detail in the succeeding sections. There is a slight change in the steps based on where you live, and we will talk about that too. Read on!
What to prepare before insulating a roof from the inside?
Before jumping to the installation of insulation on the roof, you must first inspect the roof structure and accessibility.
What to check in the roof before installation of insulation?
You will need to look for any sign of structural problems.
Once the insulation has been installed, it will be almost impossible to find structural issues and fix them. Most of the time, you will only find out that there is a problem with the roof under the insulation when it is too late.
This is your last chance to ensure the structural integrity of the roof is sound before it gets hidden under the insulation.
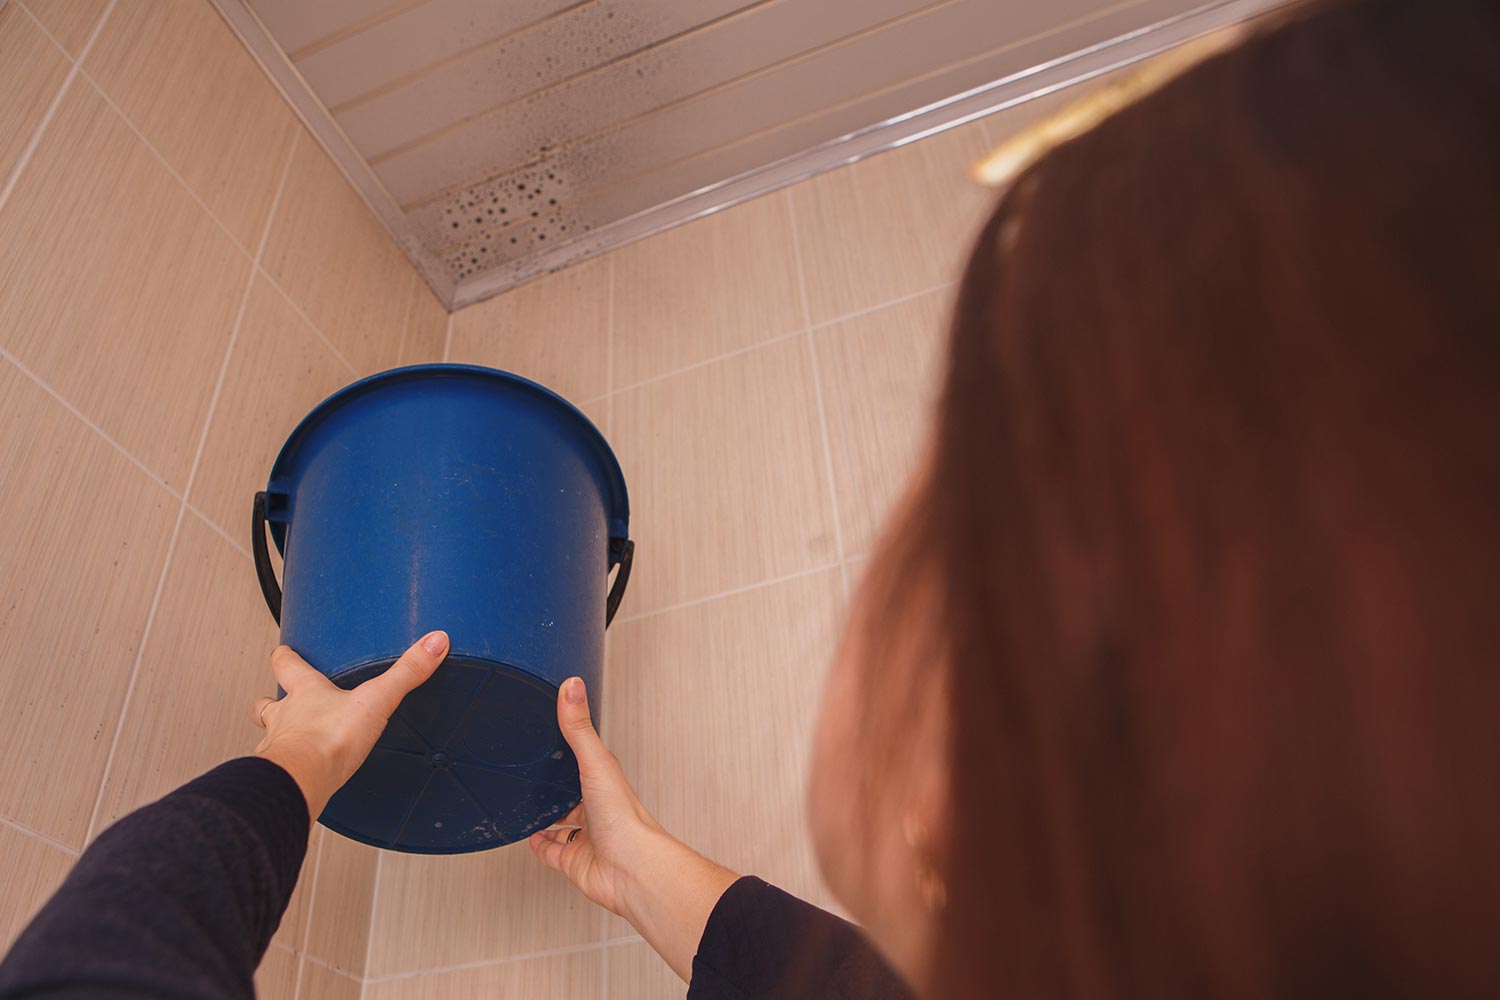
Check the roof frame, the sheathing, and the vents for any possible problems. Look for signs of moisture, leaks, stains, flaking, rot, and molds. These problems, in addition to structural problems, must be addressed first before installing any kind of insulation on the roof.
Identify the cause of the problems and address them from the root. Unless these issues are addressed, any insulation you install will not last long and become ineffective.
Check for moisture leakage that might be coming from the kitchen, bathroom, and laundry room. Any discoloration can be a sign of possible moisture leaks.
It is a good idea to check the roof just after or during heavy rainfall or just after a cold snap for any condensation buildup.
Check the wall plate. It should isolate the wall cavity from the roof and attic space.
How to check for accessibility before installation of insulation?
Check the access to the roof and determine if you will be able to carry all the materials that you will need (insulation materials can be thick and cumbersome) into the roof area. Additionally, you might need to bring in equipment like ladders. Make sure that they will fit the access to the roof.
If there is no existing access to the roof, make a cut somewhere inconspicuous on the ceiling, like from inside a closet.
Should I remove old insulation?
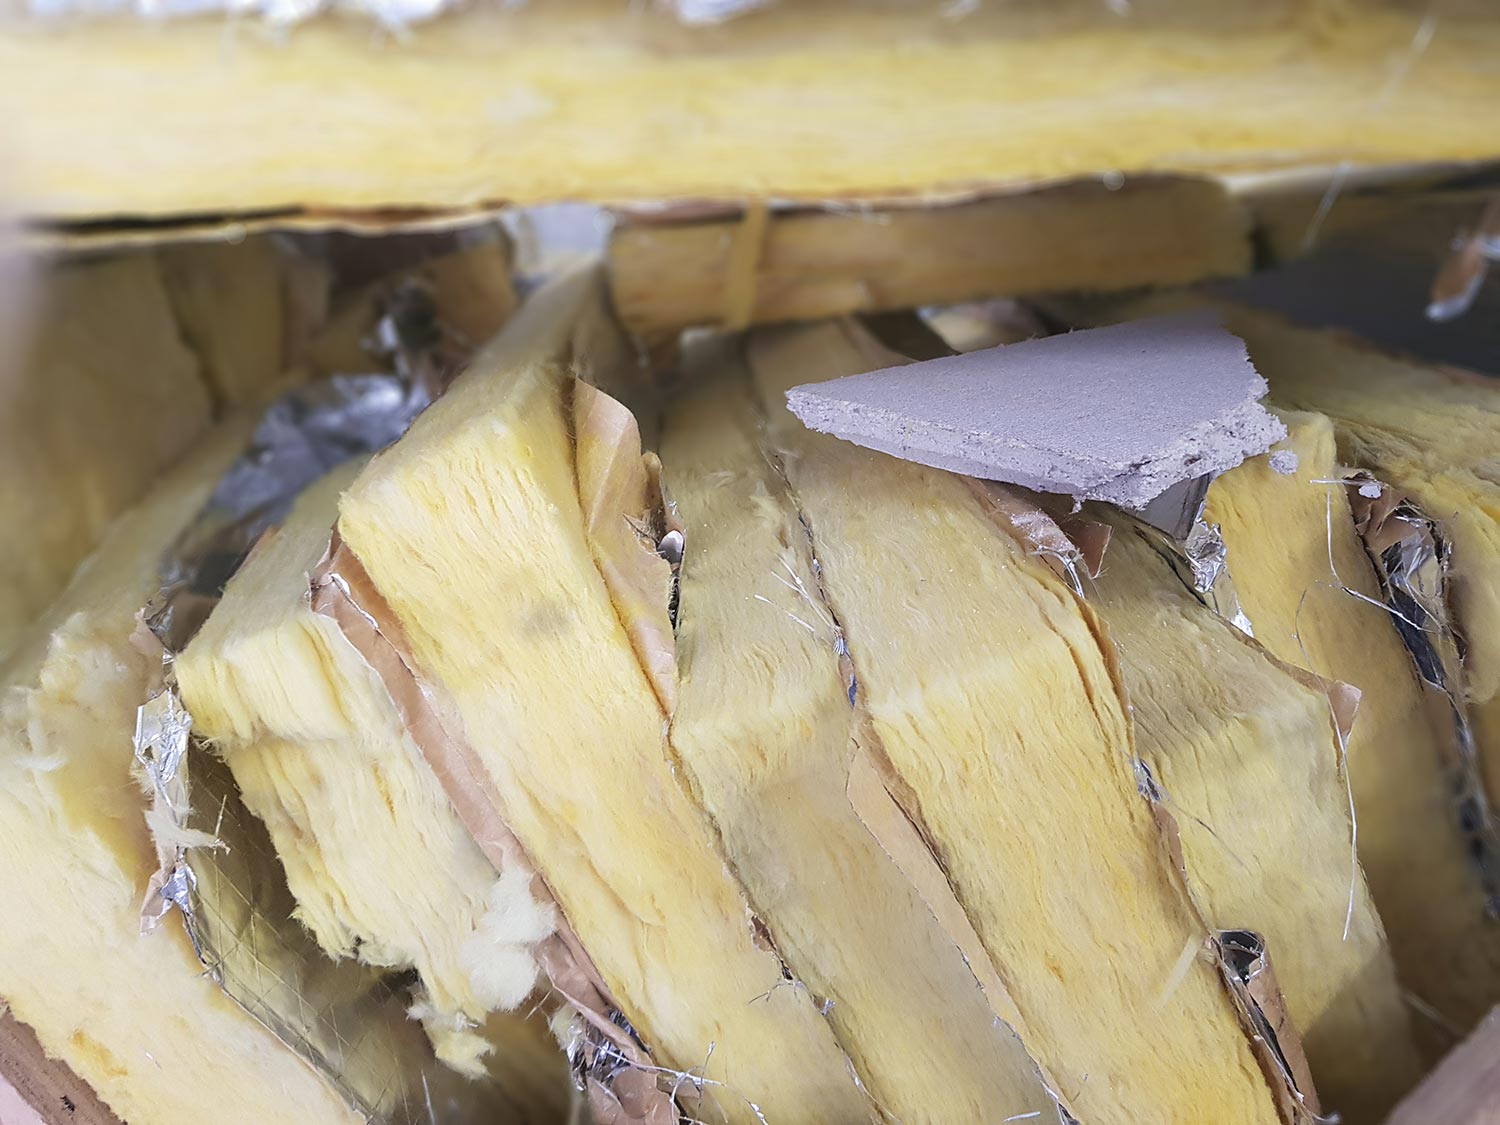
One of the things that you need to check is the condition of any old insulation. Check if there is evidence of condensation, mold, and infestation.
Any old insulation that is no longer in good condition—especially if it has evidence of condensation and mold—will have to be removed so that you can look for the underlying causes.
Discolored insulation usually points to the presence of condensation. Discoloration can be used to trace the source of the leak. However, old insulation will have to be removed to fix the problem.
Safety precautions
Keep in mind to follow strict safety precautions when dealing with old insulation. Old fiberglass and mineral wool insulation can generate harmful dust and fiber when removed or disturbed.
Let a professional handle any insulation removal so that you can be sure that they are taking care of any unsafe materials resulting from the removal. They will also take care of the disposal afterward, which is a plus.
How to install an isolating barrier beneath the roof deck?
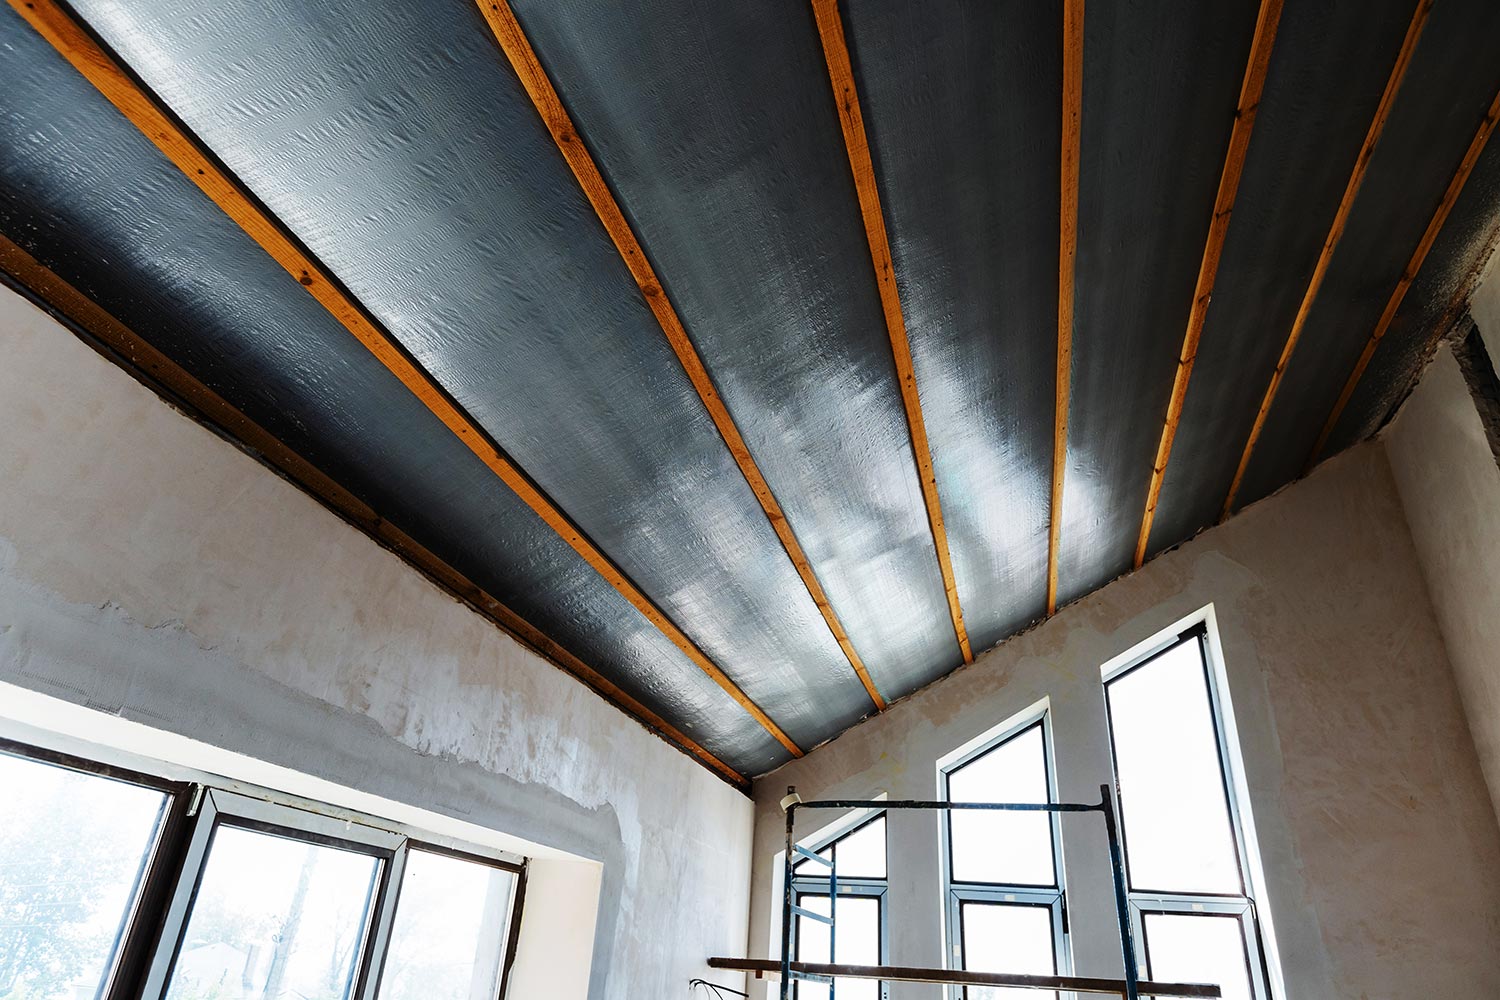
An isolating barrier ensures that there will be proper airflow coming in from the soffit vents all the way up to the ridge vent. The isolating barrier is responsible for maintaining a space for proper airflow through these vents after the insulation has been installed.
According to North Carolina State University, the soffit vent allows cooling in summer and the passing of moisture.
Preinstallation preparation
If you live in one of the Southern States, you will need to install a polyethylene sheet (rated for construction use) right under the roof deck. This should be a continuous sheet that will follow the edges of the roof deck, transitioning to the rafters then back to the roof deck.
Staple the polyethylene sheet near the corners where the rafters and the roof deck meet. Staple every eight to twelve inches.
Once you’ve completed covering the entire roof and rafters with the polyethylene layer, seal the stapled areas with polyethylene tape.
Installing an isolating barrier
There are a few materials that you can choose from for the barrier or baffles. The best material to use would be one that is made from rigid plastic. This is waterproof and will not absorb moisture.
Follow the steps below to install an isolating barrier or baffle rafter vents.
- Measure the space between the rafters.
- Purchase baffle rafter vents that have a width equal to the space between the rafters.
- Measure the perpendicular vertical distance from the top of the wall plate (near the edge overlooking the soffit vent) and the roof deck above it.
- Measure a distance of one to two inches from one end of a baffle rafter vent. Make small cuts on both sides along the long edge.
- Measure a distance from the first pair of cuts equal to the perpendicular distance from the wall plate to the roof deck.
- Make a second pair of small cuts at this point. These cuts are to make it easier to fold the baffle rafter vents.
- Place the baffle rafter vents on top of the wall plate and secure it with staples. The indented side should face the roof, where it will make a hollow channel that is at least 1 1/2 inches from the roof deck.
- Attach the rest of the baffle rafter vent on the roof deck and secure it with staples every six to eight inches.
- Repeat steps 3 to 8 until you have installed baffle rafter vents on all the wall plates to cover the access to the soffit vents.
- Install another baffle rafter vent overlapping the first by one to two inches. Fasten it with staples. Repeat this step until you have installed baffle rafter vents up to the ridge vents.
The Frost King P1025/6W clear polyethylene sheeting is available on Amazon. Check it through this link.
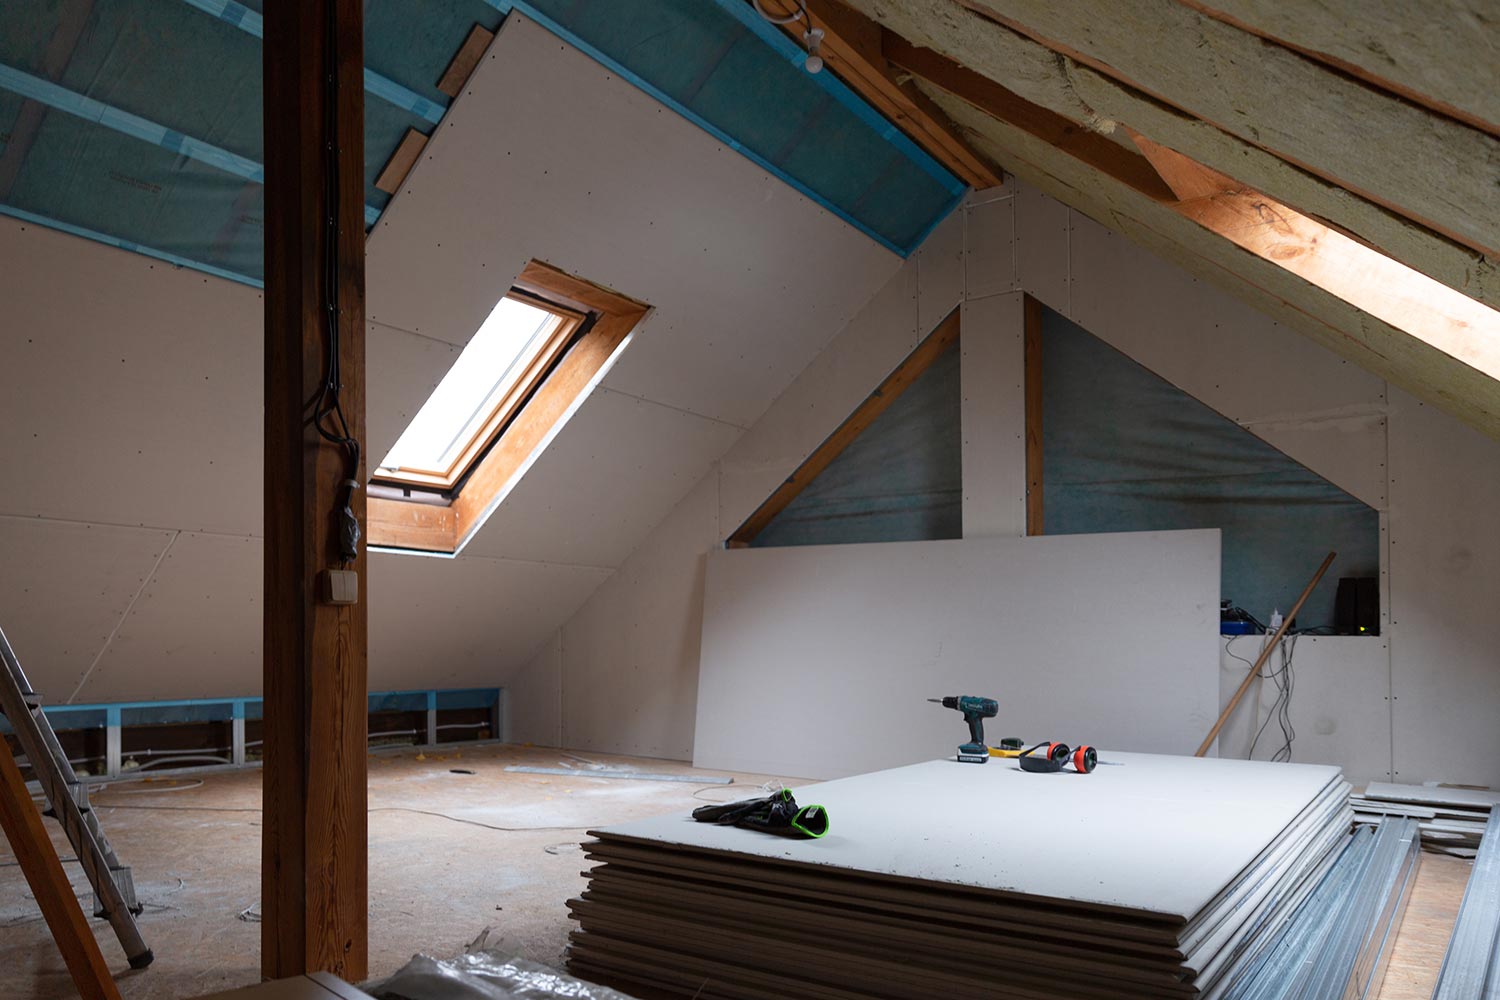
How to insulate a roof from the inside?
The steps that we provided used fiberglass batts as insulation. However, the actual insulation material to be used depends on the recommended total R-value for your city or state.
You can determine the insulation material that you need to use by dividing the target R-value by the width of your rafters. This is the R-value per inch that you need.
Choosing the right insulation material
Check the R-value that you need from the list below. Pick an insulation material that has an equal or higher R-value per inch than what you need.
You can use the same table to balance the cost of the insulation with the R-value.
- Fiberglass batt – 2.9 to 3.8
- Cotton batts – 3.0 to 3.7
- Mineral wool batts – 3.3 to 4.2
- Expanded polystyrene foam board – 3.6 to 4
- Rigid foam board – 3.85 to 5
- Extruded polystyrene foam board – 4.5 to 5
- Polyurethane open-cell foam spray – 3.5
- Polyurethane closed-cell foam spray – 6.0
- Polyisocyanurate foam board – 7 to 8
The two types of foam spray cannot be installed as a DIY. You will need to hire a contractor that is skilled in the installation of spray foam.
Doing this is important because spray foam gives off toxic fumes during installation. It also gives off unreacted isocyanate dust during trimming, according to the EPA (US Environmental Protection Agency).
Off-gassing of toxic fumes can continue indefinitely if the foam mix is not accurate.
Insulation installation
Follow the steps below to install insulation on your roof:
- Trim batts and foam boards based on the distance between your rafters.
- Add an inch or two to the width when you trim batt insulation.
- Remove an inch or two from the width when you trim foam boards.
- Insert the insulation into the cavity between the rafters.
- Insert the batt insulation into the cavity between the rafters with the paper side facing the living area. The added width should allow you to fit the batts snugly into the cavity. Open the flaps (if there is one) and align them to the edge of the rafters facing the inside of the house and secure it in place with staples every eight to ten inches.
- Insert the foam boards into the cavity with the foil side facing the living area of your house. Fill the space between the foam board and the rafters with canned spray foam on all sides.
- Repeat steps 1 and 2 until you have filled all the rafter cavities with batt insulation or foam board insulation from the wall plate to the ridge beam.
- If you live in one of the Northern States, install a layer of polyethylene sheet on top of the insulation. The polyethylene sheet should be a continuous layer. Secure it using staples.
- Once you have covered all the insulation materials with a polyethylene sheet, seal the areas with staple wires with polyethylene tape.
- Install drywall over the insulation.

Loctite TITE FOAM insulating foam sealant is available on Amazon. Check it through this link.
Conclusion
Installing roof insulation can be divided into three stages—the preparation stage, the installation of an isolating barrier for the vents, and the installation of the insulation. Each stage should be completed first before proceeding to the next stage.
If you enjoyed this article, why not check out the two other articles below:
What’s The Best Insulation For Soundproofing Ceilings And Walls?