If you want to avoid heat loss during winter, you should add reflective insulation at home. Rolled insulation will take time to work on. Regardless of the time spent, you can achieve the benefits of insulation with the correct installation. This article will help you to put the reflective roll insulation in place.
When installing, roll the insulation with the foil face-down. Allow at least 1-inch space for the air to flow between the attachment points. From the top, carefully staple the insulation to studs as you go down. The installation can vary on the part of the house you are insulating.
You should be cautious when placing the insulation because there are consequences with improper installation. The purpose of insulation will be useless if there are holes and gaps. Read further to learn how to install reflective insulation for effective heat and moisture control.
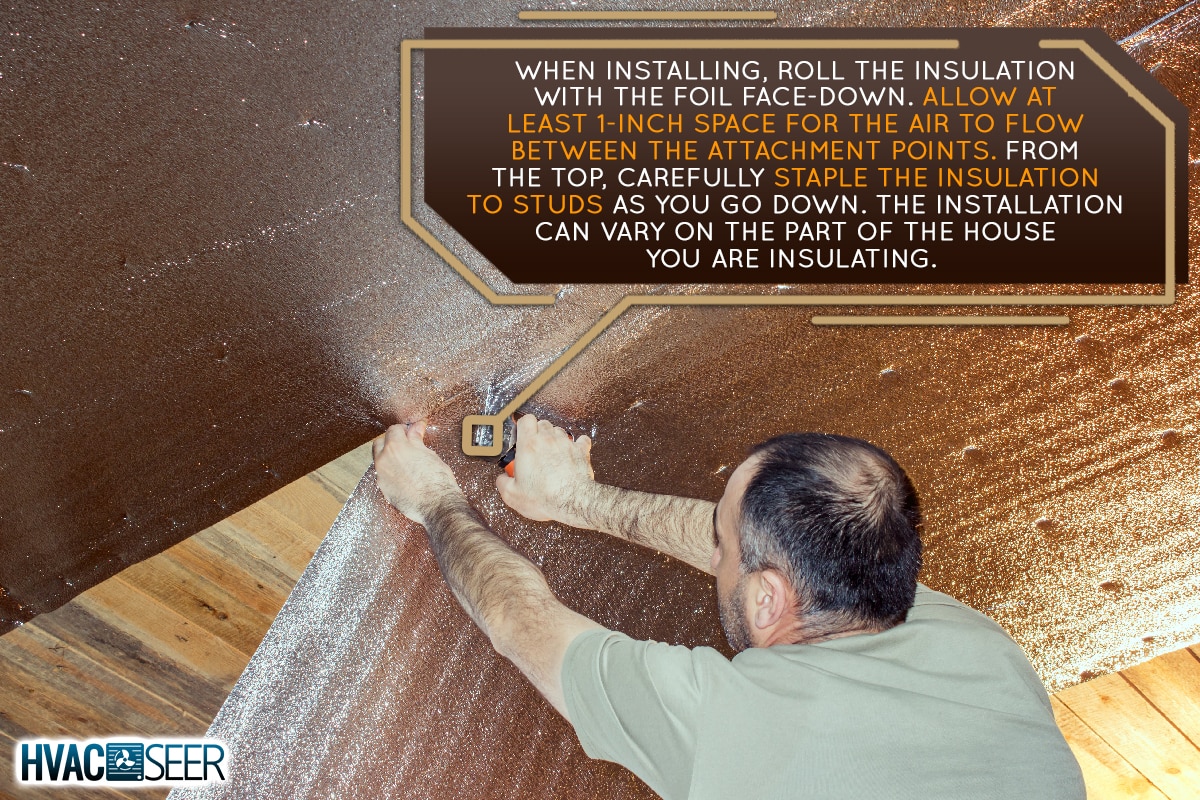
Installing A Rolled Reflective Insulation
The installation process varies on the part of the house you are insulating. You can install reflective insulation in these places:
- Crawl spaces
- Floors (e.g., concrete, slab)
- Garage doors
- Walls (e.g., basement, masonry, metal)
- Water heaters
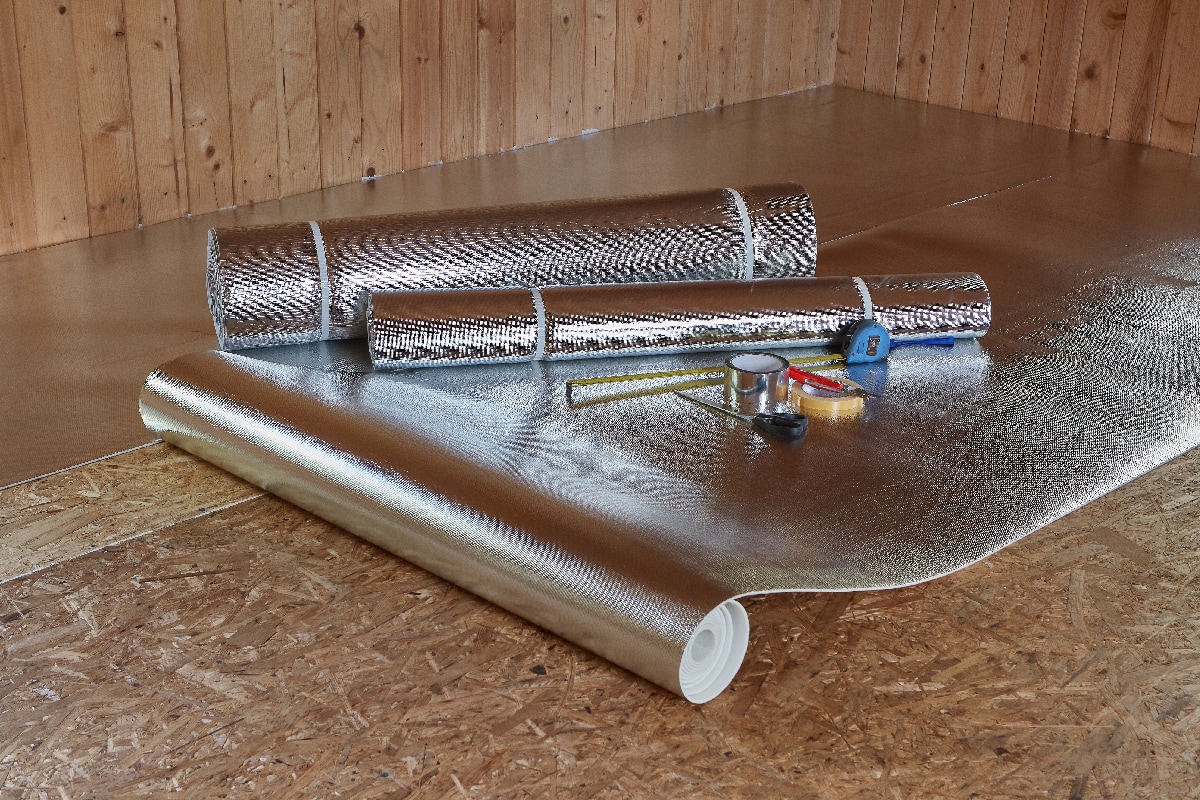
Installing is possible for new and existing construction works, as well as inside or outside a structure. There are reflective insulation options that offer additional features and colors. The complexity of installation depends on the area you want to insulate.
Moreover, you should be careful in every step of the process to avoid errors and damage. When you receive the rolled insulation, ensure that it is in a dry and covered location.
Exposing the barrier to the elements will cause aluminum to corrode. As a result, the effectiveness of the insulation will decrease.
In this article, the steps provided relate to the installation on the walls. Before installing, prepare the following materials:
- Furring strips
- Scissors
- Staple gun and 5/16 staples
- Tape Measure
- Utility knife
Reflective Insulation Installation (For Walls)
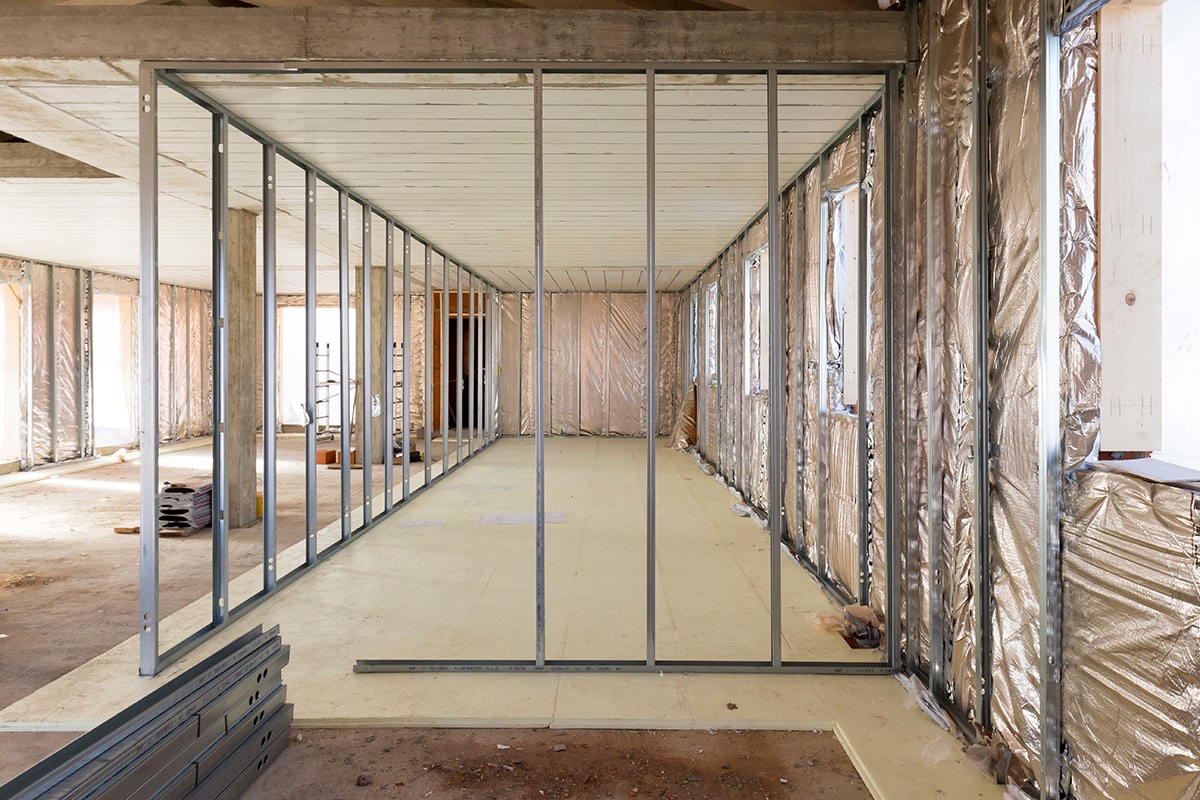
Once you have gathered your tools, here are the steps for installation:
- Measure the area where you will install the insulation. Place the insulation on a wood board and cut it based on the measurements.
- Afterward, place one edge of the insulation on the uppermost of the stud cavity. Leave at least 3/4-inch of air space on the sides.
- Then, staple the insulation going down on one side first. Leave around 2-3 inches of distance after each staple.
- Repeat the previous step on the other side.
The steps seem easy, but in reality, installing the insulation takes time and effort. The process in similar when you insulate other areas. You can install the insulation by yourself if you have the expertise. However, it is best to let a professional do the installation if you have enough budget.
Tips When Installing Rolled Reflective Insulation
You have to be cautious when installing reflective insulation. Listed below are the tips to remember:
- Always refer to the instructions from the manufacturer.
- Consult your local building office on specific regulations when installing reflective insulation.
- Inspect the location where you will install the insulation. You need to repair and replace the bare or worn fixtures and wirings.
- Ensure that your workspace has proper ventilation and lighting.
- Be careful when rolling out and cutting the insulation.
- Get accurate measurements before you cut so you don't compress the insulation. If compressed, you will lower the R-value of the material.
- Use eye protective gear, especially when stapling the insulation. Also, avoid stapling through wires.
- If you use tape, do not use duct tape. Use suitable non-conductive reflective aluminum tape. You should tape all over the seams so the insulation stays in place.
Please take note of these tips to get the benefits of reflective insulation. You can always ask for help from professional insulation installers if you have difficulties with installation.
How Do You Make Roll Insulation Stay In Place?
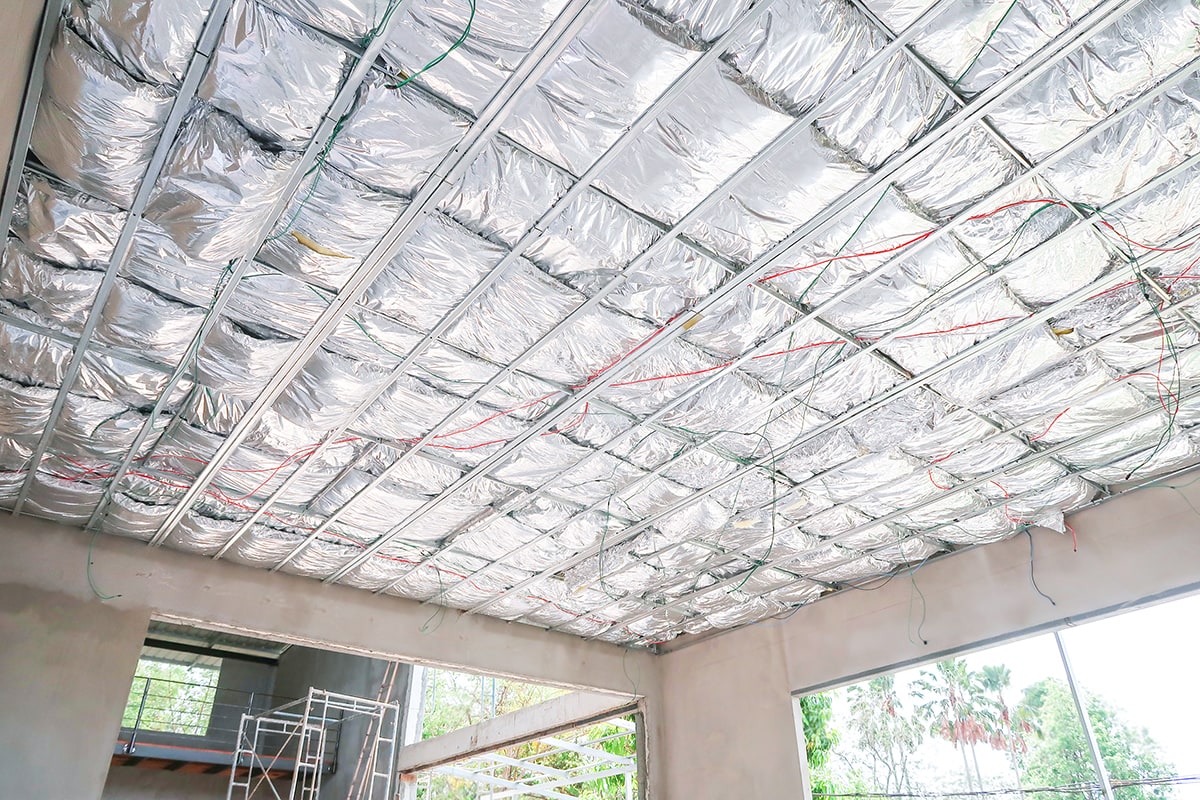
It can be a hassle if the rolled insulation falls off. The insulation must stay flush on joists to perform its function. You have the following options to keep the insulation in place:
- Garden netting - This option is affordable, and you can easily find these in stores. It is lightweight, but installation is challenging.
- Insulation mesh netting - It is a sturdy yet expensive netting that you can rely on. Compared to garden netting, its holes are smaller. It works well, and stretching is not obvious over time.
- Metal insulation supports - These metal wires are cheap, easy to install, and effective in holding insulation. Just install them sparingly and keep them near the outer edge of the studs.
- Nylon straps - It is easy and inexpensive to use these straps. You only need to attach them to the rafters by stapling or nailing them. If these straps are not available, an alternative is a heavy-duty twine.
It is your choice to choose the best option based on your budget and preference.
Which Way Do You Install Reflective Insulation?
In most cases, the moisture-resistant foil side should face the heated space. Install the reflective insulation un-faced or face-down when you install it from above. Let the shiny side face up if you cover the floor. In that way, you can keep the heat inside the space. You can also minimize dust and dirt accumulation on the reflective side if it faces you.
The insulation's placement should effectively retain heat in the colder months. Sadly, reflective insulation is not efficient in the cold. If there is no air space, the insulation reflects most heat, and only a few retain.
Also, consider how heat and moisture pass through the space. The insulation should face the correct side to allow circulation of heat and moisture inside. The difference in climates influences which side the insulation should face.
How Much Reflective Insulation Should You Use?
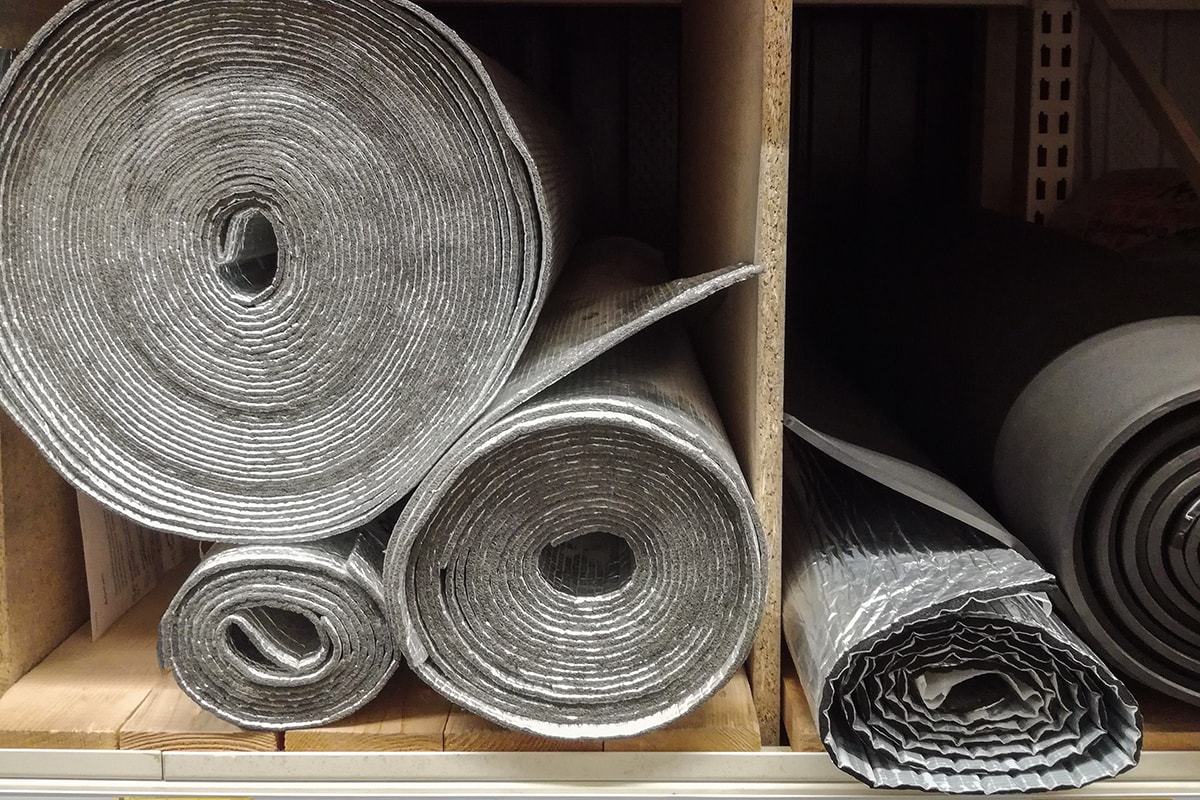
Before buying rolls of reflective insulation, you should know how much you need to cover a specific area. You should know the square footage requirement of the space you are covering. You can use this roll insulation calculator to determine how much to buy.
For rolled insulation, you need to cut them individually. There are insulation batts with a standard size for 8 feet walls, which you won't need to cut.
How Does Reflective Insulation Work?
According to the US Department of Energy, reflective insulation works by reflecting heat. This type is most effective in preventing downward heat flow. Yet, the effectivity will vary on the spacing and thickness of the foil layer. Reflective insulation is common for homes with attics to reduce heat in the summer and help lower cooling costs.
The reflective insulation has a layer of Low-E material that should face an enclosed place. This surface absorbs and re-emits radiant heat of about 5%. Its re-emittance rate is lower than other types of insulation.
Check out this Rolled Reflective Insulation on Amazon.
What R-Value Should You Choose For A Reflective Insulation?
The R-value is the level of resistance to heat of the insulation material. Choosing the right R-value can help your HVAC systems to run efficiently because the temperature stays consistent. The higher the R-value, the greater the heat resistance.
The air space between the reflective insulation and the surface you install determines the R-value. You can best measure the R-value when applying it in the area. The range of R-value for this type of insulation is from 3 to 17.
However, the R-value of the insulation can decrease due to the following:
- Humidity levels
- Improper installation
- Thermal bridging
- Temperature and pressure differences
- Wind damage
When installing, the insulation R-value is more effective if you use an airtight seal.
Benefits And Drawbacks Of Reflective Insulation
If you have reflective insulation, here are some of its benefits:
- Has a lower emittance value than other insulation (e.g., fiberglass)
- It will not disintegrate due to its stability and durability
- Lightweight and easy to install
- Also acts as a vapor barrier
- Improves energy efficiency
- Keeps interiors cool in hot weather
- No need for safety equipment when installing
- Environment-friendly
The drawbacks of reflective insulation will include:
- Expensive because of its metallic features
- Need to combine with other insulation materials to prevent heat loss in the colder months
- Regular cleaning to avoid the accumulation of dust
As observed, there are more benefits from reflective insulation. Hence, it is a good insulation choice for your properties.
In Summary
It is easy to install a roll of reflective insulation. Before you work, always refer to the product instructions and prepare the necessary materials. Then, roll out the insulation carefully and cut it to the desired size.
Follow the process to ensure that there are no errors or damage. If you cannot install it, you can ask a professional to do the job.
After all, reflective insulation will help you get a more comfortable stay at home if you follow the proper installation.
Read more about insulation from these posts:

