
When it comes to managing the temperature in your home, a smart thermostat can be a game-changer.
The Wyze thermostat is a popular choice for its affordability, ease of installation, and handy features that allow you to control your home's heating and cooling system from anywhere.
But what happens if you need to remove your Wyze thermostat for any reason, such as upgrading to a newer model or troubleshooting an issue?
Don't worry, removing your Wyze thermostat is a simple, straightforward process that doesn't require any extensive technical expertise.
In this article, we'll walk you through the steps to safely and effectively detach your Wyze thermostat from the wall and disconnect it from your system.
By following these instructions, you'll be able to ensure that your thermostat removal is a hassle-free experience, allowing you to continue enjoying a comfortable and energy-efficient home.
Safety Precautions
When removing your Wyze thermostat, it's essential to follow safety precautions before starting the process. This section details how to ensure your safety when dealing with electrical components.
Turn Off Power Source
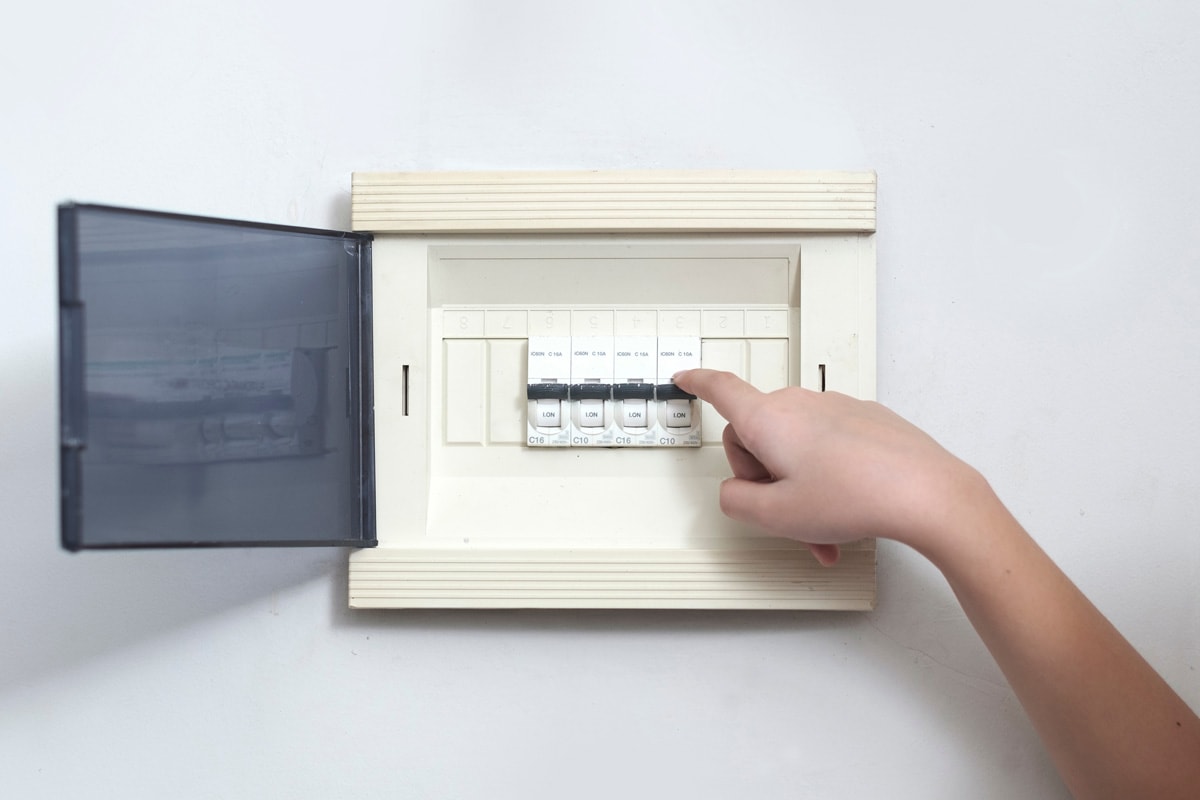
Before attempting to remove your Wyze thermostat, always turn off the power source connected to the device.
Locate the circuit breaker within your home and flip the switch that controls power for the thermostat. This will help prevent accidental electrical shocks and keep you safe throughout the removal process.
You might also like: Can You Lock A Wyze Thermostat? Unlocking The Answer
It's also a good idea to test the thermostat after shutting off the power, ensuring that it is not receiving any electricity. Press buttons or attempt to adjust the temperature to confirm that the device is indeed inactive.
Use Appropriate Tools
Using the right tools is crucial for safely and effectively removing your thermostat. Make sure you have the following on hand:
- A Phillips screwdriver for removing screws
- A pair of needle-nose pliers for dealing with small components
- A small flathead screwdriver for prying open panels or releasing clips
Always handle the tools with care, ensuring that you are using them appropriately and following any safety guidelines or best practices.

Get this set of Viseman 6" needle nose pliers on Amazon.
Removing The Old Thermostat
Here are the steps to removing your thermostat from installation.
1. Detach Faceplate
To remove your old thermostat, start by turning off the power to your heating and cooling system from the circuit breaker or fuse box. Now, gently remove the faceplate of the existing thermostat.
Most faceplates can be detached by either pulling them straight off, sliding them sideways, or loosening any screws holding them in place.
Make sure to hold the faceplate firmly and be careful not to damage any wires attached to it.
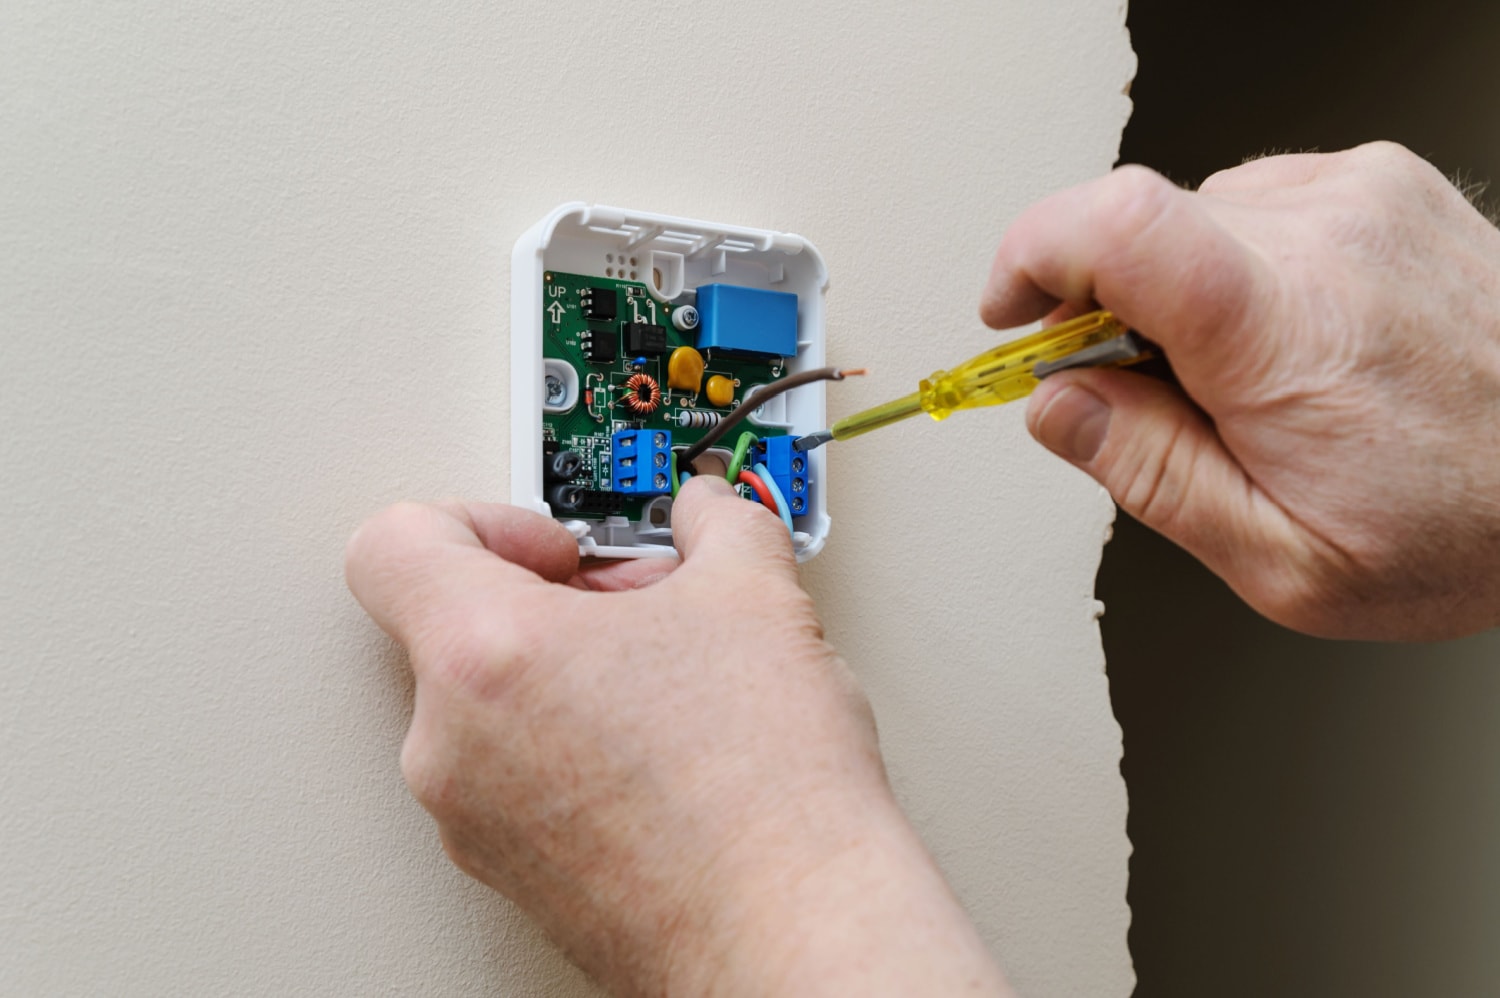
2. Label Wires
Once the faceplate is detached, you will see a number of wires connected to the thermostat terminals.
Before removing these wires, it's essential to label them so you can easily connect them to the new thermostat (if you intend to replace it).
Using masking tape or labels, mark each wire with the corresponding terminal letter it's connected to. For example, if a wire is connected to the "R" terminal, label it "R."
After labeling the wires, carefully remove them from their terminals. You can use a small screwdriver to loosen the screws and gently pull the wires out.
Be cautious not to let the wires fall into the wall hole as you remove them; you can temporarily tape them to the wall to prevent this from happening.
Once all the wires are detached and labeled, proceed to unscrew and remove the old thermostat's mounting base.
It would help to see how the thermostat was connected from the beginning so you'll have an idea about the wiring and how to remove them by simply reversing the process.
Here's a video on Wyze thermostat installation.
Disconnecting The Wiring
In this section, we will guide you through the process of disconnecting the wiring of your Wyze thermostat. Follow the steps carefully to ensure safe and successful removal.
Be sure to check out: Do Digital Thermostats Have To Be Level?
1. Snip Wires If Necessary
Before you start, make sure to turn off the power to your HVAC system at the circuit breaker to prevent any electrical hazards. Once the power is off, examine the wires connected to your Wyze thermostat.
If they are too short or difficult to work with, you can use a pair of wire cutters to snip them close to the thermostat.
However, only snip the wires if it's necessary, as keeping the existing wire length can be useful when installing a new thermostat.
2. Unscrew Mounting Plate
Now that the wires are manageable, it's time to remove the mounting plate. Locate the screws securing the mounting plate to the wall and carefully unscrew them using a screwdriver.
While doing this, hold the thermostat and plate steady to avoid pulling the wires out of the wall. Once the screws are removed, gently pull the mounting plate away from the wall, ensuring the wires remain accessible.
Remember to keep the screws and mounting plate in a safe place, as you may need them for reinstallation or reference later.
You have now successfully disconnected the wiring and removed your Wyze thermostat from the wall.
How do I reset my Wyze Thermostat?
Installed a new one but can't get it to work? Resetting the system might be the solution.
Resetting your Wyze thermostat is a straightforward process that can help you troubleshoot issues or revert settings back to factory defaults if needed.
According to the Wyze support, you only need to hold the thermostat wheel for 10 seconds. This should reset the system and then you need to set up your thermostat again like new.
Easy Thermostat Removal
That's about it! You've successfully learned how to remove a Wyze thermostat. Remember, it's essential to stay safe and follow the precautions mentioned before embarking on this task.
As a friendly reminder, don't forget to turn off the power supply to the thermostat and use the appropriate tools.
Lastly, if you ever feel unsure or face any difficulties during the removal process, it's always prudent to reach out to a professional or consult the user manual provided with your thermostat. Taking extra precautions ensures the safety and longevity of your device.
We hope this guide makes the process more accessible for you!