
Plumbing flux is an essential component of soldering pipes and fittings in your plumbing system.
It's used to clean and prepare copper pipes before joining them, ensuring a strong bond between the pipe and the solder.
By understanding how to use plumbing flux properly, you'll be able to tackle plumbing projects with confidence and precision.
Understanding Plumbing Flux
When you need to solder copper pipes together, using plumbing flux is essential. Plumbing flux is a critical material that helps to create a strong and watertight bond between joints.
It does this by cleaning the surfaces of the pipes and preventing the formation of oxidized copper, which can weaken the bond.

Types of Plumbing Flux
When working on your plumbing projects, it's essential to choose the right type of flux for the job. There are three main types of plumbing flux: water-soluble flux, petroleum-based flux, and mildly activated flux.
Water-based fluxes are more environmentally friendly and easier to clean up, but petroleum-based fluxes tend to be more effective for thicker joints and larger pipes.
Water-Soluble Flux
Water-soluble flux is a popular choice because it is both easy to use and easy to clean up. This type of flux is designed to dissolve quickly when exposed to water, making it a great option for projects where cleanliness is critical.
To use water-soluble flux, simply apply it to the joint you're working on, heat it with your torch, and complete the soldering process.
When finished, simply rinse the joint with water to remove any remaining flux residue. This helps prevent corrosion and ensures a clean, leak-free connection.

Check out this water-soluble flux paste on Amazon.
You might also like: Will Plumbing Solder Work On Aluminum: Unraveling The Mystery
Petroleum-Based Flux
Petroleum-based flux is another common option for plumbing work. It has a thicker consistency than water-soluble flux, which can be helpful for projects where maintaining the flux in place is crucial.
While petroleum-based flux is effective at facilitating strong soldering connections, it can be more challenging to clean up.
It's important to remove any excess flux after completing your soldering, as the residue can lead to corrosion over time. To do this, you may need to use a flux remover or other cleaning solvents.

Check out this Oatley 8-ounce petroleum-based flux on Amazon.
Mildly Activated Flux
Mildly activated flux is a specialized type of flux that is typically used for electronic applications. However, it can also be used in plumbing projects if you require a more gentle flux to avoid potential damage to fragile components.
This type of flux typically contains a lower concentration of corrosive materials, reducing the risk of damage to delicate plumbing parts.
Just like with other types of flux, it's essential to clean up any residue after completing your soldering to prevent long-term corrosion.
How To Use Plumbing Flux
Before you begin, ensure you have all the necessary tools and materials for a more systematic and efficient workflow.
- Preparation: Collect all the necessary tools and materials. These include a pipe cutter, sandpaper, a propane torch, lead-free solder, and plumbing flux.
- Ensure safety: Make safety your priority. Always work in a well-ventilated area and use appropriate protective gear like gloves and safety goggles.
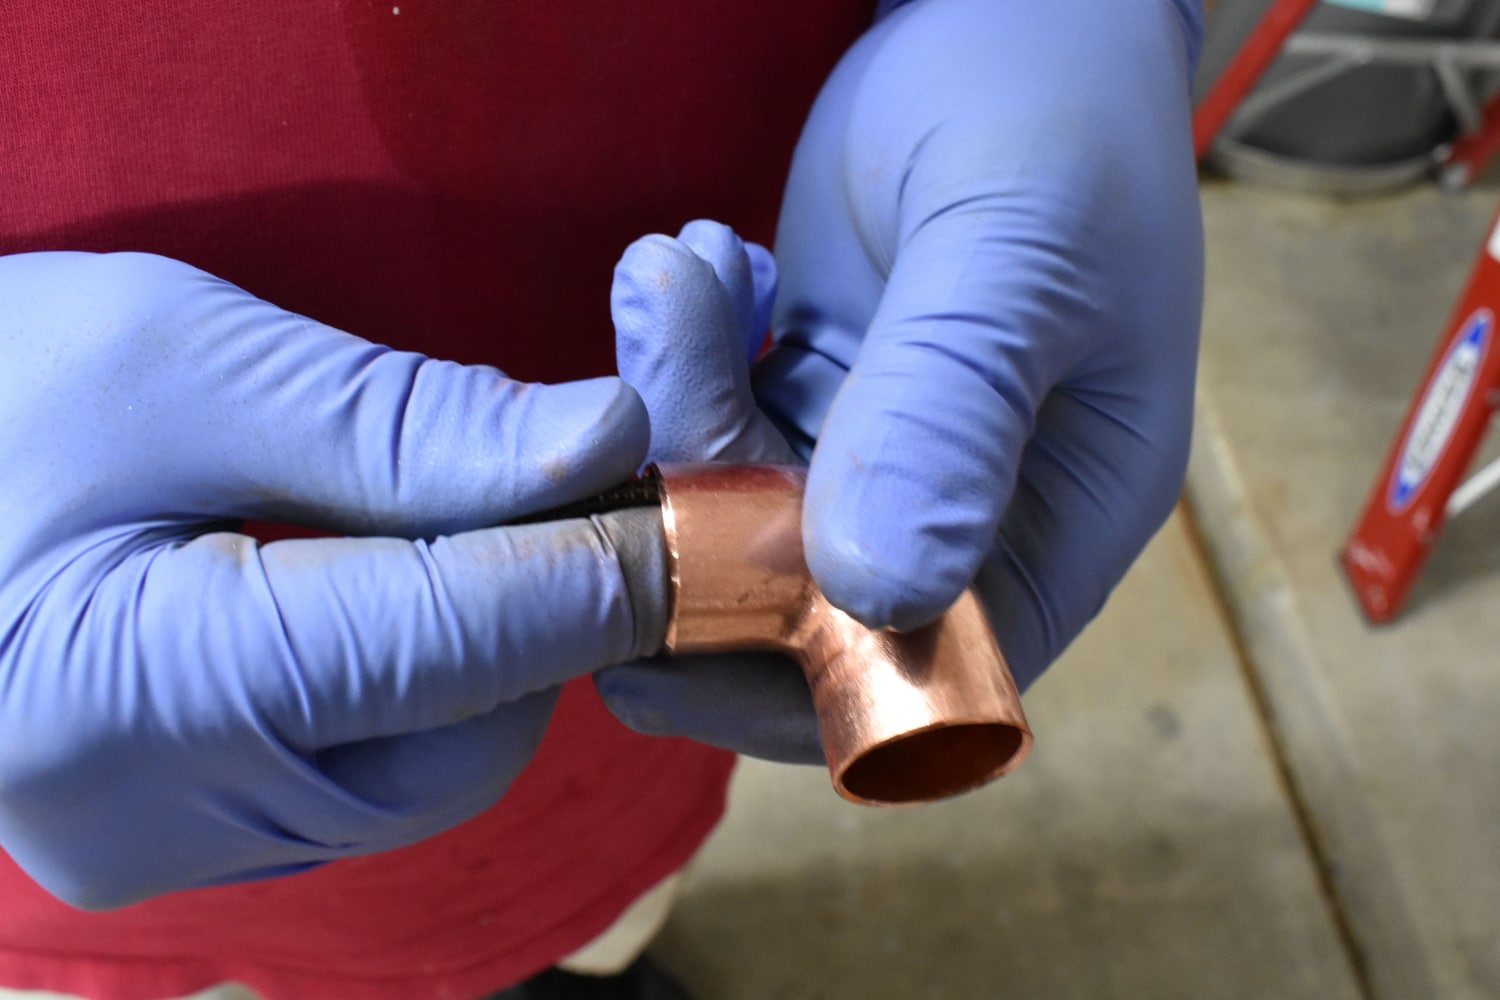
- Clean the pipe ends: Start by cleaning the ends of the copper pipes. Use a wire brush or sandpaper to eliminate any debris or imperfections.
- Apply the flux: With a small brush, apply a thin layer of flux to the areas of the pipes that will be joined. Remember, using excessive flux could result in residue trapped inside the joint, which may affect the water quality. Hence, a little flux goes a long way.
- Assemble the pipes and fittings: After applying the flux, assemble your pipes and fittings as desired.
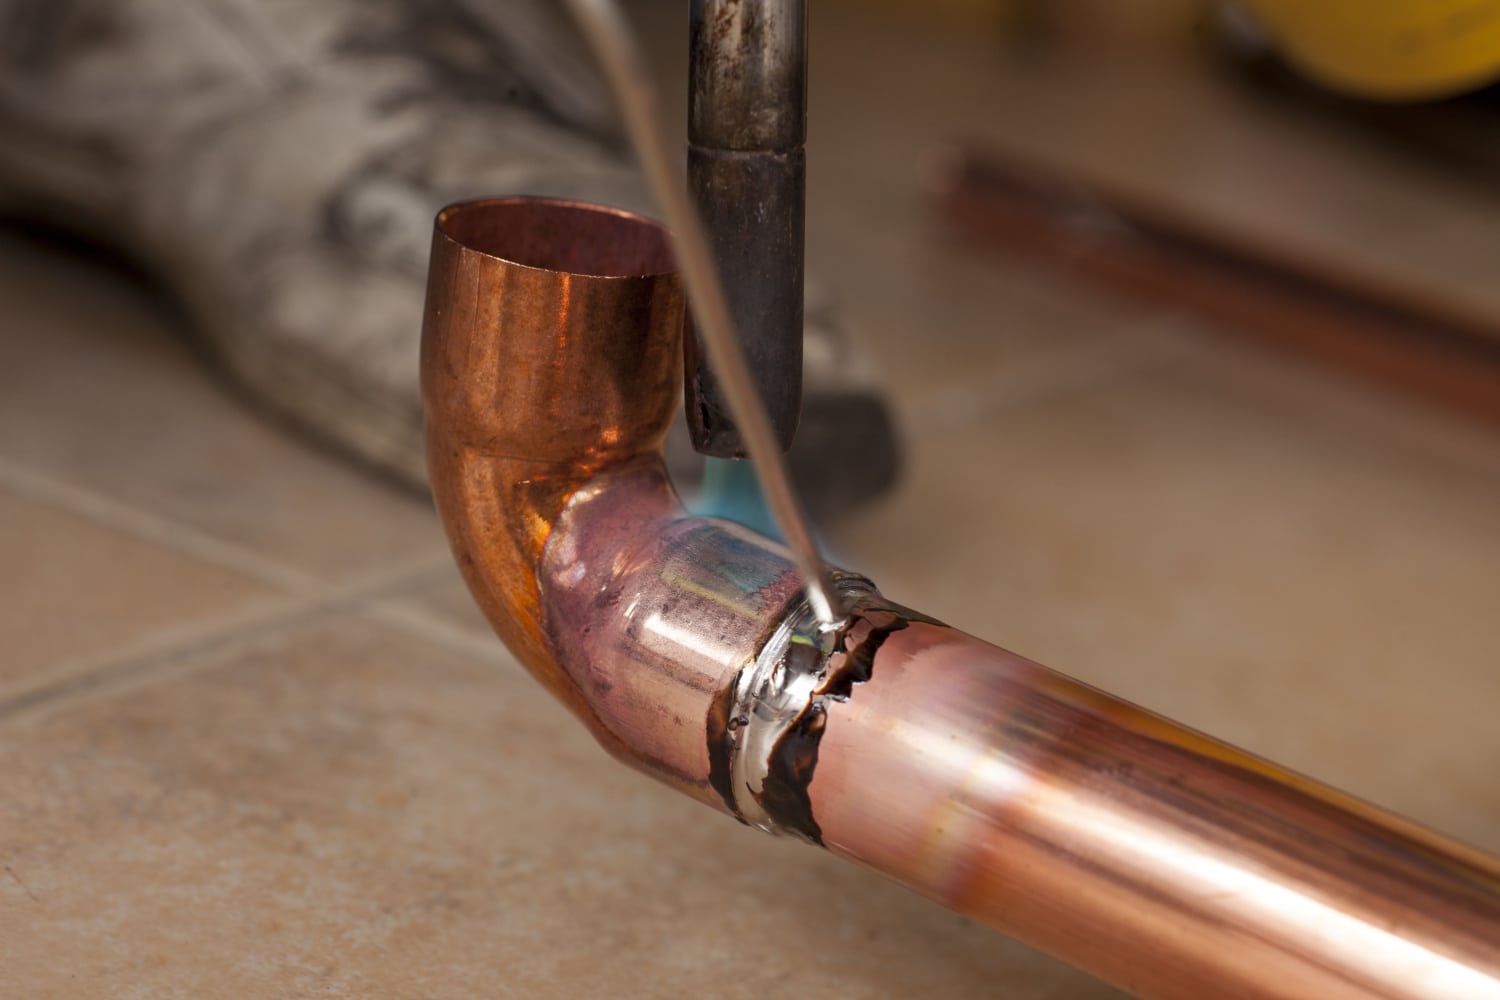
- Heat the joint: Use a propane torch to heat the joint until the flux starts to bubble and change color. This change indicates the flux is ready for soldering. Be sure to use solder wire compatible with the plumbing flux for a sturdy bond.
- Apply the solder: Touch the solder to the heated joint so it can melt and flow into the gap.
- Cool and seal: Allow the solder to cool naturally. As it cools, it will solidify and create a watertight seal. This results in a secure and reliable connection for your plumbing system.
Here's a detailed video on soldering a copper pipe using a water-soluble flux.
Proper Flux Application Techniques
When it comes to plumbing flux, applying it correctly is crucial for successful soldering. By following these key steps, you'll ensure a strong and leak-proof joint.
Be sure to check out: How To Use A Plumbing Crimping Tool: Quick Guide On Types And Usage
Cleaning Pipe Surfaces
Before you even think about applying flux, it's essential to clean the pipe surfaces properly. Remove dirt, grime, or corrosion using a pipe brush or fine-grit sandpaper.
Remember to clean both the inside of the pipe fitting and the outside of the pipe itself. This will create a smooth and clean surface for the solder to bond effectively.
Applying Flux Evenly
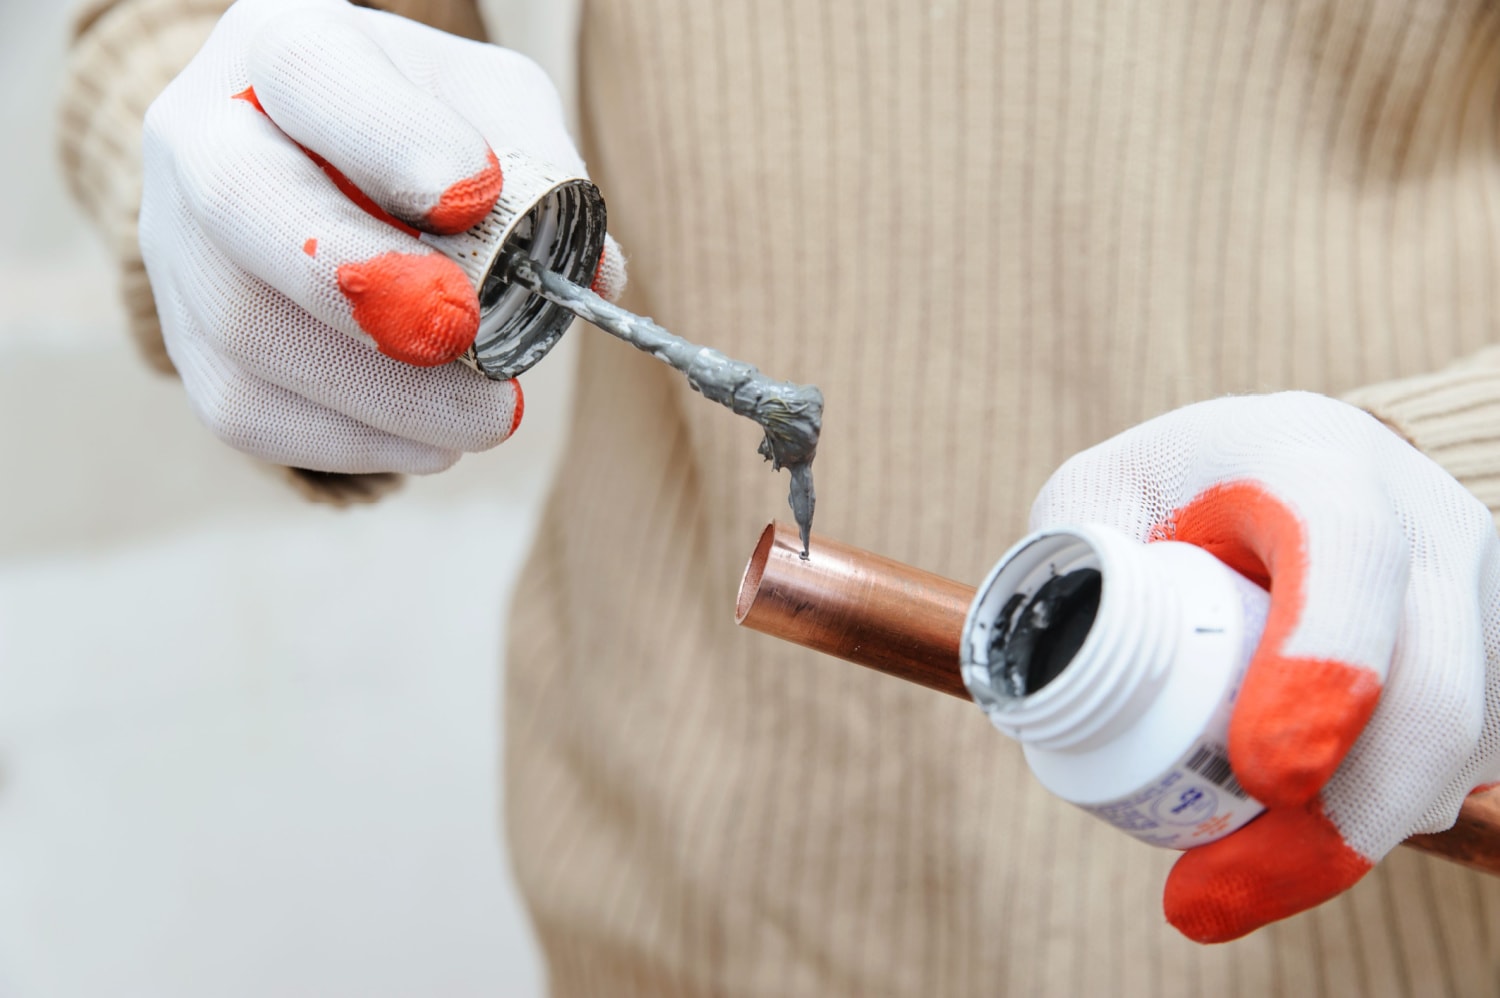
Now that your pipe surfaces are clean, it's time to apply the flux.
Using a flux brush or a small applicator, generously coat the inside of the fitting and the outside of the pipe with a thin, even layer of flux. Ensure there are no inconsistencies in the coverage so as not to hinder the soldering process.
It's essential to use just the right amount of flux—not too much, and not too little. Applying too little flux could result in a weak joint, leading to potential leaks.
On the other hand, using too much flux can cause it to spill over onto surrounding surfaces, which could affect the final appearance of your soldered joint. Aim for a balance: enough to ensure proper solder flow, but not so much that it overflows.
Soldering Process
Before you start soldering, make sure your workspace is clean, well-lit, and well-ventilated. Additionally, gather all the necessary tools such as soldering iron, solder, cleaning sponge, and safety goggles.
First, prepare your soldering iron by turning it on and heating it to the correct temperature. Most soldering irons have an adjustable temperature setting, which allows you to control the heat and ensure a proper bond between the plumbing flux and pipe joints.
It's good practice to clean the tip of your soldering iron by wiping it on a damp sponge, ensuring it's free of debris or excess solder.
Next, apply a thin layer of plumbing flux to the pipe joint. Plumbing flux is a cleaning agent that helps the solder adhere better to the joint.
After applying the flux, it's time to solder the joint. Hold the heated soldering iron against the joint and touch the end of the solder wire to the joint as well.
The solder will melt and flow into the joint, creating a watertight seal. Be cautious not to overheat the joint or use too much solder, as this can cause leaks or poor connections in your plumbing system.
Finally, let the soldered joint cool down naturally, and avoid using cool water or cold objects to speed up the cooling process, as it may lead to weak joints.
While the solder is cooling, ensure not to touch or move the joint, as disturbing it can lead to a weak seal.
Cleaning Excess Flux After Soldering
Cleaning excess flux after soldering is a crucial step to ensure a clean and professional-looking joint. Excess flux can attract dirt, corrode the joint, and even interfere with electrical connections.
Here's a simple guide on how to clean up excess flux after soldering:
- First, ensure your soldering work area is well-ventilated, as flux fumes can be harmful if inhaled. Always wait for the soldered joint to cool down before cleaning it. Touching a hot joint could result in burns or damage to the joint.
- To clean your joint, prepare a water solution and a mild, non-abrasive detergent. Mix the solution with a small container like a glass jar or plastic bowl.
- Dip a clean, lint-free cloth or sponge in the solution, and gently rub it over the cooled soldered joint to remove any excess flux residue. Be careful not to apply too much pressure, which might damage the joint.
- Next, use a cotton swab or soft-bristled toothbrush to reach any crevices or tight spots where excess flux might be hiding. Gently scrub these areas with the same soapy solution, making sure not to disturb the soldered joint itself.
- Once you have removed the excess flux, rinse the joint thoroughly with clean water to remove any soap residues. Be cautious when using water around electrical components – avoid letting water contact any exposed wiring or connections.
- Finally, dry the soldered joint with a clean, lint-free cloth, or use a can of compressed air to blow away any remaining moisture. It's essential to ensure that the soldered joint is completely dry before re-energizing the circuit or putting the device back in use.
Remember, cleaning excess flux after soldering not only makes your work look neater but also enhances the longevity and performance of your soldered joints. So, always take the time to clean up after finishing your soldering tasks.
Using Plumbing Flux Ensures a Strong and Leak-free Joint
Remember, plumbing flux is a helpful part of soldering pipes, ensuring a solid and leak-free joint. Choose the correct type of flux for your specific plumbing project and to follow safety precautions when handling and using it.
If you're new to soldering, it's a good idea to practice on scrap pieces of metal before working on a live plumbing system. This will help you gain confidence and develop the necessary skills to achieve a high-quality joint.
Don't forget to clean the surfaces of your pipes before applying the flux and ensure you're using enough heat for the process—the goal is to melt the solder and create a solid bond between the pipe and fitting.
As you become more proficient in using plumbing flux, you'll find that it plays a vital role in ensuring the longevity and integrity of your plumbing repairs.