You’re now a proud owner of an Amaze electric wall heater. Now, you’re wondering how you can install it. We researched this concern for your convenience, and here’s what we found!
First, prepare for the Amaze heater installation by securing yourself and the site. Then, acquire the necessary items for the upcoming task.
Follow these steps after completing the preparations:
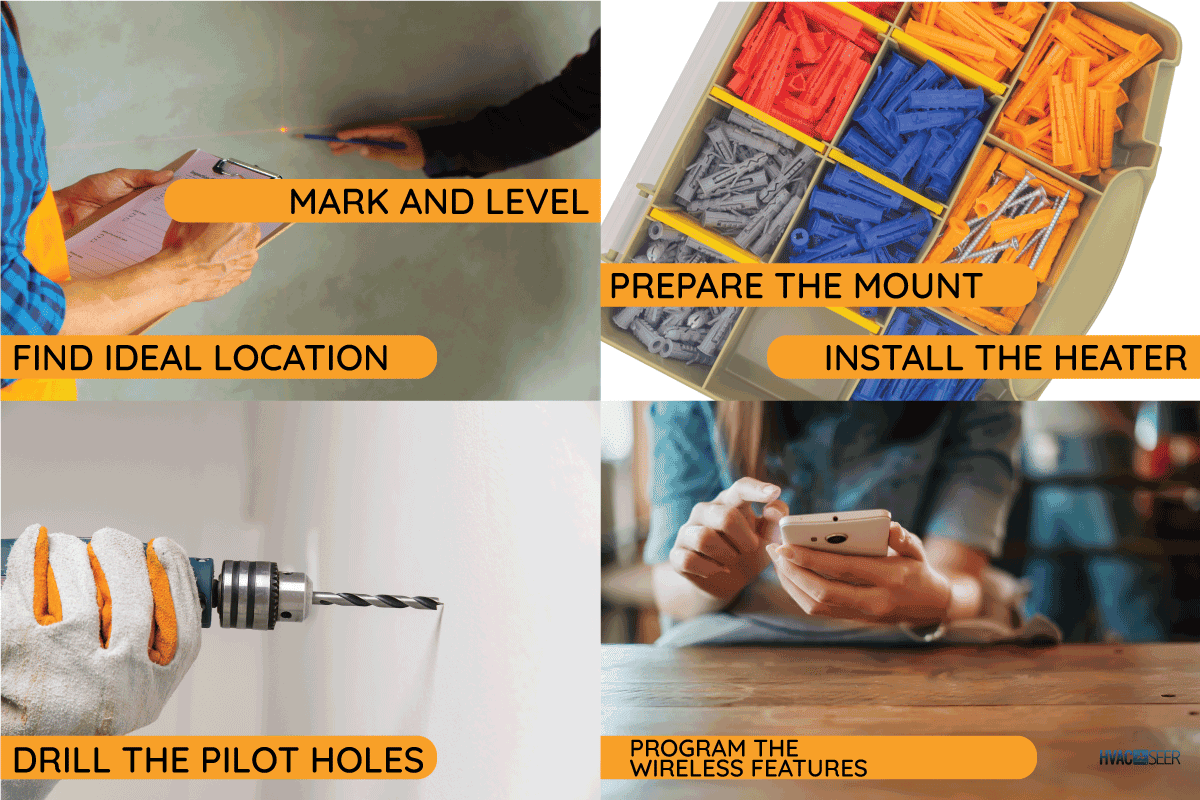
- Find the ideal location
- Mark and level the installation location
- Drill the pilot holes
- Prepare the mount
- Install the Amaze heater
- Program the wireless features
Take the time to do the installation missing out on essential details. So continue reading as we discuss your Amaze heater’s initial setup procedure in greater detail. With that said, let's begin!
Safety Measures For Installing Electric Heater
As with any appliance installation procedure, setting up an Amaze heater shouldn’t be without proper safety protocols.
Ensuring preventive measures are in place allows users to maintain safety before, during, and after the procedure.
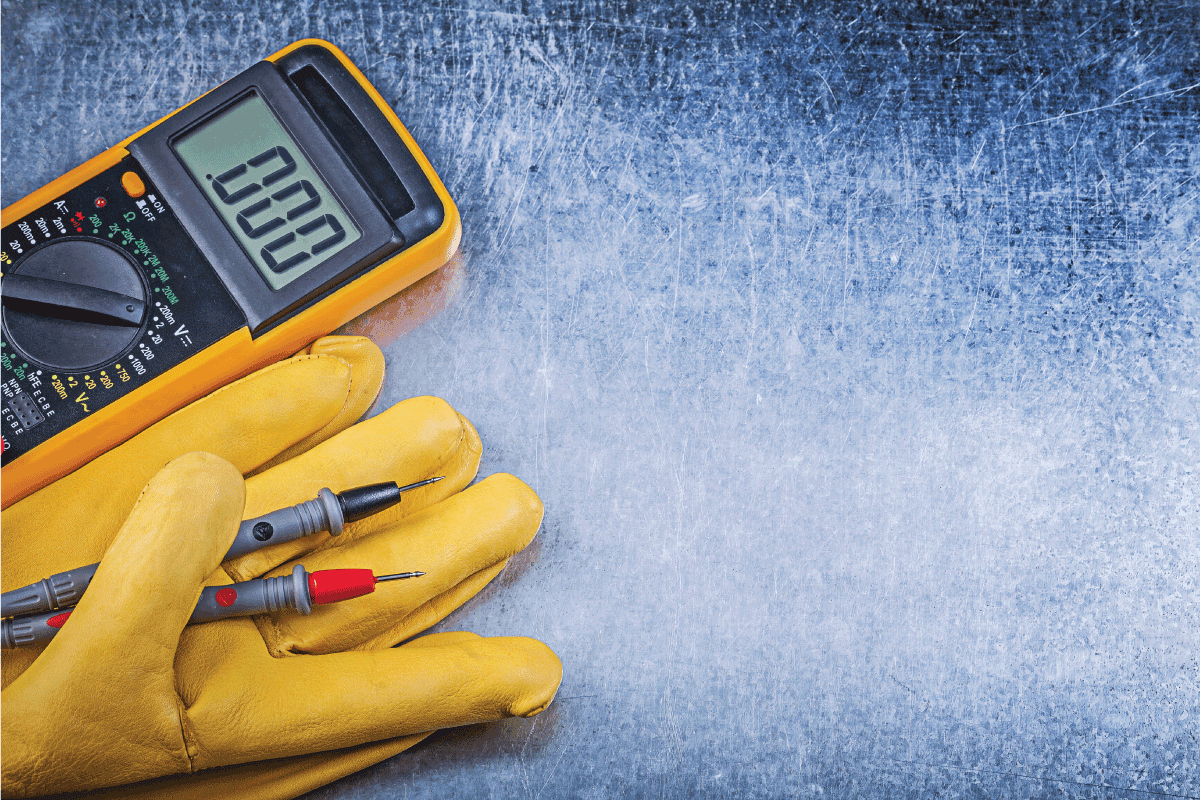
Some precautionary acts to note and follow are:
Use A Ground Fault Circuit Interrupter (GFCI)
Outlets and circuit breakers equipped with GFCI technology can help prevent electric shocks. GFCI electrical equipment also helps reduce electronic harm to appliances if these items are near water.
So a GFCI breaker connected to the Amaze heater can help reduce the risks of electrocution and fires.
Check out this GFCI circuit breaker on Amazon.
Read The Owner’s Manual
Consult with the Amaze heater’s owner’s manual whenever you can. The documentation may help provide you with additional tips to help make the installation successful and hazard-free.
Check The Items
Lay out all the materials, tools, and equipment you’ll use for the Amaze heater installation. Don’t use items that are in poor condition, and replace them.
Also, contact the product manufacturer if the installation kit parts have faults.
Wear Proper Gear
As the installer, protect yourself from harm by wearing the correct safety gear. Your protective equipment (PPE) should include goggles, gloves, and safety footwear.
Also, wearing long-sleeved cotton clothing may help reduce the risks of electrical equipment contacting your skin directly.
Check out these safety goggles on Amazon.
Other Safety Tips
Apart from the preventive measures already discussed, other safety acts you should follow are:
- Don’t install or operate the heater with wet hands.
- Don't run the heater's wiring under the carpeting.
- Ensure that the wall behind the Amaze heater doesn’t have electrical or plumbing equipment.
- Ensure a proper clearance exists between the heater and other nearby objects.
- Stop using the heater and disconnect it immediately upon noticing the signs of overheating.
Warn Others
Place a sign near your workstation to warn other people of the possible dangers of staying in the vicinity.
Warning signs like those that say "Shock Risk" can aid in reducing accidents and injuries at the installation site.
Things You’ll Need To Install An Amaze Heater
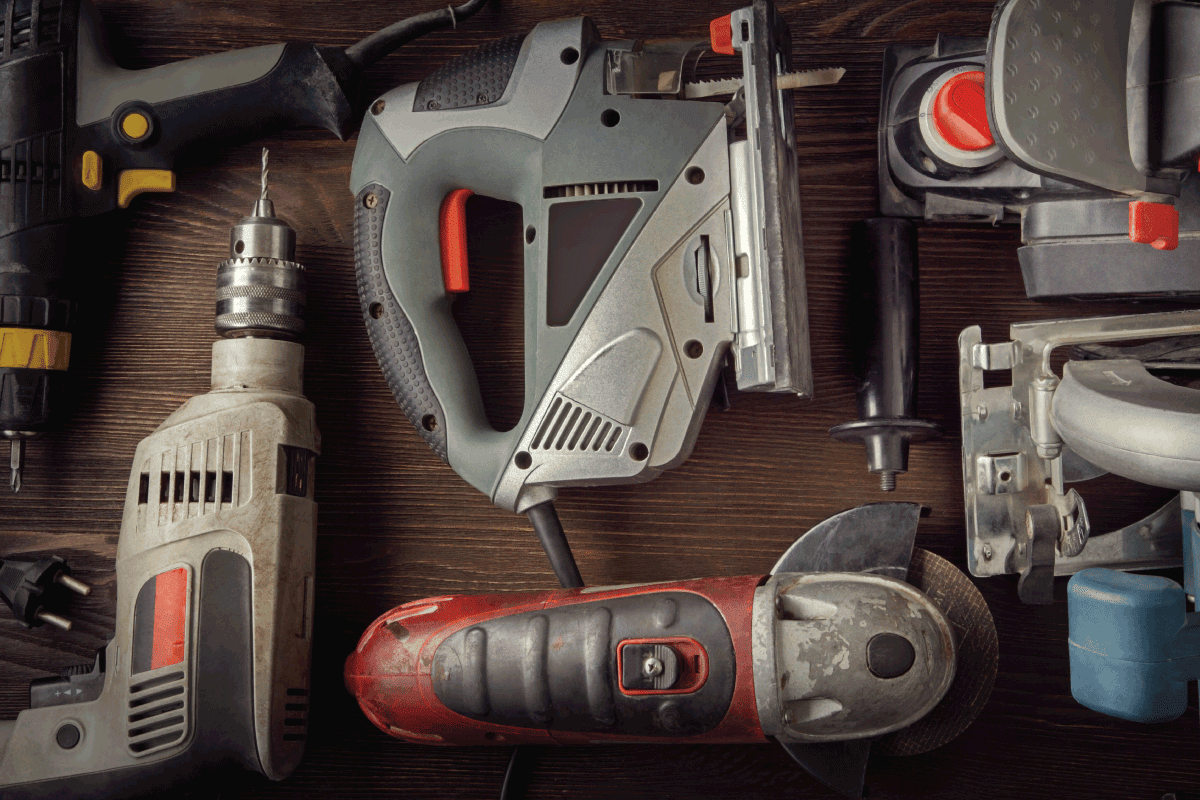
- Hand drill
- Philips screwdriver
- Amaze heater installation kit
- Stud finder
- Ruler
- Level
- Microfiber cloth
- Pen, pencil, or marker
Amaze Heater Installation Instructions
Amaze heaters typically have DIY-friendly setup procedures. Make sure to follow these steps only after completing the necessary preparations:
Step #1: Find The Ideal Location
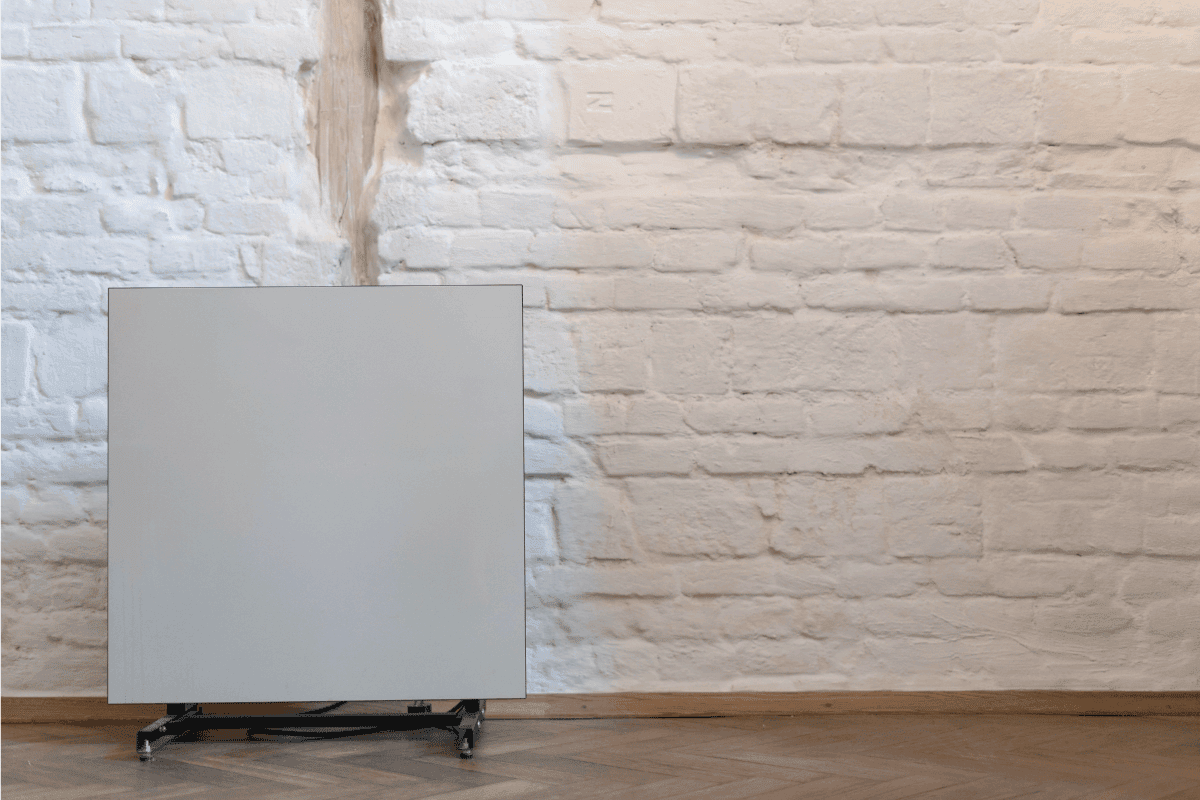
Take note that Amaze heaters have direct-to-wall installations. That means you must bore holes into your wall for your heating unit to stay in place. A stud finder can help you with this step.
Watch the video below to find wall studs and other things behind walls if you don’t have a stud finder:
Step #2: Mark And Level The Installation Location
Once you find the ideal location, mark it with a pen, pencil, or marker. Ensure to keep the area in a straight line. Then, use a level to ensure the installation is parallel to the ground.
Adjust the placement of the heater installation if necessary.
Step #3: Drill The Pilot Holes
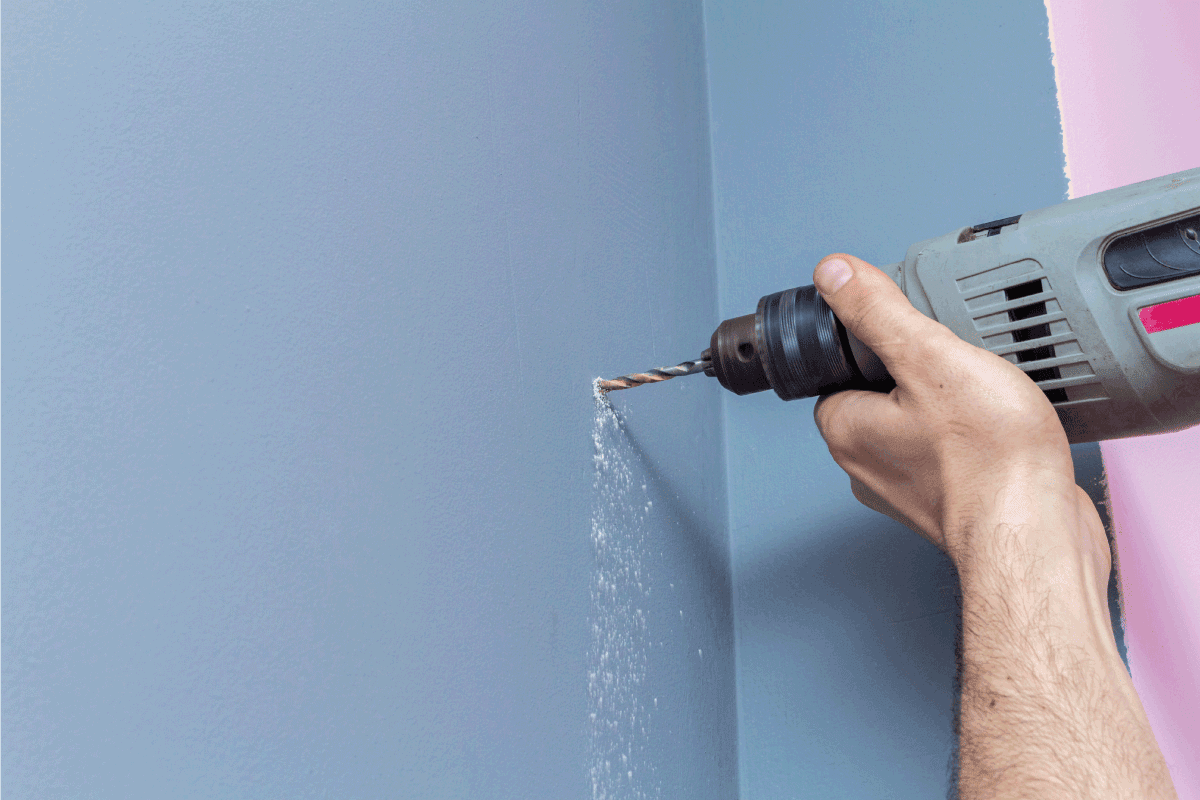
Use the appropriate drill bits with your hand drill to bore pilot holes into the wall. You may need to drill deeper holes into masonry walls instead of creating gaps in drywall.
Install and secure the appropriate wall anchors afterward.
Note: Drywall and masonry wall anchors should be part of the Amaze heater installation kit. However, additional mounting hardware might be necessary if your installation demands it.
Step #4: Prepare The Mount
Install the long screws to hold the kit’s four mounting legs. Next, stick the included foil sheet to the wall. Ensure the foil sheet is in the center of the four mounting legs.
Also, ensure the foil sheet is flat by burnishing it with a soft microfiber cloth.
Step #5: Install The Amaze Heater
Install the central Amaze heater unit to the mount while paying attention to its alignment and orientation. Reposition the mounting location if needed. Secure the installation by tightening the mounting screws.
Note: The heater should slide into the mounting legs with relative ease. Don’t use excessive force to try and slide the Amaze heater into incorrectly placed mounting equipment.
Failure to follow the proper installation guidelines may result in physical harm to the heating unit, which may also void its warranty.
You can also watch this video if you need a visual guide for this:
Step #6: Program The Wireless Features
Take the initial setup of your Amaze heater a step further by setting up your Amaze heater’s wireless functions. Follow these quick step-by-step guide for this particular part of the installation process:
- Download the EWeLink app to a compatible Apple or Android mobile device.
- Open the app and log in with your Amaze account. Register an account if you don't have one.
- Click the Plus (+) sign on the app’s main screen to add the new heater to the network.
- Turn on your Amaze heater if you haven’t yet.
- Press the integrated black button on the heater’s Wi-Fi module once. Wait until the red light turns green before proceeding to the next step.
- Once the green light is flashing, press and hold the black button for 5 seconds or until the green light blinks thrice.
- Select your Amaze heater on the EWeLink app. Repeat steps 5 and 6 if the unit doesn’t appear on your mobile device’s screen.
- Follow the additional instruction on the screen.
- With the Amaze heater linked to the home Wi-Fi network, set a name for the new heater in the system.
Note: You’ll know if your Amaze heater’s connection to the home Wi-Fi network is successful if the green light is stable.
How Long Is The Warranty On An Amaze Heater?
If bought from a trustworthy retailer, your Amaze heater should have a 3-year limited warranty.
Note that the company may not supply its customers with the appropriate coverage if the product encounters harm caused by user negligence.
How Much Does It Cost To Install An Electric Heater?
Prepare to spend about $85 to $200 if you prefer professional heater installation services to DIY techniques.
But the project’s costs may increase to $400 or more if it requires additional steps like electrical rewiring.
How Do I Maintain An Amaze Wall Heater?
Apart from installing an Amaze wall heater, proper care and maintenance of the heating unit can help extend its serviceable life.
Some of the care practices you should follow are:
Clean The Heater Regularly
Generally, you need to clean a heater at least once a year. It's also ideal to completely clean the unit before winter. That way, you may not experience heating interruptions during the cold season.
You can watch the video below to learn how to clean an electric wall heater. Note that the product in the following clip comes from a different brand.
Nonetheless, the procedure should still be quite similar when cleaning a heating unit from Amaze:
Inspect The Connections
Check the fasteners, wires, and other connections on the Amaze wall heater regularly. Ensure that these components don’t have signs of corrosion and different types of harm.
Replace these parts immediately upon noticing irregularities with their performances and structural integrities.
Our Final Thoughts
The Amaze heater needs a proper installation for it to work correctly. So let the steps mentioned in this post be your guide to ensure the heating unit’s setup process goes smoothly. If not, you may request help from professional installers to help you with this task.
Made it to the end? Check out these helpful related articles below!
How To Install King Electric Garage Heater [Step By Step Guide]


