
Plumbing test balls are key tools for both professionals and DIYers. They're helpful when you need to check if pipe systems have any leaks.
Test balls are inflatable devices that block water or air in pipes. This allows you to run pressure tests and find any leaks.
Knowing how to use a plumbing test ball can help you confidently tackle your next plumbing task. Keep reading to find out more about these useful tools.
Safety Precautions for Using a Plumbing Test Ball
When dealing with any plumbing equipment, safety should always be the first concern. The same holds true for using a plumbing test ball.
Before beginning, it's important to know the necessary safety precautions to ensure a safe and efficient outcome. Below are the crucial steps to consider:
1. Read the Manual
Always read the safety manual that comes with the test ball. It will help you understand how to use it safely and correctly.
2. Inspect the Test Ball
Before using it, check the test ball for any damage. A damaged ball can leak or explode under pressure.
If you find any problems, don't use it, and contact the manufacturer for a replacement.
You might also like: How To Use A Plumbing Crimping Tool: Quick Guide On Types And Usage
3. Wear Protective Gear
Use gloves and eye protection when handling the test ball. This can protect you from any possible hazards.

Click here to see this pair of gloves on Amazon.

Click here to see this eye protector on Amazon.
4. Clean Workspace
Keep your workspace clean and free from debris. This can help prevent accidents.
5. Safe Inflation and Deflation
Inflate the test ball slowly, don't exceed the recommended pressure, and use a long hose to avoid it during inflation.
Stand clear of the pipe opening when releasing the pressure.
Choosing the Right Test Ball Plug
Before we delve into using a test ball plug, it's vital to understand how to choose the right one. Making the correct selection will save you time, effort, and potentially costly repairs in the future.
Below, we outline the key points to consider when choosing the right test ball plug for your plumbing project:
1. Understand Your Task
The best choice of plug depends on what you're trying to do. Consider the pipe size, type, and material you're working with.
2. Use the Cherne Plug Selector Tool
This tool on Cherne's website makes it easy to find the right plug.

Click here to see this plumbing test ball on Amazon.
Enter your pipe's specifications, including size, material, test pressure, and maximum back pressure, if applicable.
The tool will give you a list of compatible plugs.
3. Take Advantage of Cherne Customer Support
If you need extra help or advice, you can contact Cherne's customer support team.
4. Consider the Use Case
A standard test ball plug works for most applications. If you're dealing with high pressure or a specialized task, you might need a high-pressure plug.
5. Think About Material
Rubber plugs are a good general-purpose choice. For specific applications, you might need a heavy-duty reinforced plug.
6. Check Size and Compatibility
Test ball plugs come in a range of sizes. Make sure you choose a size that fits your pipe properly and is compatible with the pipe material.
Using the wrong type can cause failures or damage to your pipes.
Be sure to check out: Will Plumbing Solder Work On Aluminum: Unraveling The Mystery
Steps for Proper Inflation and Usage of a Plumbing Test Ball
Using a plumbing test ball effectively depends on correct inflation and usage. Here are the key steps and considerations:
1. Monitor Inflation Pressure
Use a pressure gauge to keep track of the inflation pressure.
2. Follow the Manufacturer's Recommendations
Stick to the pressure range recommended by the manufacturer. Overinflation can damage the test ball and create a dangerous working environment.
3. Pressure Test Process
When you're ready to do a pressure test, follow these steps:
- Find the pipe part you need to test and get access to it.
- Position the test ball with the pipe opening.
- Use a pump to inflate the test ball to the recommended pressure.
- Keep an eye on the pressure gauge to make sure the pressure stays within the right range.
- If needed, make changes to keep a good seal during the pressure test.
4. Positioning the Test Ball
Positioning the test ball correctly is important for creating an effective seal. Here are some tips:
- Ensure the ball's edges are aligned with the pipe's wall, so the test ball's surface makes full contact.
- Don't place the edge at an angle because it will lead to an improper seal.
- Ensure no dirt, debris, or obstacles could prevent a secure seal.
Setting Up the Test Ball Plug System
Before starting, gather all necessary materials you will need, and most importantly, ensure that the work area is clean and free of debris.
To set up the test ball plug system, follow these steps:
1. Assemble the Piping System
Connect the appropriate fittings, valves, and piping according to your specific installation requirements. Ensure all connections are tight and secure.
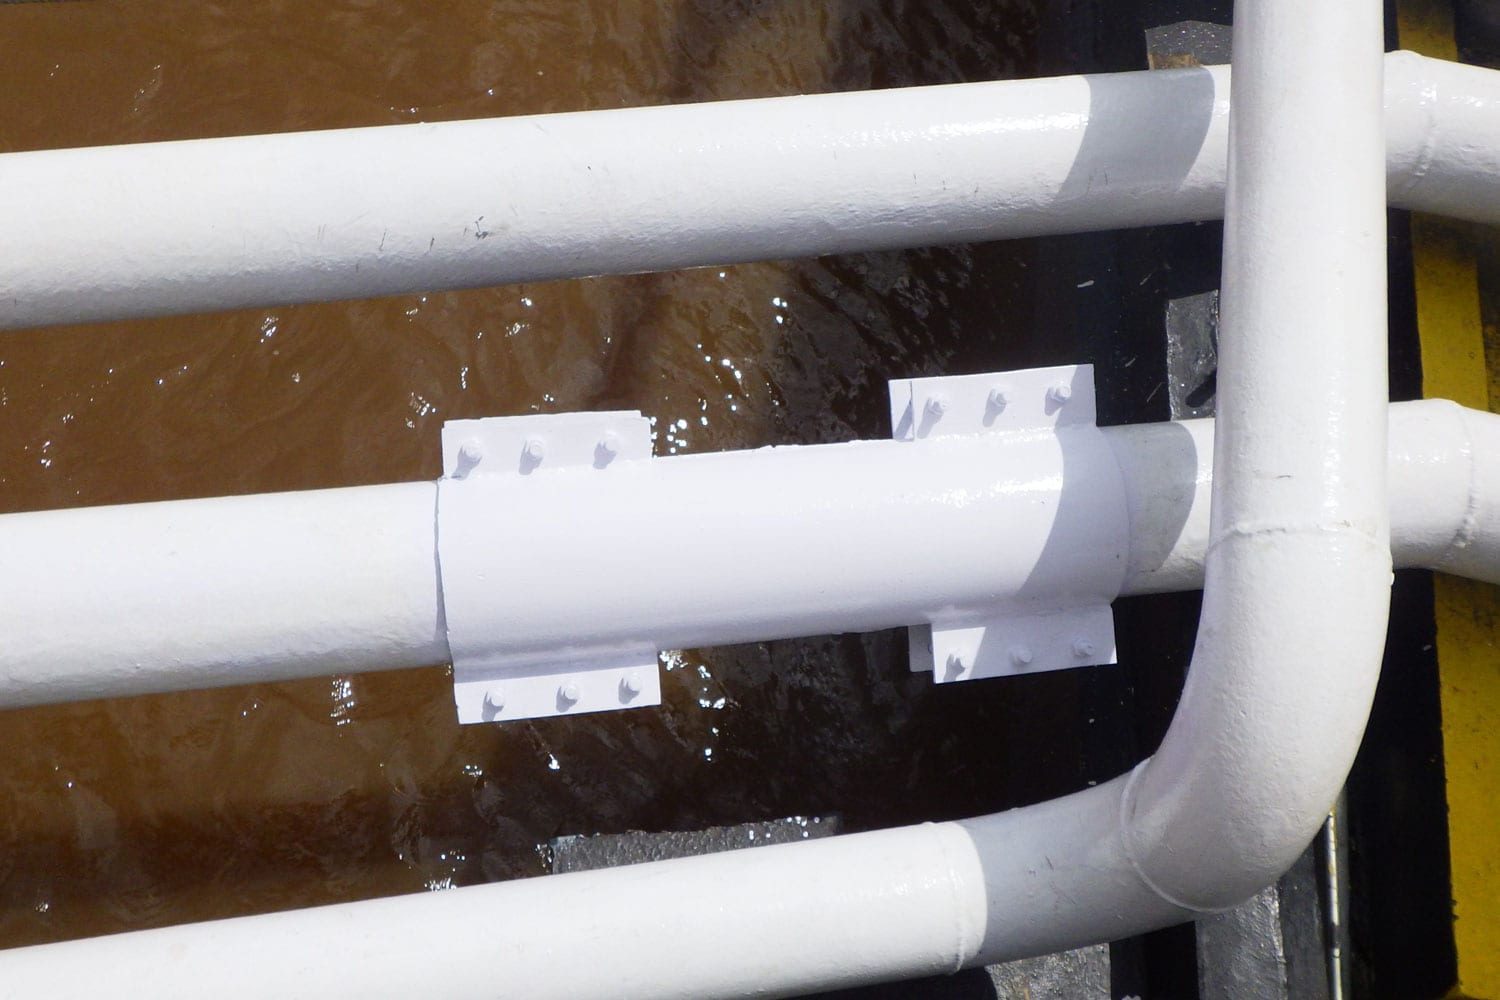
2. Install the Eye Bolts
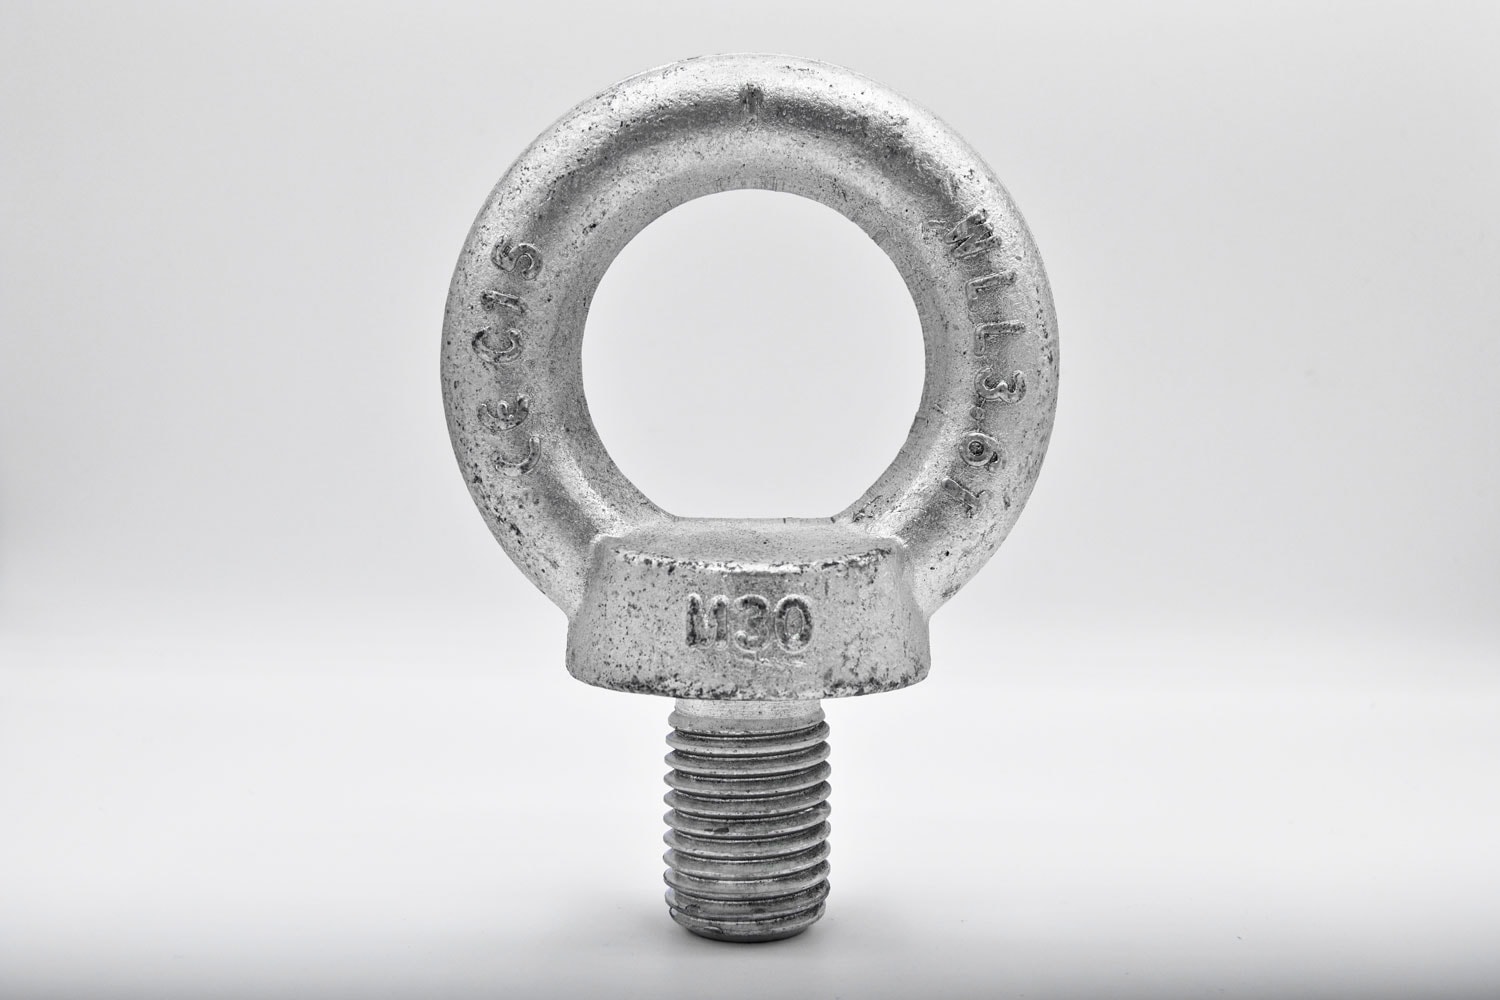
Attach the eye bolts at designated points within the piping system. These will serve as attachment points for your test ball plug system.
3. Insert the Test Ball Plug
Deflate the test ball and insert it into the piping system at the desired testing location.
Ensure it is positioned correctly, and that it fully covers the opening of the pipe.
4. Inflate the Test Ball Plug
Using the inflation device provided by the test ball manufacturer, inflate the test ball plug to the recommended pressure.
Be sure not to overinflate, as this may cause damage to the test ball or your piping system.
5. Secure the Test Ball Plug
Ensure the test ball plug is securely held in place by the eye bolts and any additional supporting devices or structures, if necessary.
You might also like: Can Plumbing Pipes Be Exposed? [Pros And Cons Explored]
Performing a Leakage Test with a Plumbing Test Ball
The purpose of a leakage test is to ensure there are no leaks in a pipe. The process involves the following steps:
1. Locate and Clean the Pipe Section
Find the section of the pipe you need to test. Make sure it's clean and free from debris to ensure accurate results.
2. Insert the Test Ball
Put the test ball into the pipe. Ensure it's fully inflated and properly seated at the location you want to test.
3. Fill the Pipe
Add water to the pipe up to the point where the test ball is positioned. This will create pressure behind the test ball, which will help to reveal any leaks.
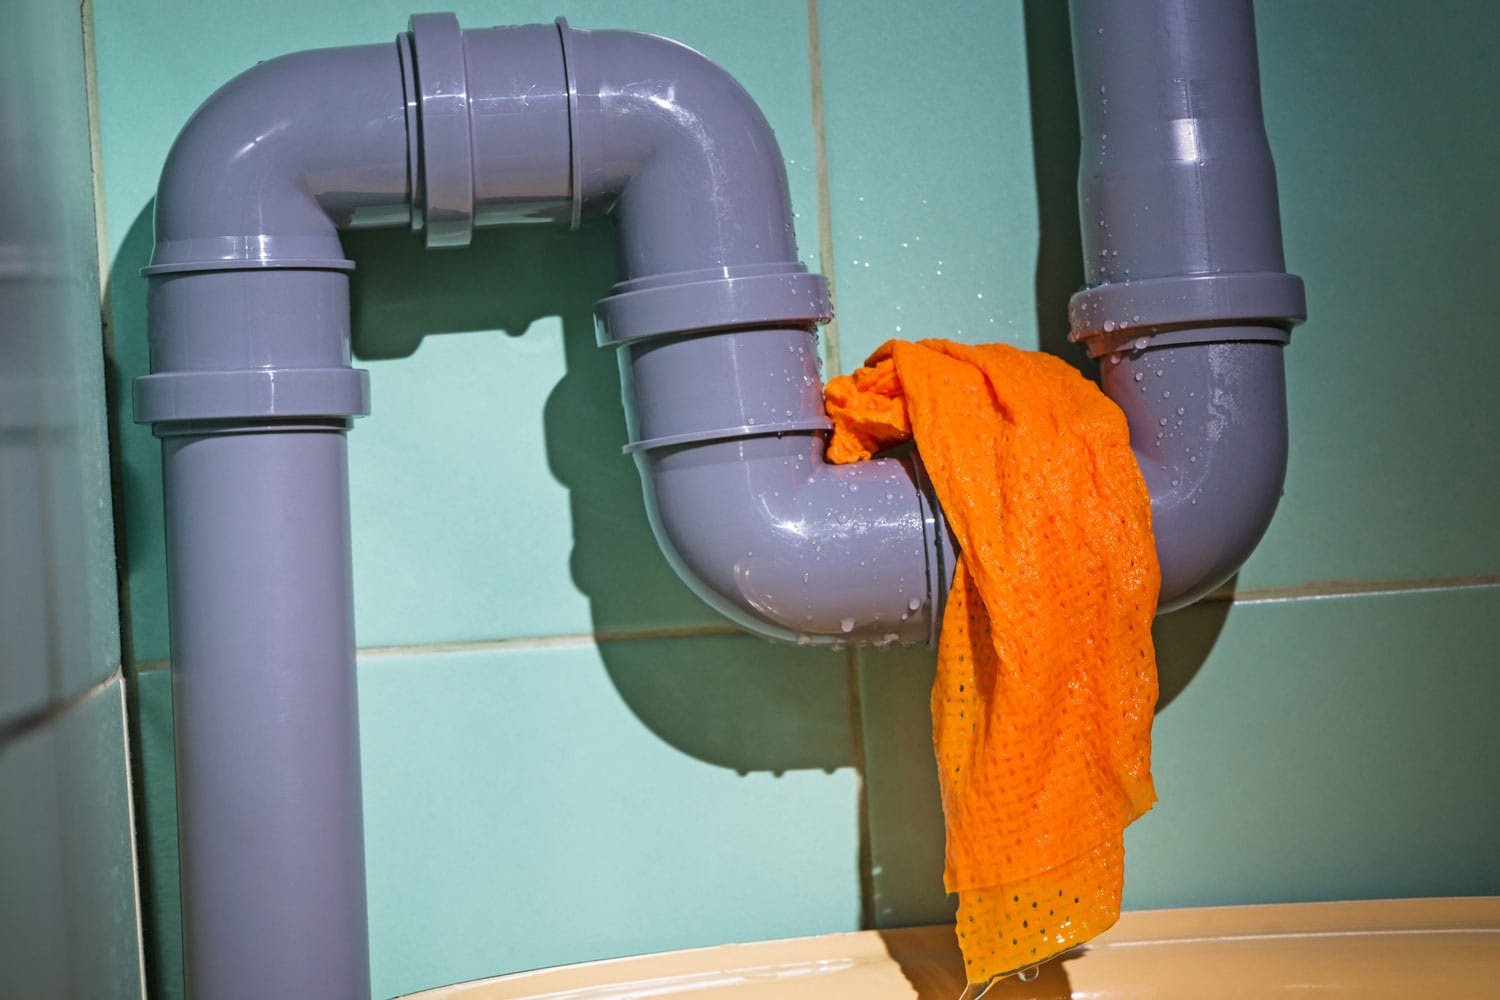
4. Inspect for Leaks
Look around the area of the test ball for any signs of leaks. You might see water dripping or coming out of connections, joints, or cracks in the pipe.
5. Interpret Results
If you don't see any signs of leaks, that's great news! Your pipe is likely in good condition.
If you find leaks, identify where they're coming from and plan to fix the issue.
6. Remove the Test Ball
After you've finished the leakage test, you need to remove the test ball. Deflate it, remove it from the pipe, and store it safely for next time.
Troubleshooting and Maintenance
When using a plumbing test ball, you may encounter some issues. Here are some causes and solutions:
Leaks
If you notice water escaping, ensure the test ball is properly inflated and positioned in the pipe.
For small leaks, try adding air to the test ball or adjusting its placement.
Falls
If the test ball falls or slips in the pipe, ensure it's adequately inflated. Additionally, confirm that you're using the right ball size for your specific pipe diameter.
Debris
Clear any debris in the pipe before inserting the test ball. This will ensure a better seal and prevent potential damage to the equipment.
Sunlight
Prolonged exposure to sunlight can degrade the test ball material, causing it to lose air over time. Store it away from direct sunlight when not in use.
Pressure Testing
Before starting the test, make sure the pump is working correctly and there's an accurate pressure gauge.
To maintain peak performance, take care of your plumbing test ball:
- Clean it after each use, using mild soap and water, then dry it thoroughly.
- Check for visible damage like abrasions or cracks, and avoid using a compromised test ball.
- Store the test ball in a cool, dry place away from direct sunlight and extreme temperatures.
Wrapping Up Your Plumbing Test Ball Knowledge
Now that you've learned about using a plumbing test ball, you can confidently tackle any plumbing issue that may come your way.
As you become more experienced in using a plumbing test ball, you'll find that it becomes an invaluable tool in diagnosing and fixing plumbing problems.