
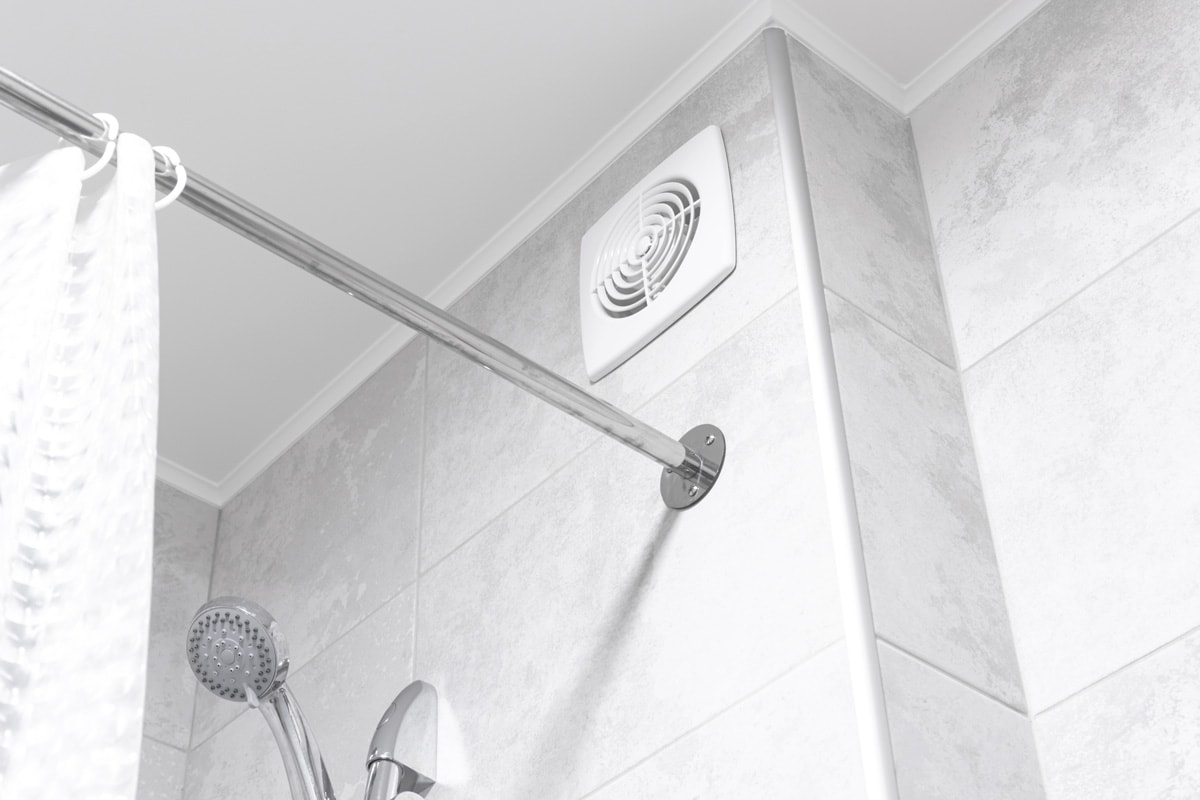
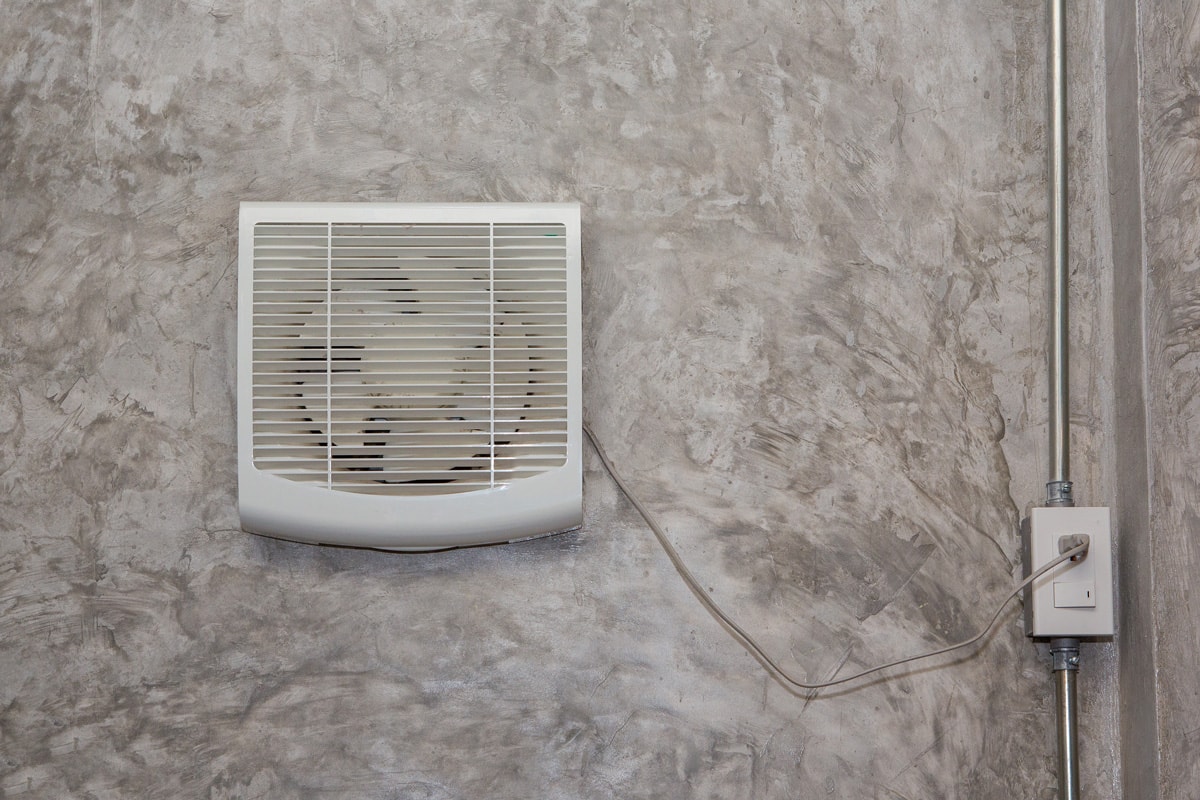
Exhaust fans are great at removing moisture and odor in a bathroom. But, where you position them is optimal to ensure they work best. Many say it's best to put them over a shower so they can quickly remove the excess moisture.
But is this true? And is it safe? We'll ease your worries and questions with the correct answer, so read them all below.
Experts do not recommend placing an exhaust fan directly over a shower. But there's an exemption for this if the fan is shower-rated and has a Ground Fault Circuit Interrupter [GFCI]. You're good to go if your exhaust fan meets these two requirements.
Do you have more queries about installing your exhaust fan over a shower? More importantly, even though your fan meets the abovementioned requirements, there may still be some differences you may experience after positioning your fan above your shower.
Keep reading to learn everything you need to know to use your fan efficiently.
Is It Safe To Install Exhaust Fans Over A Shower?
There are two conditions your exhaust fan must meet before installing it over a shower.
A shower-rated exhaust fan with a GFCI is the only exhaust suitable to install directly above your shower that ensures protection. If not, you must consider another position for the fan.
Electricity and water shouldn't make contact because it will most likely cause electrocution.
Exhaust fans use electricity, and placing them over a shower means they will surely be in touch with water regularly.
That's why it should be shower-rated, as this fan prevents contact between water and electricity.
For further protection, even when a shower-rated fan should still be protected by GFCI in case it unavoidably touches water.
A GFCI detects imbalances in an electrical current usually caused by water contact and automatically cuts off your device's energy, which, in this case, is your exhaust fan.
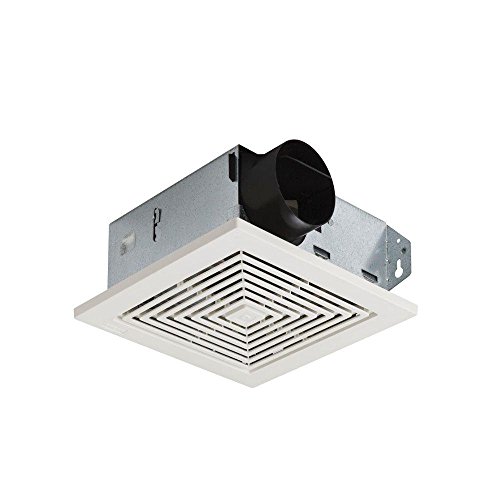
Check out this exhaust fan on Amazon.
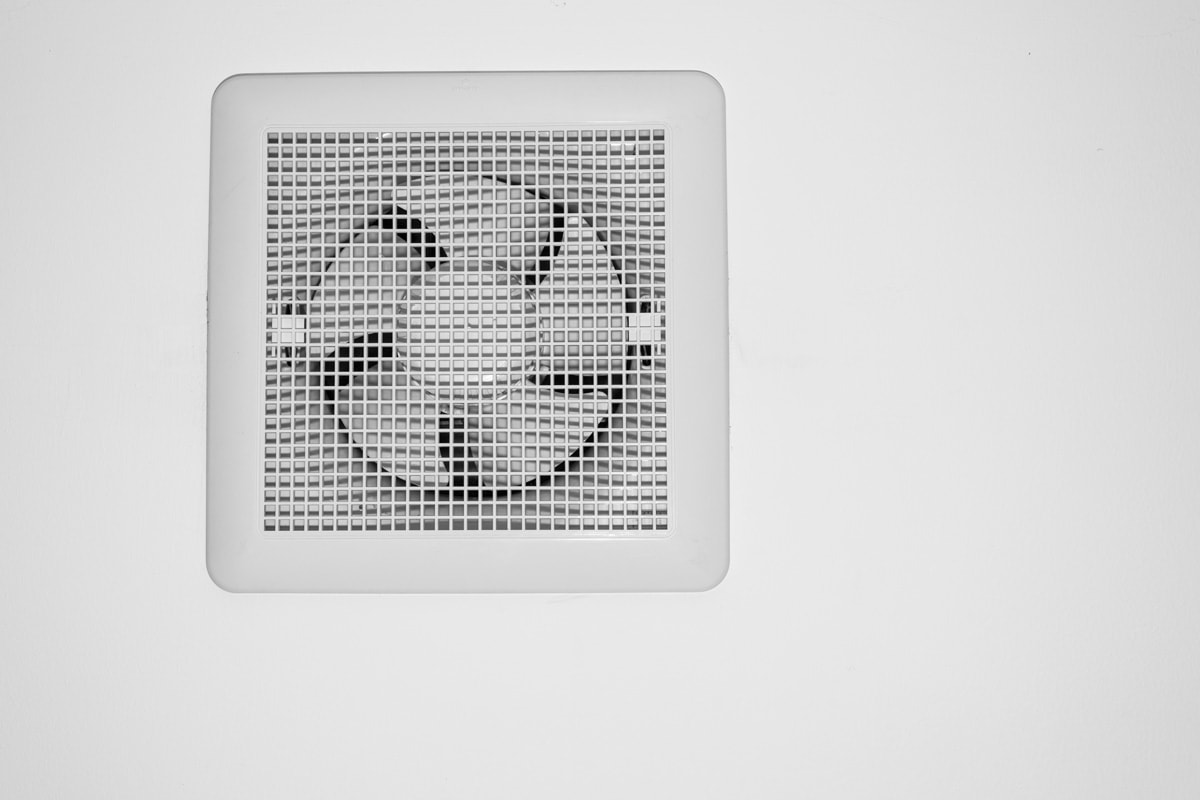
What Happens When You Directly Place Exhaust Fan Over A Shower?

Although you may have determined that you can position an exhaust fan over a shower, you must consider some things.
Here are some of the things you may experience if you were to install your fan in this location:
Chilly Shower
Exhaust fans remove the air from its location and replace it with the air from outside.
That's why placing it in your shower will remove the hot air from the inside and replace it with the chilly air outside, resulting in a cold shower experience.
You might also like: How To Insulate A Bathroom Exhaust Fan
Fan Exposed To Water
Your shower is where there's most water in your bathroom. Although this means your exhaust will be able to remove the excess moisture from it, it also understandably exposes the fan to water regularly.
It will then result in damage and mold infestation over time.
Condensation Dripping
Because the exhaust fan is too close to the steam of your shower, condensation will most probably form. Then, it will drip from the exhaust fan's fascia, which may bother you.
Where Are The Ideal Locations For Bathroom Exhaust Fans?
This is the answer if you are considering placing your exhaust fan somewhere else except over your shower. Here are some suggestions of where you should position them:
Opposite To The Source Of Dry Air
The dry air from the outside replaces the exhausted air from your bathroom. This source is its vent through a wall outside your home or your house's roof.
After you find where you'll vent the fan, you can place it opposite where it is. Doing this will create a cross breeze that helps remove the moisture, odors, and steam from your bathroom more efficiently.
Closest To Its Vent
You can also put the fan as close to the vent as possible. Doing this will ensure a short route for venting the air from and to your bathroom.
If your fan is too far from its external vent, it will affect its performance. It will take longer before the air from your bathroom is exhausted and replaced.
Near The Shower
Your exhaust fan can effectively get the moist air out of your bathroom if it's close to the shower. Usually, you should install it about one foot away from your battery.
Most bathrooms typically have a shower and the door facing each other so you can place the fan between these.
Where There Are No Obstructions
You will need to create a hole to install your exhaust fan.
That's why, before you do so, it is crucial to ensure that there are no present wires, joists, or other ducts present. Not doing so may cause you to cut or damage things you don't want to accidentally.
How Do You Install An Exhaust Fan In A Bathroom?

After deciding where to put your exhaust fan, it's time to install them. Here's a guide to help you:
1. Choose The Right Size
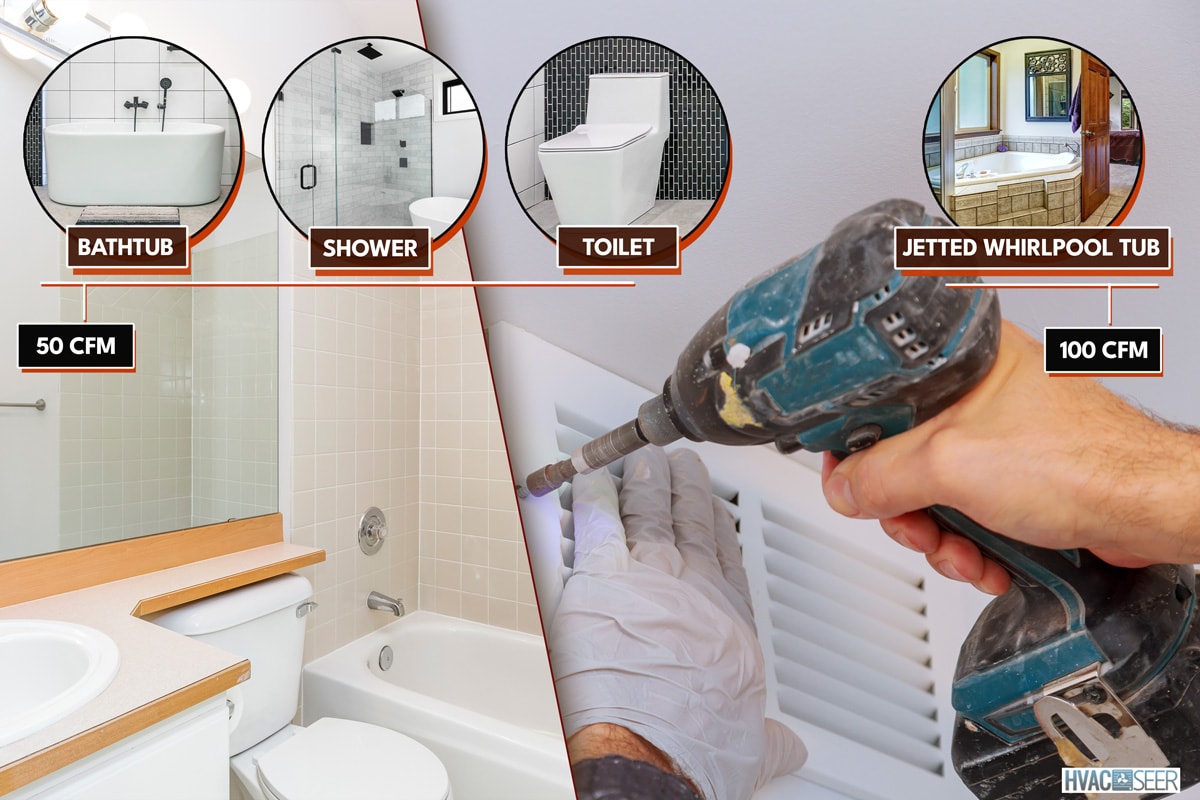
Before you start the installation process, please check if you have the right exhaust fan size.
To calculate its correct size for a bathroom less than 100 square feet, multiply the length and width of your bathroom. Then, the answer you get after multiplying the two will be how many cubic feet per minute [CFM] your exhaust fan must have.
But, if your bathroom is more than 100 square feet, you should use this guide instead:
- For toilet, bathtub, or shower: 50 CFM
- For jetted whirlpool tub: 100 CFM
Be sure to read: How To Vent A Bathroom Fan Through The Wall [Complete Guide]
2. Have A Power Source
Your exhaust fan needs some power to run. You may have it share a power source with your bathroom lights or remove your lights and use an exhaust fan with a light attachment instead so you can use its power source.
But you can also provide another new circuit just for your exhaust fan by running a cable on your ceiling.

See this power cord on Amazon.
3. Make A Hole For The Vent
Before you can drill a hole to install your exhaust fan, you must ensure that you have a vent location near it. After finding the ideal place, drill a hole at its center. It can be either on the wall or your house's roof. Then, do these:
- Use a pencil around your vent cap [for a roof] or vent [for a wall].
- Create a hole where you scribed a circle using a reciprocating saw.
- Apply a silicone caulk around your vent or cap to ensure it fits tightly. After, screw it on.

Click here to check out this silicone caulk on Amazon.
4. Make An Opening For The Exhaust Fan
First, mark the area where you'll install the fan. If the fan has a paper template, you can use this as a guide. Meanwhile, if your exhaust fan has none of this, use the fan's housing as a guide instead.
Then, use a jab saw to cut where you've marked.

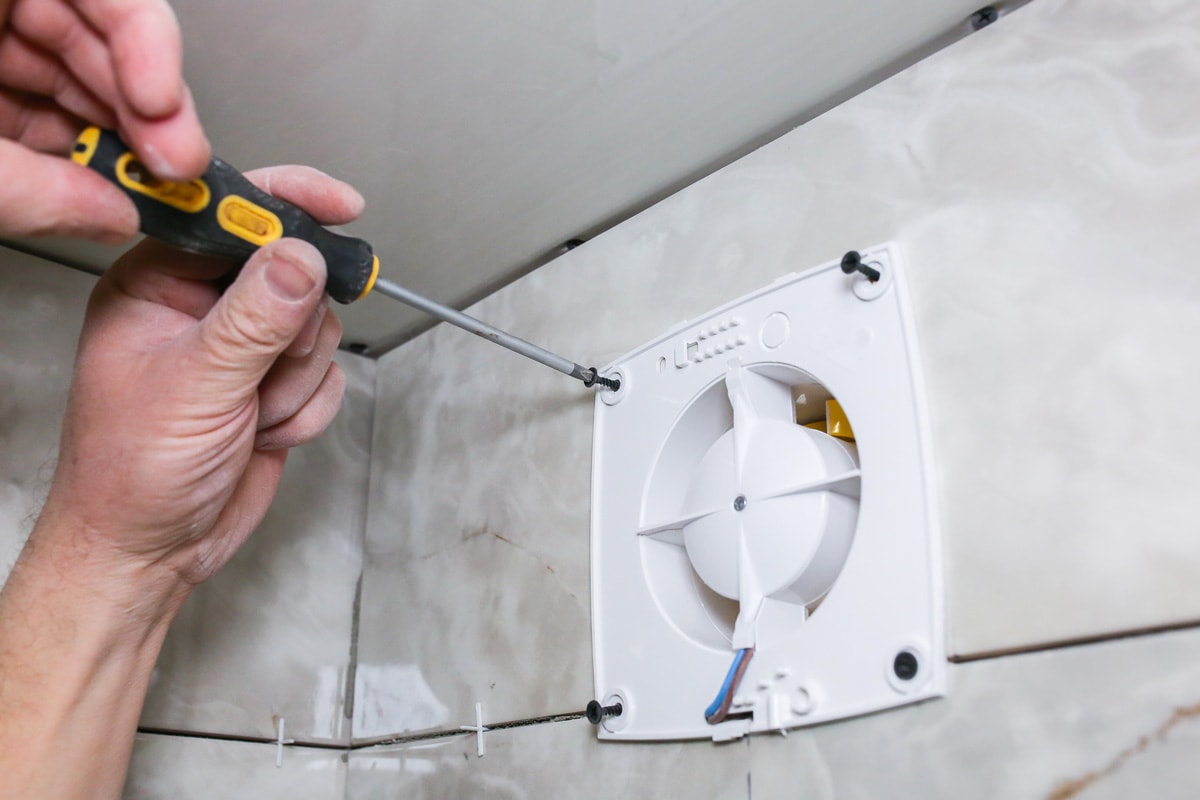
5. Screw Your Exhaust Fan Housing To The Joist
For this step, you need another person to help you if you're installing the fan to the ceiling. But, if you're installing directly to your wall, you can do this yourself.
One of you should bring a flashlight, a cordless drill, screws, and the exhaust fan's housing to the attic. Then, the other one should check the fan housing placement from the bathroom. After, follow these:
- Place the fan housing in the hole you made.
- Screw the housing to the side of the joists or suspension brackets using a cordless drill.
- Get the electrical wire of the fan's power source through the side of the fan's housing until about seven inches of it extends.

Tap here to see this cordless drill on Amazon.
6. Connect The Fan To The Vent
After checking if you placed the housing correctly, get your flexible ducting and aluminum foil tape to the attic.
Then, connect the flexible ducting to the exhaust fan and vent using foil tape. However, if the fan has mechanical fasteners, use this to connect the ducting instead.
7. Put Your Fan To Its Housing
Each exhaust fan model or brand have different instruction to insert the fan into their housing, so follow this instead.
Then, strip the ends of the fan's electrical wires to hard wire them to the electrical wire you extended earlier.
A bare or green wire is usually attached to the side of the housing for grounding, so make sure it is also attached.
After, put the fan grill to face the exhaust fan's housing. You can then try turning on the fan.
In Closing
There are exhaust fans that you can install over a shower. Specifically, these are fans protected by GFCI and are shower-rated.
If your exhaust fan does not meet this requirement, do not place it over your shower as it can pose a danger from electrocution or may damage the fan.
On the other hand, though it's safe to put your exhaust fan over a shower, you should still consider the possibility of having chilly showers, having it exposed to water regularly, and condensation dripping because of its placement.