
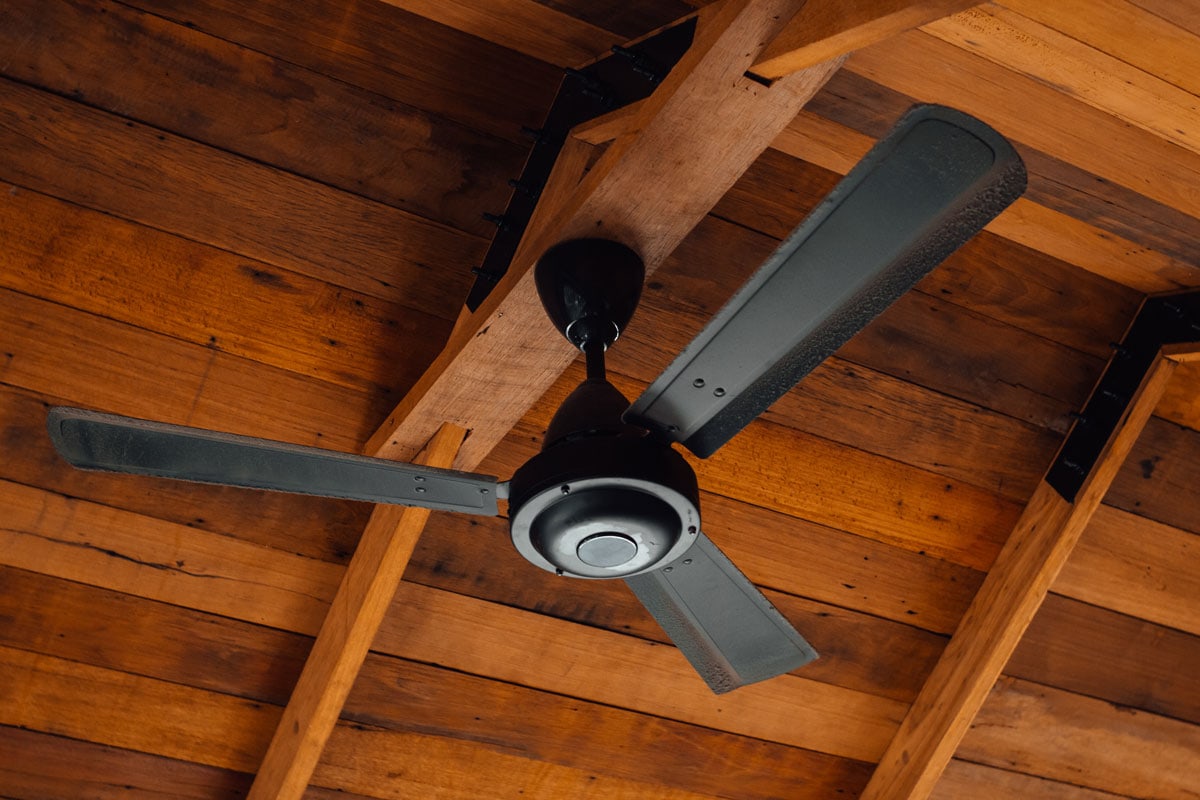
Installing a ceiling fan is relatively undemanding. Whether the space above is accessible from the attic or not, it is still achievable. In this post, you will find out if you can mount a ceiling fan directly to a joist since we have already thoroughly researched the internet to find the answer for you.
Yes, you can mount your ceiling fan directly to a joist. We'll give you the process of installing it properly, and we will place it (for example) on the old light fixture attached directly to the joist. To start, you have to:
- Unfasten the existing light fixture from the joist
- Remove the electrical box and cut a hole
- Position the new electrical box
- Glue the ceiling medallion in place
- Position the metal ceiling plate
- Assemble the parts of the fan
- Connect the wires
- Asemble the lights and fan blades
In this discussion, we will explain to you in detail the steps to properly mount your ceiling fan on the joist. And we will delve into some more information, so please keep reading until the end of this post.

How To Mount A Fan Directly To A Joist?
A ceiling fan is straightforward to install, mainly if there is an available space above, accessible from an attic. Even if there isn't, though, it will still be achievable. In these guidelines, we'll teach you how to mount a ceiling fan by replacing the existing light fixture.
The benefit of this method is that it eliminates the need for new wiring. Because we will be connecting the ceiling fan wires to the current cables of the light fixture that we will remove.
Read more about: "How To Install A Ceiling Fan Without Existing Wiring."
While the ceiling fan is easy to install, you must know that this project applies the following:
- Working with electrical wiring, so observe electrical safety as much as possible
- Utilizing an electric drill
- Cutting holes in drywall
- Screwing and unscrewing nuts and screws
And before anything else, please prepare the following tools:
- Wrench
- Flat bar
- drywall saw
- 1 1/2-inch No. 10 hex-head screws
- 10-32 x 1 1/2-inch round head machine screws
- Polyurethane caulk
- 6d finishing nails
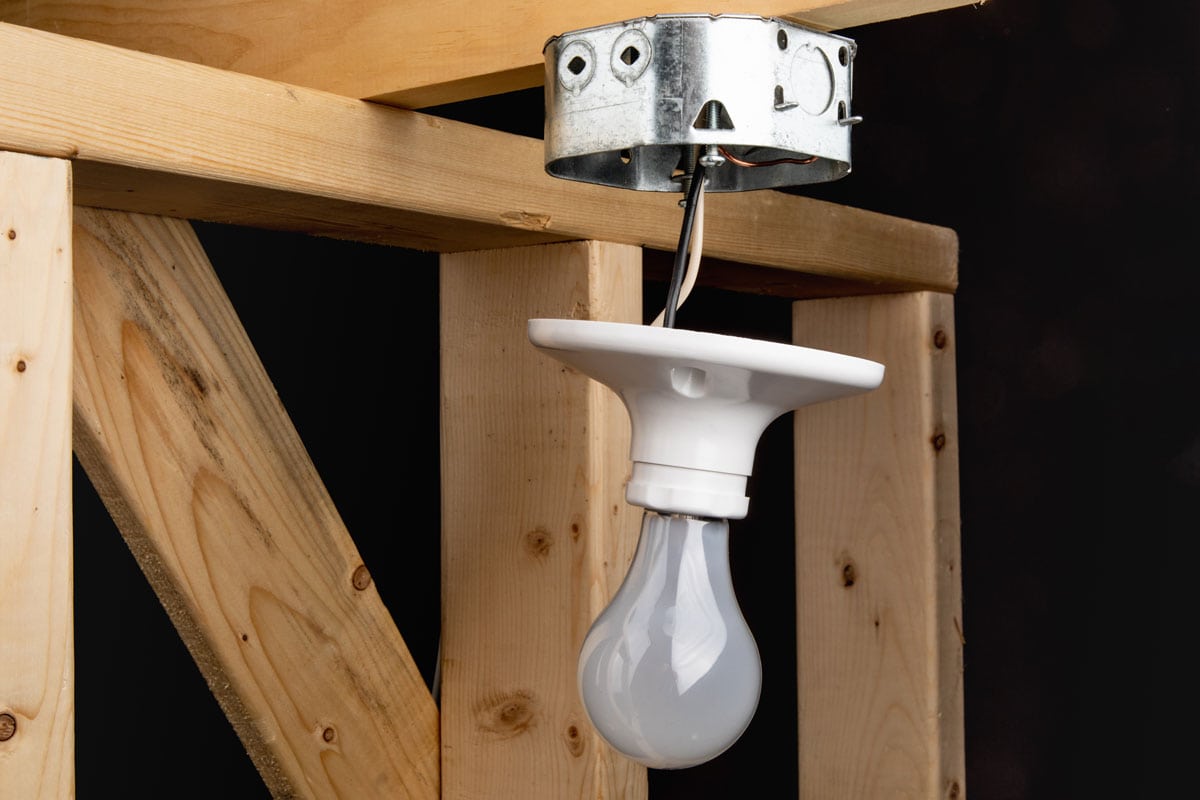
1. Unfasten the existing light fixture from the joist
- Switch the electricity off and detach the globe or glass shade of the light fixture with caution.
- Detach all the screws and nuts.
- Carefully make the light fixture descend. Once you finish lowering it, separate the plastic connectors from the wire's ends.
2. Remove the electrical box and cut a hole
- Detach the box from your ceiling. If the electrical box is fixed to the joist, you can use a flat bar to pry it off. But if it is hanging from a bar, remove the metal plate first, then loosen the screws and pry the bar.

Check this flat pry bar on Amazon.
- Trace a half-inch thick pancake box using a pencil. Place and hold the pancake box at the center of the joist before tracing it.
- Using a drywall saw, follow the trace you made and cut it.
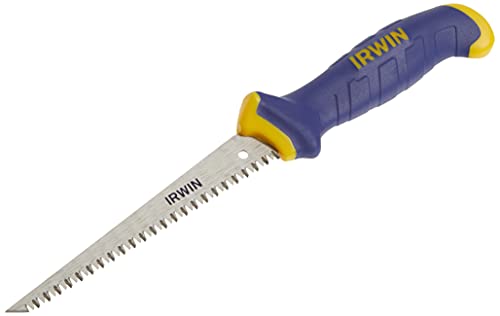
Check this drywall saw on Amazon.
3. Position the new electrical box

- First, attach a cable connector to the knockout hole situated in the pancake box. Then check the electrical cable from the ceiling and run it via the knockout hole.
- Place the pancake box in the ceiling hole and firmly shove it underneath the joist.
- Drive the two 1 1/2-inch No. 10 hex-head screws on the pancake box to connect it to the joist. Use a drill with a 5/16-inch nut-driver tip for this step.
- Cover the stripped copper wire of the electrical cable encircling the box's grounding screw. Permit the end of the wire to dangle.
4. Glue the ceiling medallion in place
- Use polyurethane caulking in gluing the ceiling medallion. Spread a tiny amount of the caulk on the medallion's back.
- Connect the wires through the ceiling medallion.
- Place the ceiling medallion at the center of the pancake box and push. Drive four 6d finishing nails into the joist to secure the ceiling medallion.
- Fill the nailheads with the polyurethane caulk.

Check this polyurethane caulk on Amazon.
5. Position the metal ceiling plate
- Hold the plate and reach it to the pancake box. Once you finish, you will need to tug the wires through the middle hole.
- Fasten the plate to the pancake box using two 10-32 x 1 1/2-inch round head machine screws.
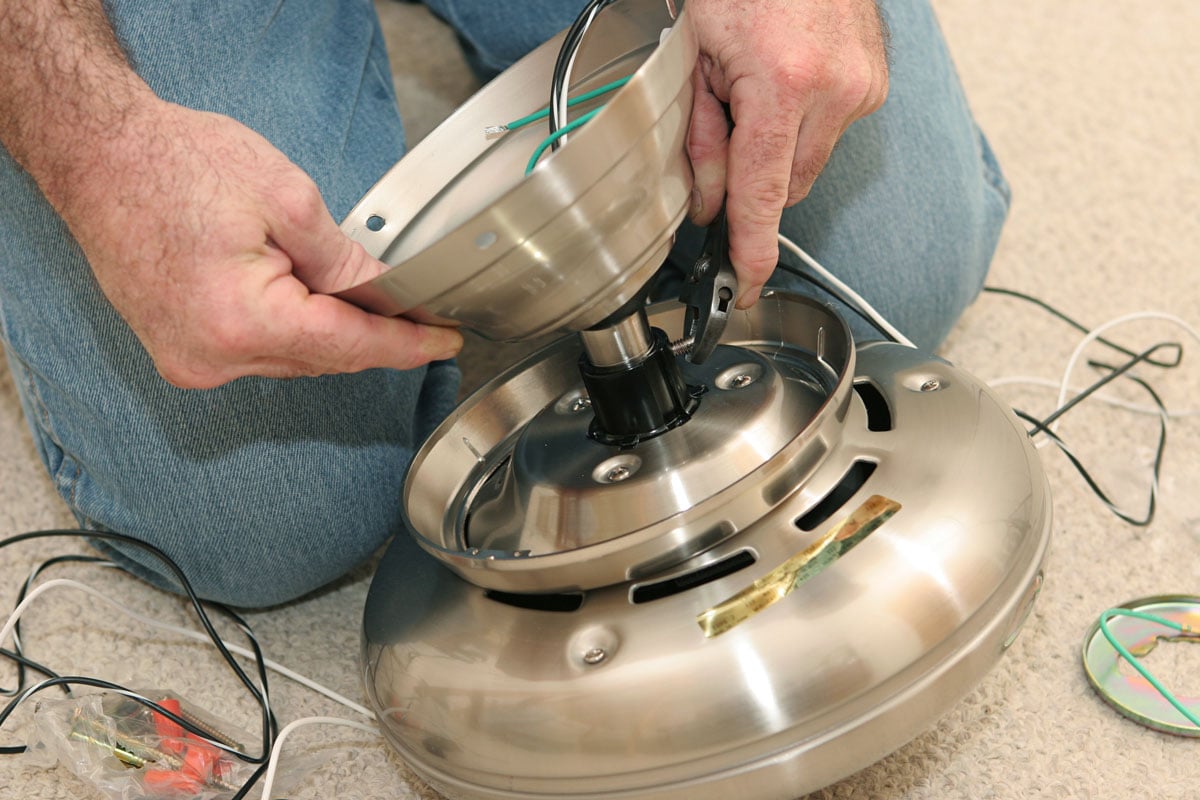
6. Assemble the parts of the fan
- Run the wires from the motor through the middle of the canopy with the fan on the ground. Then place the canopy over the motor.
- Send the wires via the empty down-rod pipe.
- Insert the down-rod pipe into the upper part of the motor. Secure the square-head locking screw on the pipe's border utilizing a wrench.

Check out this adjustable wrench on Amazon.
7. Connect the wires

- Attach one of the canopy's sides to the ceiling plate.
- Get your twist-on wire connectors. You have to join the bare copper wire from the cable to two of the green wires.
- Connect the pair of white wires, then the black wires.
- Lift the ceiling fan and place it into its proper location-- against the medallion. And it would be best not to forget to secure it using the canopy screws.
8. Assemble the lights and fan blades
- Place the fan blades properly into their respective blade iron. Then, secure it using the supplied screws.
- Connect the light-fixture housing of the fan to the wire that dangles from the motor's base.
- Attach the lightbulbs and shades to their proper places.
- You will need to fasten the remote control holder beside the wall switch for the last step.
How To Oil/Lubricate A Ceiling Fan?
All appliances that have electric motors always require proper and adequate lubrication. The primary purpose of lubrication is to produce a noise-free and smooth motor function. And that is what the ceiling fans need.
When the bearings of the ceiling fan are rubbing against each other, the friction will fray them down. Some ceiling fans need lubrication at least once a year, and some don't, especially the newer models. And that is because they already hold sealed bearings that don't demand lubrication.
If you have the latter and you are noticing that it is already noisy or has unsatisfactory performance, you will still need to dismantle the fan motor to oil it well.
What Type Of Oil Should I Use For The Ceiling Fan?
To lubricate your ceiling fan, you should utilize 10, 15, or 20-weight non-detergent motor oil. We highly advise avoiding detergent motor oils as much as possible because they can clog the bearings of your fan.
Also, it would be best if you will not depend on 3-in-1 oils or any penetrating oils. They can loosen or unfasten the stuck screws but can't lubricate the motor well.
Procedure For Oiling
The very first step would be turning the electricity off from the breaker. Doing so can avoid accidents like others turning the fan on while you are currently working on it, especially if a remote controls it.
Once the fan is off, move the lubricant to a bottle with a pointed tip. Carefully ascend the ladder and find the lubrication hole. Transfer the oil into the lubrication hole until it is full. Lastly, rotate the ceiling fan a few times to spread every drop of oil into the bearings.
How To Lubricate A Sealed Motor
If you try to lubricate a ceiling fan with sealed bearings or motor, anticipate that it will not be that simple. We suggest you should perform it as much as possible. However, if your fan is already noisy, it may be essential to do it.
The procedure includes removing the blades, removing the fan from the ceiling, and dismantling the entire fan motor. And since it is not that easy, or if you are not knowledgeable enough doing a DIY process in lubricating a sealed motor, you may want to consider calling a professional or taking it to a repair shop.
Wrapping Things Up
Performing a do-it-yourself project installing a ceiling fan to a joist is undemanding, especially if you have proper knowledge on how to execute it. But if you think you can't manage the installation process appropriately, it would be best to call for a repair professional.
You should know that improper installation may cause the fan to become unsafe due to unstable on the joist, possible falling, and faulty wires. So, if you let a professional do the installation, it gives a satisfactory result and, most importantly, peace of mind that it is a hundred percent safe.
For further reading about ceiling fans, check these out:
Should A Ceiling Fan Be Centered?
How Much Does A Ceiling Fan Weigh?