
- Inspect the roof to ensure its quality, especially in the area where you will install the vent.
- Wear protective gear such as gloves and a helmet.
- Carefully climb up the roof, bringing with you a level, chalk, turbine vent, grinder tool, screw gun, and roof sealant.
- Place the turbine vent on the roof's peak. You can refer to the product guide to find the peak.
- There are numbers on the turbine's elbow to indicate the pitch of the roof. Simply turn the elbow to align it with the recommended pitch.
- Screw the elbow to lock its angle, then outline the turbine's circumference with chalk.
- Cut a hole in the roof the same size as the turbine.
- If there are shingles on the roof, lift them up and screw the turbine's metal plate against the roof.
- Twist the elbow and use a level to ensure proper alignment.
- Lock the clamps along the seam.
- Attach the turbine to the base, then screw its brackets into place.
- Check if the turbine will spin.
- Seal the turbine's edge with a roof sealant. Apply it around the screws as well.
This article will serve as your guide to installing a vent on a metal roof. We'll provide the steps and all the things you should know about this project. There's a lot to learn in this post. So let's keep reading!
How to Vent a Metal Roof
![typical static passive vent installation on a residential roof - How To Vent A Metal Roof [Step By Step Guide]](https://hvacseer.com/wp-content/uploads/2022/10/1.-Inspect-the-roof-to-ensure-its-quality.png)
Metal roofs are very common. Being metal, the roof increases the room temperature by transferring the heat into the ceiling or attic. That's why most homeowners opt to ventilate the roof.
A turbine vent is a metallic vent that works by moving the hot air. The heat that will rise on the roof will trigger the turbine to spin, resulting in a cooler temperature.
It's good to ask for assistance from a professional when installing a turbine vent. However, you should consider your safety if you want to DIY.
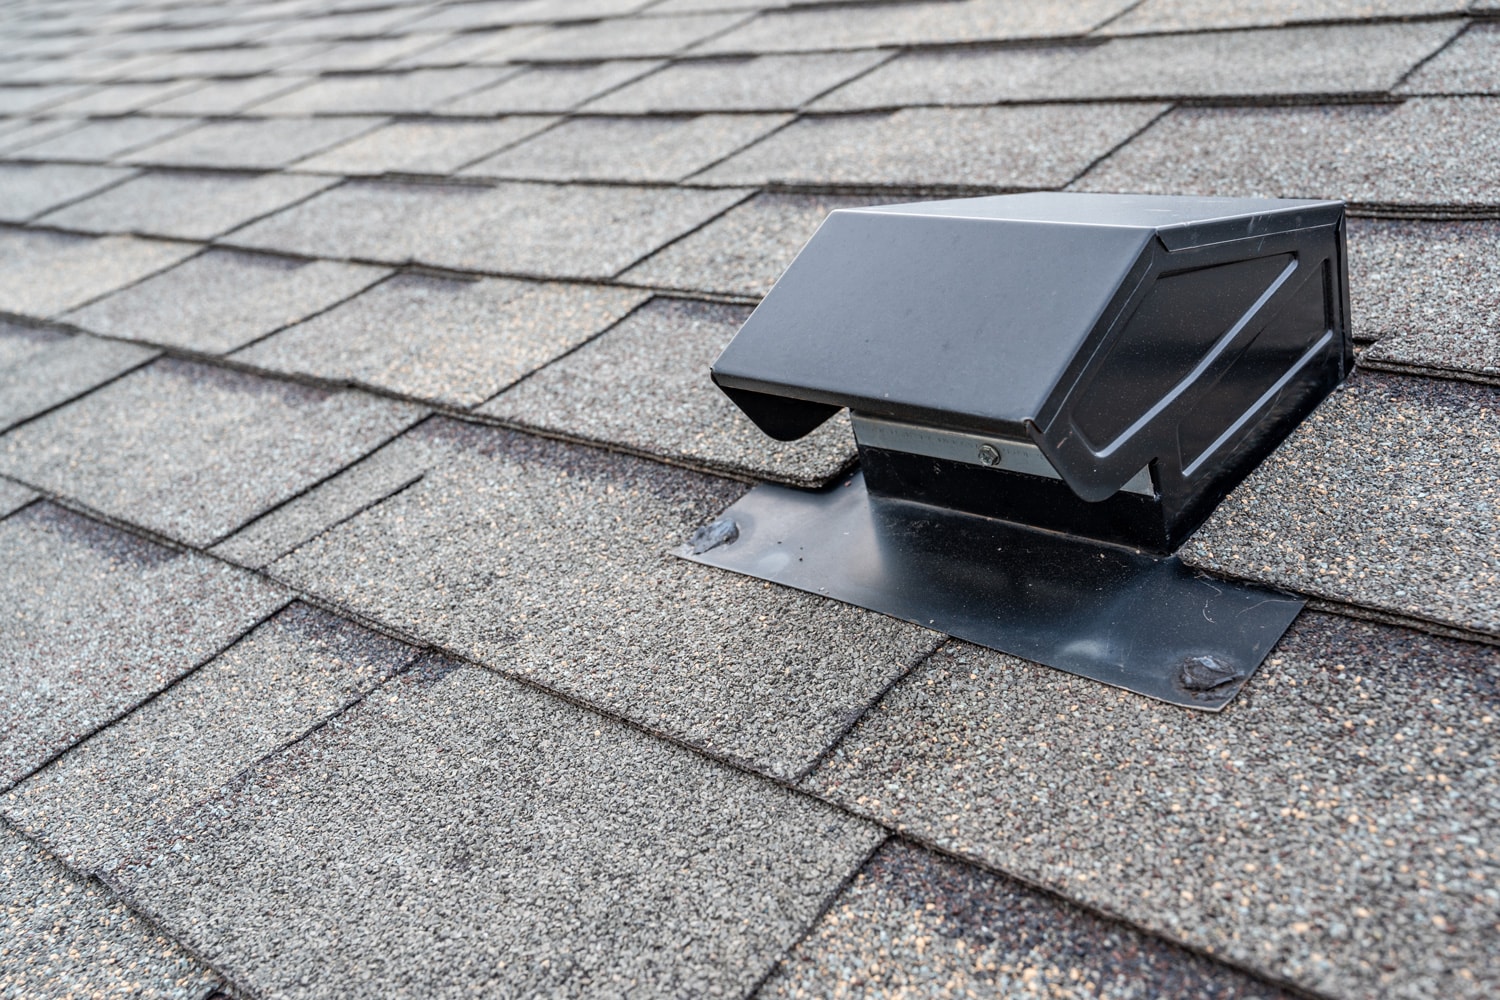
Aside from the turbine vent, you could also use a hood vent. The installation steps are the same except for the size of the hole you need to cut in the roof.

See this hood vent for roof on Amazon.
As a quick comparison, a turbine vent spins when there's air rising from the attic. It has a protruding dome-like structure that extends above the roof. On the other hand, a hood vent has a flat, short body and usually has a cap to prevent the rain from entering. You can use either of the two, depending on your preference.
With regards to the installation steps we provided, you can watch a demonstration here:
Do You Need an Exhaust Fan in the Attic?

It's not that you don't need an exhaust fan in the attic, but the exhaust fan can improve the ventilation. If the attic has no windows for the air to circulate, then you need to add an exhaust fan to push the hot air outside the house. Otherwise, a mechanical fan alone may not be effective in retaining the temperature in the area.

See this exhaust fan on Amazon.
You can add an exhaust fan in the attic to achieve optimal air efficiency. Simply follow the steps below:
- Most attics have a hole in the middle that you can use to add an exhaust fan. Simply measure the hole to fit the exhaust fan. Otherwise, you need to cut the attic wall to make a hole.
- While inside the attic, make a wooden frame for the exhaust fan. You'll want to cut a square that's larger than the hole.
- Screw the exhaust fan into the frame.
- Place the exhaust fan into the hole but do not install it yet. Check first if the wires will reach the outlet. Otherwise, you might need to ask the manufacturer if using an extension cord would be safe.
- Mount the exhaust fan in the hole. There should be grills to protect the blade from rain or strong wind. You can also refer to the product installation guide.
- Plug in the cord, and turn the exhaust fan on.
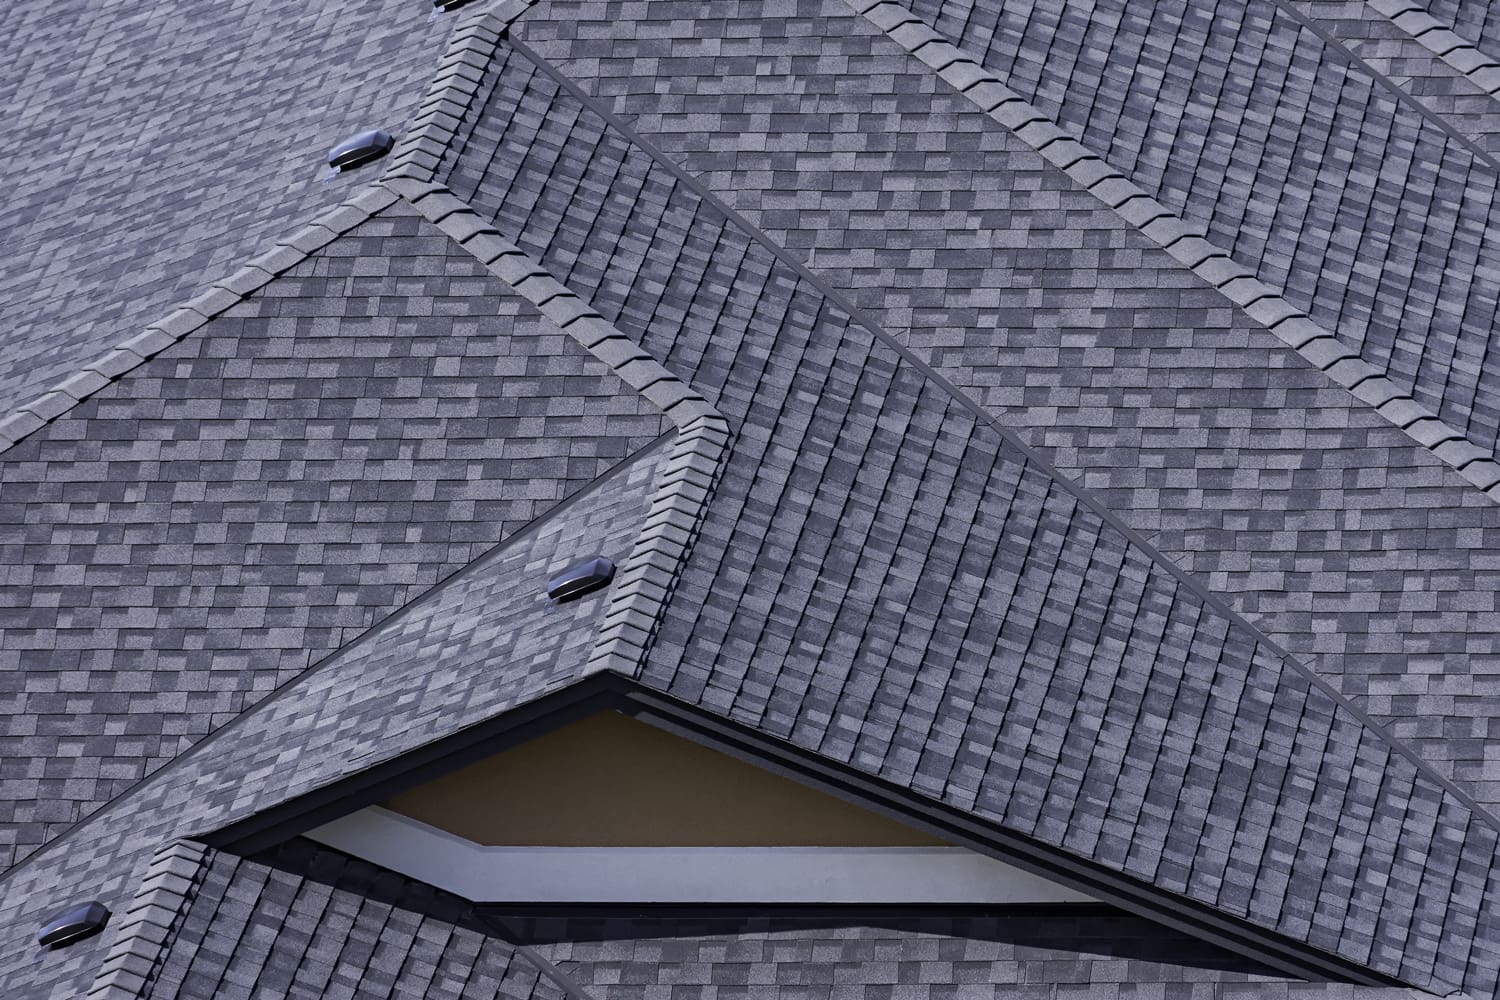
What Is a Continuous Ridge Vent?
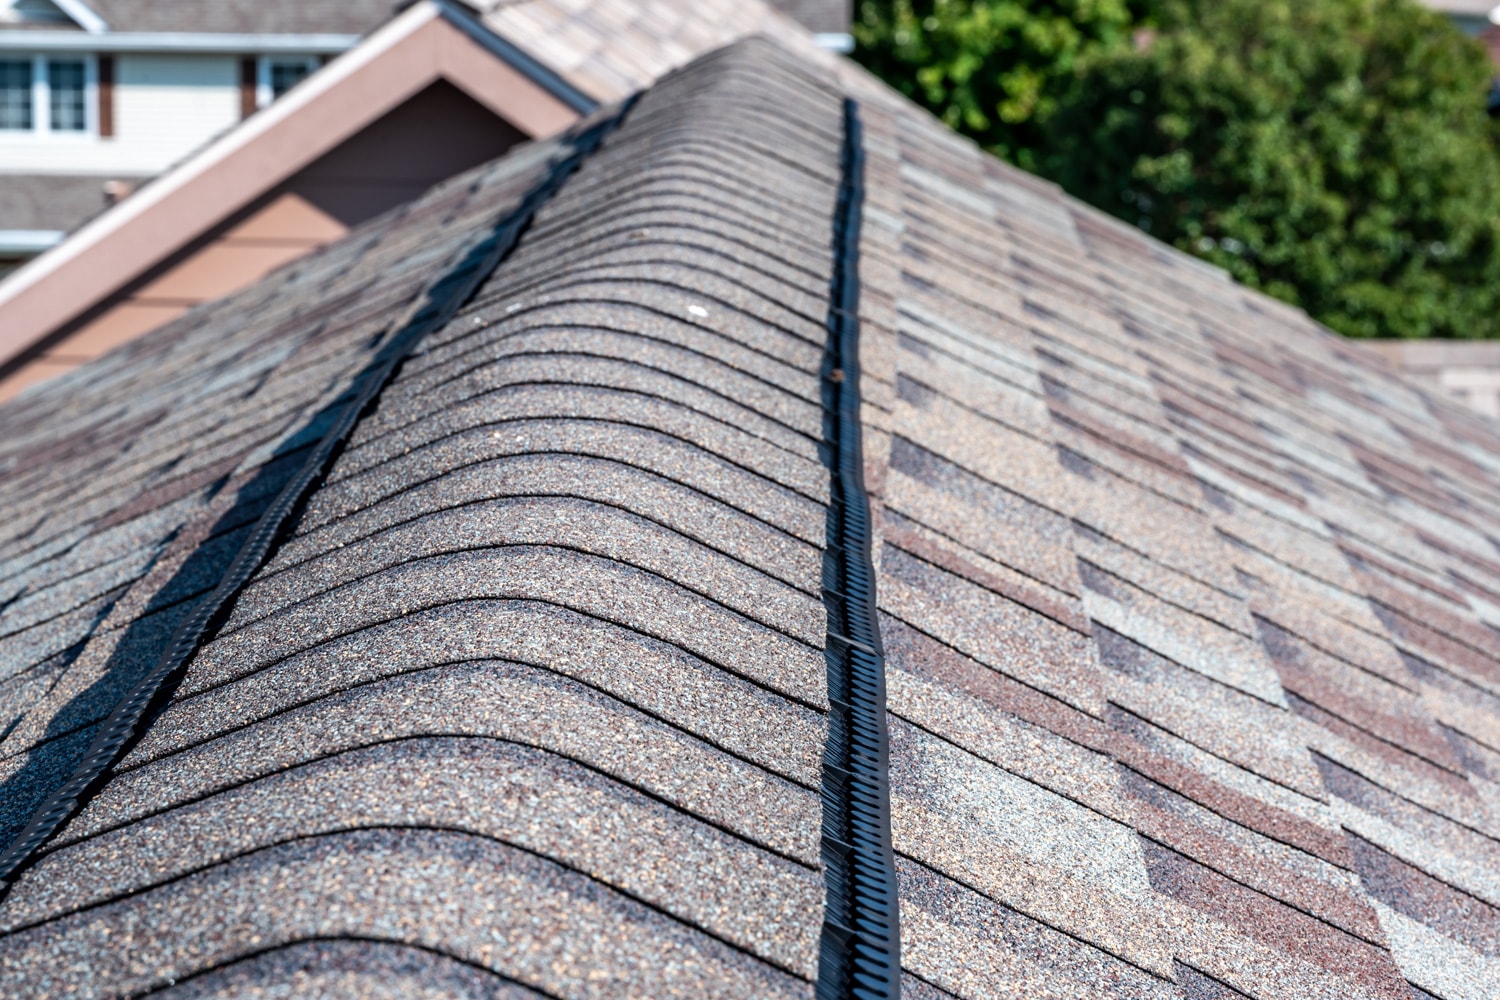
A continuous ridge vent is different from a turbine vent, as a continuous ridge vent is usually installed during the roof installation. Also, it runs along the middle peak of two roofs sloping in opposite directions. It serves as protection against the rain, as well as improves the attic temperature by redirecting the air draft rising from the attic.
However, not all houses have a continuous ridge vent. Some have a ridge only, which means they don't have a space to allow the exit of hot air. You can refer to the instructions below on how to transform a simple ridge into a continuous ridge vent:
Give yourself at least two days to finish this project. Because on day one, you need to measure the roof to find the length of the continuous ridge vent you'll use.
- Climb up the roof and measure its length from both ends.
- Bring the measurement into the construction shop to find the size of the continuous ridge vent.
- On the second day, prepare the roof and check its condition. Make sure it's not raining.
- Cut and unscrew the roof shingles that run across the ridge, then set them aside.
- Pry out the existing ridge and replace it with a continuous ridge vent.
- Align the new ridge vent with the roof.
- Secure the continuous ridge vent in place with screws and some roofing nails, depending on what you previously used.
- Put back the roof shingles to cover the ridge vent. You can reuse good screws or replace them if there's damage.
- Apply a roof sealant on screws to avoid leaks when it rains.
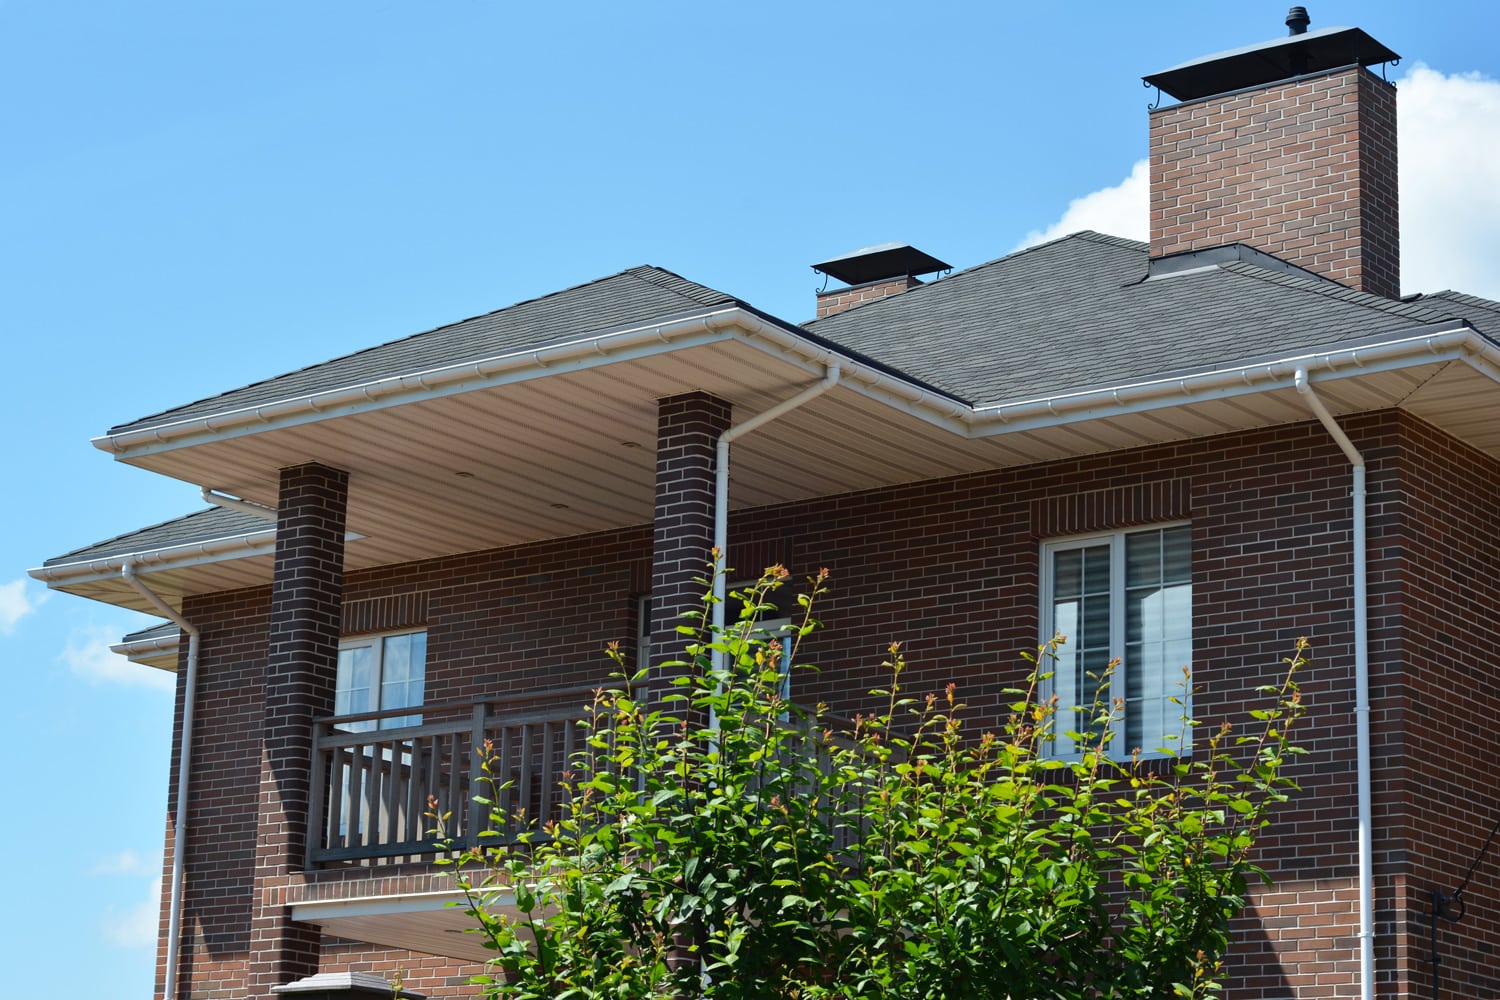
What Is a Soffit Vent?
The soffit vent does not have direct contact with the roof, as it's installed on the overhang outside the house. It goes near the external wall and below the fascia board.
See this illustration of a soffit vent and ridge vent combined together:
The soffit vent is good for reducing the heat in the attic by pushing air through the ridge vent. This works by protecting the ceiling from the draft of rising heat, as well as providing better air circulation from the attic down to the area below. The soffit vent alone might not work properly. That's why it's better to combine the soffit and ridge vents together.
You just need a vent with protective grills for the installation. You can consider one vent per attic area of 150 square feet.

See this soffit vent on Amazon.
Refer to the steps below on how to install soffit vents:
- Wear goggles to protect your eyes and a face mask to avoid inhaling the dust.
- Reach the soffit board to mark the spot where you'll install the vent.
- Cut the soffit with a wood cutter or a grinder tool, depending on the shape of the soffit vent.
- Drill some holes for the screwing spots.
- Attach the vent grills by screwing them against the soffit.
What Are Rafter Vents?
A rafter vent is a material used to support the soffit vent by giving it a wider space for optimal airflow. Rafter vents prevent clogging the soffit vent and are installed inside the attic, unlike turbine and hood vents.
However, rafter vents are optional. You can see the quick installations steps below should you want raft vents in your attic:
- If there's insulation in the attic, simply put the rafter vents between the insulation and the attic ceiling.
- Depending on what material the rafter is made of, you can staple or screw it against the ceiling.
- Overlap another raft vent until it extends near the ceiling's peak.
Can You Have Multiple Roof Vents
Of course, you surely can have multiple roof vents in your house. Doing so will significantly improve the ventilation, compared to if you only have one.
However, you don't want to waste time, money, and effort installing a lot of roof vents that may seem redundant and ineffective. You can consult a contractor for recommended number of roof vents you can have.
Conclusion
It's another informative article, right? We learned how to vent a metal roof and even discussed the importance of doing it. Always ask a contractor advice for installing the vents.
Are you ready to learn more? Try reading these: