
Have you recently lost the remote control of your ceiling fan and you don't know what to do? Don't worry if you can't operate it properly. We've got your back! We thoroughly researched some tips from the internet for the things you should do.
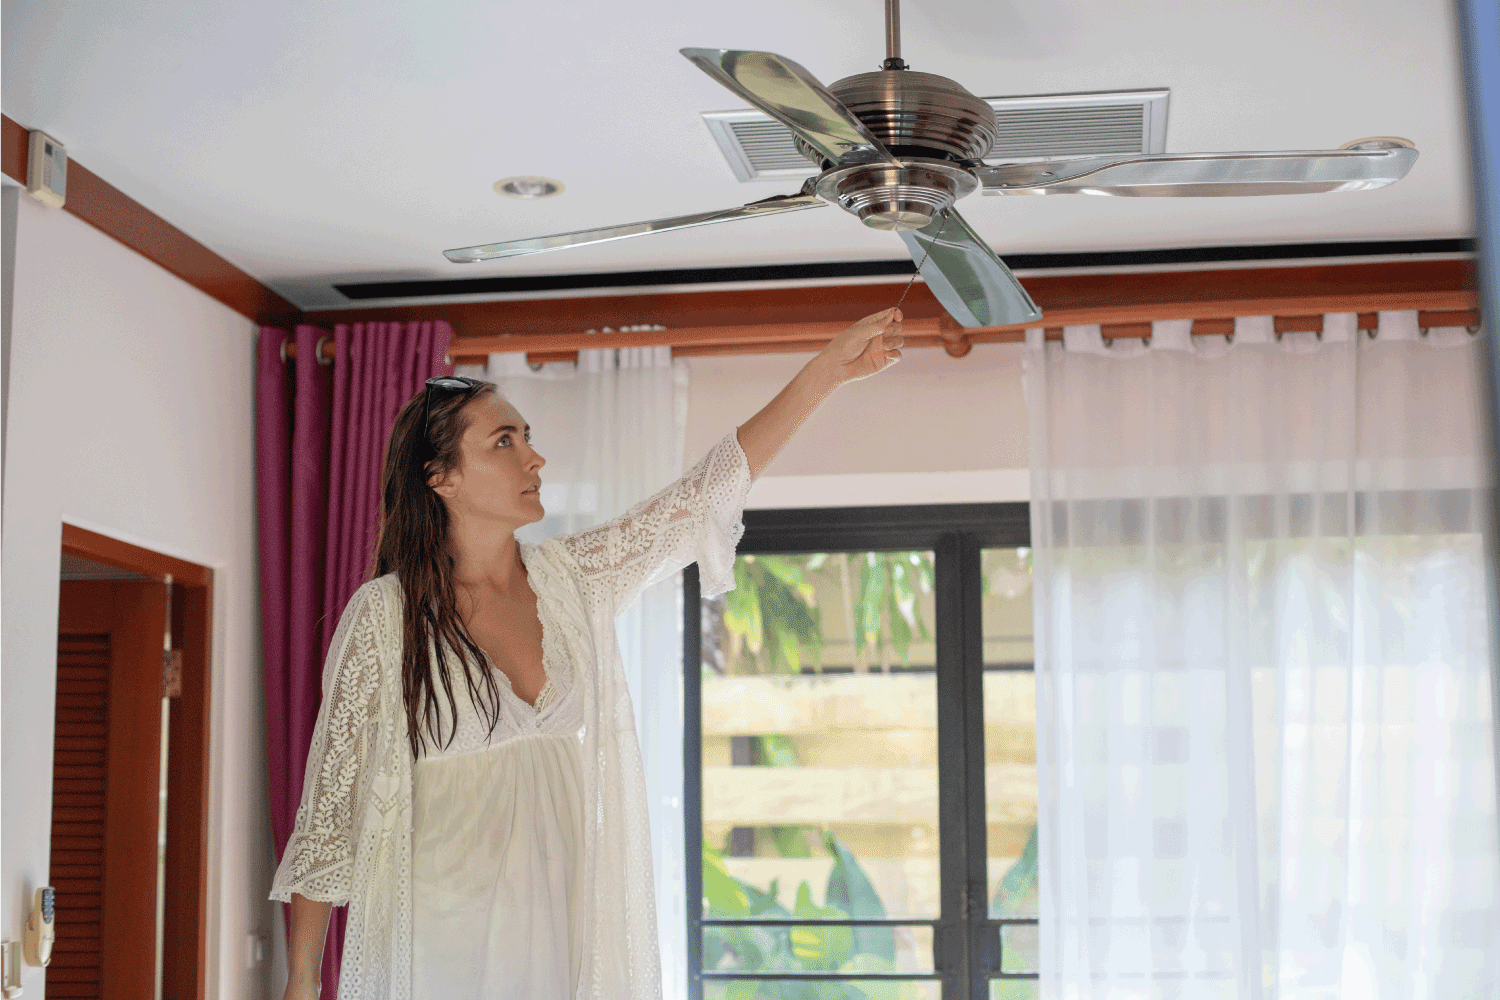
It is good to know that you can control a ceiling fan even without using a remote control. You will just have to pull the cord on the pull switch from the motor module. Yes, you will need to operate it manually.
To learn how to operate the ceiling fan manually, we encourage you to keep reading. Also, we might answer some of the additional questions running through your head. The more information you know, the better. Ready to dig for more information?
How To Operate A Remote-Controlled Ceiling Fan Manually?
In this section, we will guide you on installing a pull chord to your ceiling fan so that you can turn it on and off without using your remote control.
You can start this by purchasing a pull chord from your local hardware store. Most of the tools you might need are already available in your household.
Step 1
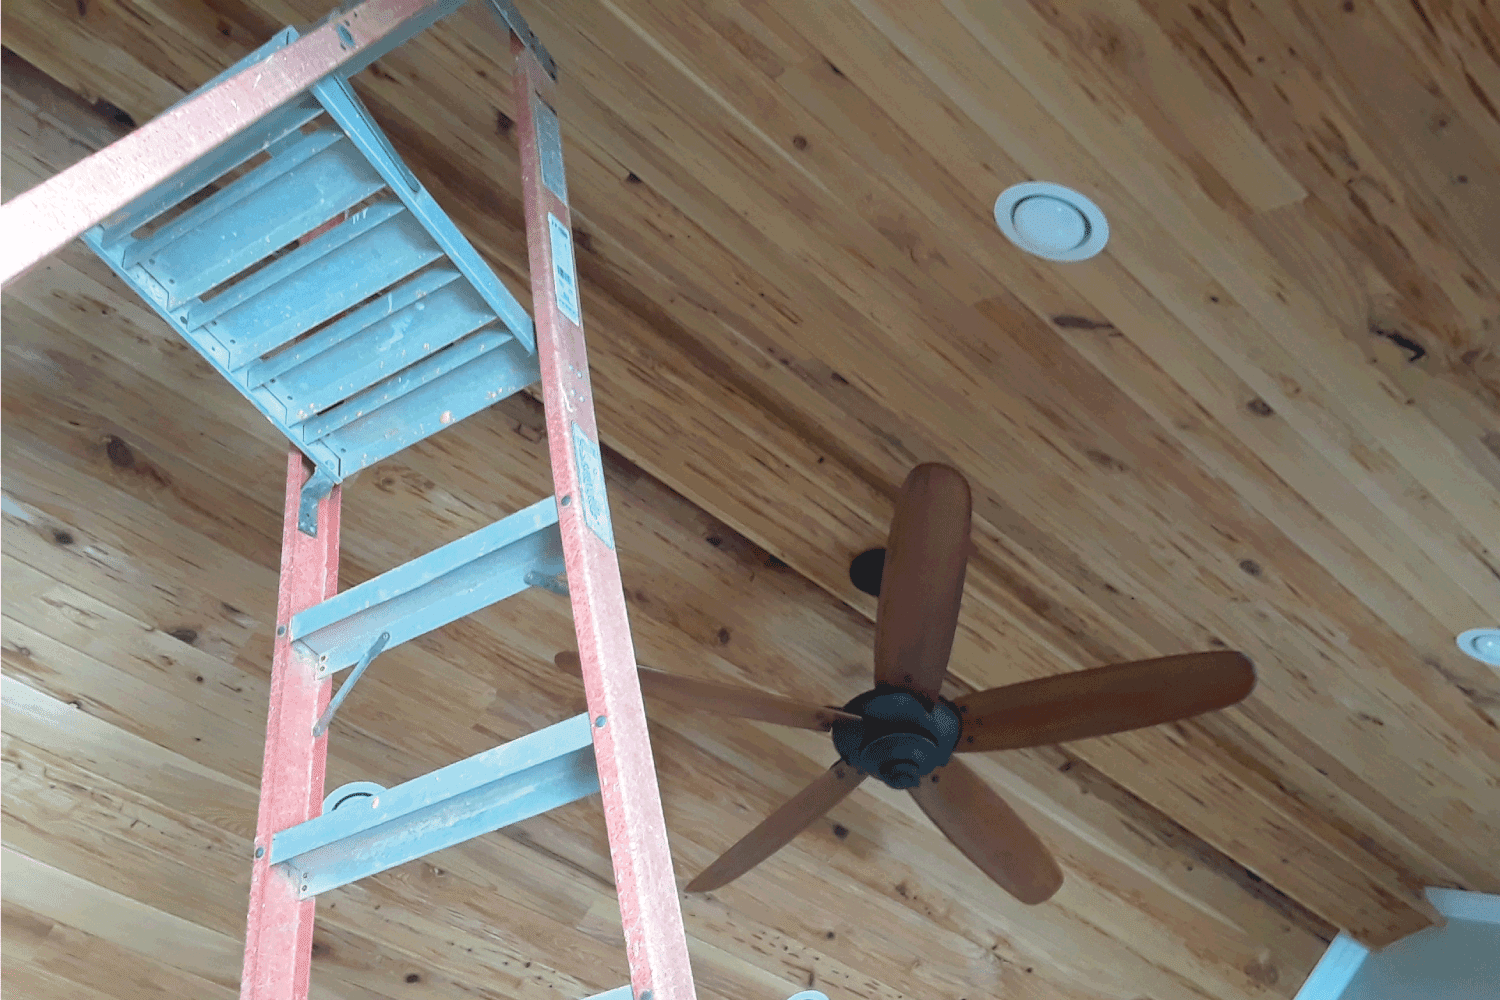
Get and place a ladder next to your ceiling fan. You will need to measure the distance from the fan motor's pull switch down to the floor using a tape measure. We suggest you write it down on a piece of paper for you not to forget.
Step 2
Next, measure the length from your neck down to your feet and minus that from the number you got from the first step. Jot down or remember the figure once more.
Step 3
Now that you know the number of the last measurement, the next thing you will do is to prepare the chain-link cord of the same length.

Check this chain cord on Amazon.
Step 4
For the fourth step, you will need one of the extremities of the chain-link cord to be shoved on the pull switch's lughole. Once you shove the chain in, fasten it together with the lug using pliers.
Step 5
In this step, you will now have to attach the other extremity to the knob. And to fasten both the chain link and pull cord knob together, grip and compress the top sides of the knob.
Step 6
And for the last step, you may want to run a test by pulling the pull cord knob. If the motor starts, that means you installed it correctly. Tug twice to modify the fan speed and a final tug to switch it off. If it works, well done! You made it easy!
How To Install A Universal Remote For Ceiling Fan
If you don't want to control your ceiling fan manually, you can opt to install a universal remote control for your ceiling fan. And yes, you can do a DIY method in upgrading your fan!
Step 1
Before we start the installation process, switch on both the light and ceiling fan (set its speed to maximum). Once you finish, turn off the power and ensure you do it accurately to avoid electrical accidents.
Step 2
Next, detach the canopy of the ceiling fan. Refer to the manual for you to do it correctly. And we highly suggest capturing a picture of the before and after exposure of the wiring connections. This will greatly help you out just in case you forget where a certain wire lies. Moreover, you need to detach all the wire connectors but leave the grounding wires.
Step 3
Select a hanging system that is largely identical to what you currently use. Read and follow the owner's manual for the correct receiver and wire installation.
Just a piece of advice, some ceiling fans have excess lead wire. So, for a more manageable canopy installation, you must cut the excess wire and leave a minimum of eight inches. With a measurement of half an inch, re-strip the fan lead wires. It would be best to put the extra wire in the ceiling electrical box and leave both the fan and bracket grounded.
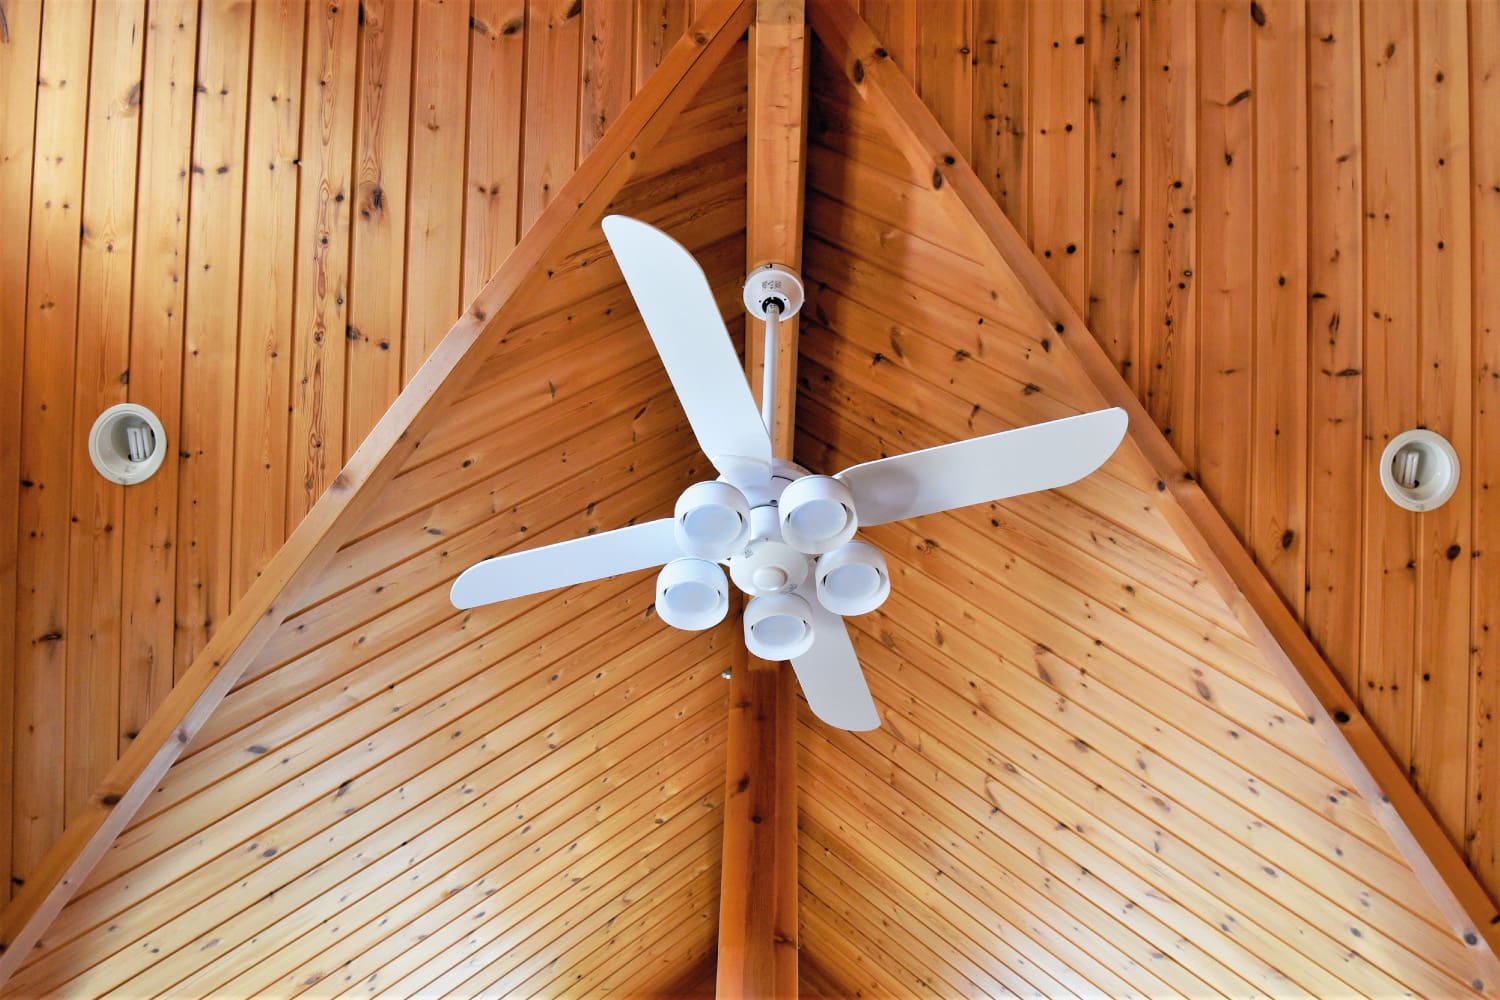
Lastly, if your ceiling is angled, and you install a ceiling fan in there, you will most likely encounter problems with your installation.
Step 4
In this step, you will have to join the wires from the receiver to the ceiling fan.
With the use of blue wire connectors, you must join (from the receiver wire to fan wire consecutively):
- white (common out wire) to white wire
- black (fan out wire) to the black wire
- blue (light out wire) to blue wire (sometimes black and white stripe)
If you are unsure about the process of connecting the wires, we suggest you call for a professional's help.
Step 5
For the fifth step, you will need to join all the wires from the receiver to the wires from the outlet box.
With the use of the orange wire connector, you must connect (from the ceiling wire to the receiver wire consecutively):
- black (ungrounded wire) to black (live in wire)
- white (grounded wire) to white (neutral in wire)
Once you finish connecting every single one of the wires, fasten them using the wire connectors and re-attach the canopy.
Step 6
It would be best to pair the remote with the fan first before you run it. So, wait for your ceiling fan to restore power. It should take at least three minutes.
After that, press and hold the off and high button of the fan for four seconds. You'll know if it is a productive syncing if the ceiling fan is switched on low. If it doesn't, switch it off and try the process once more after a minute.
Step 7
Check if your installation works properly. The light button should switch the lights on and off, and the fan button should switch the fan on and off. Also, you should test the remote's speed button for the fan blades if it is accurate. And you should do the same test run with the light button.
How To Troubleshoot The Ceiling Fan Universal Remote Control
Check this list of troubleshooting tips for your future reference.
Fan won't start
- Check the power if it is on at the wall switch and circuit breaker.
- Inspect the battery if it is working.
- Check the pairing of the receiver and transmitter.
- Make sure that the wire connections inside the fan canopy are correctly connected.
The remote control is unstable
- Check the placement of the battery.
- If the existing battery is the problem, use a new battery.
The transmitter does not work when held at a distant range
- Change the battery.
The lights don't dim
- Check if the light of your ceiling fan is a compact fluorescent lamp CFL bulb. The control has a feature that turns off light dimming if it is a CFL bulb.
Which Way Should A Ceiling Fan Spin?
Have you ever noticed that tiny switch at the bottom of your ceiling fan? Do you know what that is for? You can control the direction your ceiling fan blades rotate. Ceiling fans can actually rotate in two directions: clockwise and counterclockwise.
Clockwise
This fan blades rotation means blowing the air down. It is a suitable fan spin for the summer and spring seasons.
Counterclockwise
As for this one, the fan blades blow the air up. And it means it helps distribute the heat for your entire home during the winter and fall seasons.
In Summary
Losing the remote control of your ceiling fan should not worry you too much. Everything is all about fixing and having alternatives. All you need to do is simple research and some of our help.
So, if you need more of our assistance and for further reading, check these articles out!
Are Ceiling Fans Supposed To Wobble? (And How To Fix That)
Can You Replace Ceiling Fan Blades With Longer Ones? [And How To]